How to Use Bill Acceptor TP70: Examples, Pinouts, and Specs

Introduction
The TP70 Bill Acceptor is a reliable and efficient device designed for use in vending machines, kiosks, and other automated systems requiring cash transactions. It is capable of accepting various denominations of banknotes, validating their authenticity, and securely storing them. With its robust design and advanced validation technology, the TP70 ensures accurate and secure cash handling, making it an essential component for businesses that rely on automated payment systems.
Explore Projects Built with Bill Acceptor TP70
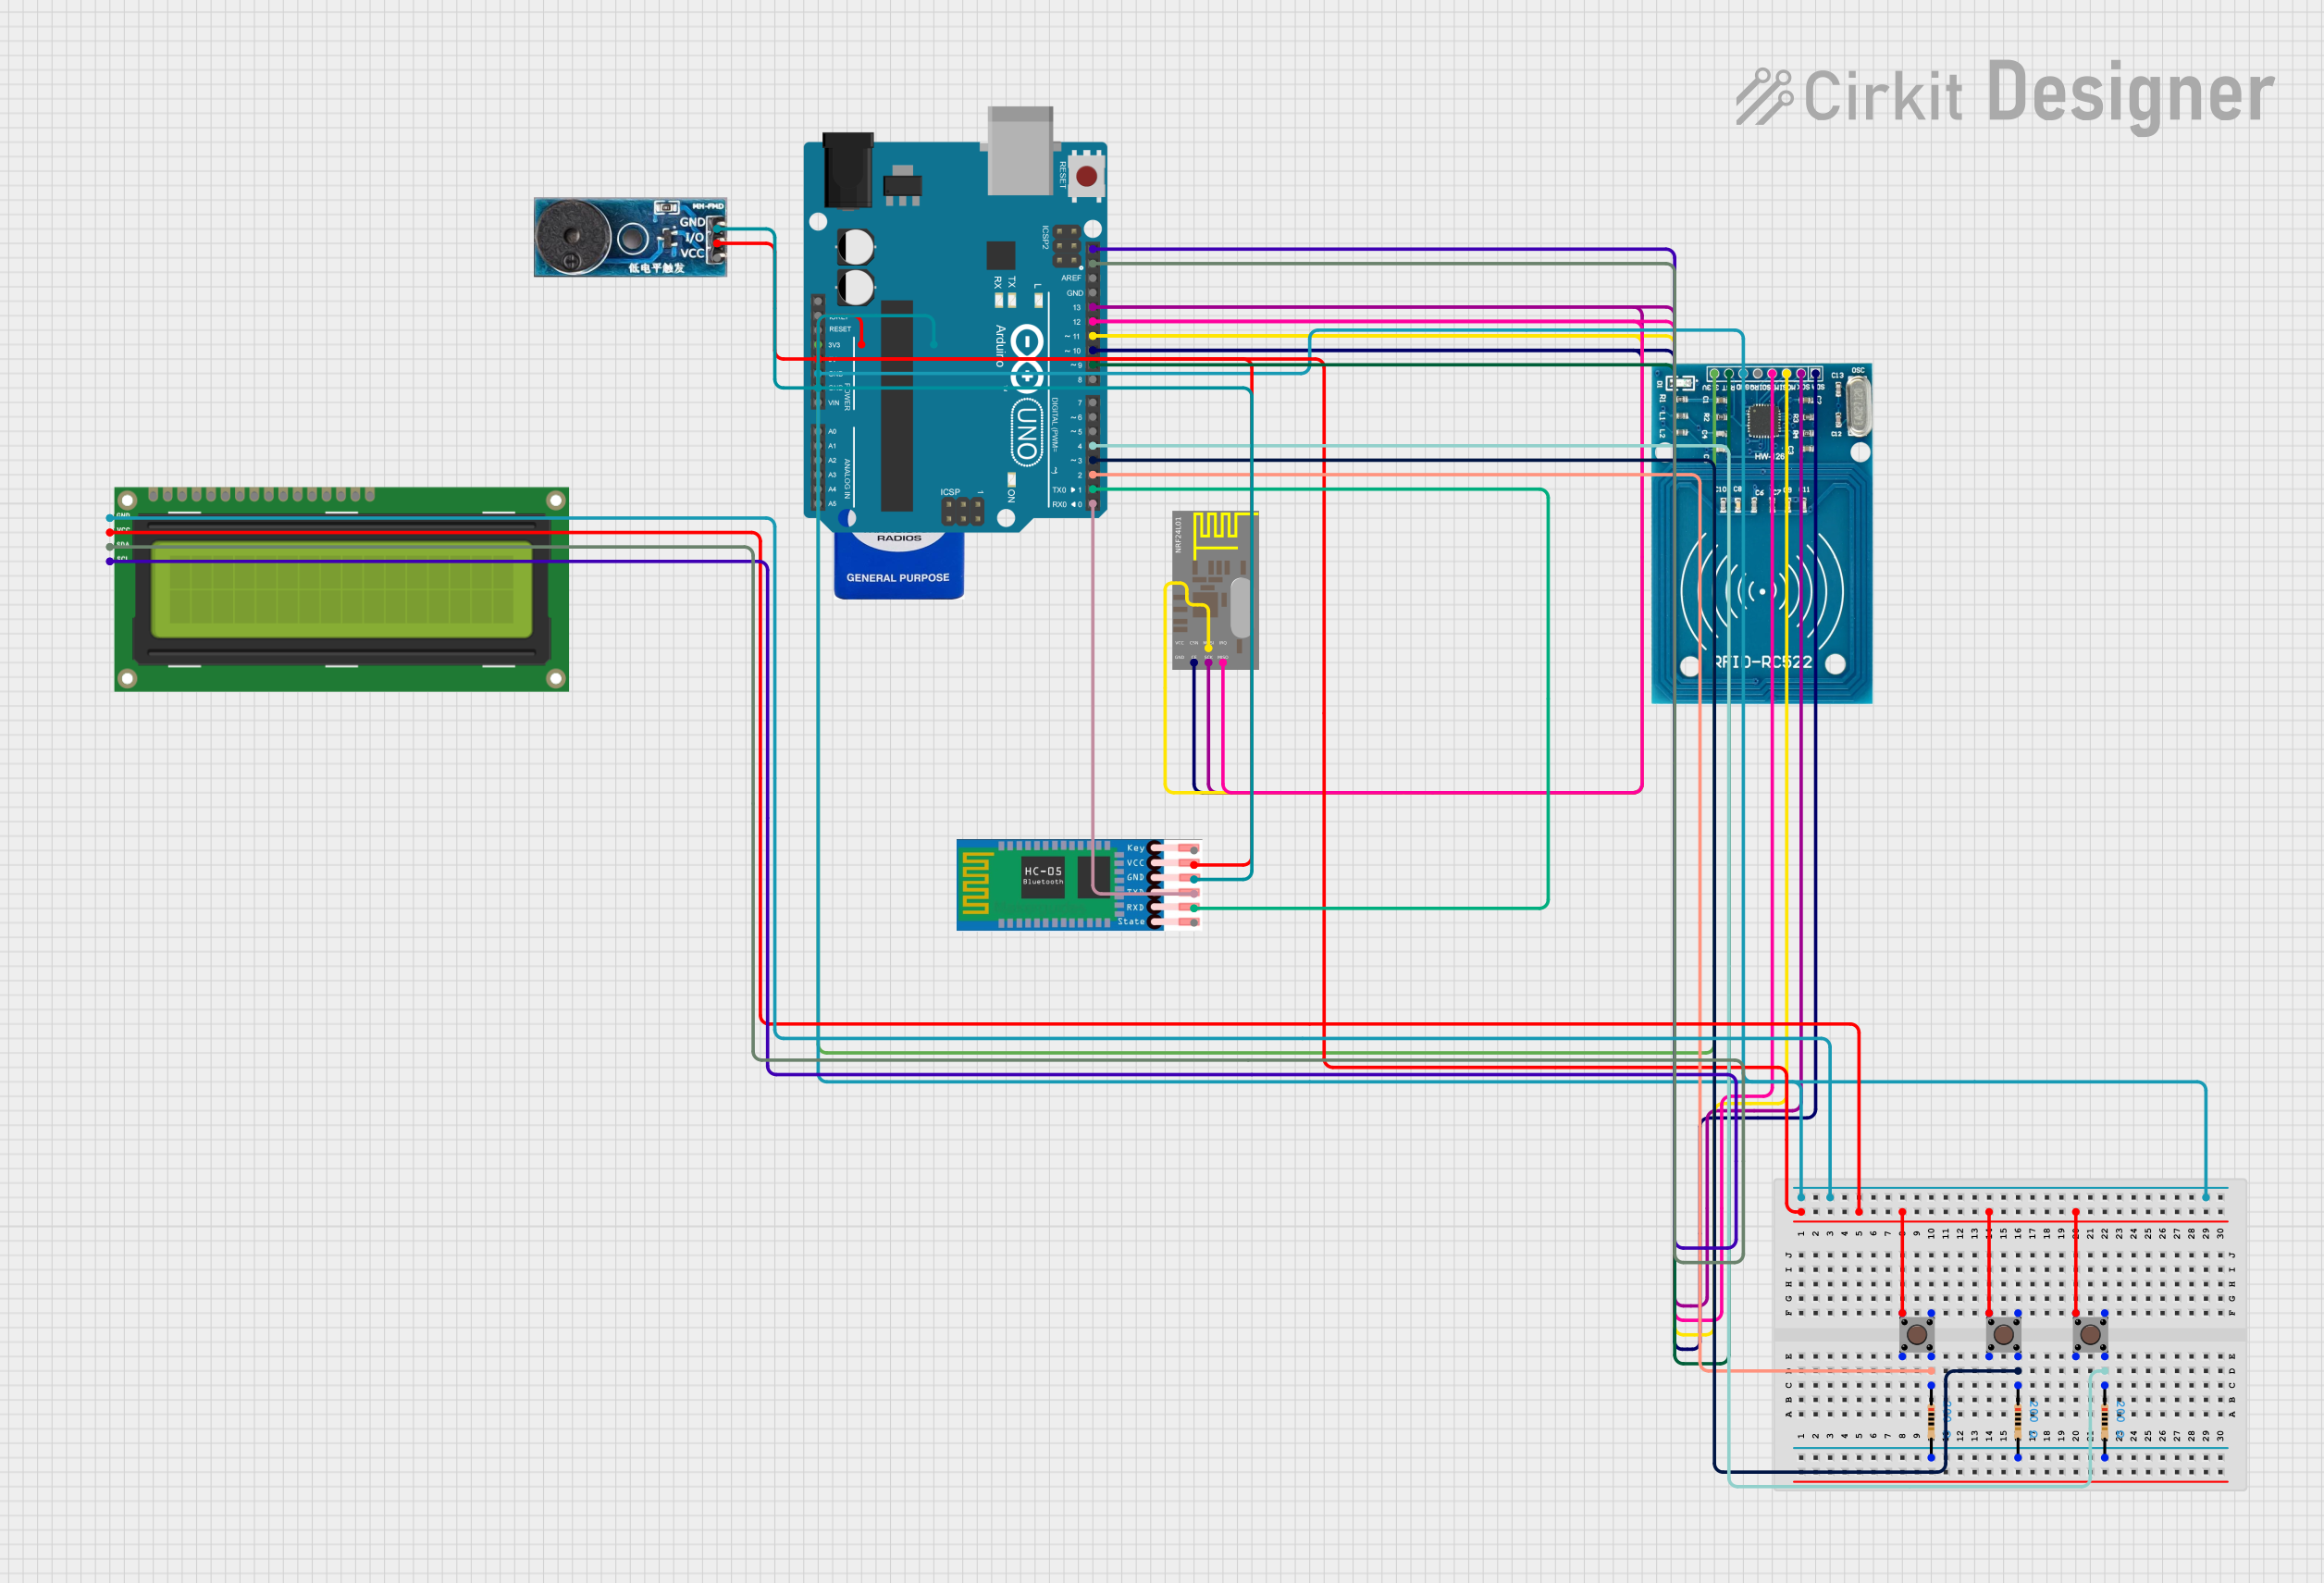
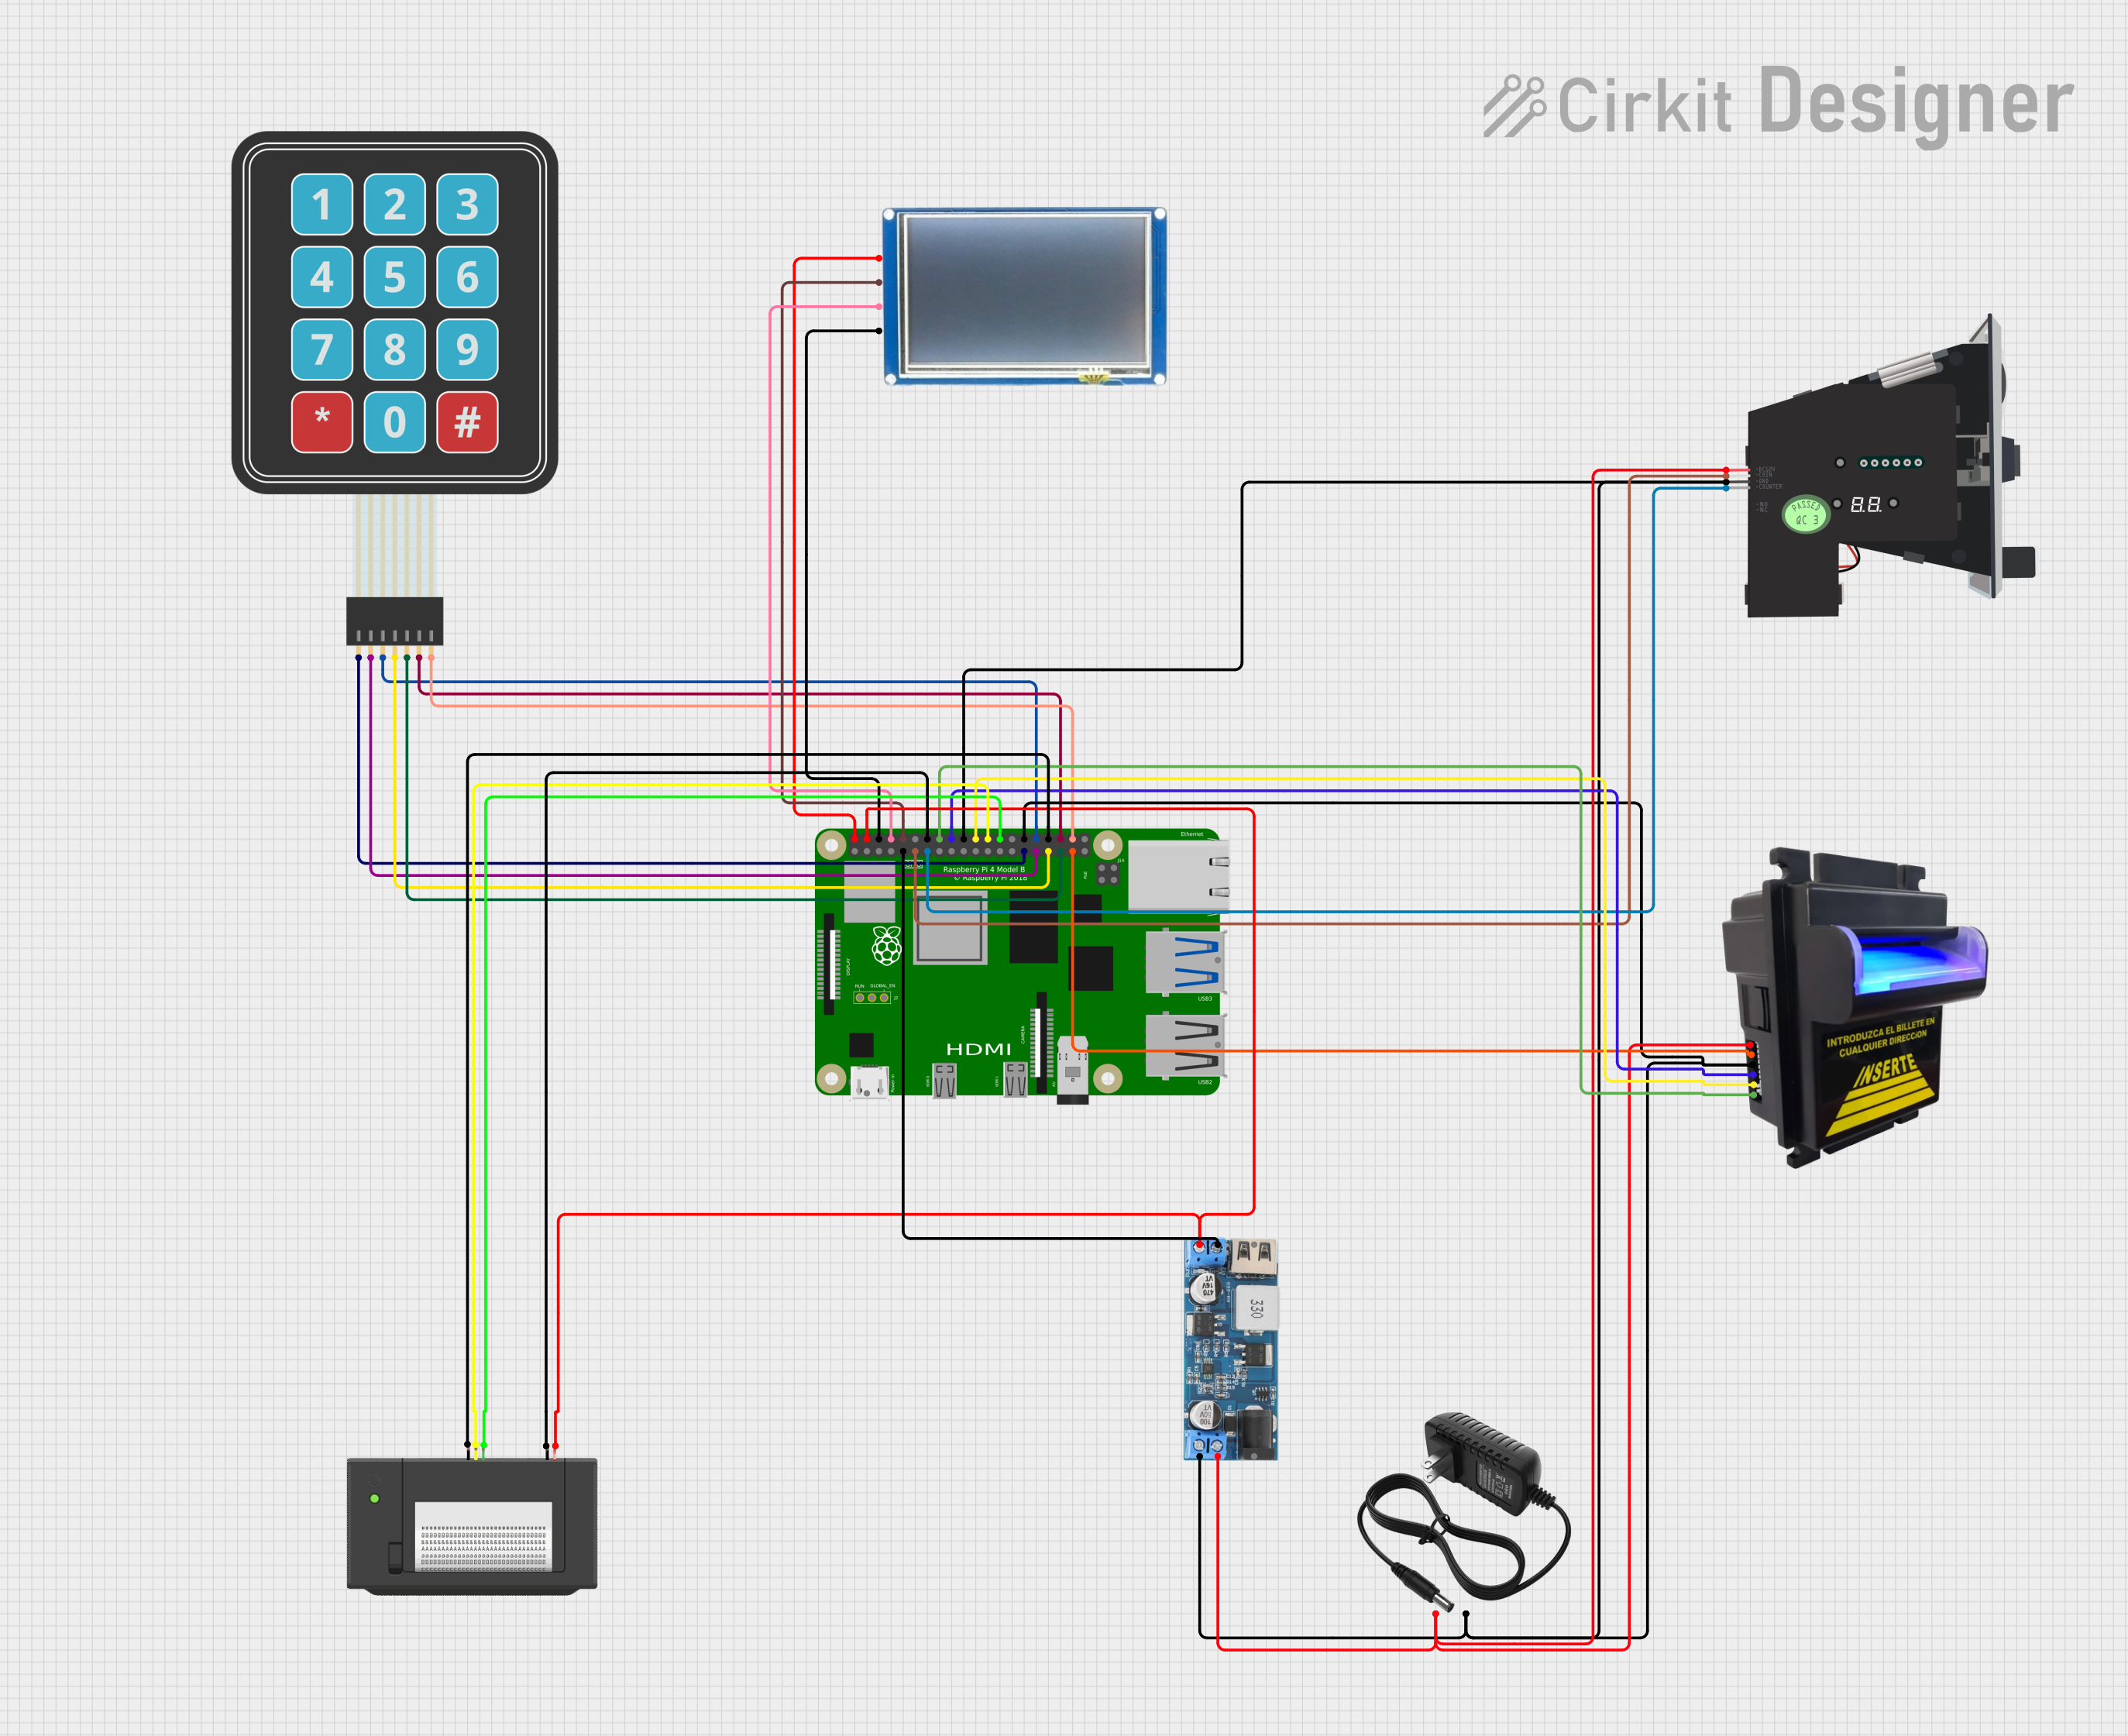
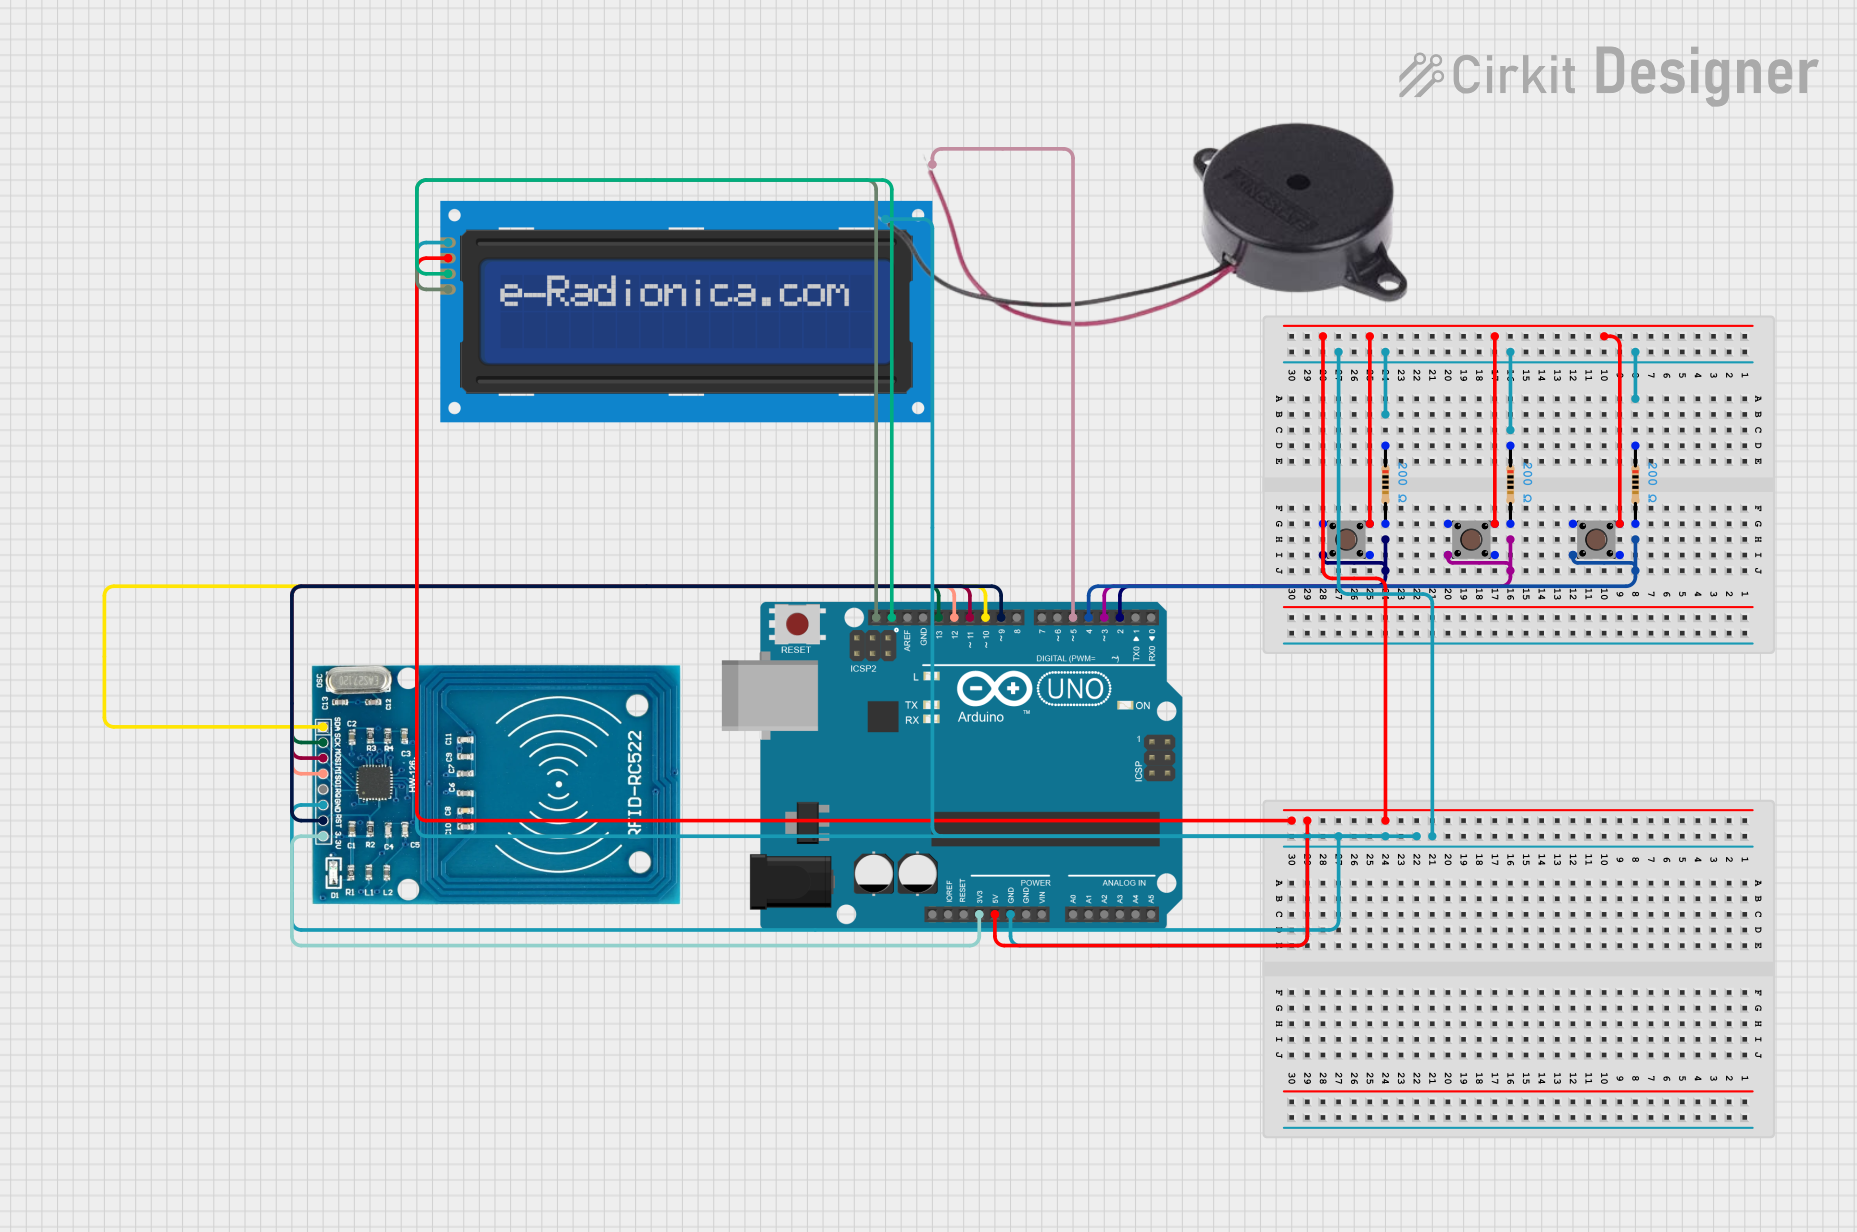

Explore Projects Built with Bill Acceptor TP70
Common Applications and Use Cases
- Vending machines for snacks, beverages, and other products
- Self-service kiosks in retail, transportation, and entertainment
- Parking payment systems
- Gaming and amusement machines
- Automated toll collection systems
Technical Specifications
Key Technical Details
| Parameter | Specification |
|---|---|
| Accepted Currency | Configurable for multiple currencies |
| Accepted Denominations | $1, $5, $10, $20 (or equivalent) |
| Validation Speed | ~3 seconds per bill |
| Power Supply Voltage | 12V DC ± 10% |
| Power Consumption | 15W (typical) |
| Communication Protocols | RS232, Pulse, MDB |
| Operating Temperature | 0°C to 50°C |
| Storage Capacity | Up to 500 bills (depending on model) |
| Dimensions | 240mm x 120mm x 100mm |
| Weight | 1.5 kg |
Pin Configuration and Descriptions
The TP70 Bill Acceptor typically uses a 10-pin connector for power and communication. Below is the pinout description:
| Pin Number | Name | Description |
|---|---|---|
| 1 | VCC | Power supply input (12V DC) |
| 2 | GND | Ground connection |
| 3 | TXD | Transmit data (RS232 communication) |
| 4 | RXD | Receive data (RS232 communication) |
| 5 | PULSE_OUT | Pulse output for bill validation |
| 6 | ENABLE | Enable/disable the bill acceptor |
| 7 | INHIBIT | Inhibit signal to reject bills |
| 8 | STATUS | Status output (e.g., error or ready signal) |
| 9 | MDB_DATA | Data line for MDB protocol |
| 10 | MDB_CLOCK | Clock line for MDB protocol |
Usage Instructions
How to Use the TP70 in a Circuit
- Power Connection: Connect the VCC pin to a stable 12V DC power supply and the GND pin to the ground of your circuit.
- Communication Setup: Use the RS232 pins (TXD and RXD) to interface with a microcontroller or PC for data exchange. Alternatively, use the PULSE_OUT pin for simpler systems that rely on pulse counting.
- Enable the Device: Ensure the ENABLE pin is set to a high logic level to activate the bill acceptor.
- Bill Validation: Insert a bill into the acceptor. The device will validate the bill and send a signal (via PULSE_OUT or RS232) indicating the denomination.
- Error Handling: Monitor the STATUS pin for error signals or operational readiness.
Important Considerations and Best Practices
- Power Supply: Use a regulated 12V DC power supply to avoid voltage fluctuations that could damage the device.
- Bill Orientation: Ensure that bills are inserted in the correct orientation as specified in the user manual.
- Firmware Configuration: Configure the device for the desired currency and denominations using the manufacturer's software or commands.
- Communication Protocol: Select the appropriate communication protocol (RS232, Pulse, or MDB) based on your system requirements.
- Maintenance: Periodically clean the bill path and sensors to ensure reliable operation.
Example: Connecting TP70 to an Arduino UNO
Below is an example of interfacing the TP70 with an Arduino UNO using the RS232 protocol. A TTL-to-RS232 converter is required for this setup.
#include <SoftwareSerial.h>

// Define RX and TX pins for SoftwareSerial
SoftwareSerial TP70Serial(10, 11); // RX = pin 10, TX = pin 11

void setup() {
  Serial.begin(9600); // Initialize Serial Monitor
  TP70Serial.begin(9600); // Initialize TP70 communication

  Serial.println("TP70 Bill Acceptor Initialized");
}

void loop() {
  // Check if data is available from the TP70
  if (TP70Serial.available()) {
    String data = "";
    while (TP70Serial.available()) {
      char c = TP70Serial.read(); // Read incoming byte
      data += c; // Append to data string
    }
    Serial.print("Received from TP70: ");
    Serial.println(data); // Print received data
  }

  // Example: Send a command to the TP70
  if (Serial.available()) {
    char command = Serial.read(); // Read user input from Serial Monitor
    TP70Serial.write(command); // Send command to TP70
    Serial.print("Sent to TP70: ");
    Serial.println(command);
  }
}
Notes:
- Use a TTL-to-RS232 converter to connect the Arduino to the TP70.
- Ensure the baud rate matches the TP70's default setting (9600 bps in this example).
- Refer to the TP70 command set for specific commands and responses.
Troubleshooting and FAQs
Common Issues and Solutions
The device does not power on:
- Verify that the power supply is providing 12V DC.
- Check the connections to the VCC and GND pins.
Bills are rejected:
- Ensure the bills are clean and not damaged.
- Verify that the device is configured for the correct currency and denominations.
- Clean the bill path and sensors to remove dust or debris.
No communication with the microcontroller:
- Check the connections between the TP70 and the microcontroller.
- Ensure the communication protocol (e.g., RS232) is correctly configured.
- Verify the baud rate settings on both the TP70 and the microcontroller.
The STATUS pin indicates an error:
- Refer to the TP70 error codes in the user manual for troubleshooting specific issues.
- Reset the device by cycling the power.
FAQs
Q: Can the TP70 accept custom denominations?
A: No, the TP70 is pre-configured to accept specific denominations based on the selected currency. However, firmware updates may allow for additional configurations.
Q: How do I clean the TP70?
A: Use a soft, lint-free cloth and isopropyl alcohol to clean the bill path and sensors. Avoid using abrasive materials.
Q: Can the TP70 be used outdoors?
A: The TP70 is not weatherproof. If used outdoors, it must be installed in a weather-resistant enclosure.
Q: What is the maximum cable length for RS232 communication?
A: The maximum recommended cable length for RS232 is 15 meters (50 feet) to ensure reliable communication.
By following this documentation, users can effectively integrate and maintain the TP70 Bill Acceptor in their systems.