
How to Use Orange Pi 5 Pro: Examples, Pinouts, and Specs
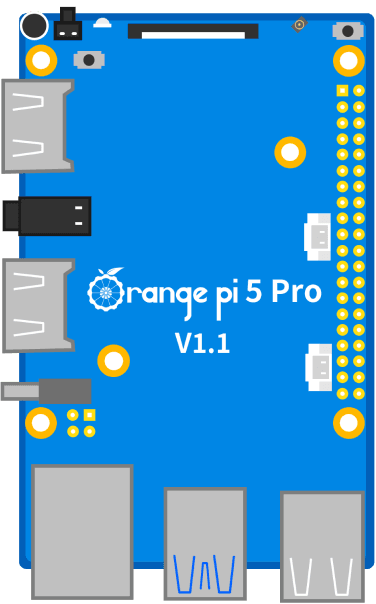
 Design with Orange Pi 5 Pro in Cirkit Designer
Introduction
The Orange Pi 5 Pro is a high-performance single-board computer (SBC) developed by Orange Pi. It is powered by a quad-core ARM Cortex-A76 processor, making it suitable for a wide range of applications, including software development, multimedia processing, IoT, and embedded systems. With its robust processing power and versatile connectivity options, the Orange Pi 5 Pro is an excellent choice for both hobbyists and professionals.
Explore Projects Built with Orange Pi 5 Pro
 Open Project in Cirkit Designer
 Open Project in Cirkit Designer
 Open Project in Cirkit Designer
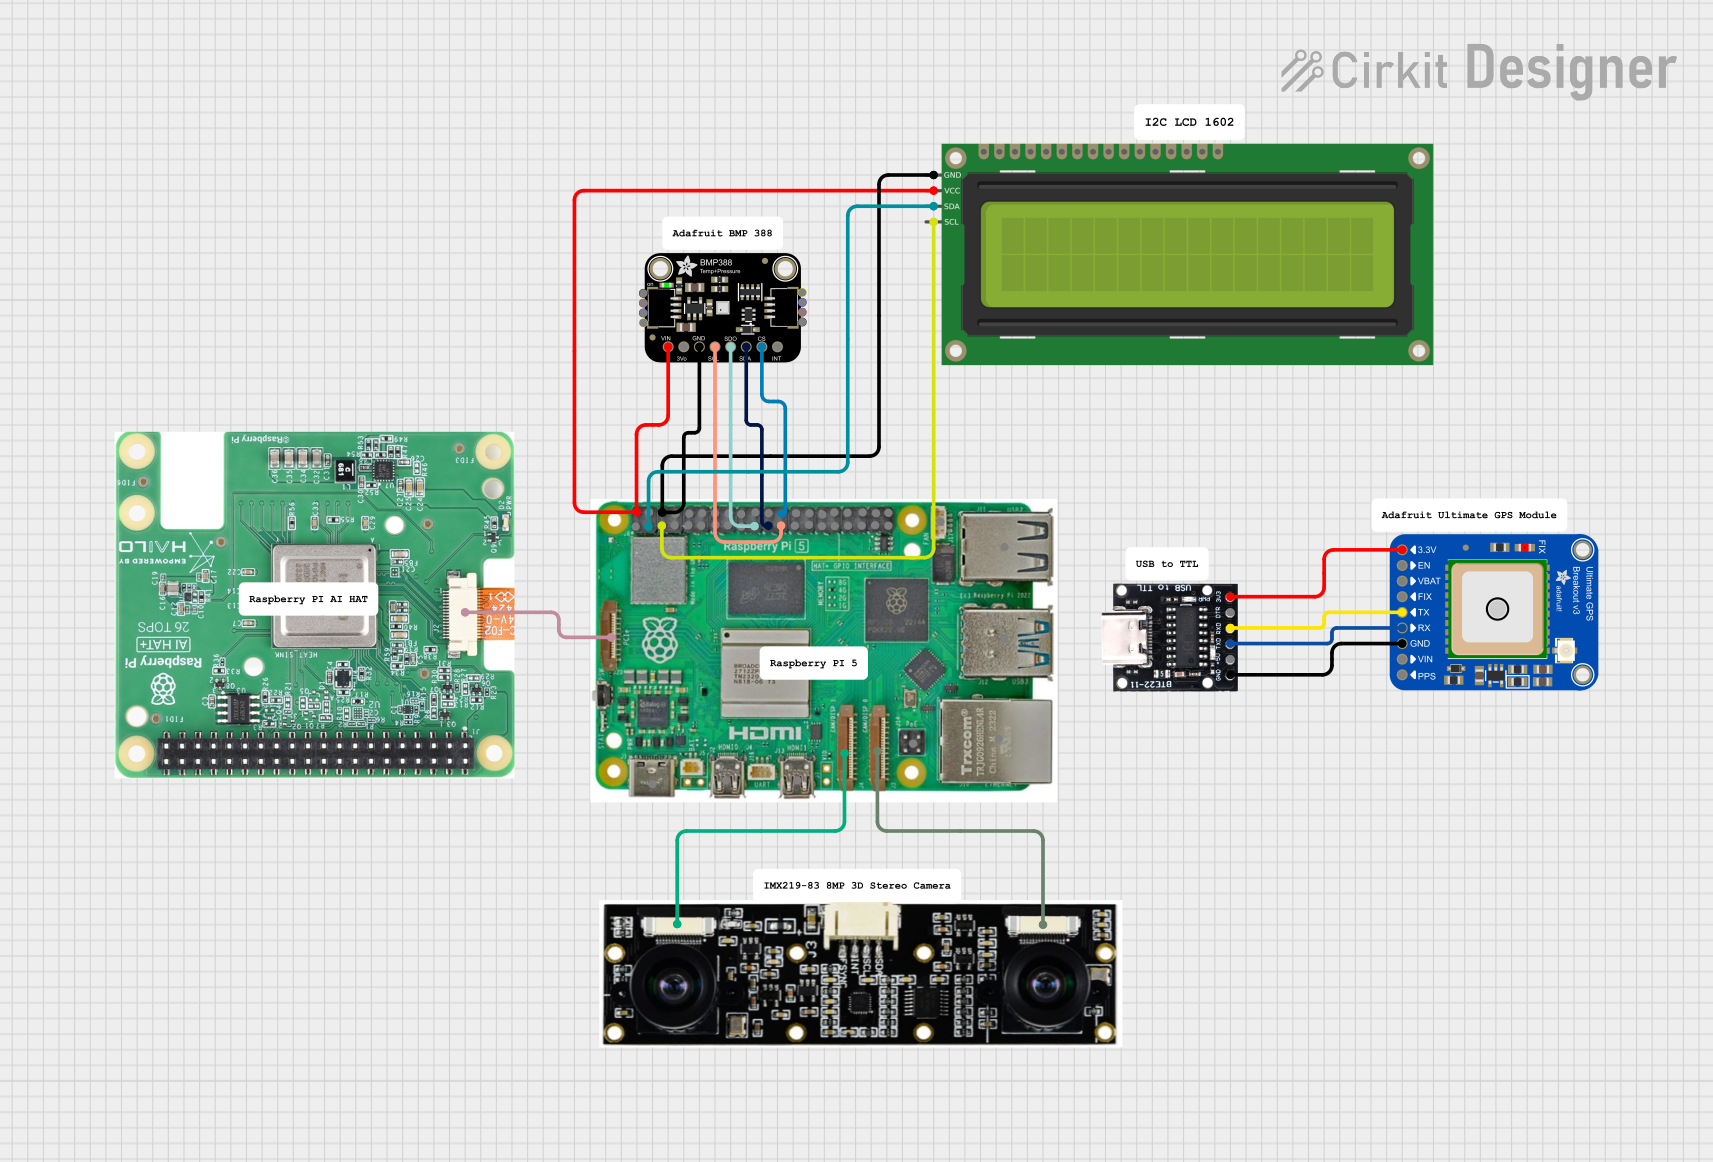 Open Project in Cirkit Designer
Explore Projects Built with Orange Pi 5 Pro
Open Project in Cirkit DesignerOpen Project in Cirkit DesignerOpen Project in Cirkit DesignerOpen Project in Cirkit DesignerCommon Applications and Use Cases
- IoT Development: Ideal for building smart devices and IoT applications.
- Media Centers: Can be used to create 4K-capable home media centers.
- AI and Machine Learning: Supports AI workloads with its powerful CPU and GPU.
- Embedded Systems: Suitable for industrial and commercial embedded projects.
- Software Development: A great platform for testing and running Linux-based applications.
Technical Specifications
The Orange Pi 5 Pro is packed with advanced features and hardware capabilities. Below are its key technical specifications:
Key Technical Details
| Specification | Details |
|---|---|
| Processor | Quad-core ARM Cortex-A76 + Quad-core Cortex-A55 (big.LITTLE architecture) |
| GPU | Mali-G610 MP4 |
| RAM | Up to 32GB LPDDR4/4x |
| Storage | eMMC (up to 256GB) and microSD card support |
| Operating System | Android, Debian, Ubuntu, and other Linux distributions |
| Connectivity | Gigabit Ethernet, Wi-Fi 6, Bluetooth 5.0 |
| USB Ports | USB 3.0 x 2, USB 2.0 x 2 |
| Video Output | HDMI 2.1 (supports 8K video output) |
| Audio | 3.5mm audio jack, HDMI audio output |
| Power Supply | 5V/4A via USB-C |
| GPIO | 26-pin GPIO header for hardware interfacing |
| Dimensions | 100mm x 62mm |
Pin Configuration and Descriptions
The Orange Pi 5 Pro features a 26-pin GPIO header for interfacing with external hardware. Below is the pinout:
| Pin Number | Pin Name | Description |
|---|---|---|
| 1 | 3.3V | Power supply (3.3V) |
| 2 | 5V | Power supply (5V) |
| 3 | GPIO2 | General-purpose I/O |
| 4 | 5V | Power supply (5V) |
| 5 | GPIO3 | General-purpose I/O |
| 6 | GND | Ground |
| 7 | GPIO4 | General-purpose I/O |
| 8 | UART_TXD | UART Transmit |
| 9 | GND | Ground |
| 10 | UART_RXD | UART Receive |
| 11 | GPIO17 | General-purpose I/O |
| 12 | GPIO18 | General-purpose I/O |
| 13 | GPIO27 | General-purpose I/O |
| 14 | GND | Ground |
| 15 | GPIO22 | General-purpose I/O |
| 16 | GPIO23 | General-purpose I/O |
| 17 | 3.3V | Power supply (3.3V) |
| 18 | GPIO24 | General-purpose I/O |
| 19 | SPI_MOSI | SPI Master Out Slave In |
| 20 | GND | Ground |
| 21 | SPI_MISO | SPI Master In Slave Out |
| 22 | GPIO25 | General-purpose I/O |
| 23 | SPI_SCLK | SPI Clock |
| 24 | SPI_CE0 | SPI Chip Enable 0 |
| 25 | GND | Ground |
| 26 | SPI_CE1 | SPI Chip Enable 1 |
Usage Instructions
How to Use the Orange Pi 5 Pro in a Circuit
- Powering the Board: Use a 5V/4A USB-C power adapter to power the Orange Pi 5 Pro. Ensure the power supply is stable to avoid damage.
- Connecting Peripherals: Attach a monitor via the HDMI port, a keyboard and mouse via USB, and an Ethernet cable or Wi-Fi for network connectivity.
- Installing an Operating System:
- Download a compatible OS image (e.g., Ubuntu or Android) from the Orange Pi official website.
- Flash the OS image onto a microSD card or eMMC module using tools like Balena Etcher.
- Insert the microSD card or eMMC module into the board and power it on.
- GPIO Usage: Use the GPIO pins to interface with external sensors, actuators, or other hardware. Ensure proper voltage levels to avoid damage.
Important Considerations and Best Practices
- Cooling: The Orange Pi 5 Pro can generate significant heat during operation. Use a heatsink or active cooling (fan) for optimal performance.
- Power Supply: Always use a high-quality power adapter to prevent voltage fluctuations.
- Static Protection: Handle the board with care and use anti-static precautions to avoid damaging sensitive components.
- Software Updates: Regularly update the OS and firmware to ensure compatibility and security.
Example: Blinking an LED with GPIO and Arduino IDE
The Orange Pi 5 Pro can be programmed using Python or other languages. Below is an example of controlling an LED using Python's GPIO library:
Import the required library for GPIO control
import RPi.GPIO as GPIO import time
Set the GPIO mode to BCM (Broadcom pin numbering)
GPIO.setmode(GPIO.BCM)
Define the GPIO pin connected to the LED
LED_PIN = 17
Set up the LED pin as an output
GPIO.setup(LED_PIN, GPIO.OUT)
try: while True: GPIO.output(LED_PIN, GPIO.HIGH) # Turn the LED on time.sleep(1) # Wait for 1 second GPIO.output(LED_PIN, GPIO.LOW) # Turn the LED off time.sleep(1) # Wait for 1 second except KeyboardInterrupt: # Clean up GPIO settings before exiting GPIO.cleanup()
Troubleshooting and FAQs
Common Issues Users Might Face
- Board Not Powering On:
- Ensure the power adapter provides 5V/4A and is properly connected.
- Check the USB-C cable for damage or poor quality.
- No Display Output:
- Verify the HDMI cable and monitor are functioning correctly.
- Ensure the OS image is properly flashed onto the microSD card or eMMC module.
- Overheating:
- Install a heatsink or fan to improve cooling.
- Avoid placing the board in enclosed spaces without ventilation.
- GPIO Not Working:
- Double-check the pin connections and ensure the correct GPIO numbering is used in the code.
- Verify that the GPIO pins are not damaged or shorted.
Solutions and Tips for Troubleshooting
- Re-flash the OS: If the board fails to boot, re-flash the OS image onto the storage device.
- Check Logs: Use the serial console or SSH to access system logs for debugging.
- Test Peripherals: Swap out cables, monitors, or other peripherals to isolate the issue.
- Community Support: Visit the Orange Pi forums or GitHub repositories for additional help and resources.