
How to Use KY-028: Examples, Pinouts, and Specs
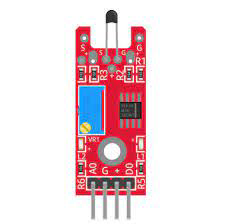
 Design with KY-028 in Cirkit Designer
Introduction
The KY-028 is a temperature sensor module designed for temperature monitoring applications. It features the LM35 temperature sensor, which provides an analog output directly proportional to the ambient temperature. The module also includes a digital output that can be triggered when the temperature exceeds a user-defined threshold, making it versatile for various projects.
Explore Projects Built with KY-028
 Open Project in Cirkit Designer
 Open Project in Cirkit Designer
 Open Project in Cirkit Designer
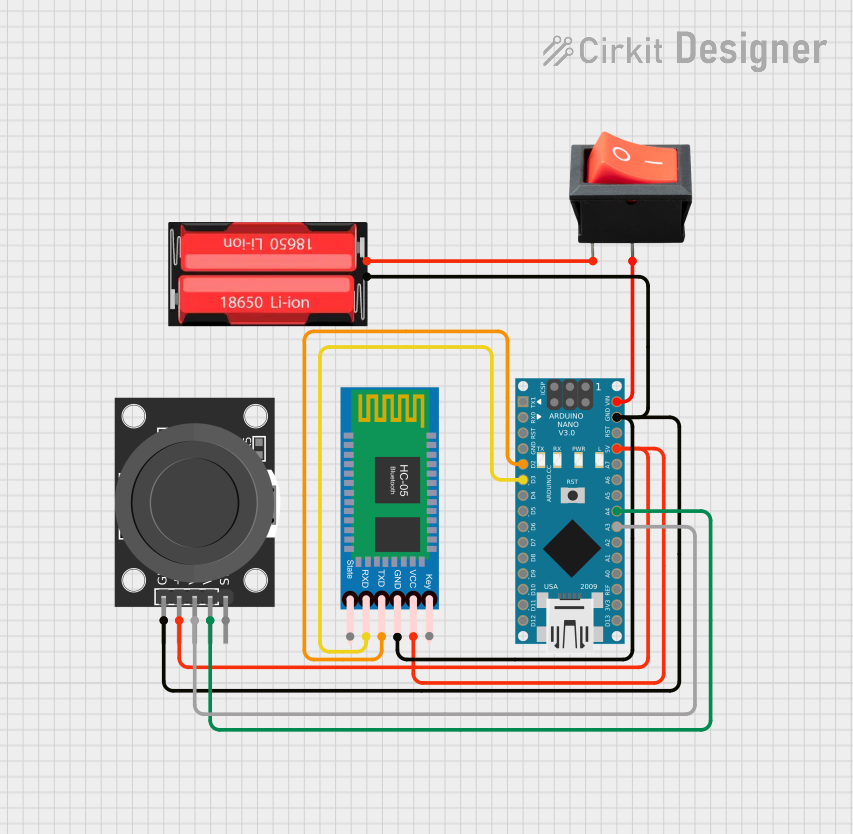
 Open Project in Cirkit Designer
Explore Projects Built with KY-028

 Open Project in Cirkit Designer
 Open Project in Cirkit Designer
 Open Project in Cirkit Designer
 Open Project in Cirkit Designer
Common Applications and Use Cases
- Environmental temperature monitoring
- Home automation systems
- Industrial temperature control
- Educational projects and prototyping
- Arduino-based temperature sensing projects
Technical Specifications
The KY-028 module is built for simplicity and ease of use. Below are its key technical details:
| Parameter | Value |
|---|---|
| Operating Voltage | 3.3V - 5V |
| Analog Output Voltage | 0V - 5V (proportional to temperature) |
| Digital Output Voltage | 0V or 5V (based on threshold) |
| Temperature Range | -55°C to +150°C |
| Sensitivity | 10mV/°C (from LM35 sensor) |
| Dimensions | 32mm x 14mm x 8mm |
Pin Configuration and Descriptions
The KY-028 module has four pins, as described in the table below:
| Pin | Name | Description |
|---|---|---|
| 1 | VCC | Power supply pin. Connect to 3.3V or 5V. |
| 2 | GND | Ground pin. Connect to the ground of the circuit. |
| 3 | DO | Digital output pin. Outputs HIGH (5V) when the temperature exceeds the threshold. |
| 4 | AO | Analog output pin. Outputs a voltage proportional to the measured temperature. |
Usage Instructions
The KY-028 module is straightforward to use in a circuit. Follow the steps below to integrate it into your project:
- Power the Module: Connect the VCC pin to a 3.3V or 5V power source and the GND pin to the ground.
- Read Analog Temperature Data: Connect the AO pin to an analog input pin on your microcontroller (e.g., Arduino) to read the temperature as a voltage.
- Set the Digital Threshold:
- Use the onboard potentiometer to adjust the temperature threshold.
- When the temperature exceeds this threshold, the DO pin will output HIGH (5V).
- Monitor Digital Output: Connect the DO pin to a digital input pin on your microcontroller to detect when the threshold is crossed.
Important Considerations and Best Practices
- Power Supply: Ensure the module is powered within its operating voltage range (3.3V - 5V).
- Calibration: For accurate temperature readings, calibrate the sensor in a controlled environment.
- Potentiometer Adjustment: Turn the potentiometer clockwise to increase the threshold and counterclockwise to decrease it.
- Avoid Overheating: Do not expose the module to temperatures beyond its specified range (-55°C to +150°C).
Example: Using KY-028 with Arduino UNO
Below is an example code snippet to read both analog and digital outputs from the KY-028 module using an Arduino UNO:
// KY-028 Temperature Sensor Example with Arduino UNO

// Define pin connections
const int analogPin = A0;  // AO pin connected to analog pin A0
const int digitalPin = 2;  // DO pin connected to digital pin 2

void setup() {
  Serial.begin(9600);       // Initialize serial communication
  pinMode(digitalPin, INPUT); // Set digital pin as input
}

void loop() {
  // Read analog temperature value
  int analogValue = analogRead(analogPin);
  float voltage = analogValue * (5.0 / 1023.0); // Convert to voltage
  float temperature = voltage * 100.0;         // Convert voltage to temperature (°C)

  // Read digital output
  int digitalValue = digitalRead(digitalPin);

  // Print results to Serial Monitor
  Serial.print("Temperature (°C): ");
  Serial.print(temperature);
  Serial.print(" | Digital Output: ");
  Serial.println(digitalValue);

  delay(1000); // Wait 1 second before next reading
}
Troubleshooting and FAQs
Common Issues and Solutions
No Output from AO Pin:
- Cause: Incorrect wiring or insufficient power supply.
- Solution: Double-check the connections and ensure the module is powered with 3.3V or 5V.
DO Pin Always HIGH or LOW:
- Cause: Threshold not set correctly.
- Solution: Adjust the potentiometer to set the desired temperature threshold.
Inaccurate Temperature Readings:
- Cause: Lack of calibration or external interference.
- Solution: Calibrate the sensor in a controlled environment and avoid placing it near heat sources or fans.
Module Overheating:
- Cause: Exposure to temperatures beyond the specified range.
- Solution: Ensure the module operates within the -55°C to +150°C range.
FAQs
Q1: Can the KY-028 module measure negative temperatures?
Yes, the LM35 sensor on the KY-028 module can measure temperatures as low as -55°C. However, ensure your microcontroller can interpret the corresponding analog voltage.
Q2: How do I reset the temperature threshold?
You can reset the threshold by turning the onboard potentiometer. Use a small screwdriver to adjust it clockwise or counterclockwise.
Q3: Can I use the KY-028 with a 3.3V microcontroller?
Yes, the KY-028 is compatible with 3.3V systems. Ensure the VCC pin is connected to a 3.3V power source.
Q4: What is the resolution of the analog output?
The resolution depends on the ADC (Analog-to-Digital Converter) of your microcontroller. For example, the Arduino UNO has a 10-bit ADC, providing a resolution of 0.00488V per step.
By following this documentation, you can effectively integrate the KY-028 module into your projects for reliable temperature monitoring.