
How to Use mini fuse: Examples, Pinouts, and Specs

 Design with mini fuse in Cirkit Designer
Introduction
A mini fuse is a small protective device used in electrical circuits to prevent overcurrent. It is designed to melt and break the circuit when the current exceeds a specified limit, thereby protecting sensitive components from damage. Mini fuses are compact, lightweight, and widely used in automotive, industrial, and consumer electronics applications.
Explore Projects Built with mini fuse
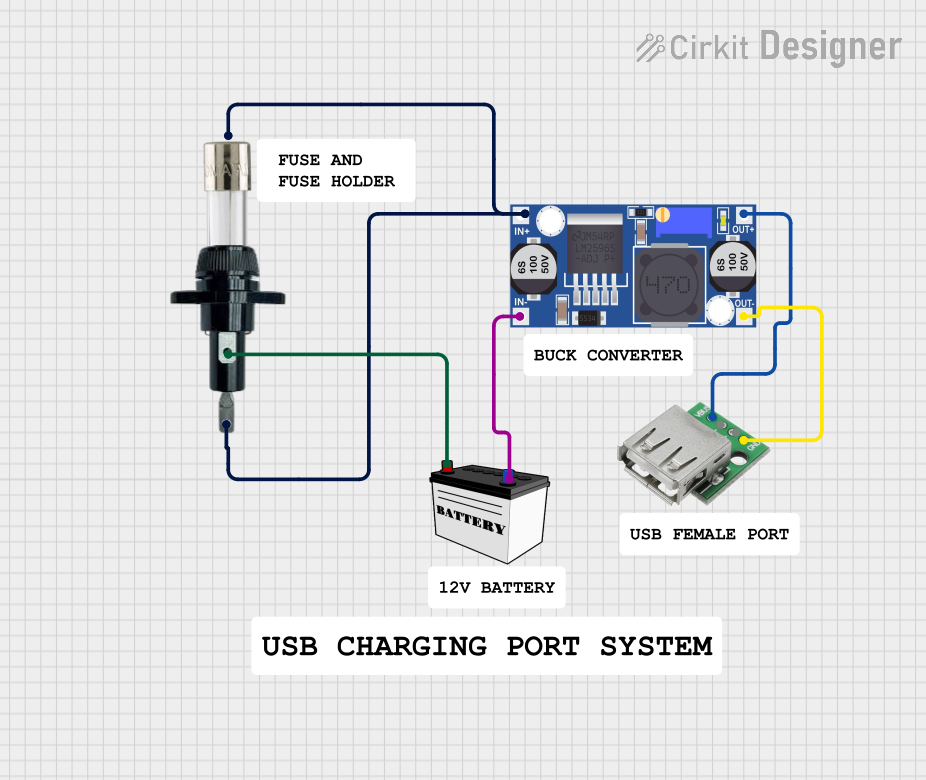 Open Project in Cirkit Designer
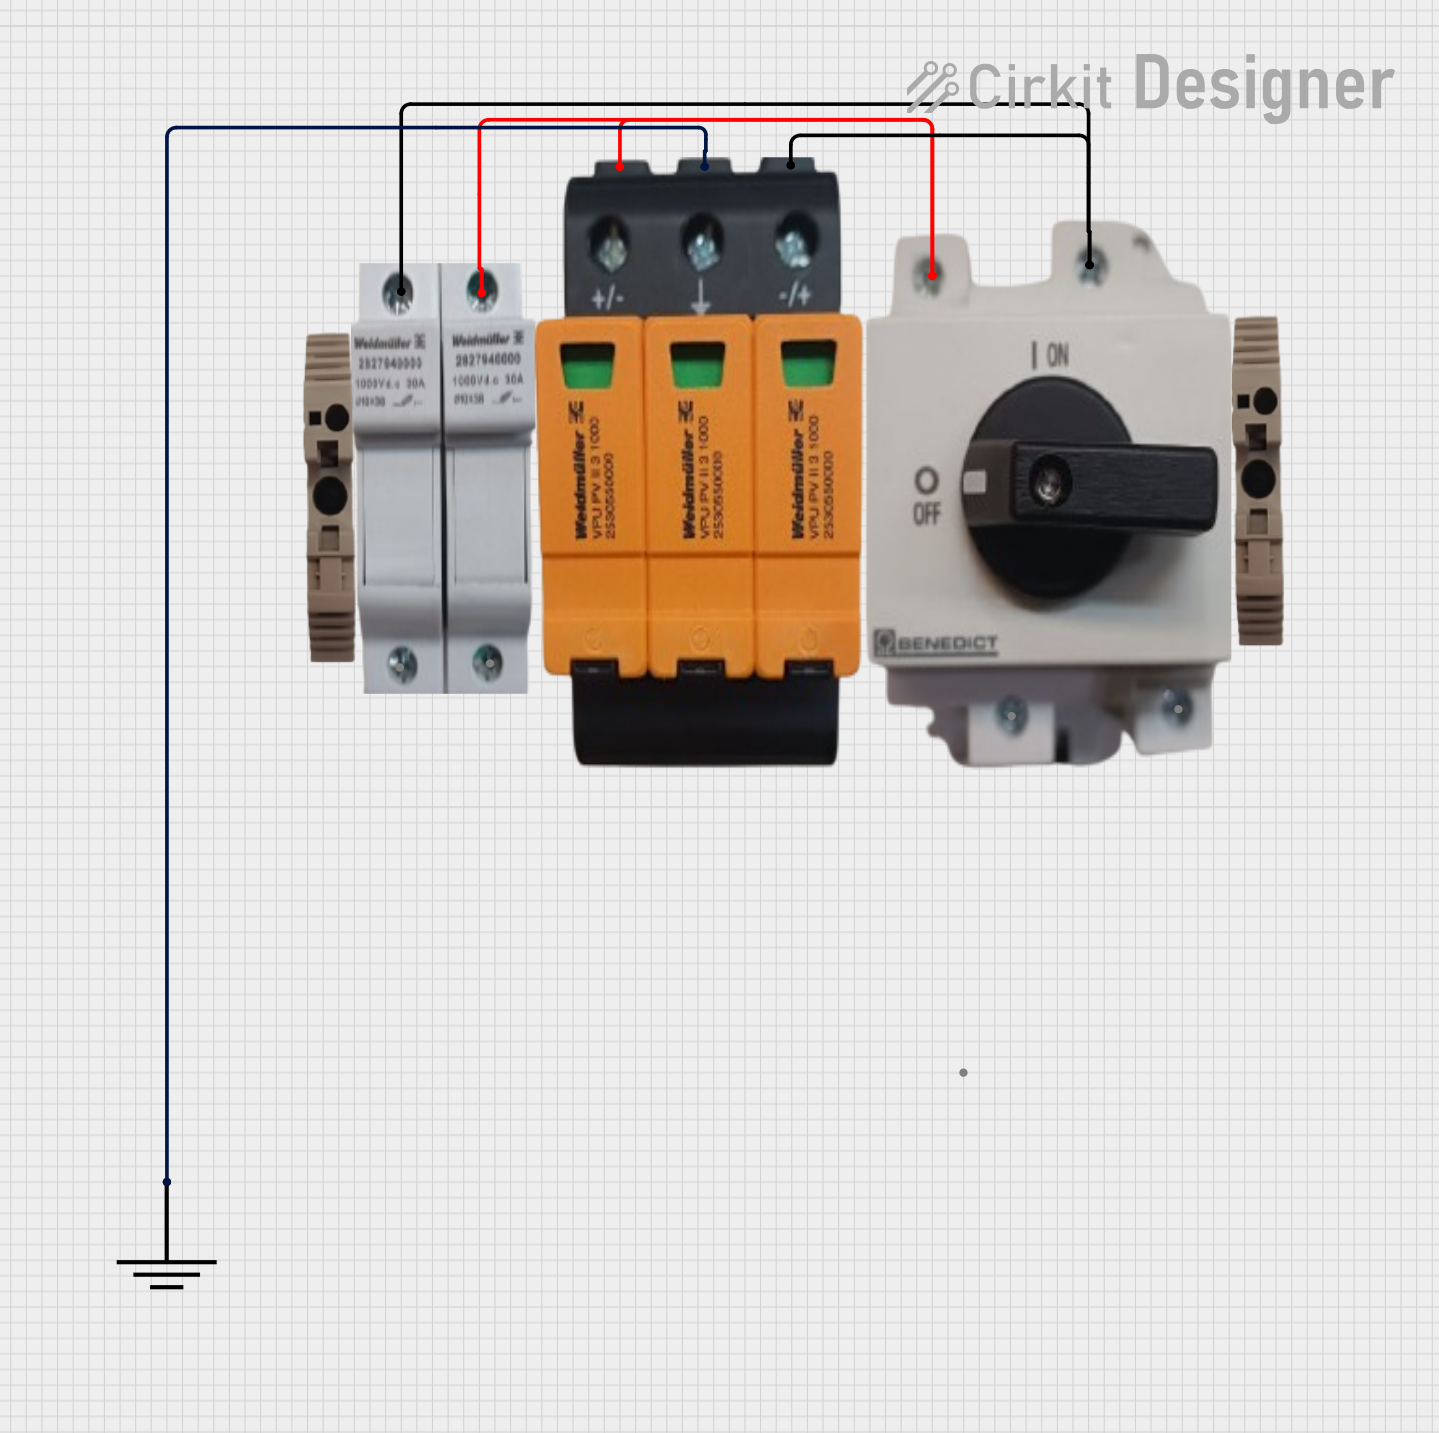 Open Project in Cirkit Designer
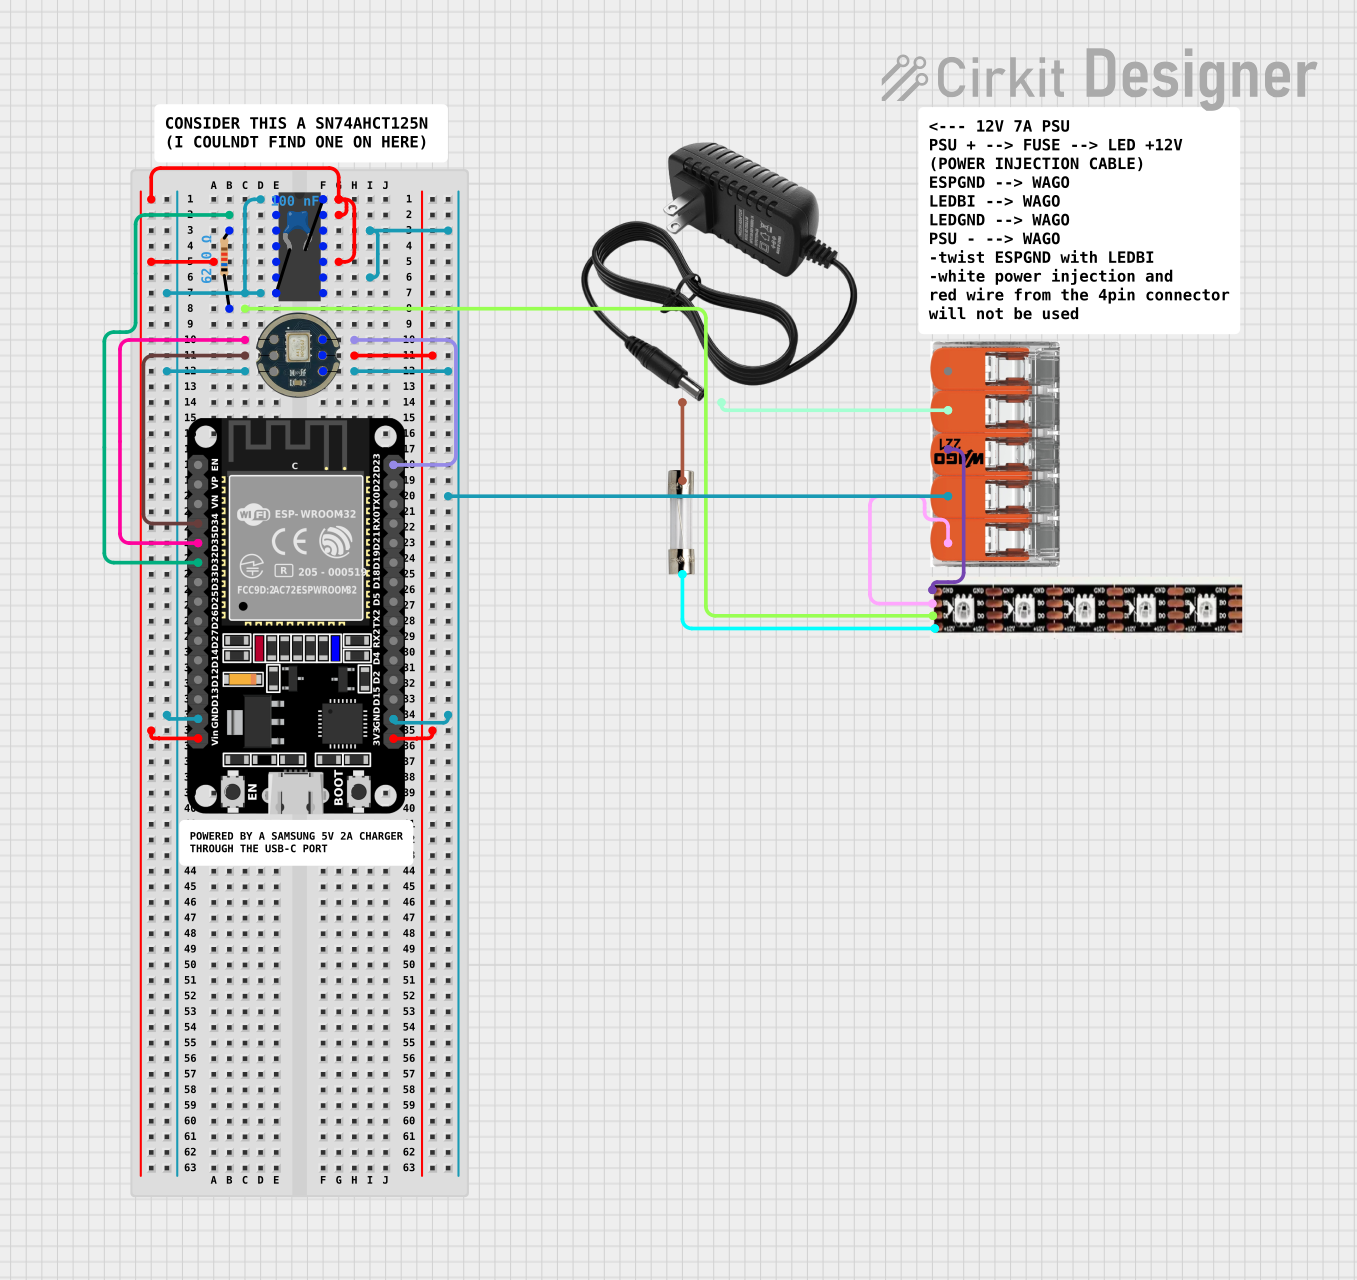 Open Project in Cirkit Designer
 Open Project in Cirkit Designer
Explore Projects Built with mini fuse
Open Project in Cirkit DesignerOpen Project in Cirkit DesignerOpen Project in Cirkit DesignerOpen Project in Cirkit DesignerCommon Applications and Use Cases
- Automotive electrical systems (e.g., car lighting, audio systems, and power outlets)
- Industrial control panels and machinery
- Consumer electronics and appliances
- Battery-powered devices
- Circuit protection in DIY electronics projects
Technical Specifications
Key Technical Details
- Voltage Rating: Typically 32V DC (varies by model)
- Current Ratings: Commonly available in 5A, 10A, 15A, 20A, 25A, and 30A
- Breaking Capacity: Varies, typically up to 1,000A at rated voltage
- Material: Plastic housing with metal fuse element
- Size: Approximately 10.9mm x 3.6mm x 8.8mm (L x W x H)
Pin Configuration and Descriptions
Mini fuses have two metal prongs (pins) that connect to the circuit. The table below describes the pin configuration:
| Pin Number | Description |
|---|---|
| 1 | Input terminal (connects to the power source) |
| 2 | Output terminal (connects to the load or circuit) |
Usage Instructions
How to Use the Mini Fuse in a Circuit
- Determine the Current Rating: Select a mini fuse with a current rating slightly higher than the normal operating current of your circuit but lower than the maximum current the circuit can handle.
- Insert the Fuse: Place the mini fuse into a compatible fuse holder or socket. Ensure the fuse is securely seated to maintain proper electrical contact.
- Connect the Circuit: Wire the input terminal of the fuse to the power source and the output terminal to the load or circuit.
- Test the Circuit: Power on the circuit and verify that it operates correctly. If the fuse blows, check for overcurrent conditions or short circuits.
Important Considerations and Best Practices
- Always use a fuse with the correct voltage and current ratings for your application.
- Avoid bypassing or replacing a blown fuse with one of a higher rating, as this can damage the circuit.
- Inspect the fuse regularly for signs of wear or damage, such as discoloration or deformation.
- Use a fuse puller tool to safely remove and replace fuses.
- For automotive applications, consult the vehicle's manual to identify the correct fuse type and rating.
Example: Using a Mini Fuse with an Arduino UNO
In DIY electronics projects, mini fuses can protect your Arduino UNO and connected components from overcurrent. Below is an example of how to integrate a mini fuse into a simple LED circuit:
Circuit Diagram
- Power Source (+5V) → Mini Fuse (5A) → Resistor (220Ω) → LED → Ground
Arduino Code
// Simple LED blinking code for Arduino UNO
// Ensure the circuit includes a mini fuse for overcurrent protection

const int ledPin = 13; // Pin connected to the LED

void setup() {
  pinMode(ledPin, OUTPUT); // Set the LED pin as an output
}

void loop() {
  digitalWrite(ledPin, HIGH); // Turn the LED on
  delay(1000);               // Wait for 1 second
  digitalWrite(ledPin, LOW);  // Turn the LED off
  delay(1000);               // Wait for 1 second
}
Troubleshooting and FAQs
Common Issues and Solutions
Fuse Blows Repeatedly
- Cause: Overcurrent or short circuit in the circuit.
- Solution: Check the circuit for wiring errors, short circuits, or components drawing excessive current. Replace the fuse with one of the correct rating.
Fuse Does Not Blow During Overcurrent
- Cause: Incorrect fuse rating or faulty fuse.
- Solution: Verify the fuse's current rating and replace it if necessary. Ensure the fuse is not bypassed or damaged.
Fuse Does Not Fit in the Holder
- Cause: Incompatible fuse size or type.
- Solution: Use a fuse holder designed for mini fuses. Double-check the fuse dimensions.
FAQs
Q: Can I use a mini fuse in AC circuits?
A: Mini fuses are typically rated for DC circuits. Check the manufacturer's specifications before using them in AC applications.Q: How do I know if a mini fuse is blown?
A: Inspect the fuse element through the transparent housing. A broken or melted element indicates a blown fuse. Alternatively, use a multimeter to check for continuity.Q: Can I replace a mini fuse with a larger fuse?
A: No, using a larger fuse can compromise circuit protection and lead to damage or fire hazards.
By following this documentation, you can effectively use mini fuses to protect your circuits and ensure safe operation.