How to Use 26650: Examples, Pinouts, and Specs
Arduino 26650 Lithium-Ion Rechargeable Battery Documentation
Introduction
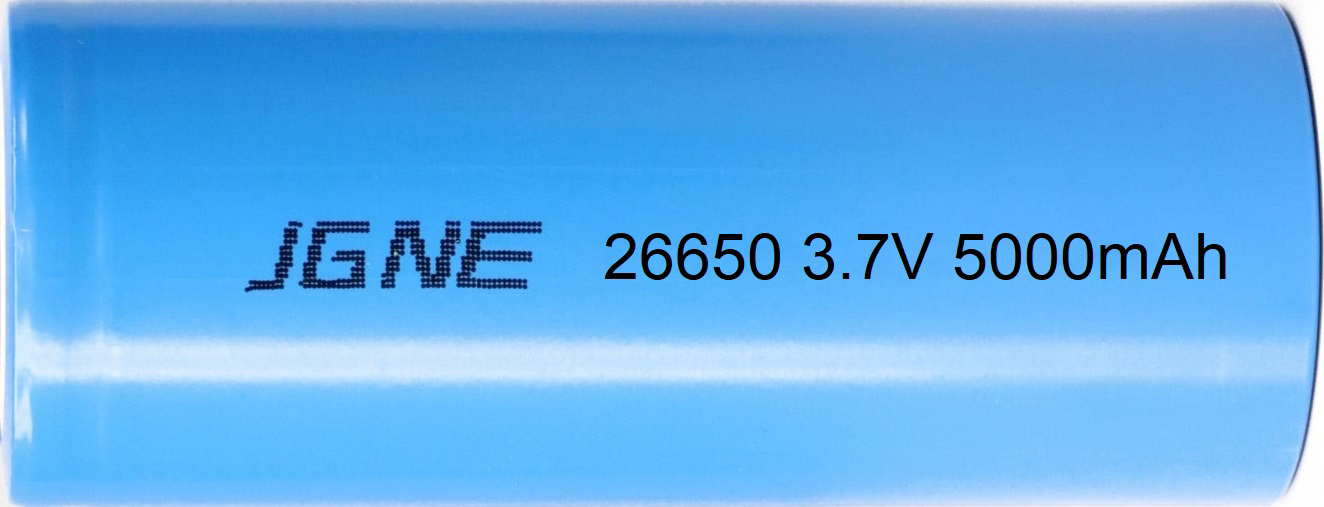
The Arduino 26650 is a cylindrical lithium-ion rechargeable battery with a diameter of 26mm and a height of 65mm. Known for its high capacity and ability to deliver high current, this battery is ideal for powering high-drain devices. It is widely used in applications such as flashlights, power tools, electric vehicles, and DIY electronics projects. Its rechargeable nature makes it an eco-friendly and cost-effective power source for long-term use.
When paired with Arduino boards like the Arduino UNO, the 26650 battery can serve as a reliable power supply for portable or battery-operated projects.
Technical Specifications
The following table outlines the key technical details of the Arduino 26650 battery:
| Parameter | Specification |
|---|---|
| Manufacturer | Arduino |
| Part ID | UNO |
| Battery Type | Lithium-Ion (Li-Ion) |
| Nominal Voltage | 3.7V |
| Maximum Voltage | 4.2V (fully charged) |
| Capacity | 5000mAh (typical) |
| Maximum Continuous Current | 20A |
| Dimensions | 26mm (diameter) x 65mm (height) |
| Weight | ~90g |
| Charging Method | Constant Current / Constant Voltage |
| Operating Temperature | -20°C to 60°C |
| Cycle Life | ≥500 charge/discharge cycles |
Pin Configuration and Descriptions
The 26650 battery has two terminals:
| Pin | Description |
|---|---|
| Positive (+) | The positive terminal of the battery. Connect to the positive input of the circuit. |
| Negative (-) | The negative terminal of the battery. Connect to the ground or negative input of the circuit. |
Usage Instructions
How to Use the 26650 Battery in a Circuit
Connecting the Battery:
- Identify the positive (+) and negative (-) terminals of the battery.
- Use appropriate connectors or battery holders to securely connect the battery to your circuit.
- Ensure the polarity is correct to avoid damage to the circuit or battery.
Charging the Battery:
- Use a compatible lithium-ion battery charger with a constant current/constant voltage (CC/CV) charging profile.
- Set the charging voltage to 4.2V and the charging current to a maximum of 2A (recommended for safety and longevity).
- Monitor the charging process to prevent overcharging.
Powering an Arduino UNO:
- Use a DC-DC step-down (buck) converter to regulate the 3.7V-4.2V output of the battery to 5V, which is required by the Arduino UNO.
- Connect the regulated 5V output to the Arduino UNO's 5V pin and GND pin.
Important Considerations and Best Practices
- Avoid Overcharging/Overdischarging: Use a battery management system (BMS) or protection circuit to prevent overcharging (above 4.2V) and overdischarging (below 2.5V).
- Temperature Monitoring: Do not use or charge the battery in extreme temperatures outside the specified range (-20°C to 60°C).
- Storage: Store the battery in a cool, dry place at ~50% charge for long-term storage.
- Safety Precautions: Avoid short-circuiting the terminals, puncturing, or exposing the battery to water or fire.
Example Arduino UNO Circuit with 26650 Battery
Below is an example of how to use the 26650 battery to power an Arduino UNO with a DC-DC step-down converter.
Circuit Diagram
- Connect the 26650 battery to the input of the DC-DC step-down converter.
- Adjust the converter to output 5V.
- Connect the converter's output to the Arduino UNO's 5V and GND pins.
Code Example
Here is a simple Arduino sketch to blink an LED while powered by the 26650 battery:
// Simple LED Blink Example
// This code blinks an LED connected to pin 13 of the Arduino UNO.
// Ensure the Arduino UNO is powered by the 26650 battery via a 5V regulator.

void setup() {
  pinMode(13, OUTPUT); // Set pin 13 as an output pin
}

void loop() {
  digitalWrite(13, HIGH); // Turn the LED on
  delay(1000);            // Wait for 1 second
  digitalWrite(13, LOW);  // Turn the LED off
  delay(1000);            // Wait for 1 second
}
Troubleshooting and FAQs
Common Issues and Solutions
| Issue | Possible Cause | Solution |
|---|---|---|
| Battery not charging | Faulty charger or incorrect settings | Verify charger compatibility and settings |
| Arduino UNO not powering on | Incorrect voltage or polarity | Check DC-DC converter output and polarity |
| Battery overheating during use | Excessive current draw or short circuit | Use a BMS and ensure proper connections |
| Short battery life | Overcharging or deep discharging | Follow recommended charging/discharging practices |
FAQs
Can I connect the 26650 battery directly to the Arduino UNO?
- No, the Arduino UNO requires a regulated 5V input. Use a DC-DC step-down converter to regulate the battery's voltage.
How long will the 26650 battery last when powering an Arduino UNO?
- The runtime depends on the current draw of your project. For example, if your project draws 500mA, a fully charged 5000mAh battery will last approximately 10 hours.
Is it safe to use the 26650 battery without a protection circuit?
- It is not recommended. Always use a BMS or protection circuit to ensure safe operation.
Conclusion
The Arduino 26650 lithium-ion rechargeable battery is a versatile and powerful energy source for a wide range of applications. Its high capacity and ability to deliver high current make it an excellent choice for powering Arduino UNO projects and other high-drain devices. By following the usage instructions and best practices outlined in this documentation, you can ensure safe and efficient operation of the 26650 battery in your projects.
Explore Projects Built with 26650

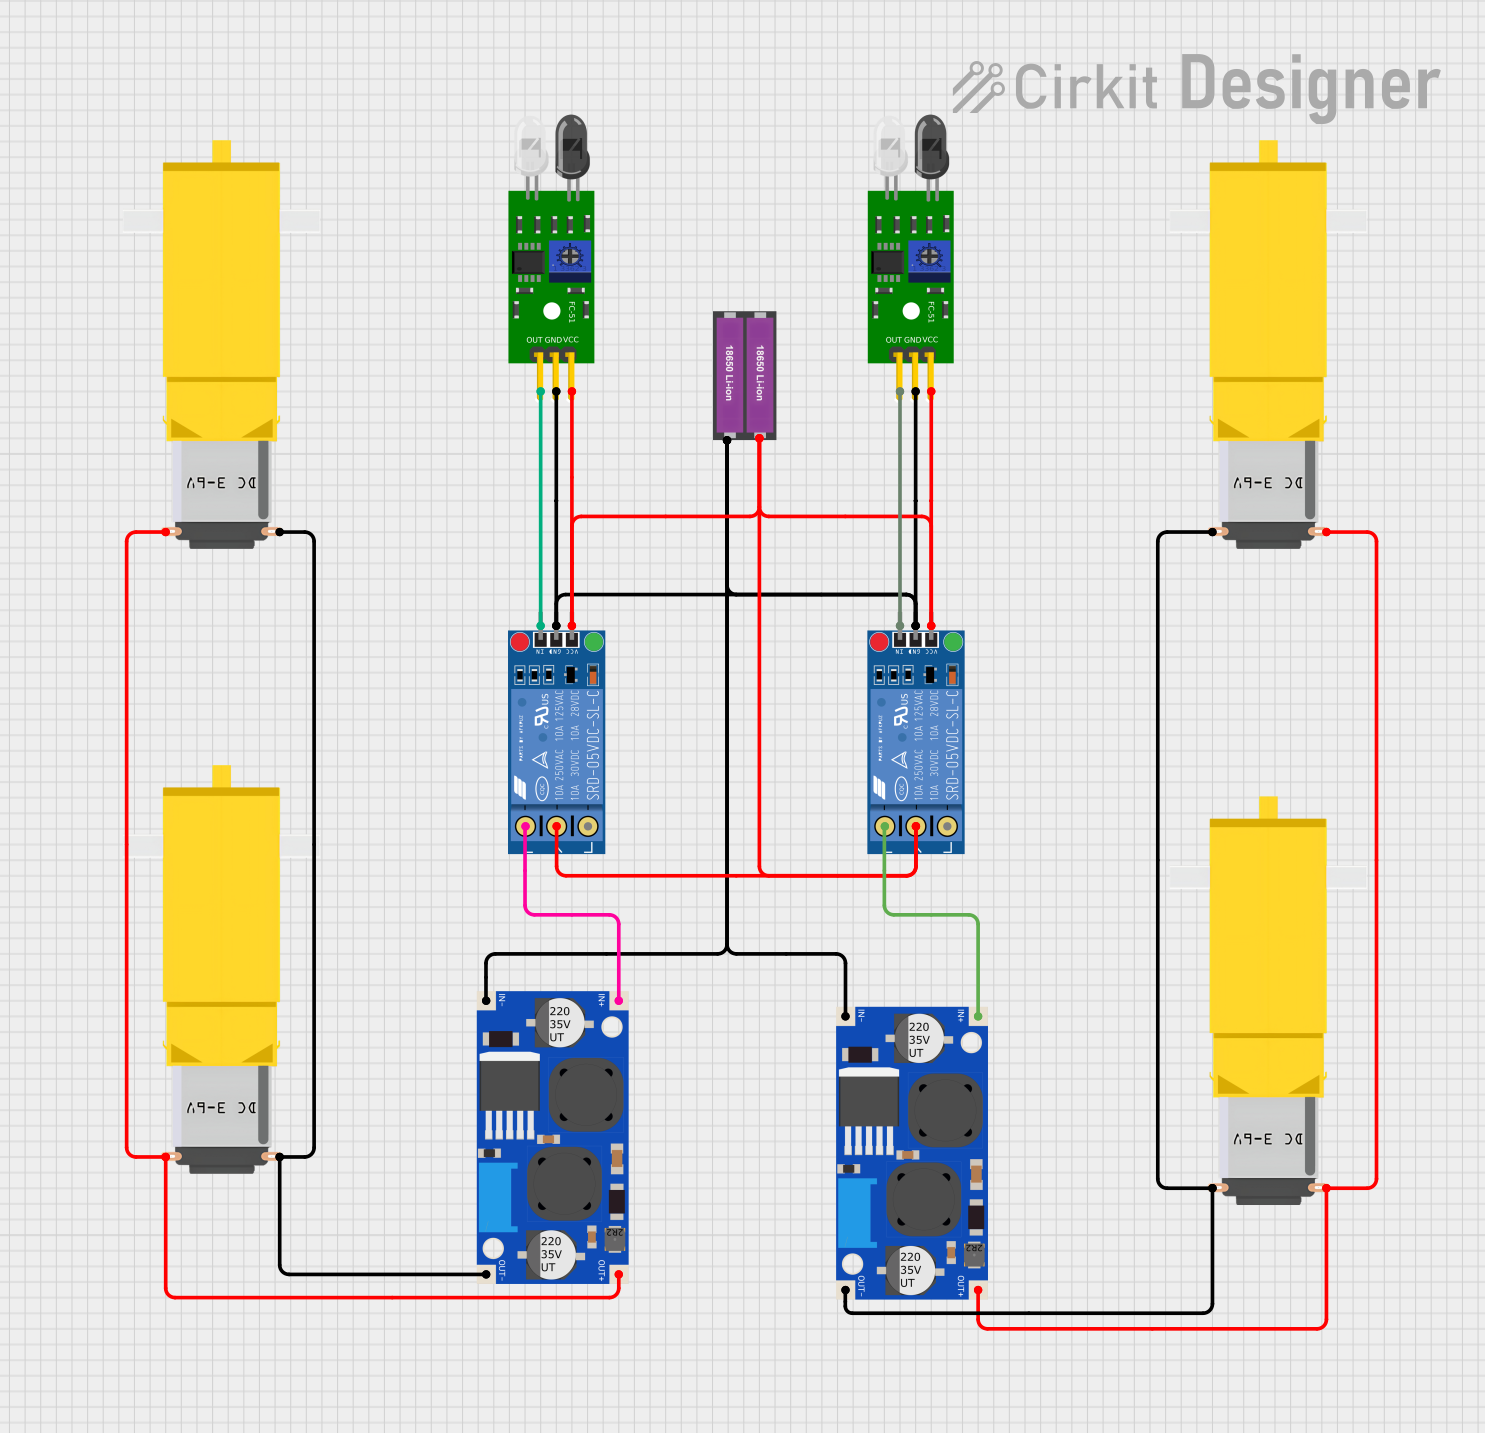
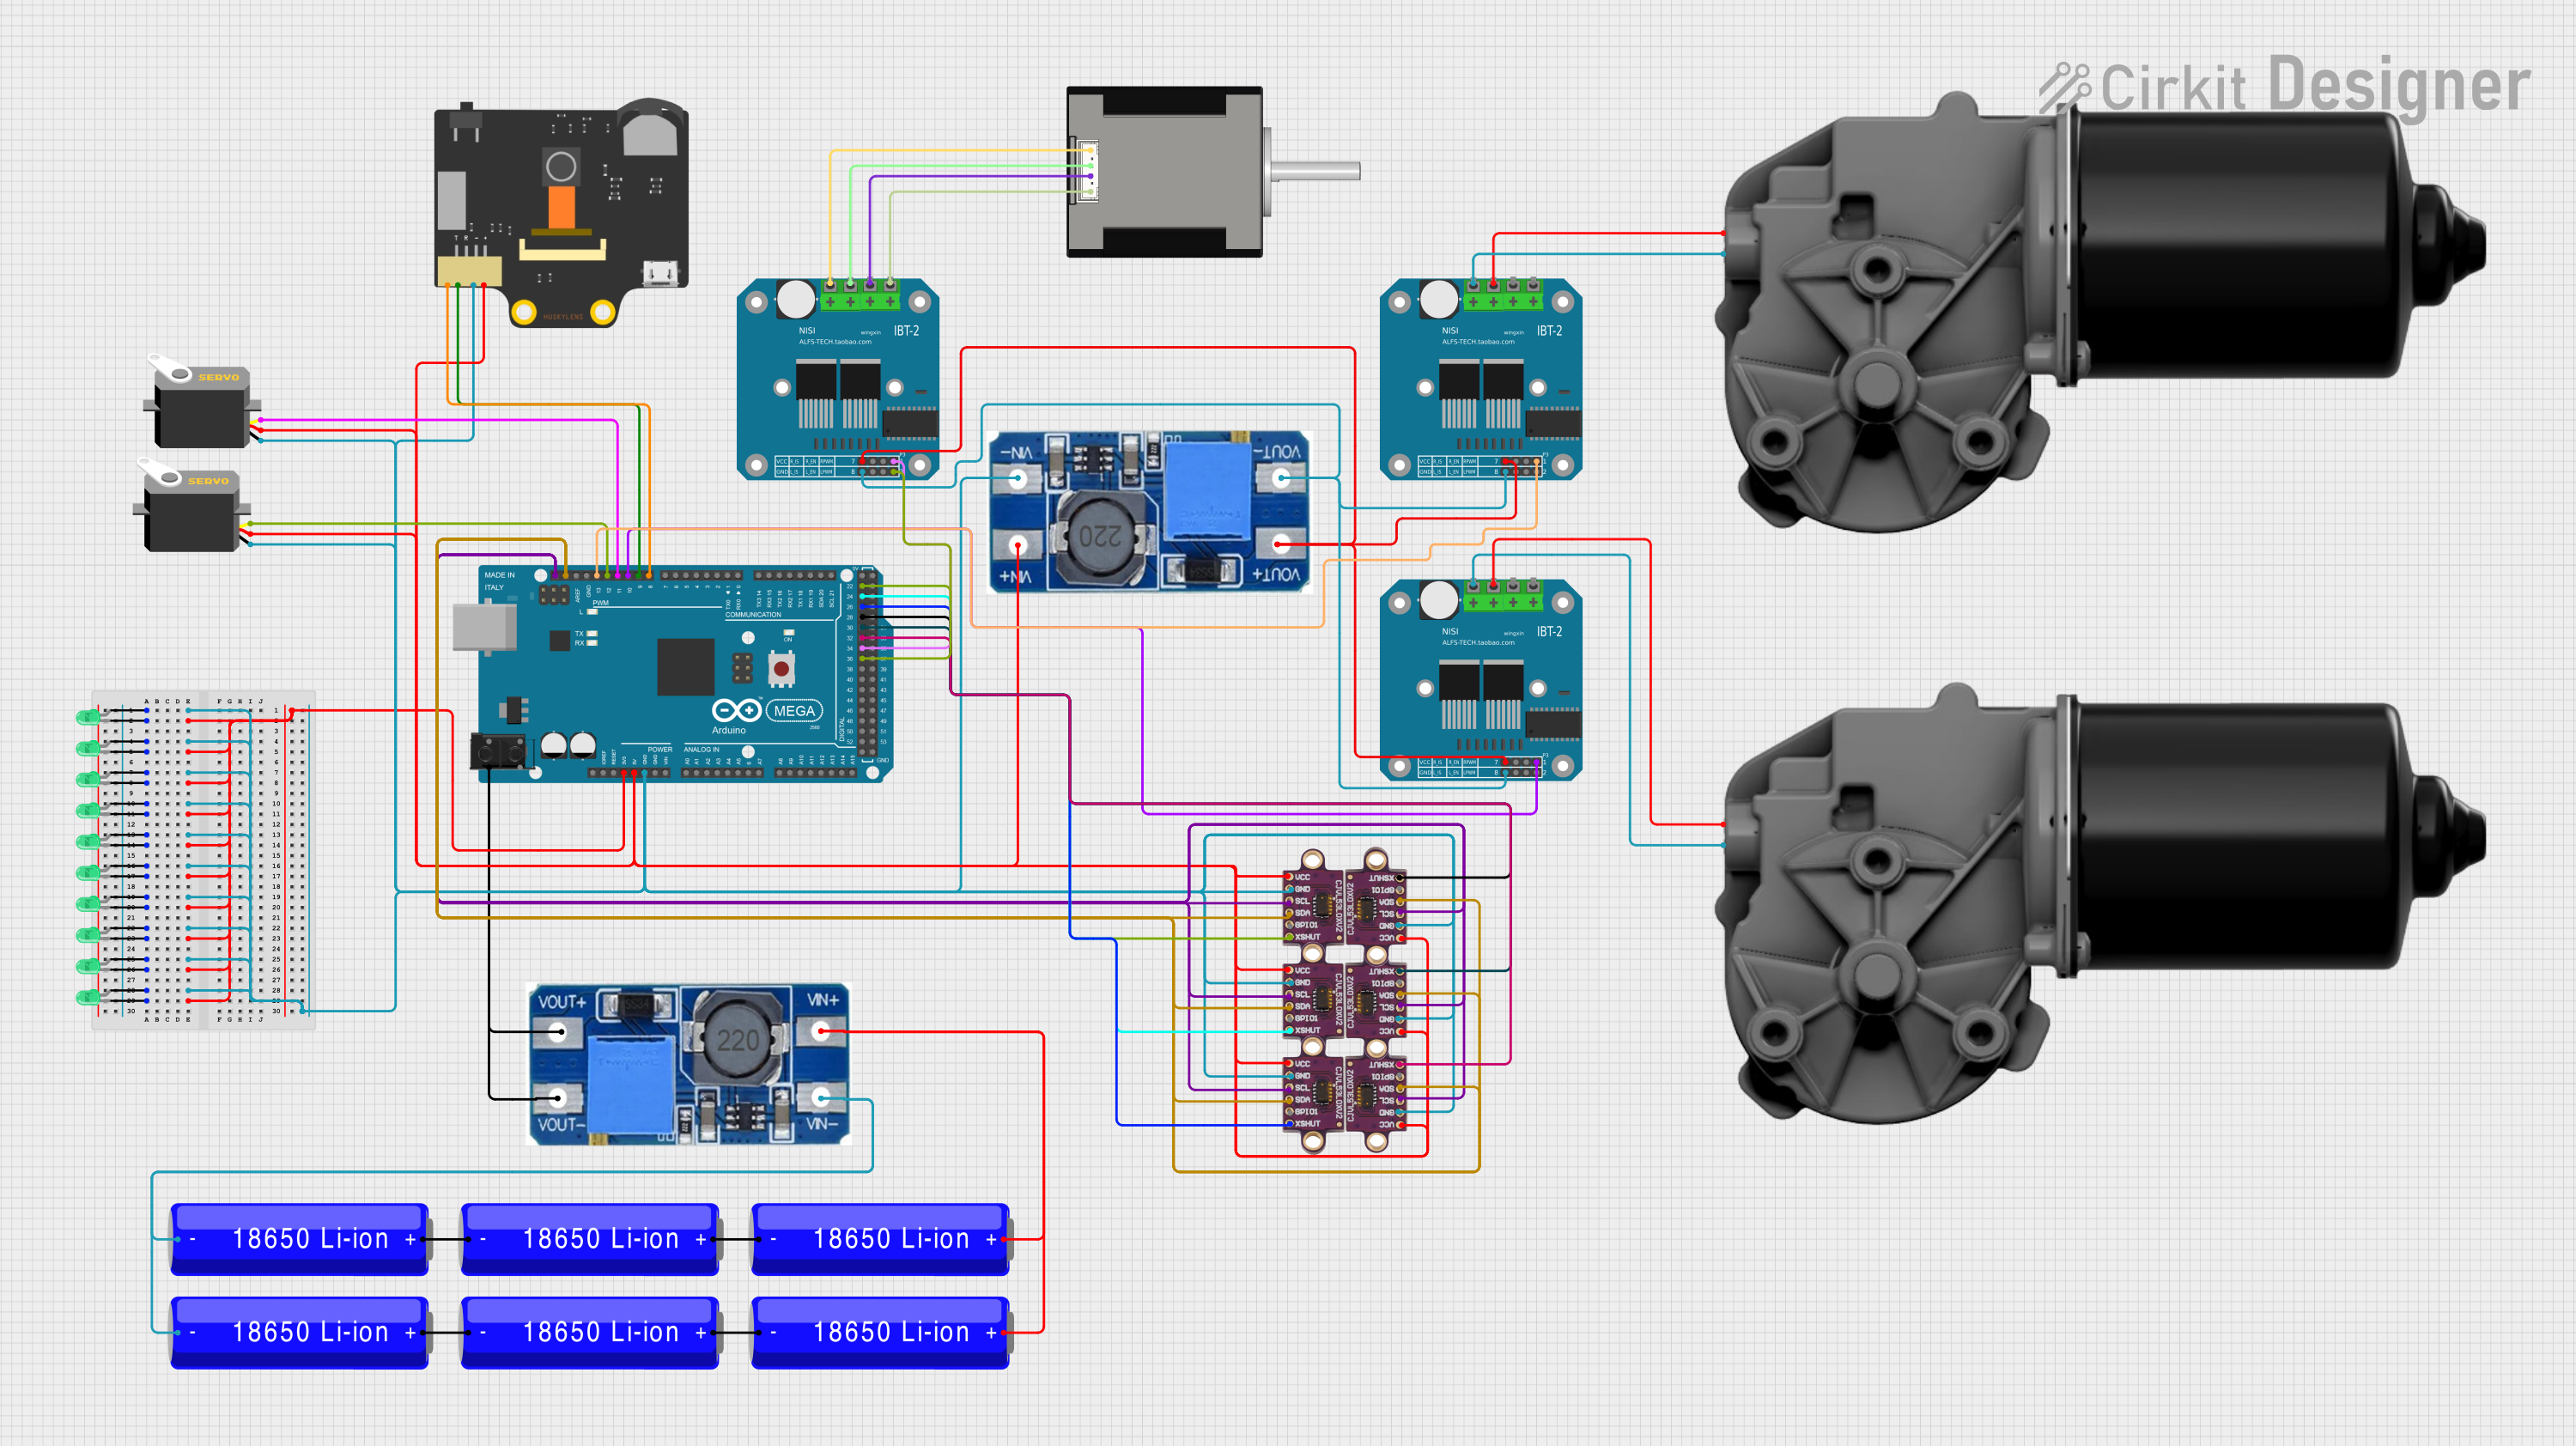
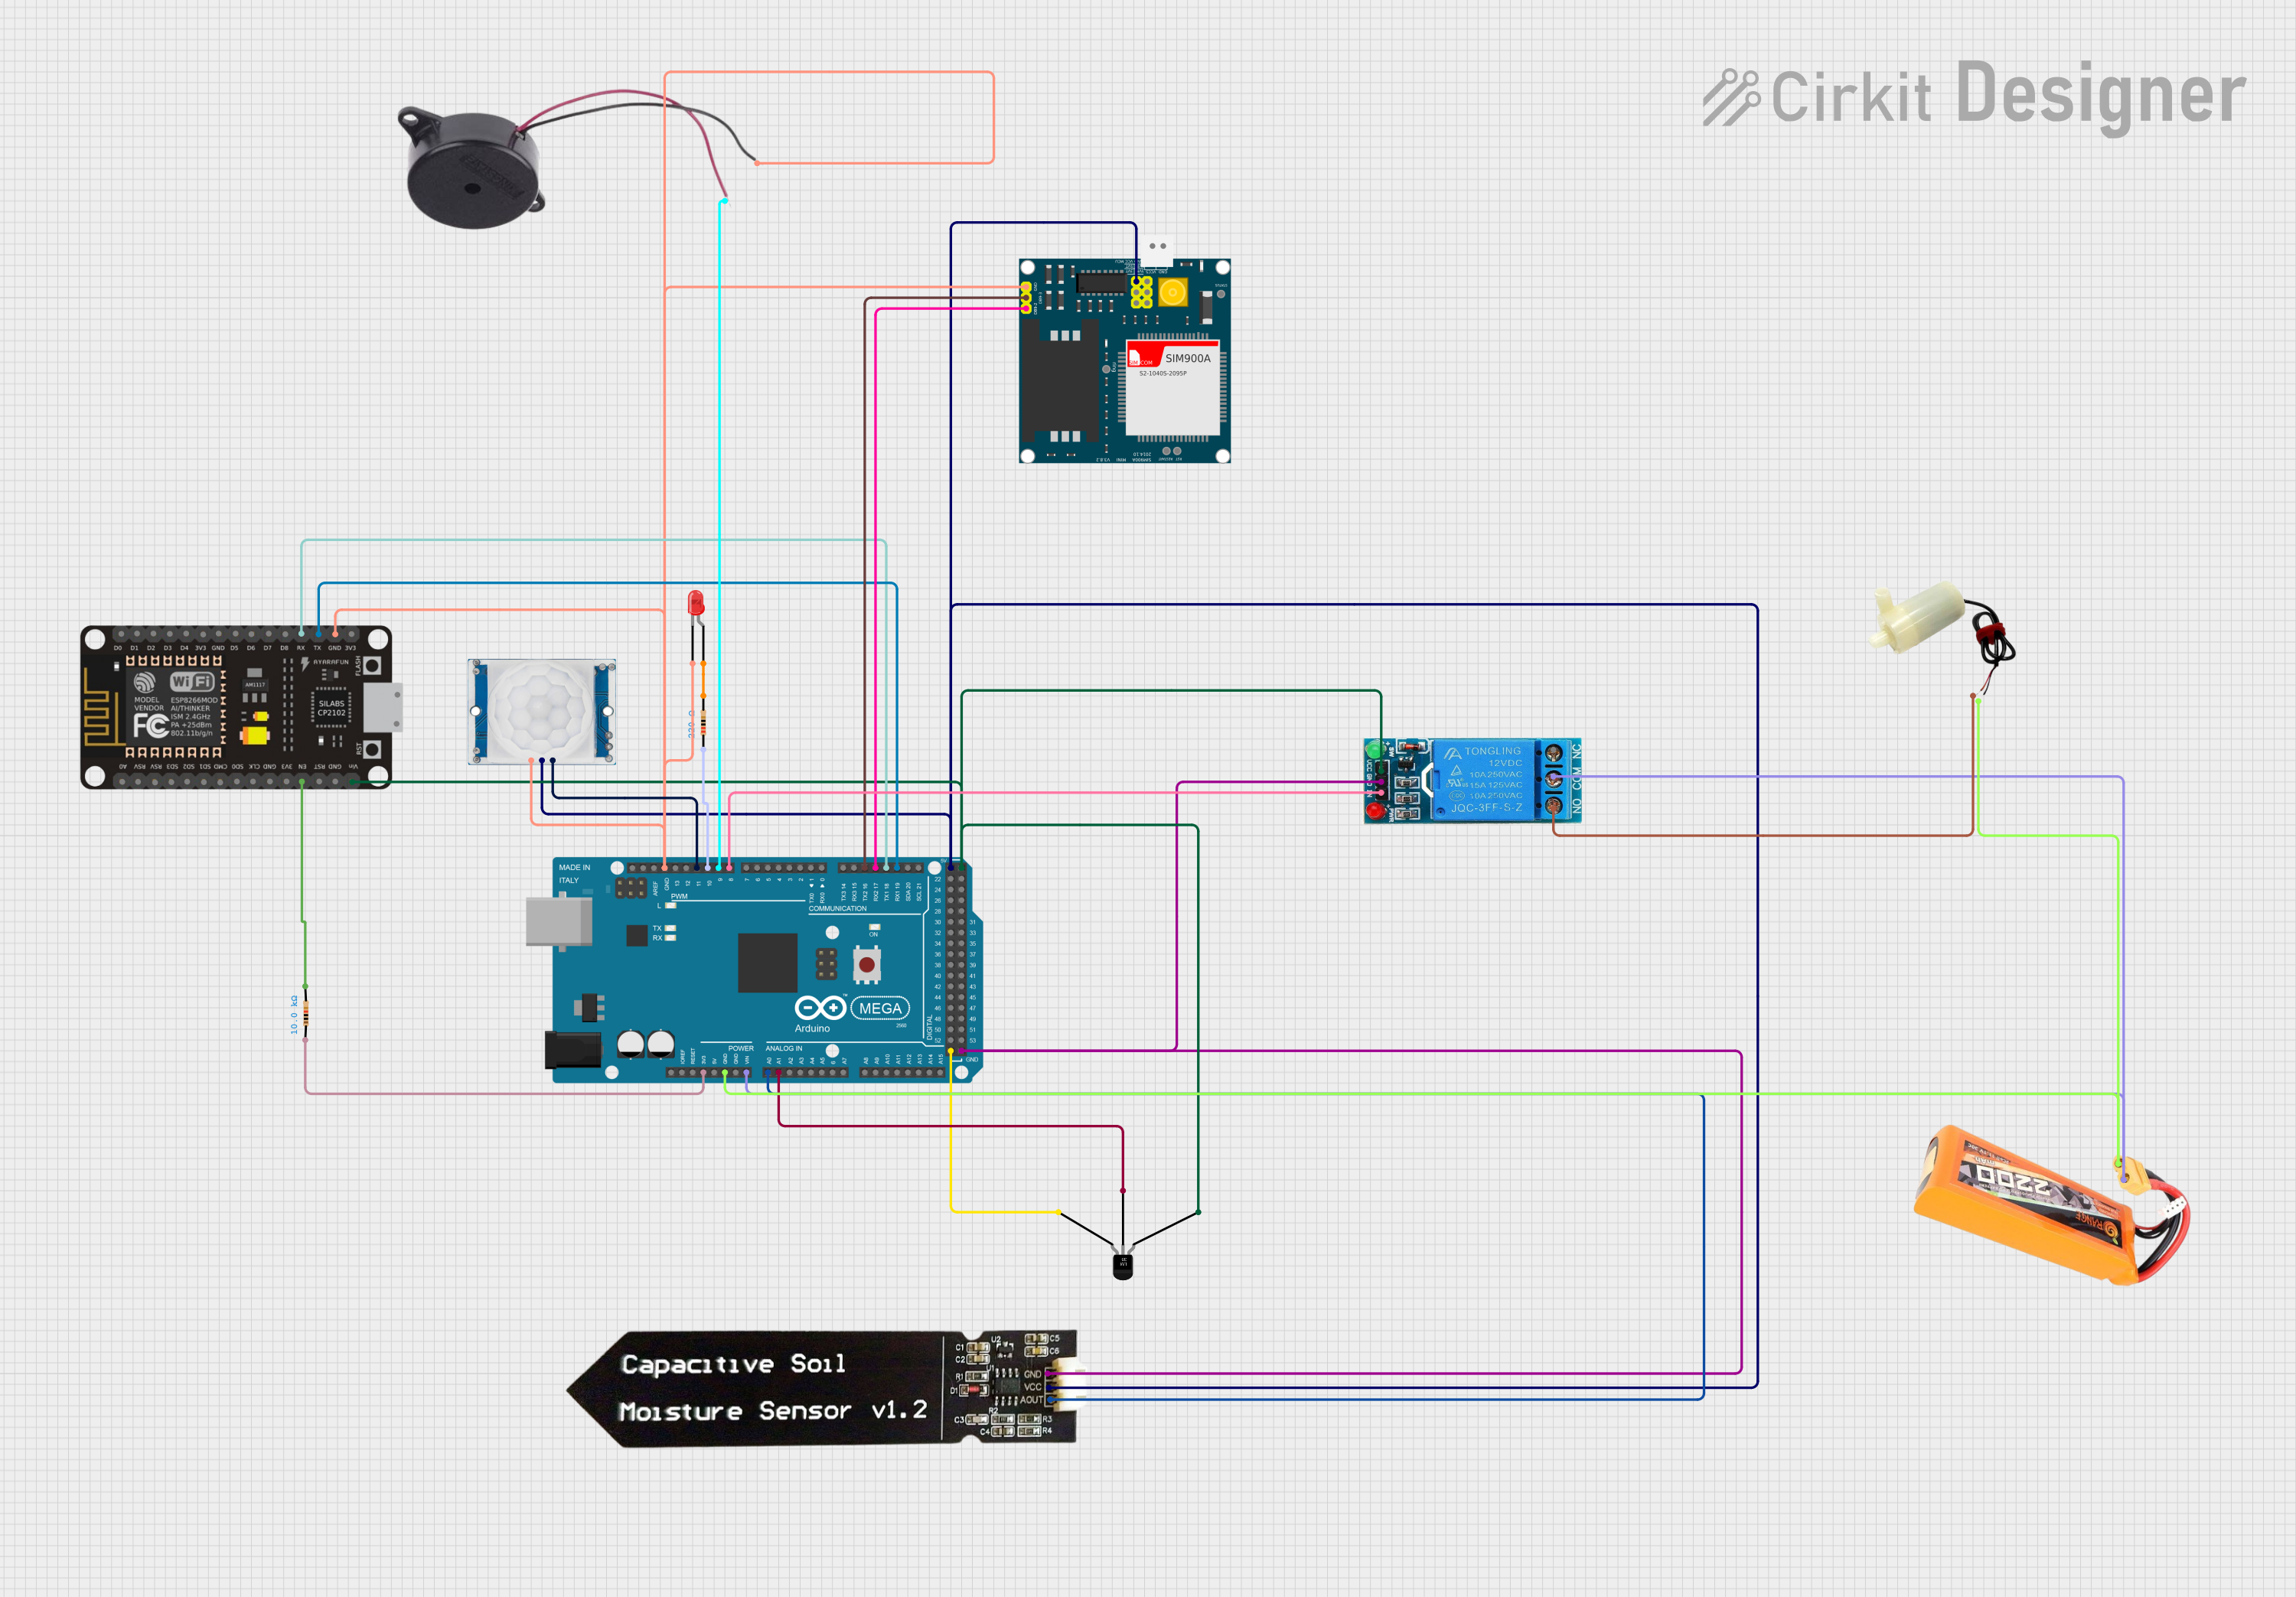
Explore Projects Built with 26650