
How to Use Adafruit Circuit Playground Bluefruit: Examples, Pinouts, and Specs
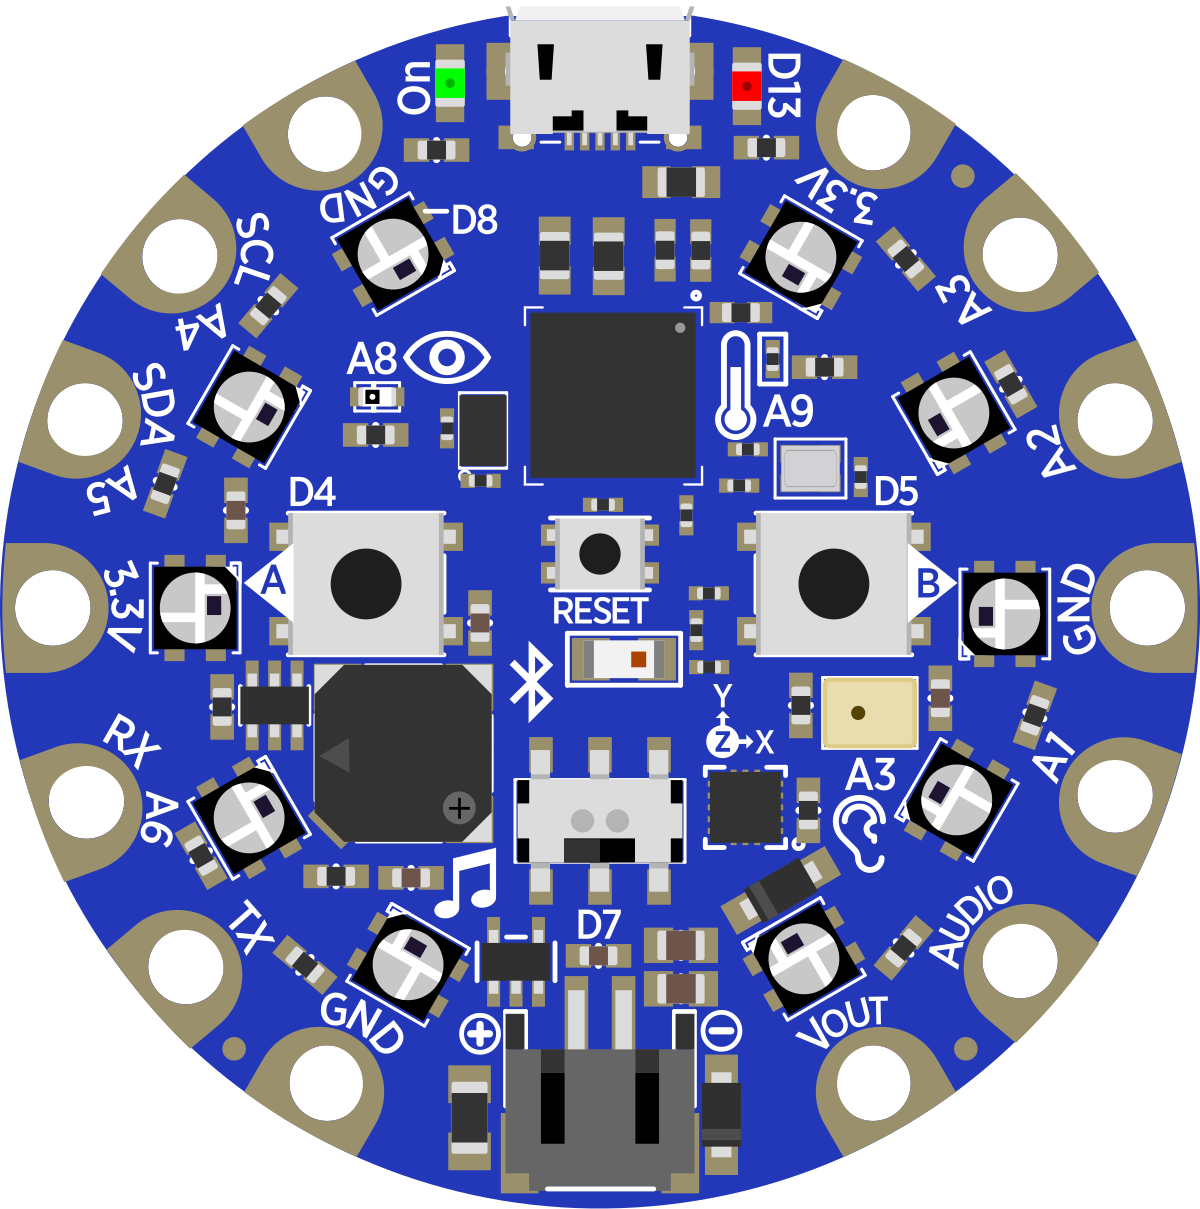
 Design with Adafruit Circuit Playground Bluefruit in Cirkit Designer
Introduction
The Adafruit Circuit Playground Bluefruit (Part ID: 4333) is a versatile microcontroller board designed for educational purposes, prototyping, and interactive projects. It features built-in Bluetooth Low Energy (BLE) connectivity, a variety of onboard sensors, and programmable RGB LEDs, making it an excellent choice for beginners and advanced users alike. Its compact, all-in-one design simplifies the process of creating interactive electronics projects.
Explore Projects Built with Adafruit Circuit Playground Bluefruit
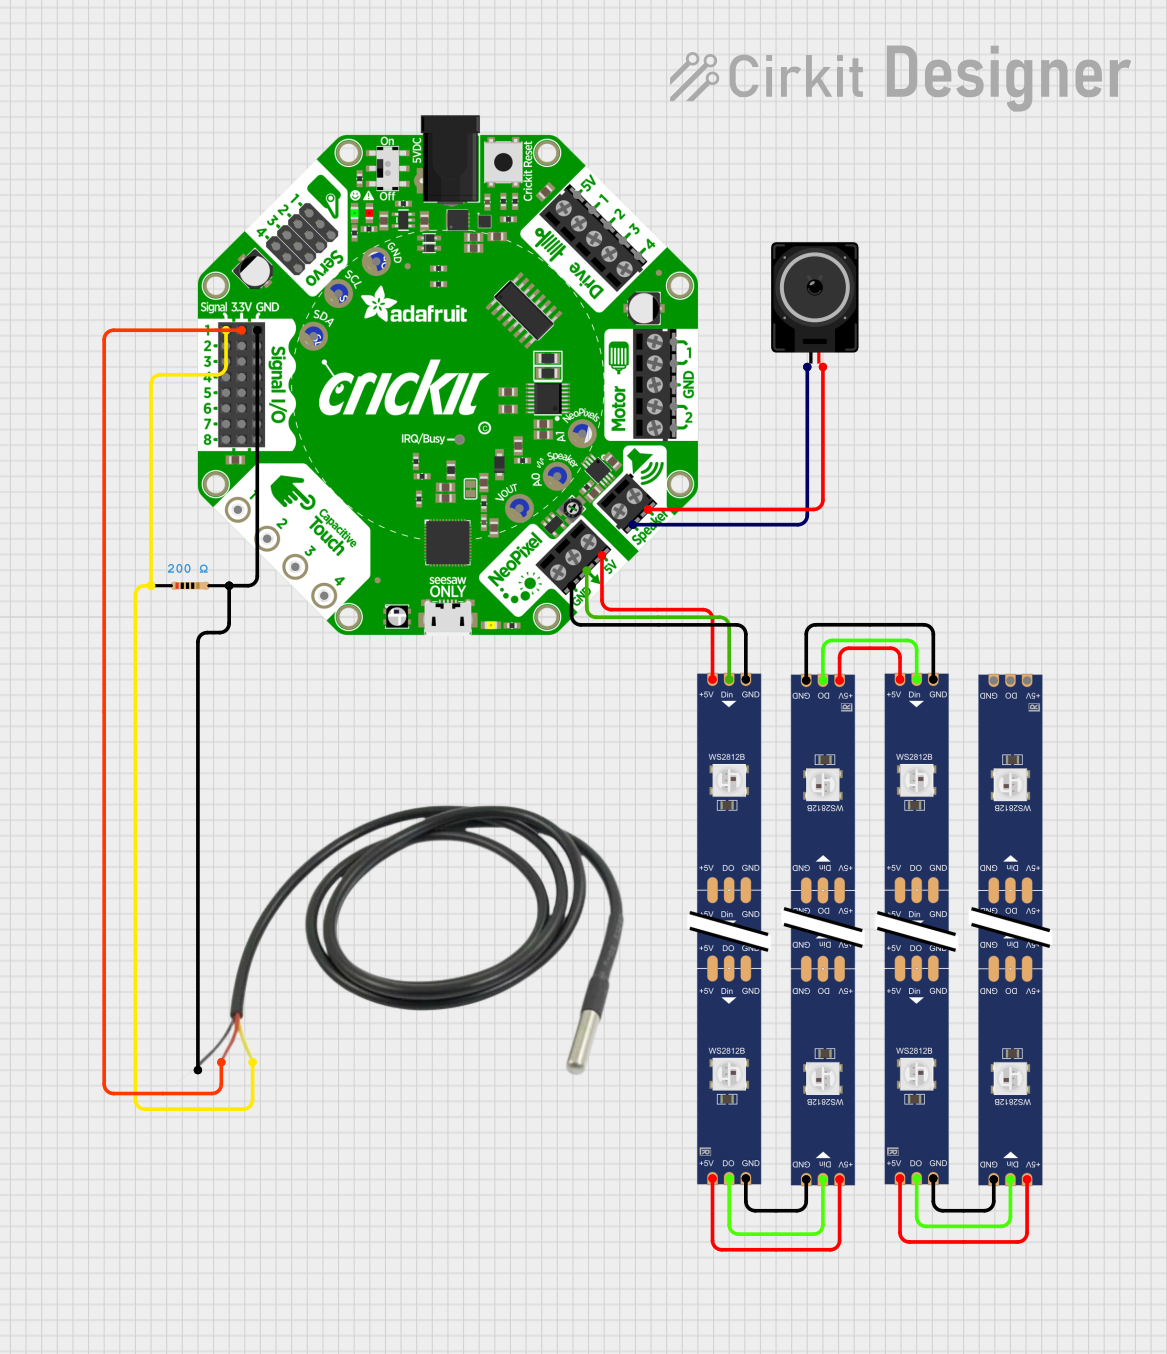 Open Project in Cirkit Designer
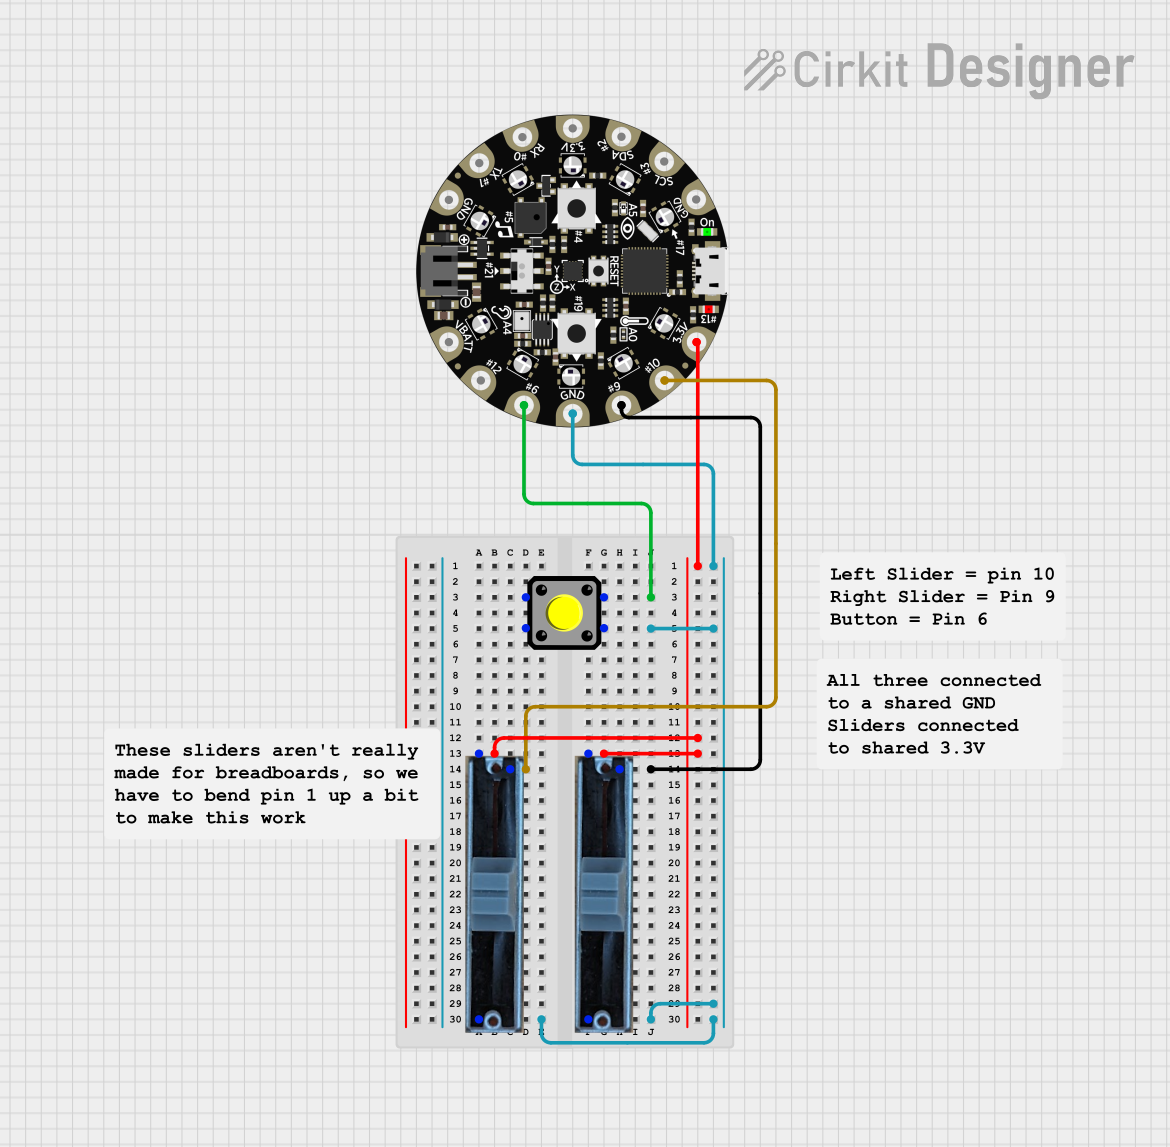 Open Project in Cirkit Designer
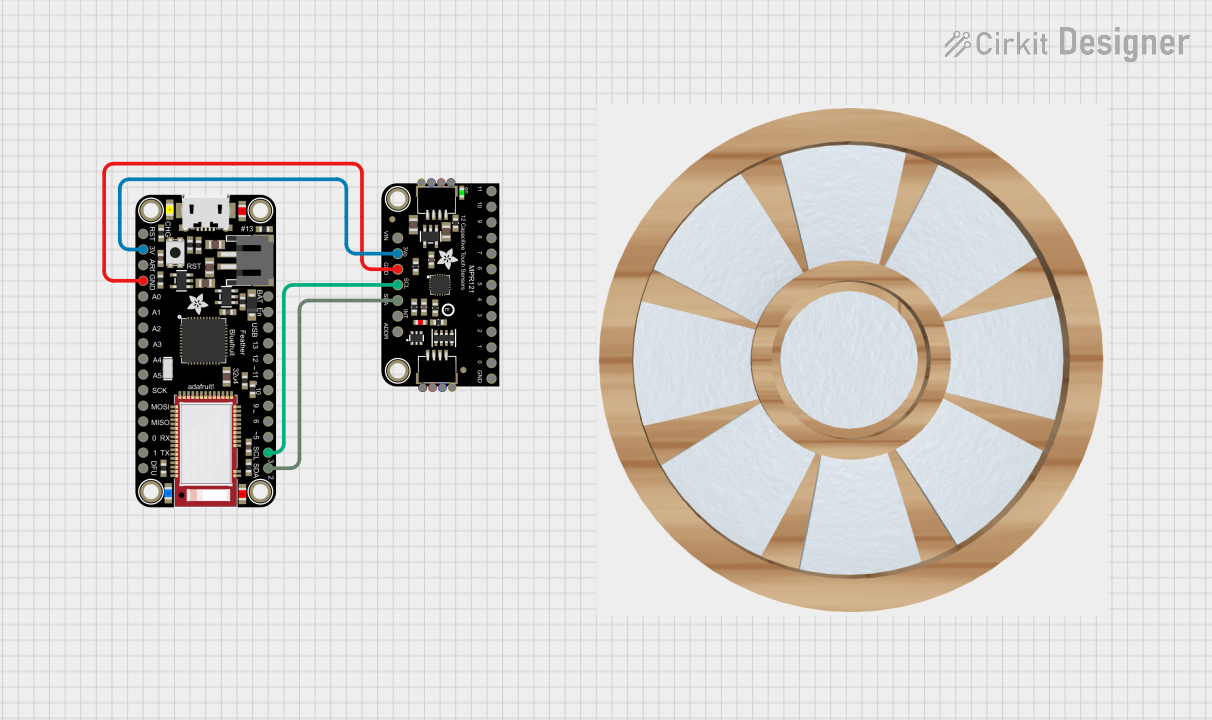 Open Project in Cirkit Designer
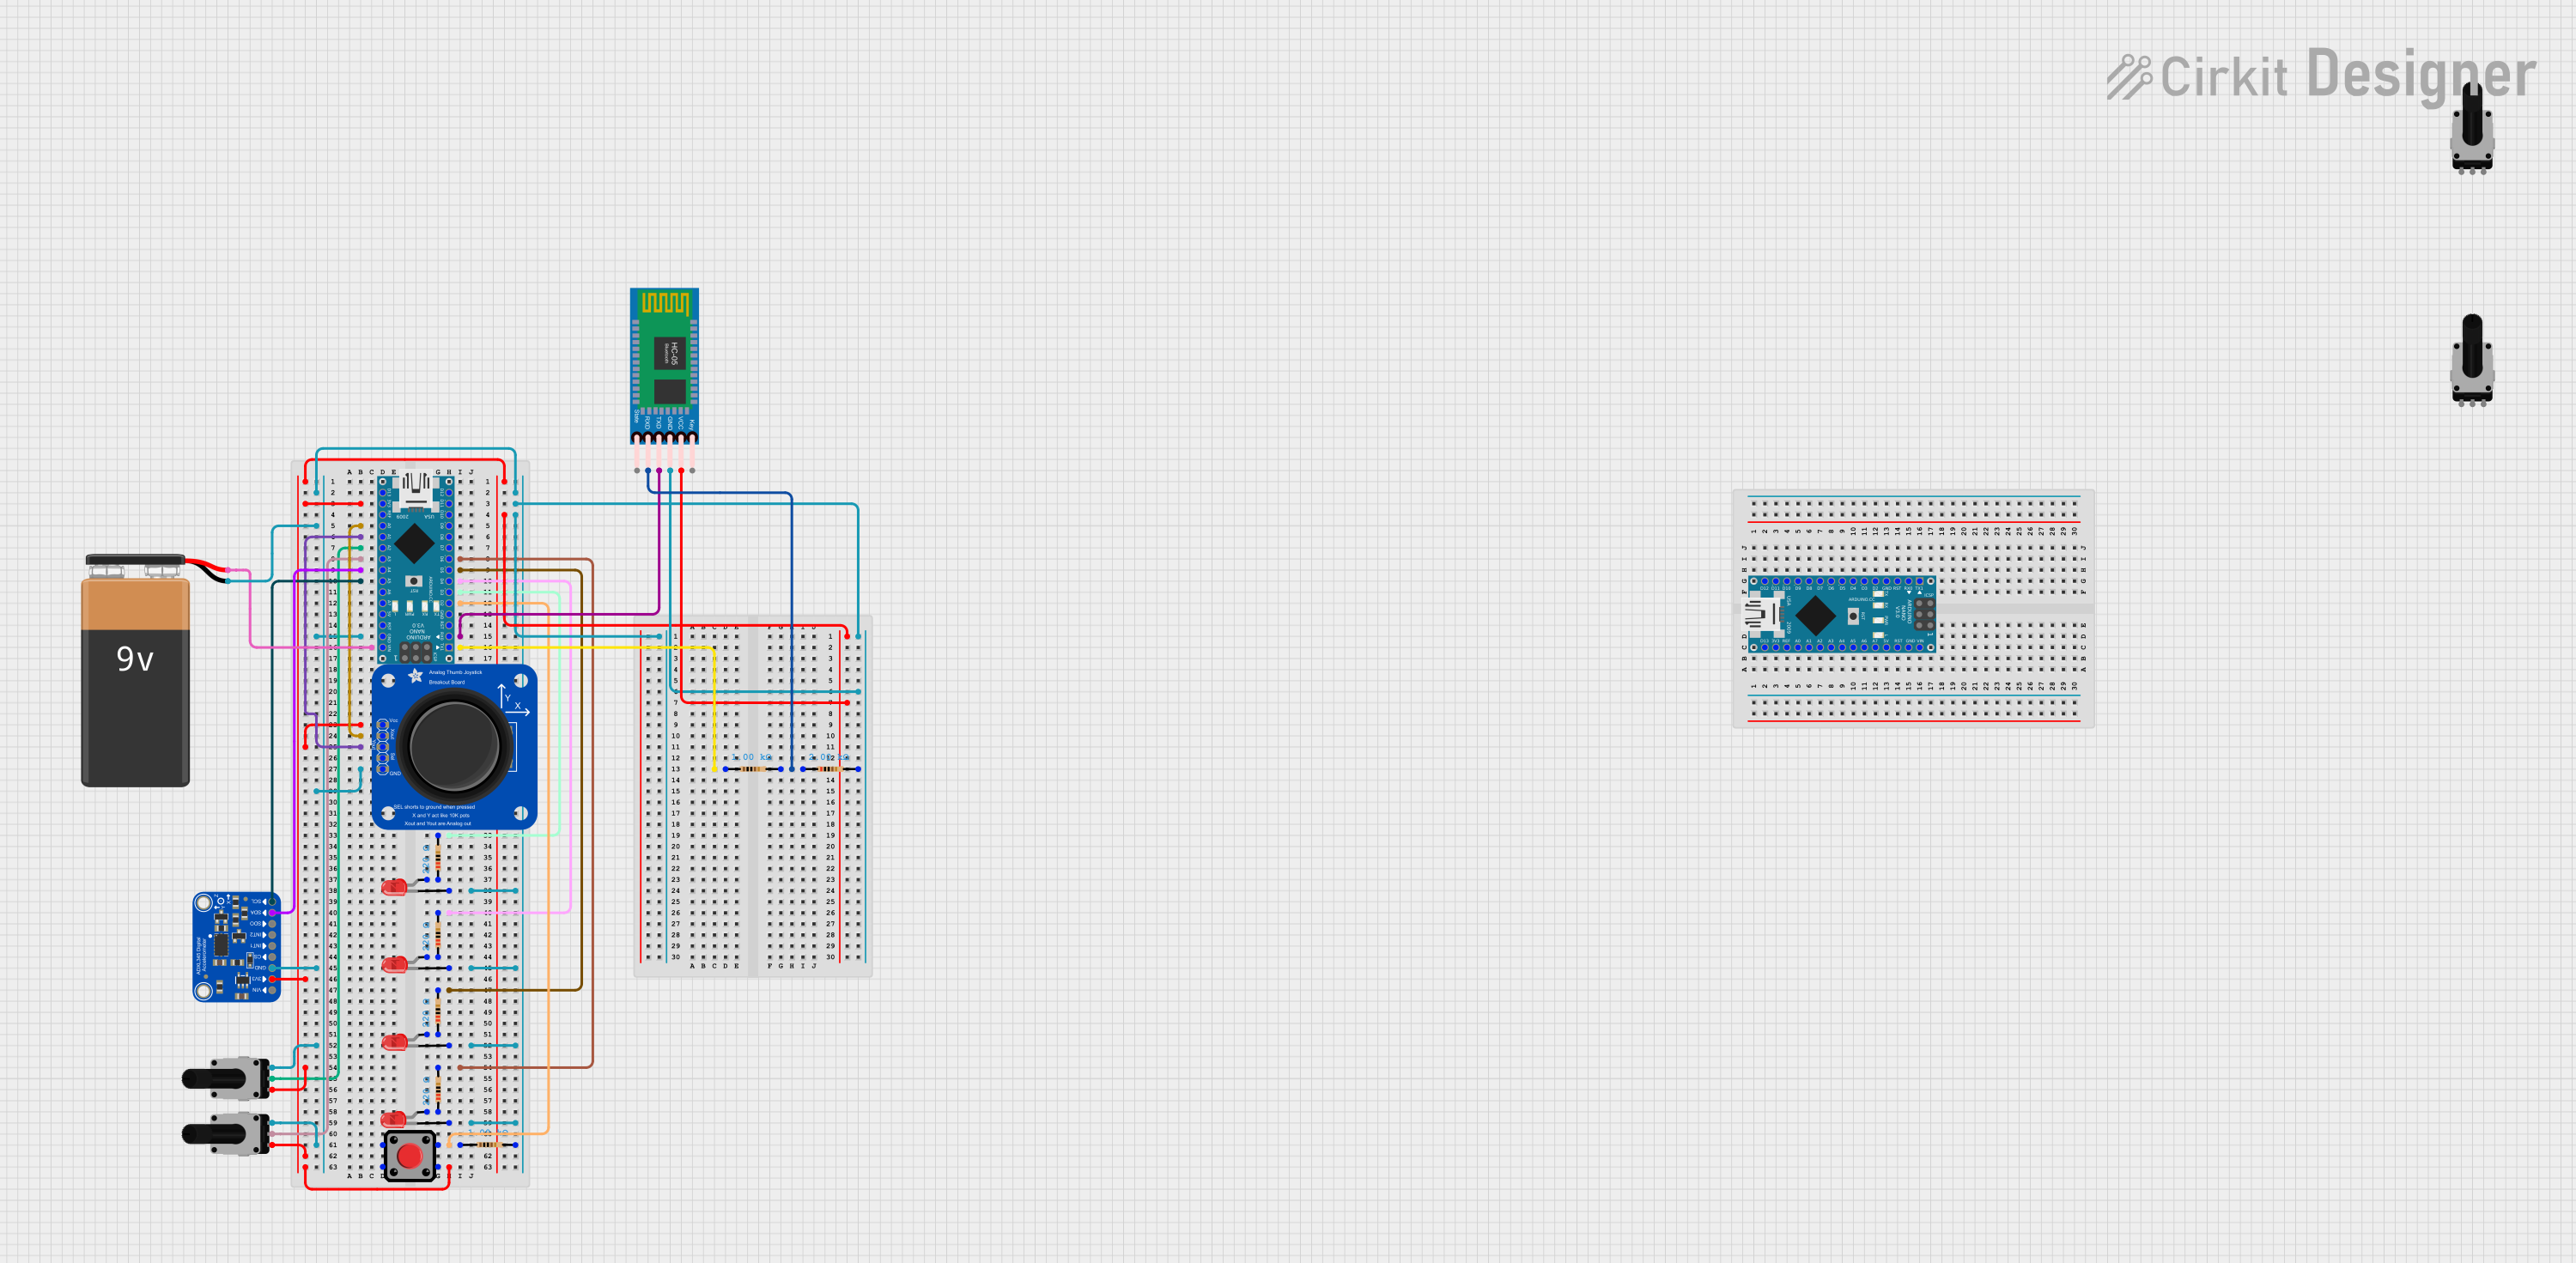 Open Project in Cirkit Designer
Explore Projects Built with Adafruit Circuit Playground Bluefruit
Open Project in Cirkit DesignerOpen Project in Cirkit DesignerOpen Project in Cirkit DesignerOpen Project in Cirkit DesignerCommon Applications and Use Cases
- Wearable electronics and IoT projects
- Educational tools for learning programming and electronics
- Interactive art installations
- Sensor-based data collection and analysis
- Bluetooth-enabled remote controls and devices
Technical Specifications
The Adafruit Circuit Playground Bluefruit is packed with features to support a wide range of applications. Below are its key technical details:
General Specifications
| Feature | Specification |
|---|---|
| Microcontroller | Nordic nRF52840 ARM Cortex-M4 processor with floating-point support |
| Bluetooth | Bluetooth Low Energy (BLE) 5.0 |
| Operating Voltage | 3.3V |
| Power Supply | USB, LiPo battery (via JST connector), or external power (3.3V-6V) |
| Flash Memory | 1 MB |
| RAM | 256 KB |
| Dimensions | 50mm diameter |
Onboard Components
| Component | Description |
|---|---|
| RGB LEDs | 10 NeoPixel LEDs, individually addressable |
| Buttons | 2 push buttons |
| Slide Switch | 1 slide switch for user input |
| Light Sensor | Measures ambient light levels |
| Temperature Sensor | Measures ambient temperature |
| Accelerometer | 3-axis accelerometer for motion sensing |
| Microphone | MEMS microphone for sound input |
| Speaker | Mini speaker for audio output |
| Infrared (IR) Transmitter | Sends IR signals |
| Infrared (IR) Receiver | Receives IR signals |
Pin Configuration
The Adafruit Circuit Playground Bluefruit does not have traditional GPIO pins like other microcontroller boards. Instead, it uses "pads" around its circular edge. Below is a description of the pads:
| Pad Number | Function | Description |
|---|---|---|
| A1 | Analog/Digital Input/Output | Can be used for analog or digital signals |
| A2 | Analog/Digital Input/Output | Can be used for analog or digital signals |
| A3 | Analog/Digital Input/Output | Can be used for analog or digital signals |
| A4 | Analog/Digital Input/Output | Can be used for analog or digital signals |
| A5 | Analog/Digital Input/Output | Can be used for analog or digital signals |
| A6 | Analog/Digital Input/Output | Can be used for analog or digital signals |
| GND | Ground | Ground connection |
| 3.3V | Power | 3.3V power output |
Usage Instructions
The Adafruit Circuit Playground Bluefruit is designed to be beginner-friendly while offering advanced features for experienced users. Below are the steps to get started and important considerations.
Getting Started
Install the Required Software:
- Download and install the Arduino IDE from arduino.cc.
- Install the Adafruit nRF52 Board Support Package via the Arduino Board Manager.
- Install the necessary Adafruit libraries for the Circuit Playground Bluefruit.
Connect the Board:
- Use a micro-USB cable to connect the Circuit Playground Bluefruit to your computer.
- Ensure the board is powered on and recognized by your computer.
Select the Board and Port:
- In the Arduino IDE, go to
Tools > Boardand select "Adafruit Circuit Playground Bluefruit." - Under
Tools > Port, select the port corresponding to your board.
- In the Arduino IDE, go to
Upload a Sketch:
- Open an example sketch (e.g., "Blink" for the NeoPixel LEDs) from the Adafruit Circuit Playground library.
- Click the upload button to program the board.
Example Code: Controlling NeoPixel LEDs
Below is an example sketch to control the onboard NeoPixel LEDs:
#include <Adafruit_CircuitPlayground.h>

// Initialize the Circuit Playground library
void setup() {
  CircuitPlayground.begin(); // Start the Circuit Playground
}

// Main loop to control the NeoPixels
void loop() {
  // Set all NeoPixels to red
  CircuitPlayground.setPixelColor(0, 255, 0, 0); // Red color (R, G, B)
  delay(500); // Wait for 500 milliseconds

  // Set all NeoPixels to green
  CircuitPlayground.setPixelColor(0, 0, 255, 0); // Green color (R, G, B)
  delay(500); // Wait for 500 milliseconds

  // Set all NeoPixels to blue
  CircuitPlayground.setPixelColor(0, 0, 0, 255); // Blue color (R, G, B)
  delay(500); // Wait for 500 milliseconds
}
Important Considerations
- Power Supply: Ensure the board is powered correctly. For portable projects, use a LiPo battery.
- Heat Management: Avoid prolonged use of all NeoPixels at full brightness to prevent overheating.
- BLE Connectivity: Use the Adafruit Bluefruit Connect app for easy interaction with the board via Bluetooth.
Troubleshooting and FAQs
Common Issues
Board Not Recognized by Computer:
- Ensure the USB cable is data-capable (not just for charging).
- Check that the correct port is selected in the Arduino IDE.
Sketch Fails to Upload:
- Verify that the correct board is selected in the Arduino IDE.
- Press the reset button on the board twice to enter bootloader mode.
NeoPixels Not Lighting Up:
- Check the power supply and ensure the board is properly powered.
- Verify that the
CircuitPlayground.begin()function is called in the setup.
Bluetooth Not Connecting:
- Ensure the board is powered and in range of the Bluetooth device.
- Use the Adafruit Bluefruit Connect app for compatibility.
Tips for Troubleshooting
- Use the Arduino Serial Monitor to debug your code and check for error messages.
- Refer to the Adafruit Circuit Playground Bluefruit guide on the Adafruit website for additional resources and support.
By following this documentation, you can unlock the full potential of the Adafruit Circuit Playground Bluefruit for your projects!