Cirkit Designer LogoCirkit DesignerYour all-in-one circuit design IDE Launch Cirkit Designer App

How to Use 6v 6W 200MM X 170MM Solar : Examples, Pinouts, and Specs

Image of 6v 6W 200MM X 170MM Solar Design with 6v 6W 200MM X 170MM Solar in Cirkit Designer

Introduction

The 6V 6W 200MM X 170MM Solar Panel is a compact and efficient photovoltaic module designed for small-scale solar energy applications. With a power output of 6 watts and a voltage rating of 6 volts, this solar panel is ideal for powering low-power devices, charging batteries, or serving as a renewable energy source in portable electronics projects. Its lightweight and compact design (200mm x 170mm) make it suitable for both indoor and outdoor use.

Explore Projects Built with 6v 6W 200MM X 170MM Solar

Use Cirkit Designer to design, explore, and prototype these projects online. Some projects support real-time simulation. Click "Open Project" to start designing instantly!
Image of Solar and Wind Energy Harvesting System with Charge Controller and Inverter: A project utilizing 6v 6W 200MM X 170MM Solar  in a practical application

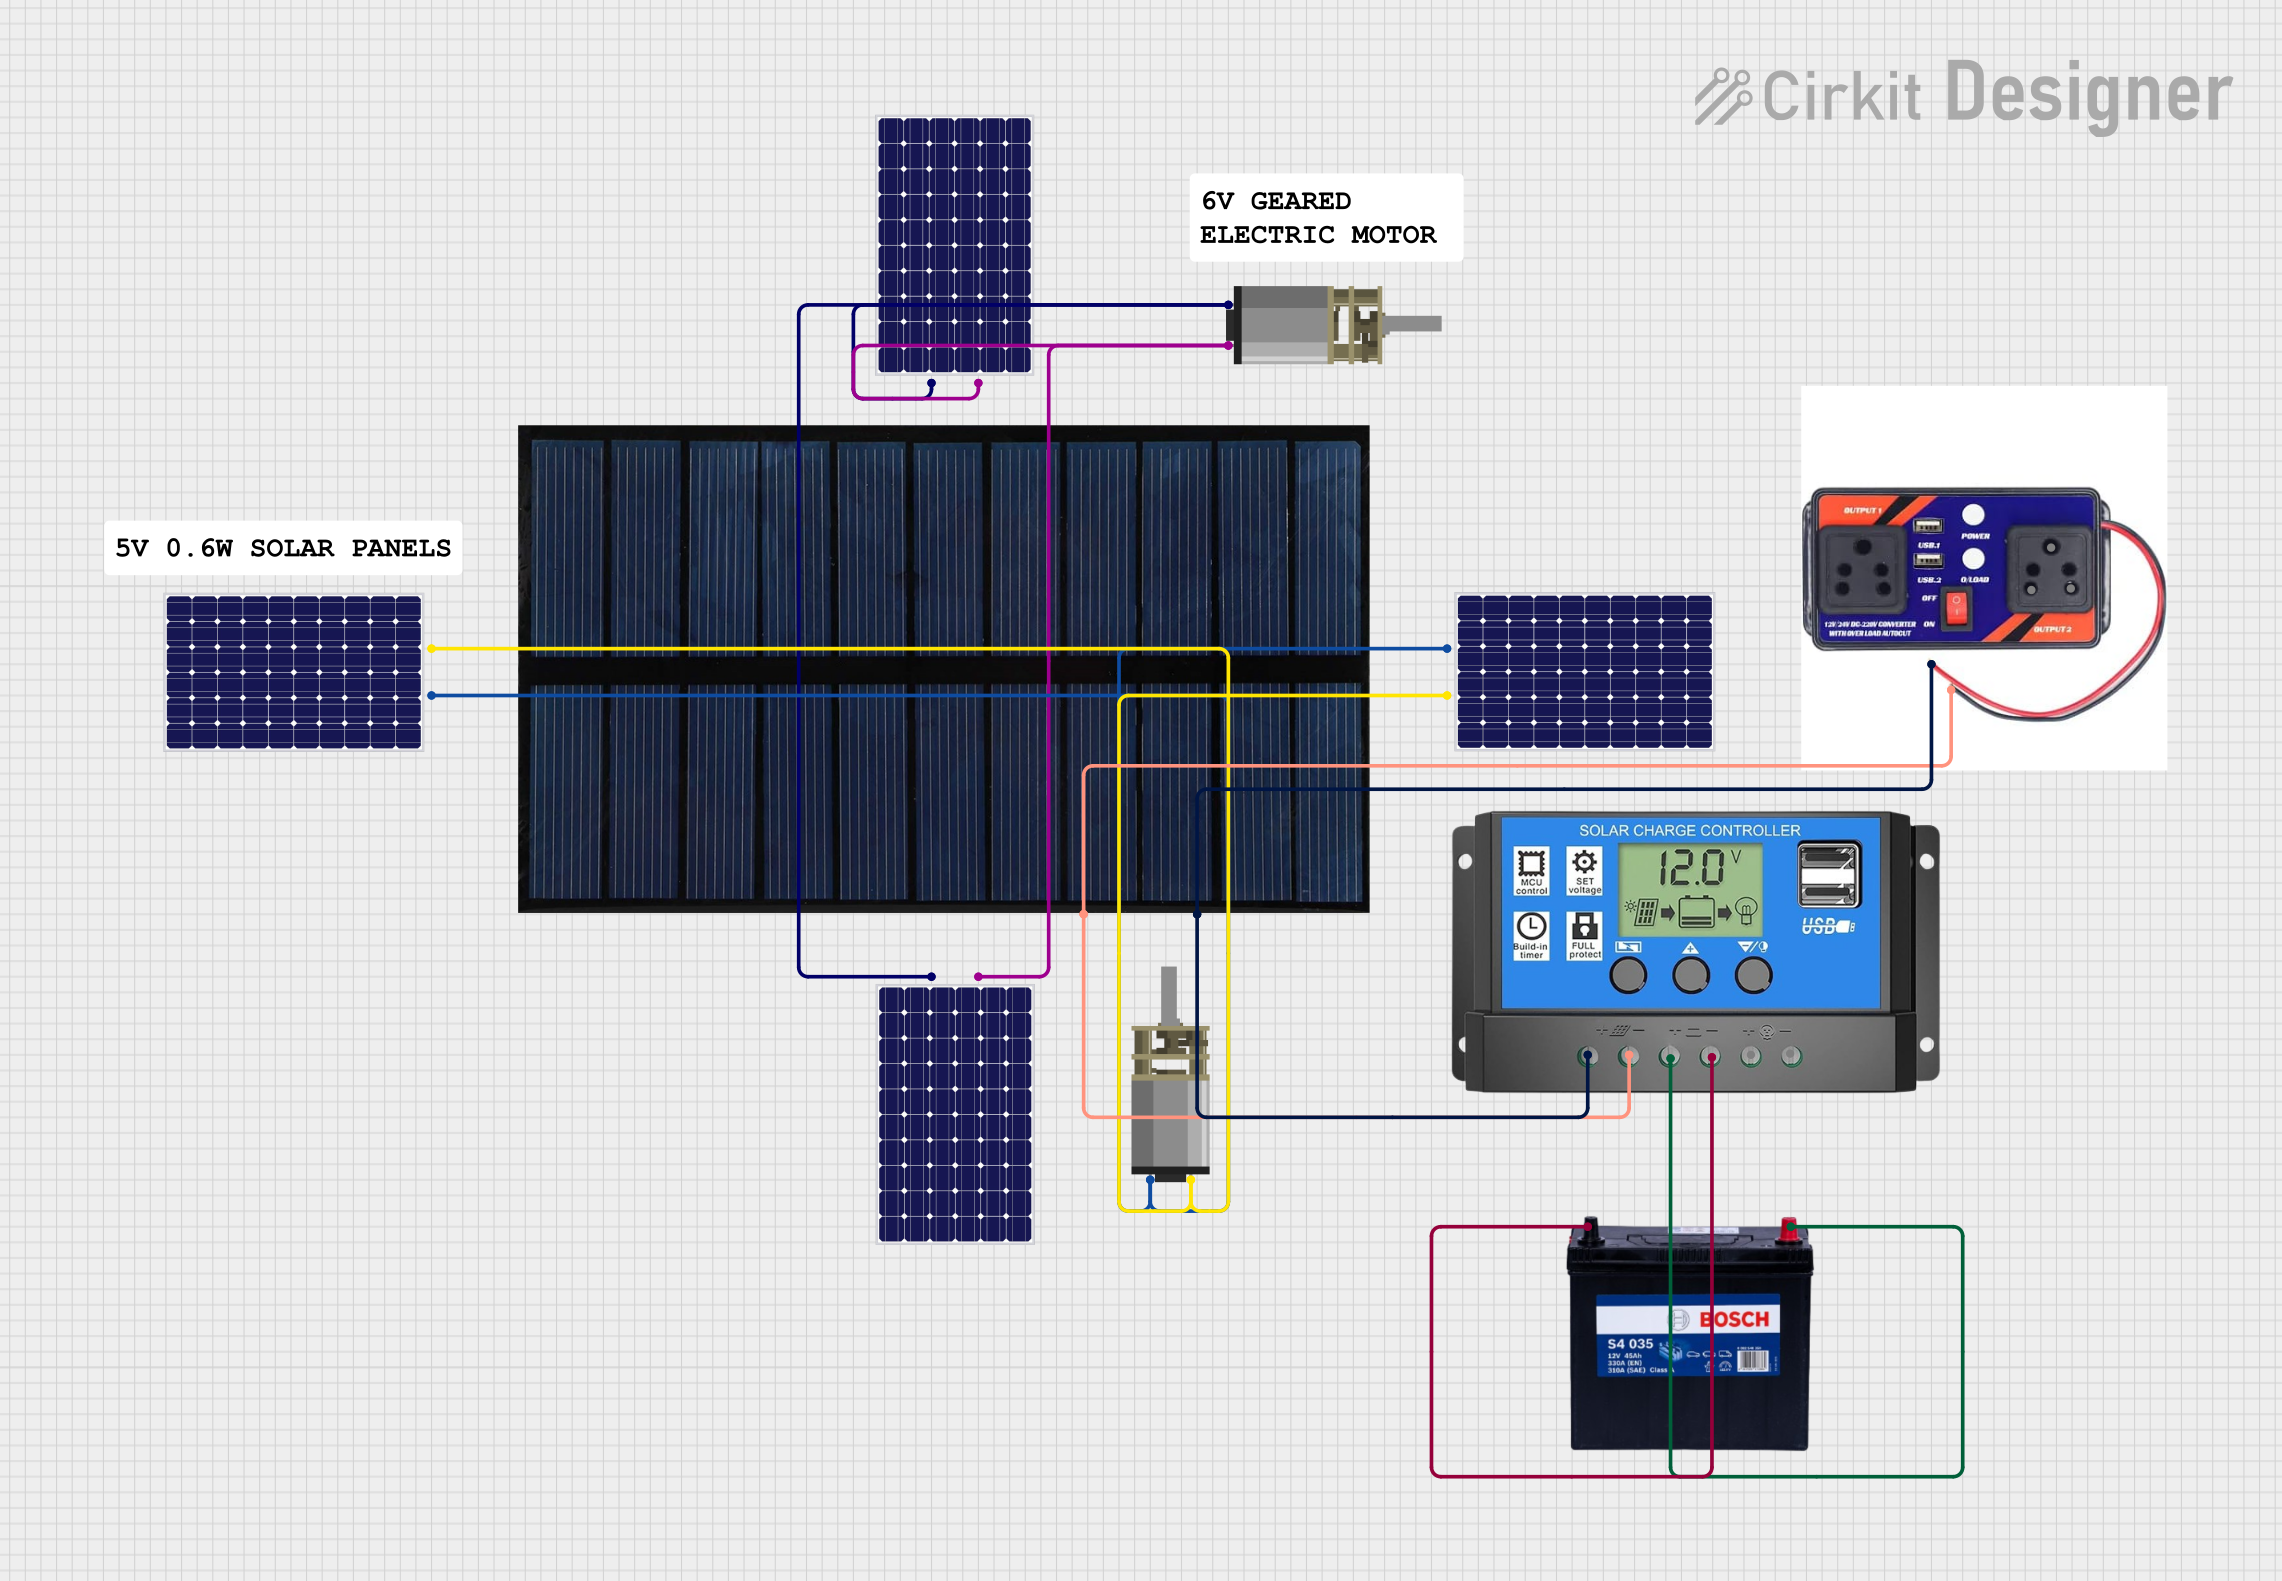
Solar and Wind Energy Harvesting System with Charge Controller and Inverter

This circuit is designed for a renewable energy system that integrates solar and wind power generation. It includes a solar and wind charge controller connected to a solar panel and a lantern vertical wind turbine for energy harvesting, a 12V 200Ah battery for energy storage, and a dump load for excess energy dissipation. The system also features a 12V inverter to convert stored DC power to AC, powering an outlet and a wireless charger for end-use applications.

Open Project in Cirkit Designer
Common Applications and Use Cases

Technical Specifications

Below are the key technical details of the 6V 6W 200MM X 170MM Solar Panel:

Parameter Value
Rated Power Output 6W
Rated Voltage 6V
Rated Current 1A
Open Circuit Voltage ~7.2V
Short Circuit Current ~1.1A
Dimensions 200mm x 170mm
Weight ~300g
Material Monocrystalline Silicon
Operating Temperature -40°C to +85°C
Connector Type Bare wire leads or DC jack

Pin Configuration and Descriptions

The solar panel typically comes with two output wires or a DC jack for connection. Below is the description of the connections:

Wire/Pin Description
Positive (+) Red wire or center pin of DC jack
Negative (-) Black wire or outer sleeve of DC jack

Usage Instructions

How to Use the Solar Panel in a Circuit

  1. Positioning the Panel: Place the solar panel in direct sunlight for optimal performance. Ensure the panel is angled correctly to maximize sunlight exposure.
  2. Connecting the Panel:
    • Identify the positive (+) and negative (-) terminals of the panel.
    • Connect the positive terminal to the positive input of your load or charge controller.
    • Connect the negative terminal to the negative input of your load or charge controller.
  3. Using with a Battery:
    • Use a charge controller to safely charge a 6V battery. Directly connecting the panel to a battery may cause overcharging or damage.
    • Ensure the charge controller is rated for 6V systems and can handle at least 1A of current.
  4. Powering Devices:
    • Connect the panel to low-power devices that operate at 6V and consume less than 6W of power.
    • For devices requiring stable voltage, use a voltage regulator to prevent fluctuations.

Important Considerations and Best Practices

Example: Using the Solar Panel with an Arduino UNO

The solar panel can be used to power an Arduino UNO via a 6V battery and a voltage regulator. Below is an example circuit and code:

Circuit Setup

  1. Connect the solar panel to a 6V battery through a charge controller.
  2. Use a 5V voltage regulator (e.g., 7805) to step down the battery voltage to 5V.
  3. Connect the output of the voltage regulator to the Arduino UNO's 5V pin and GND.

Arduino Code Example

// Example code to read a sensor and display data on the Serial Monitor
// This assumes the Arduino is powered by the solar panel via a 6V battery.

const int sensorPin = A0; // Analog pin connected to the sensor
int sensorValue = 0;      // Variable to store the sensor reading

void setup() {
  Serial.begin(9600); // Initialize serial communication at 9600 baud
}

void loop() {
  sensorValue = analogRead(sensorPin); // Read the sensor value
  Serial.print("Sensor Value: ");
  Serial.println(sensorValue); // Print the sensor value to the Serial Monitor
  delay(1000); // Wait for 1 second before the next reading
}

Troubleshooting and FAQs

Common Issues and Solutions

Issue Possible Cause Solution
Low or no power output Insufficient sunlight or shading Place the panel in direct sunlight.
Dirt or debris on the panel surface Clean the panel with a soft, damp cloth.
Faulty connections Check and secure all connections.
Overheating of connected devices Voltage fluctuations Use a voltage regulator or charge controller.
Battery not charging Incorrect wiring or faulty charge controller Verify wiring and test the charge controller.

FAQs

  1. Can this panel charge a 12V battery?

    • No, this panel is designed for 6V systems. Use a panel with a higher voltage rating for 12V batteries.
  2. Can I connect multiple panels together?

    • Yes, you can connect panels in series to increase voltage or in parallel to increase current. Ensure the total output matches your system requirements.
  3. Is the panel waterproof?

    • The panel itself is weather-resistant, but the connections may need additional waterproofing for outdoor use.
  4. What happens if the panel is partially shaded?

    • Partial shading can significantly reduce the panel's output. Avoid shading for optimal performance.

By following this documentation, you can effectively utilize the 6V 6W 200MM X 170MM Solar Panel in your projects and ensure reliable performance.