
How to Use Humidity sensor BME280: Examples, Pinouts, and Specs
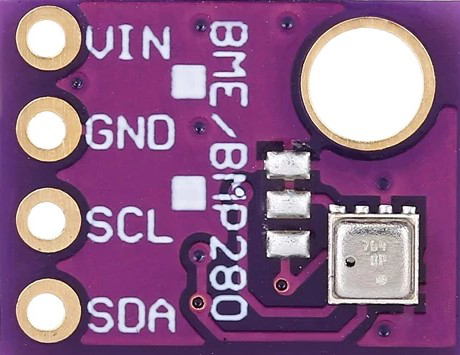
 Design with Humidity sensor BME280 in Cirkit Designer
Introduction
The BME280, manufactured by Bosch Sensortec, is a high-performance digital sensor designed to measure humidity, temperature, and atmospheric pressure. It combines high accuracy, low power consumption, and compact size, making it an excellent choice for environmental monitoring, weather stations, and Internet of Things (IoT) applications. The sensor communicates via I2C or SPI interfaces, ensuring compatibility with a wide range of microcontrollers and development boards.
Explore Projects Built with Humidity sensor BME280
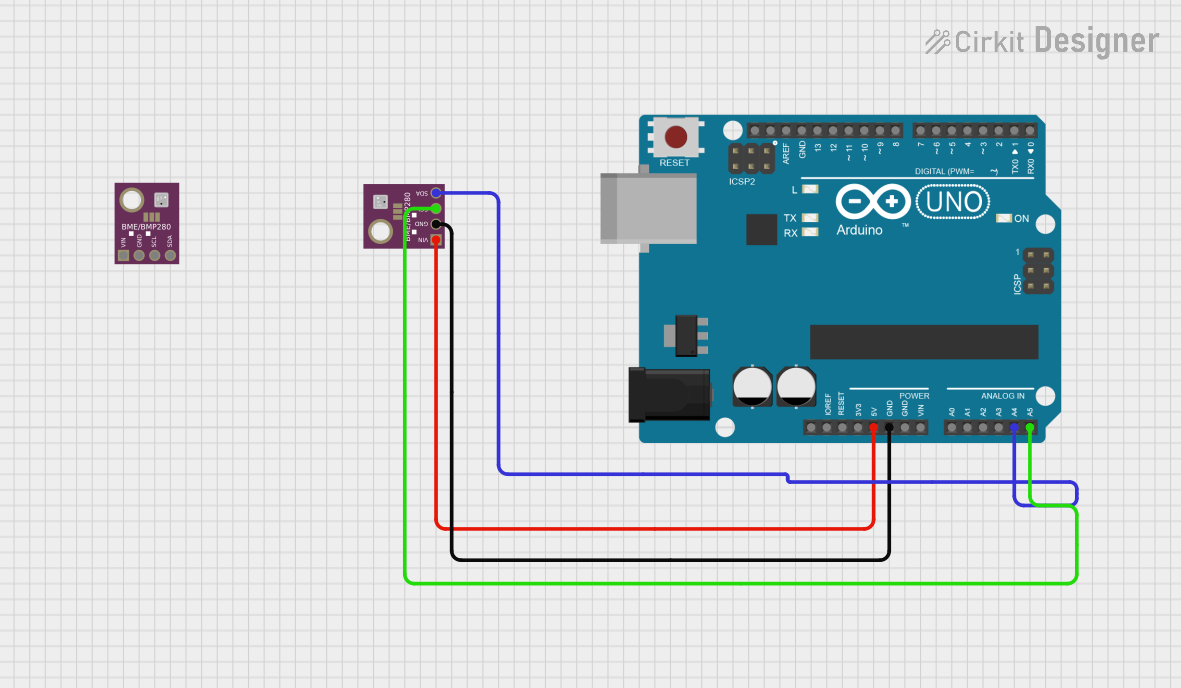 Open Project in Cirkit Designer
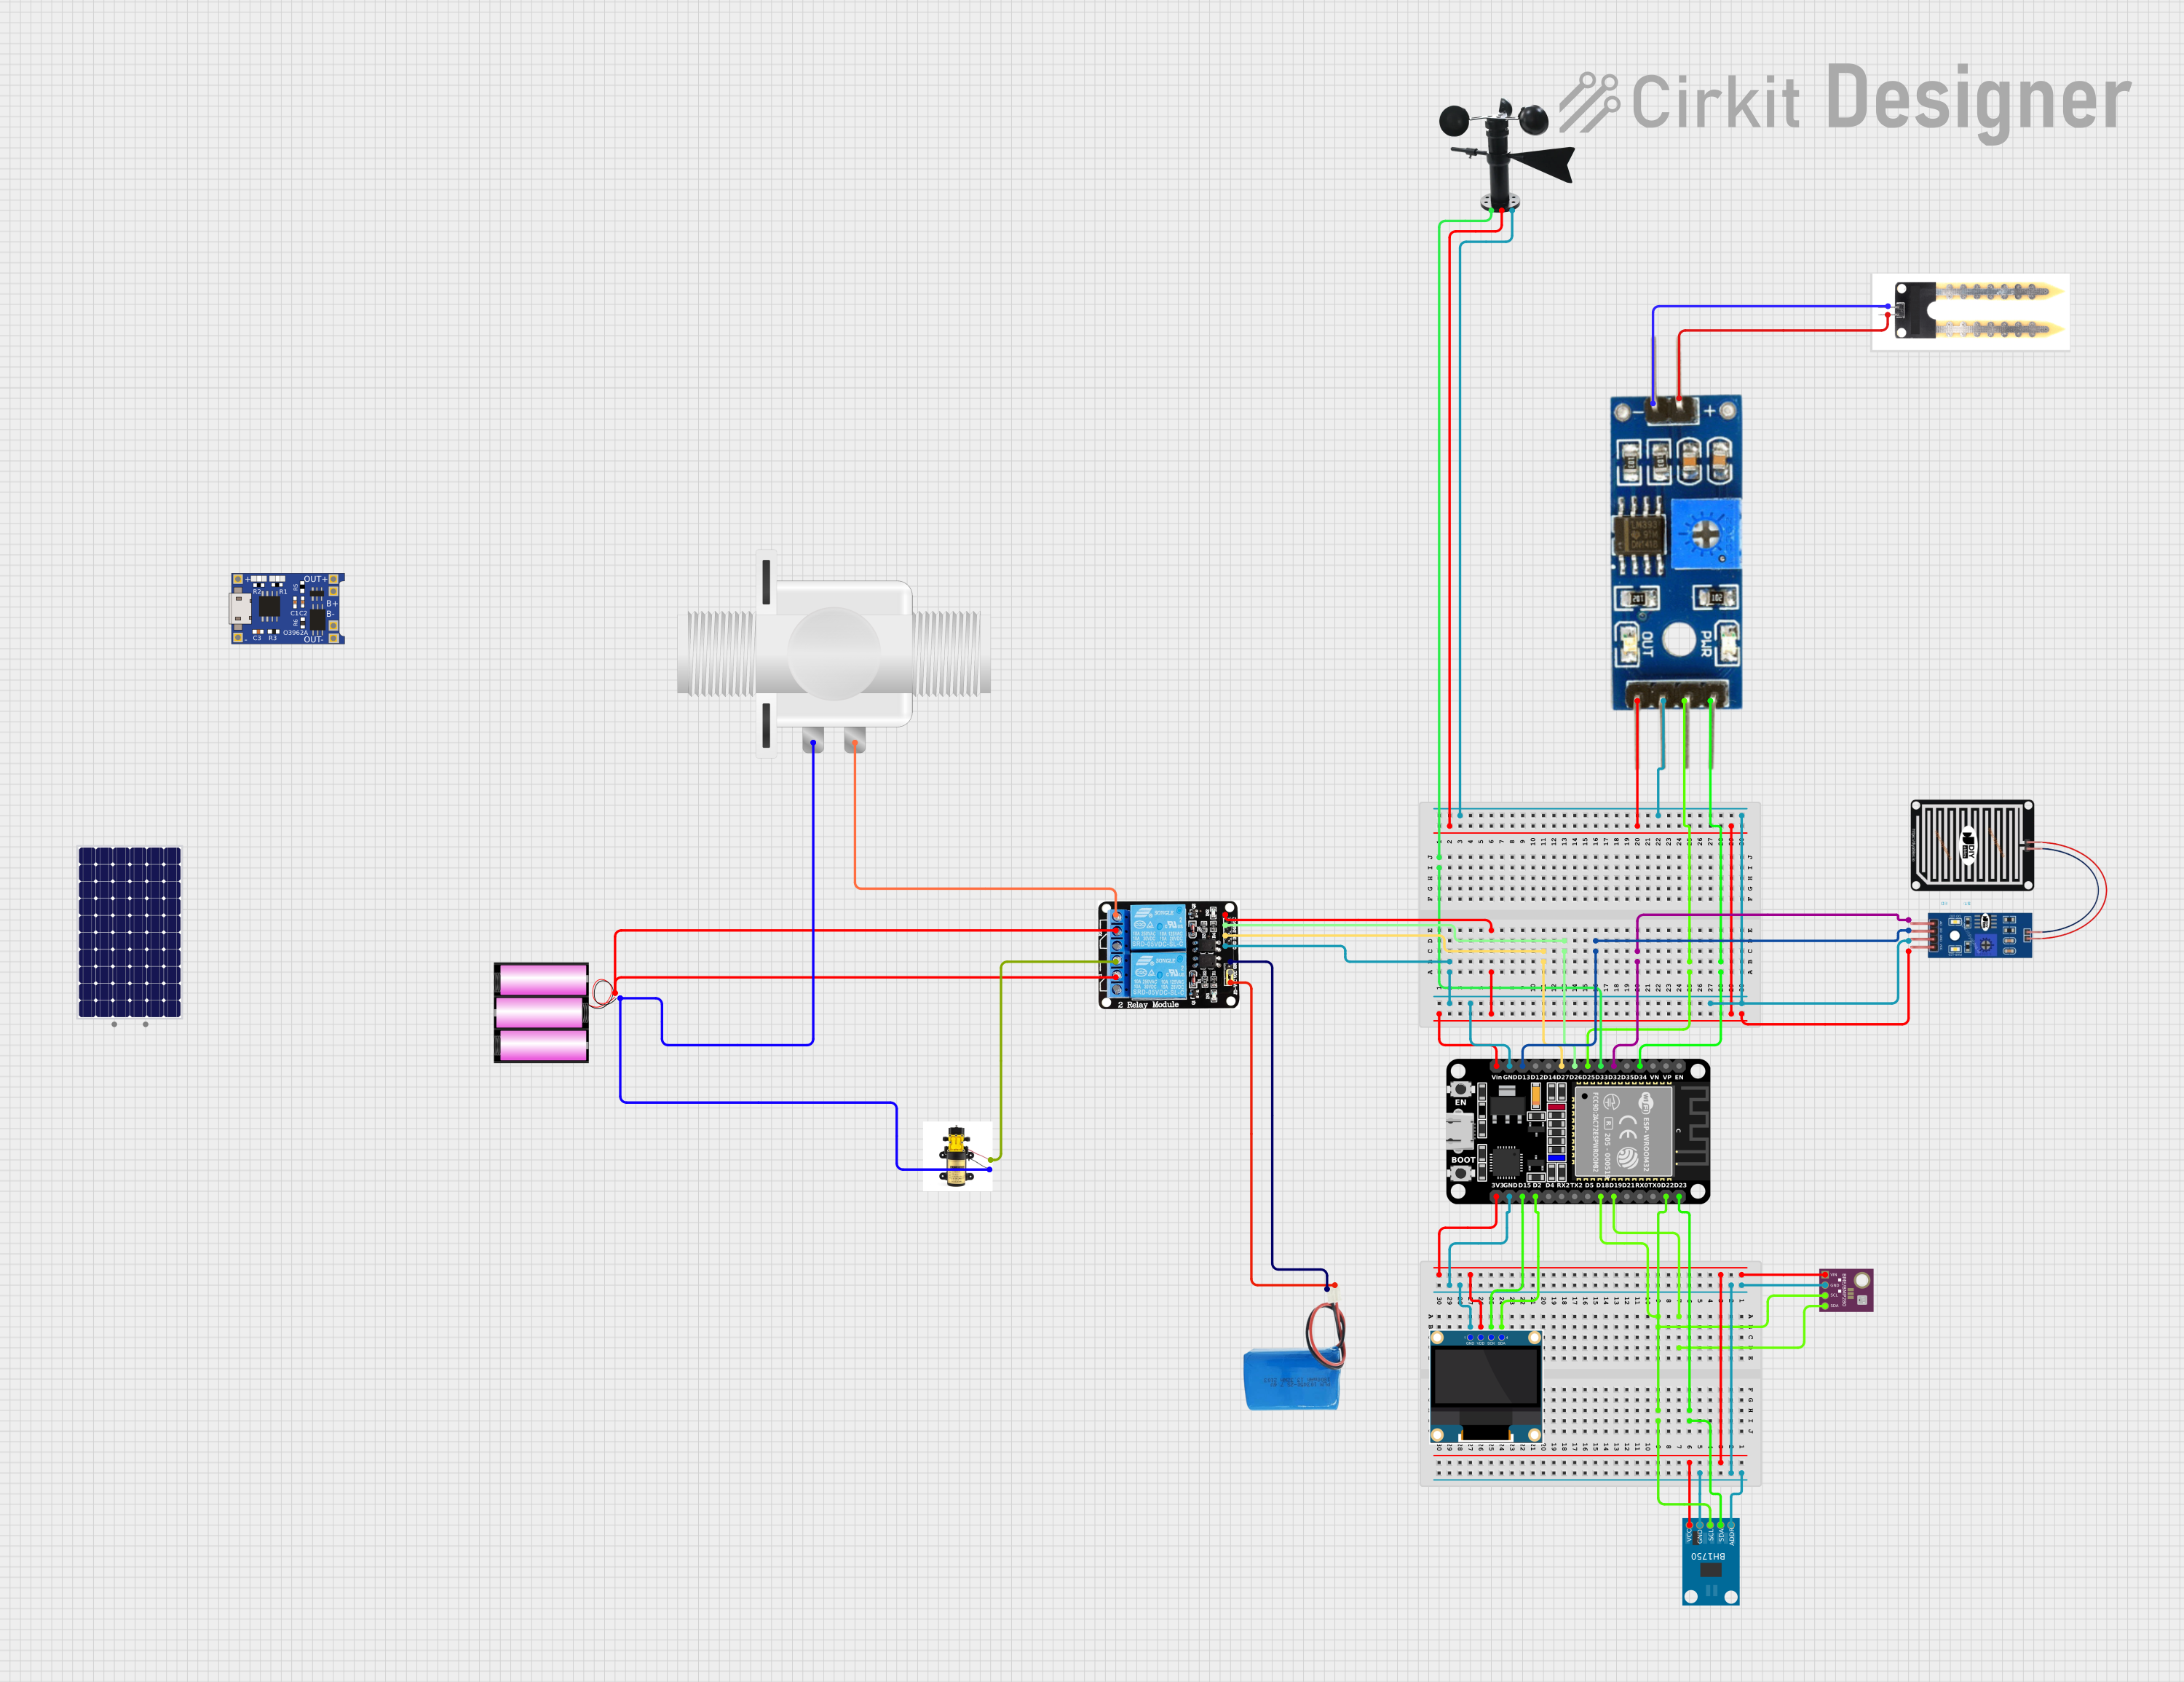 Open Project in Cirkit Designer
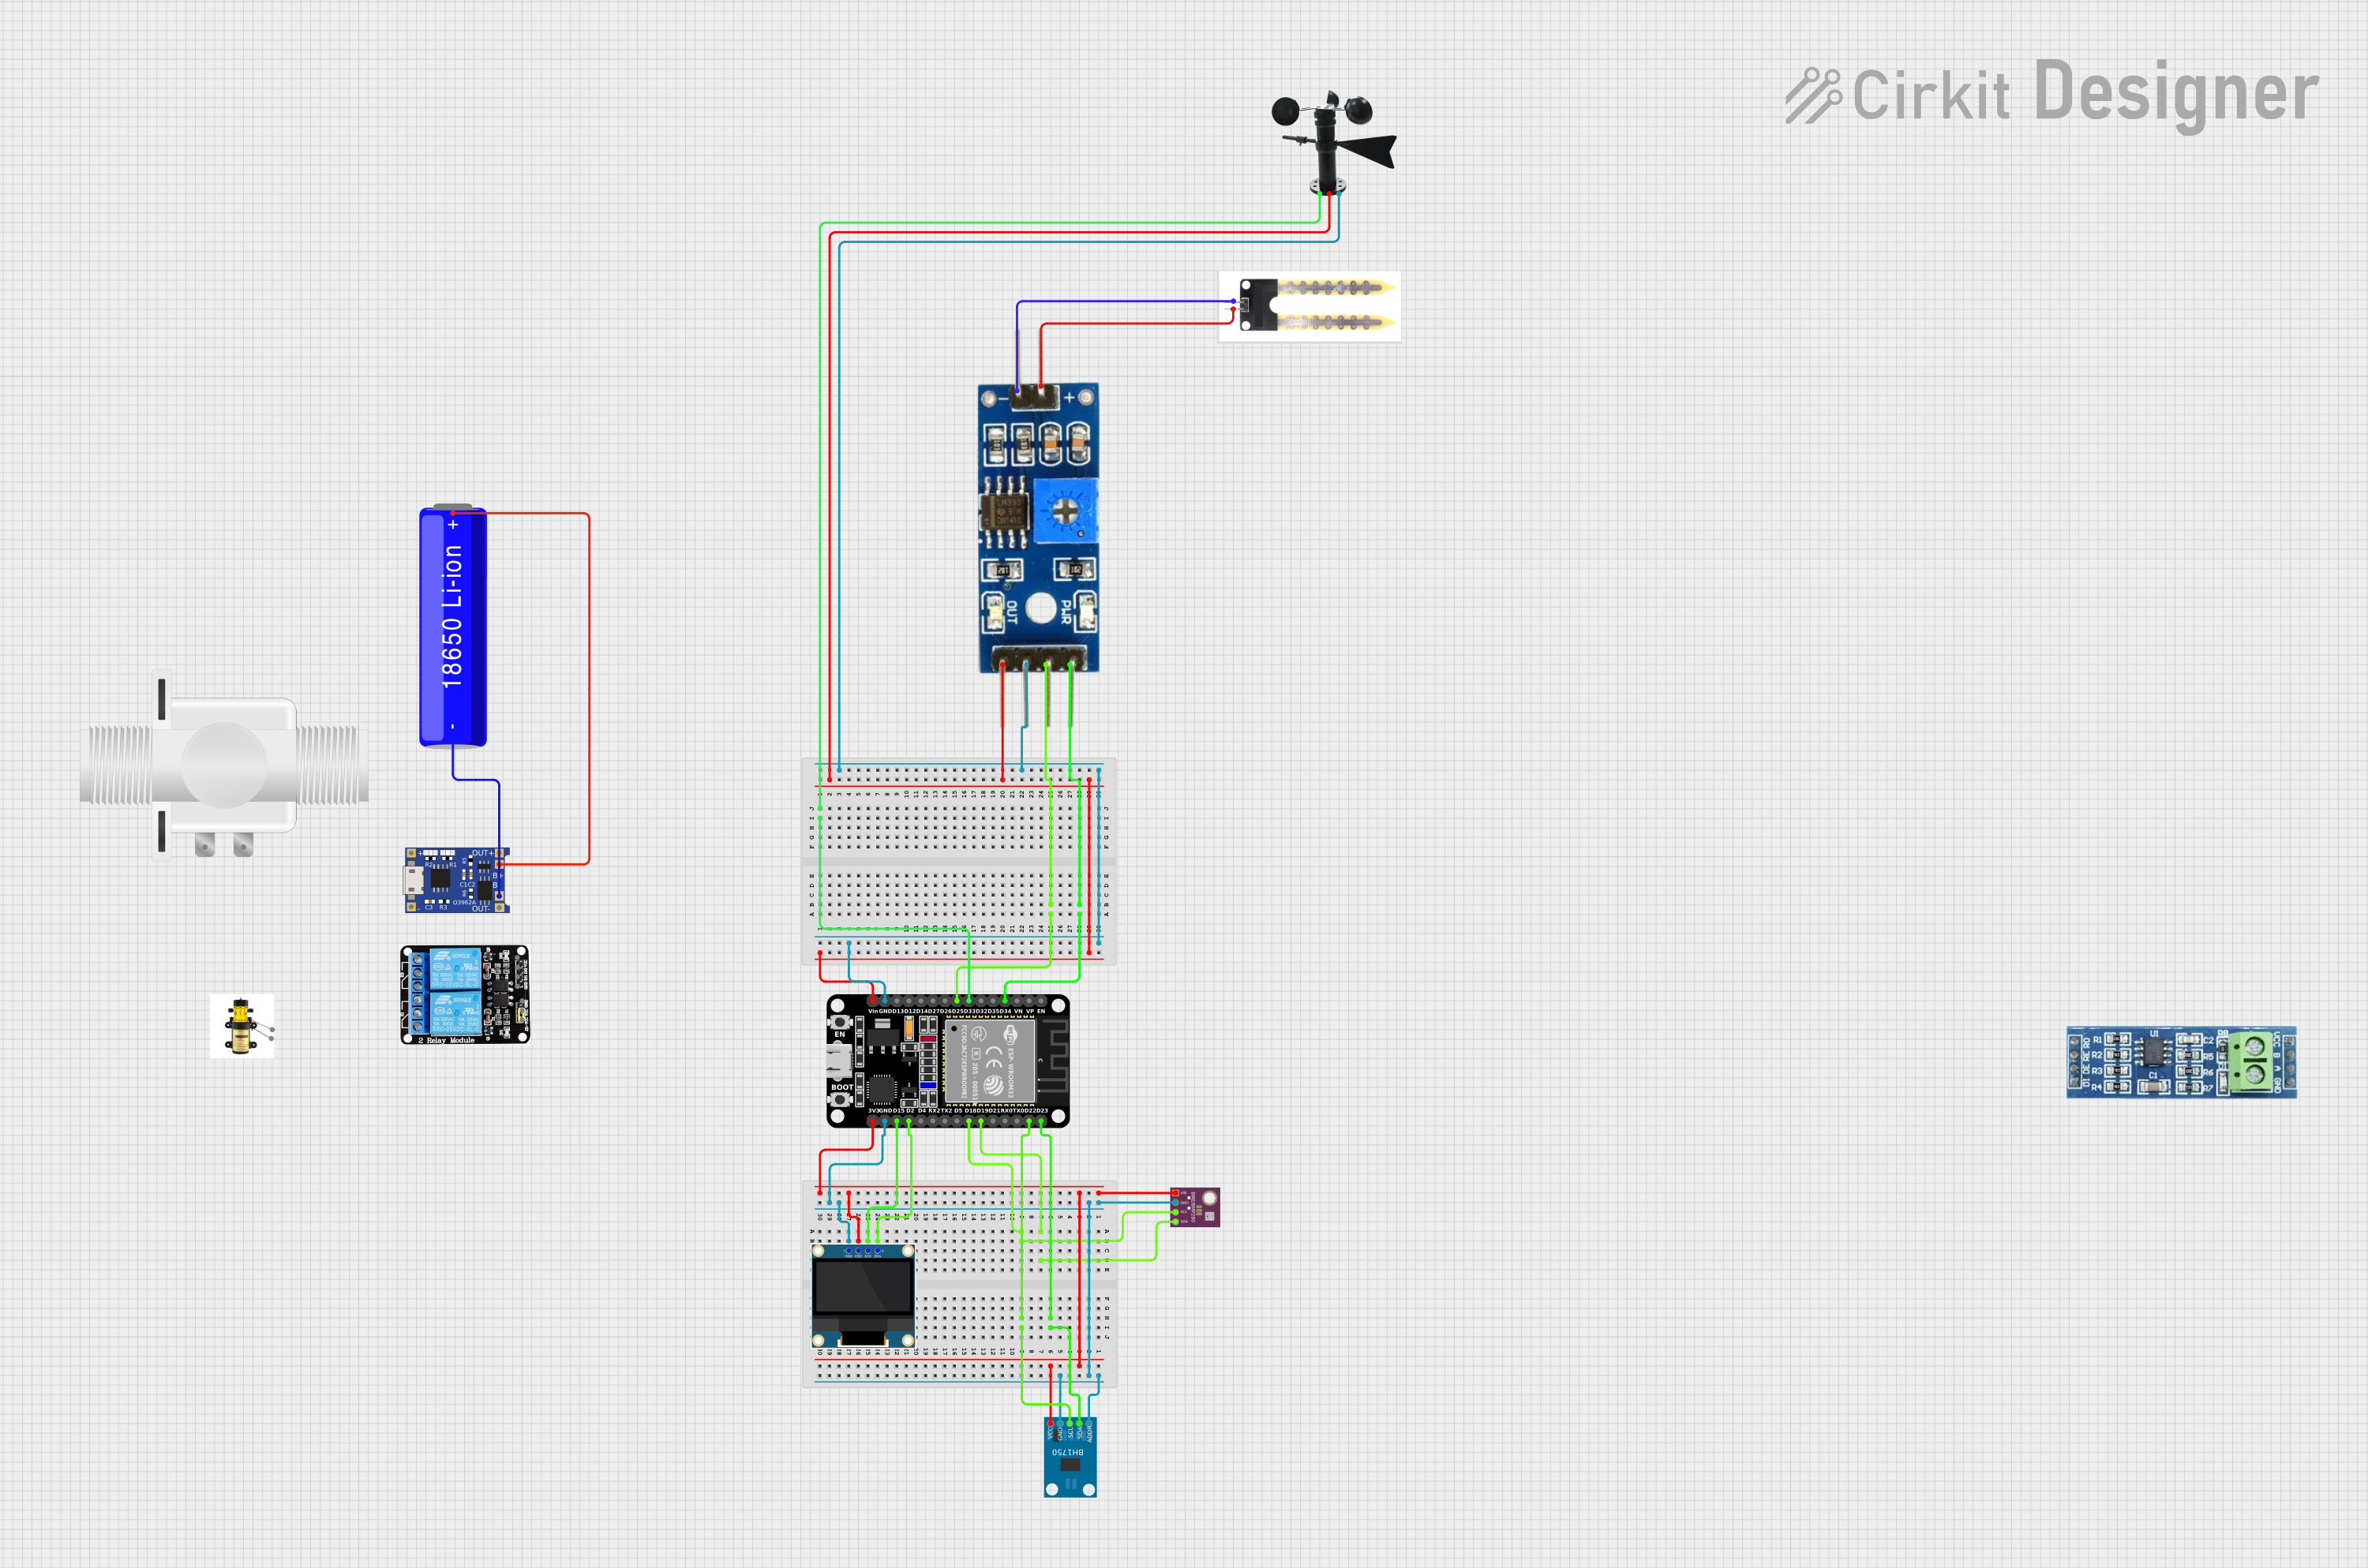 Open Project in Cirkit Designer
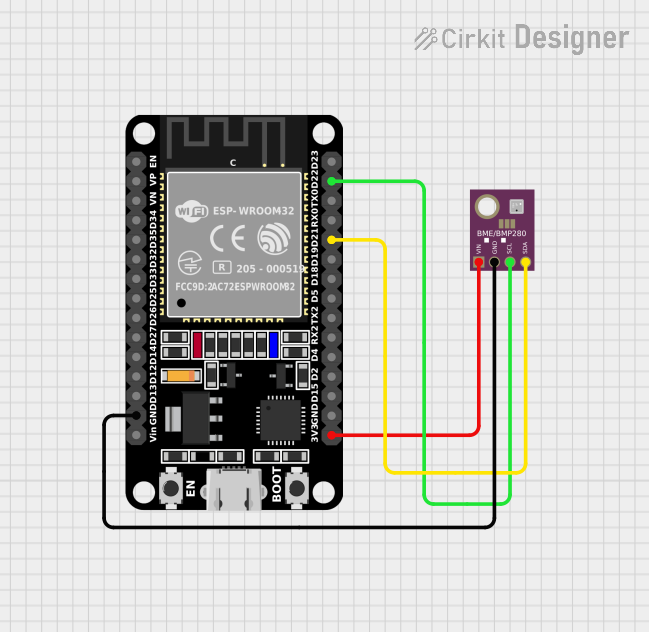 Open Project in Cirkit Designer
Explore Projects Built with Humidity sensor BME280
Open Project in Cirkit DesignerOpen Project in Cirkit DesignerOpen Project in Cirkit DesignerOpen Project in Cirkit DesignerCommon Applications and Use Cases
- Weather monitoring systems
- Indoor air quality monitoring
- IoT devices and smart home applications
- Altitude measurement for drones and navigation systems
- HVAC (Heating, Ventilation, and Air Conditioning) systems
Technical Specifications
The BME280 offers precise environmental measurements with the following key specifications:
| Parameter | Value |
|---|---|
| Supply Voltage (VDD) | 1.71V to 3.6V |
| Interface | I2C (up to 3.4 MHz) / SPI (up to 10 MHz) |
| Humidity Measurement Range | 0% to 100% RH |
| Humidity Accuracy | ±3% RH |
| Temperature Measurement Range | -40°C to +85°C |
| Temperature Accuracy | ±1.0°C |
| Pressure Measurement Range | 300 hPa to 1100 hPa |
| Pressure Accuracy | ±1 hPa |
| Power Consumption (typical) | 3.6 µA (in normal mode) |
| Package Dimensions | 2.5 mm x 2.5 mm x 0.93 mm |
Pin Configuration and Descriptions
The BME280 comes in a small LGA package with the following pinout:
| Pin Name | Pin Number | Description |
|---|---|---|
| VDD | 1 | Power supply (1.71V to 3.6V) |
| GND | 2 | Ground |
| SCL/SPICLK | 3 | I2C clock line / SPI clock input |
| SDA/SDI/SDO | 4 | I2C data line / SPI data input/output |
| CSB | 5 | Chip select for SPI (active low) / I2C address selection |
| SDO | 6 | SPI data output / I2C address selection |
Usage Instructions
How to Use the BME280 in a Circuit
- Power Supply: Connect the VDD pin to a 3.3V power source and the GND pin to ground.
- Interface Selection:
- For I2C communication, connect the SCL and SDA pins to the corresponding I2C pins on your microcontroller. Use pull-up resistors (typically 4.7 kΩ) on both lines.
- For SPI communication, connect the SCL/SPICLK, SDA/SDI/SDO, and CSB pins to the appropriate SPI pins on your microcontroller.
- I2C Address Selection: The I2C address can be set to
0x76or0x77by connecting the SDO pin to GND or VDD, respectively. - Initialization: Configure the sensor using the appropriate library or driver for your microcontroller.
Important Considerations and Best Practices
- Ensure the sensor is placed in an area with good airflow for accurate environmental readings.
- Avoid exposing the sensor to water, dust, or corrosive gases, as these can damage the sensing elements.
- Use decoupling capacitors (e.g., 0.1 µF) near the VDD pin to stabilize the power supply.
- When using I2C, ensure proper pull-up resistors are in place to avoid communication issues.
Example Code for Arduino UNO
Below is an example of how to use the BME280 with an Arduino UNO via I2C. This code uses the Adafruit BME280 library.
#include <Wire.h>
#include <Adafruit_Sensor.h>
#include <Adafruit_BME280.h>

// Create an instance of the BME280 sensor
Adafruit_BME280 bme;

// Define I2C address (default is 0x76)
#define BME280_I2C_ADDRESS 0x76

void setup() {
  Serial.begin(9600);
  while (!Serial); // Wait for serial monitor to open

  // Initialize the BME280 sensor
  if (!bme.begin(BME280_I2C_ADDRESS)) {
    Serial.println("Could not find a valid BME280 sensor, check wiring!");
    while (1); // Halt execution if sensor is not found
  }

  Serial.println("BME280 sensor initialized successfully!");
}

void loop() {
  // Read and print sensor data
  Serial.print("Temperature: ");
  Serial.print(bme.readTemperature());
  Serial.println(" °C");

  Serial.print("Humidity: ");
  Serial.print(bme.readHumidity());
  Serial.println(" %");

  Serial.print("Pressure: ");
  Serial.print(bme.readPressure() / 100.0F); // Convert Pa to hPa
  Serial.println(" hPa");

  delay(2000); // Wait 2 seconds before the next reading
}
Troubleshooting and FAQs
Common Issues and Solutions
Sensor Not Detected:
- Ensure the wiring is correct and matches the selected interface (I2C or SPI).
- Verify the I2C address matches the configuration (default is
0x76). - Check for proper pull-up resistors on the I2C lines.
Inaccurate Readings:
- Ensure the sensor is not exposed to extreme environmental conditions (e.g., water or dust).
- Allow the sensor to stabilize for a few seconds after power-up before taking readings.
Communication Errors:
- Verify the microcontroller's I2C or SPI clock speed is within the sensor's supported range.
- Check for loose or faulty connections in the circuit.
FAQs
Q: Can the BME280 measure altitude?
A: Yes, the BME280 can calculate altitude based on atmospheric pressure readings. Use the formula:Altitude = 44330 * (1 - (Pressure / SeaLevelPressure)^(1/5.255)).
Q: What is the difference between the BME280 and BMP280?
A: The BME280 measures humidity, temperature, and pressure, while the BMP280 only measures temperature and pressure.
Q: Can the BME280 operate at 5V?
A: No, the BME280 operates at a maximum voltage of 3.6V. Use a level shifter if interfacing with a 5V system.