
How to Use USB_MICROB_PLUG: Examples, Pinouts, and Specs
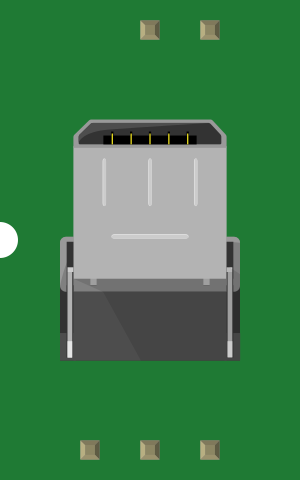
 Design with USB_MICROB_PLUG in Cirkit Designer
Introduction
The USB Micro-B plug is a compact and widely used connector designed for data transfer and charging applications. It is commonly found in electronic devices such as smartphones, tablets, digital cameras, and portable power banks. Its small form factor and durability make it ideal for portable devices where space is limited. The USB Micro-B plug is part of the USB 2.0 and USB 3.0 standards, ensuring compatibility with a wide range of devices and peripherals.
Explore Projects Built with USB_MICROB_PLUG
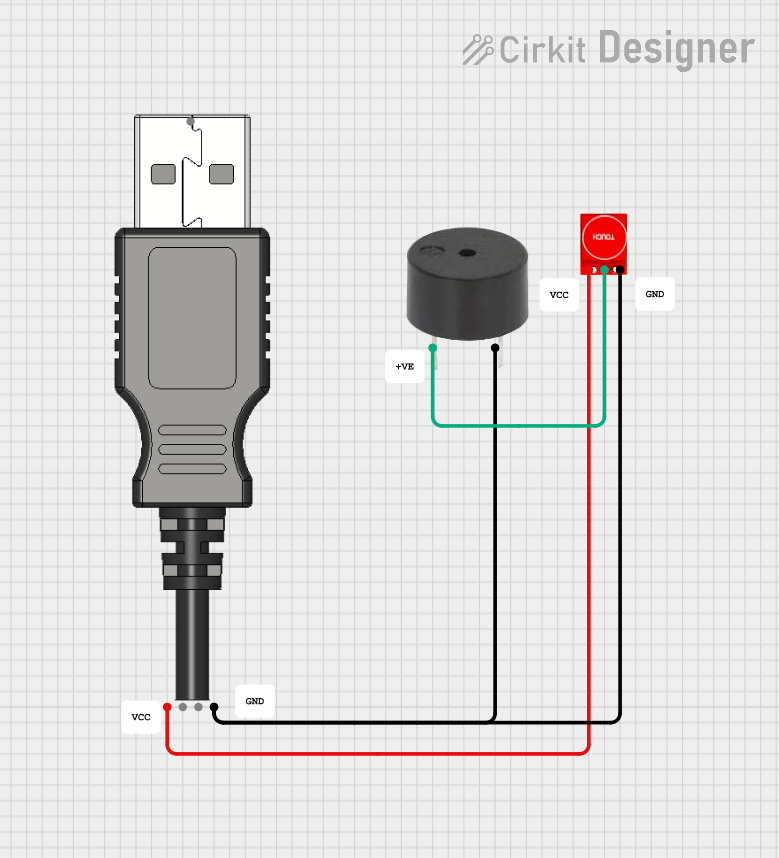 Open Project in Cirkit Designer
 Open Project in Cirkit Designer
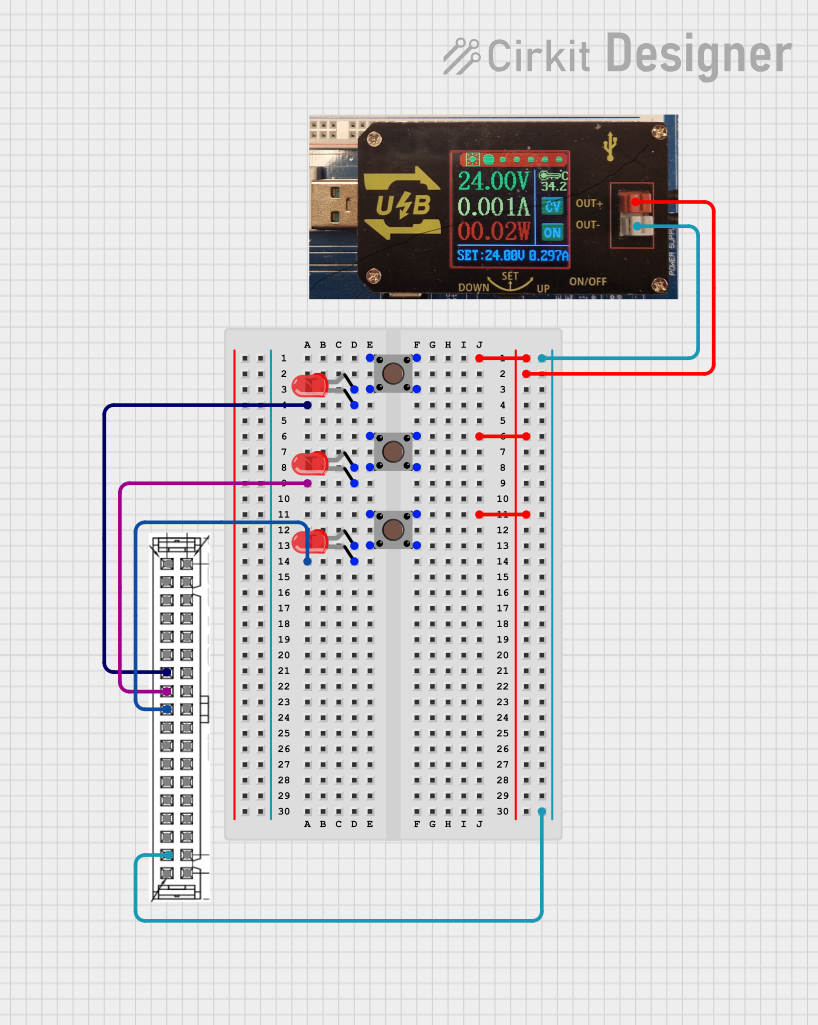 Open Project in Cirkit Designer
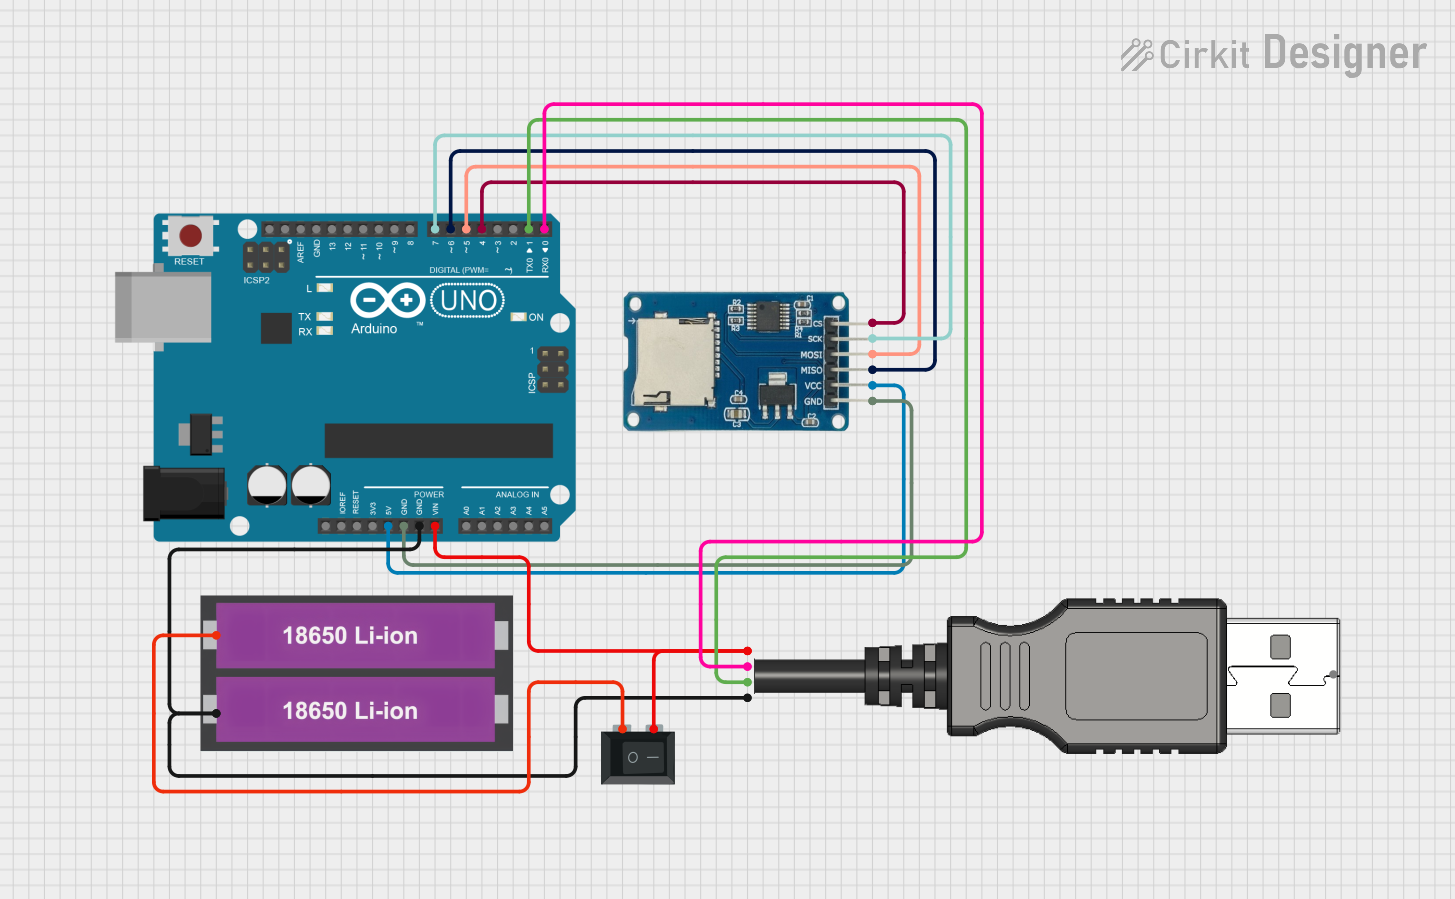 Open Project in Cirkit Designer
Explore Projects Built with USB_MICROB_PLUG
Open Project in Cirkit DesignerOpen Project in Cirkit DesignerOpen Project in Cirkit DesignerOpen Project in Cirkit DesignerCommon Applications and Use Cases
- Charging portable devices such as smartphones, tablets, and power banks.
- Data transfer between devices and computers.
- Connecting peripherals like external hard drives, cameras, and audio devices.
- Embedded systems and DIY electronics projects requiring USB connectivity.
Technical Specifications
Key Technical Details
- Connector Type: USB Micro-B (Plug)
- Standards Supported: USB 2.0, USB 3.0 (depending on the specific plug design)
- Voltage Rating: 5V DC (standard USB voltage)
- Current Rating: Up to 2.1A (varies by cable and device)
- Data Transfer Rate: Up to 480 Mbps (USB 2.0) or 5 Gbps (USB 3.0)
- Durability: Rated for approximately 10,000 insertion/removal cycles
- Dimensions: 6.85mm x 1.8mm (plug size)
Pin Configuration and Descriptions
The USB Micro-B plug has five pins for USB 2.0 and an additional set of pins for USB 3.0. Below is the pinout for USB 2.0 Micro-B plugs:
| Pin Number | Name | Description |
|---|---|---|
| 1 | VBUS | Power supply (5V DC) |
| 2 | D- | Data line (negative) |
| 3 | D+ | Data line (positive) |
| 4 | ID | Identification pin (used in OTG applications) |
| 5 | GND | Ground |
For USB 3.0 Micro-B plugs, additional pins are present to support higher data transfer rates. These are typically located on a separate section of the connector.
Usage Instructions
How to Use the USB Micro-B Plug in a Circuit
- Connecting to a Device: Insert the USB Micro-B plug into the corresponding Micro-B port on your device. Ensure proper orientation to avoid damaging the connector.
- Power Supply: Use a USB power source (e.g., wall adapter, power bank, or computer USB port) to supply 5V DC to the VBUS pin.
- Data Transfer: Connect the D+ and D- pins to the appropriate data lines of your circuit or microcontroller for communication.
- Grounding: Ensure the GND pin is connected to the ground of your circuit to complete the electrical connection.
Important Considerations and Best Practices
- Orientation: The USB Micro-B plug is not reversible. Align the plug correctly with the port to avoid damage.
- Current Rating: Ensure the cable and plug can handle the required current for your application to prevent overheating.
- Cable Length: Use shorter cables for high-speed data transfer to minimize signal degradation.
- OTG Applications: For USB On-The-Go (OTG) functionality, the ID pin must be configured appropriately (e.g., connected to ground for host mode).
Example: Connecting to an Arduino UNO
While the Arduino UNO does not have a USB Micro-B port, you can use a USB Micro-B plug in conjunction with a USB-to-serial adapter or a custom circuit. Below is an example of how to use the USB Micro-B plug for powering an Arduino UNO:
// Example: Powering an Arduino UNO via USB Micro-B plug
// Ensure the USB Micro-B plug is connected to a 5V power source.
// The VBUS pin supplies power to the Arduino's 5V pin.

void setup() {
  // No setup required for power-only connections.
}

void loop() {
  // The Arduino will run its programmed sketch as usual.
  // Ensure the USB Micro-B plug is securely connected to the power source.
}
Troubleshooting and FAQs
Common Issues Users Might Face
- Loose Connection: The plug may not fit securely into the port.
- Solution: Ensure the plug is properly aligned and fully inserted. Check for debris in the port.
- No Power or Data Transfer: The device does not charge or communicate with the computer.
- Solution: Verify the cable and plug are functional. Test with another device or cable.
- Overheating: The plug or cable becomes excessively hot during use.
- Solution: Ensure the current rating of the cable matches the device's requirements. Replace damaged cables.
Solutions and Tips for Troubleshooting
- Check Compatibility: Ensure the USB Micro-B plug is compatible with the device's port and specifications.
- Inspect for Damage: Look for bent pins or physical damage to the plug or port.
- Use Quality Cables: Low-quality cables may not support high current or data transfer rates.
By following these guidelines, you can effectively use the USB Micro-B plug in your projects and devices.