
How to Use MIC4575 (TO263): Examples, Pinouts, and Specs
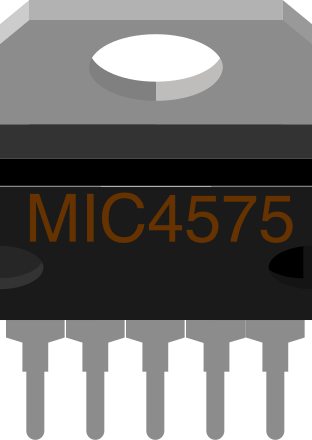
 Design with MIC4575 (TO263) in Cirkit Designer
Introduction
The MIC4575 is a high-efficiency step-down (buck) switching regulator manufactured by Microchip Technology. It is capable of delivering up to 1.5A of output current with high efficiency, making it ideal for applications requiring efficient power conversion. The MIC4575 operates over a wide input voltage range of 4V to 40V and features a low quiescent current, integrated thermal shutdown, and overcurrent protection. Its compact TO-263 package makes it suitable for space-constrained designs.
Explore Projects Built with MIC4575 (TO263)
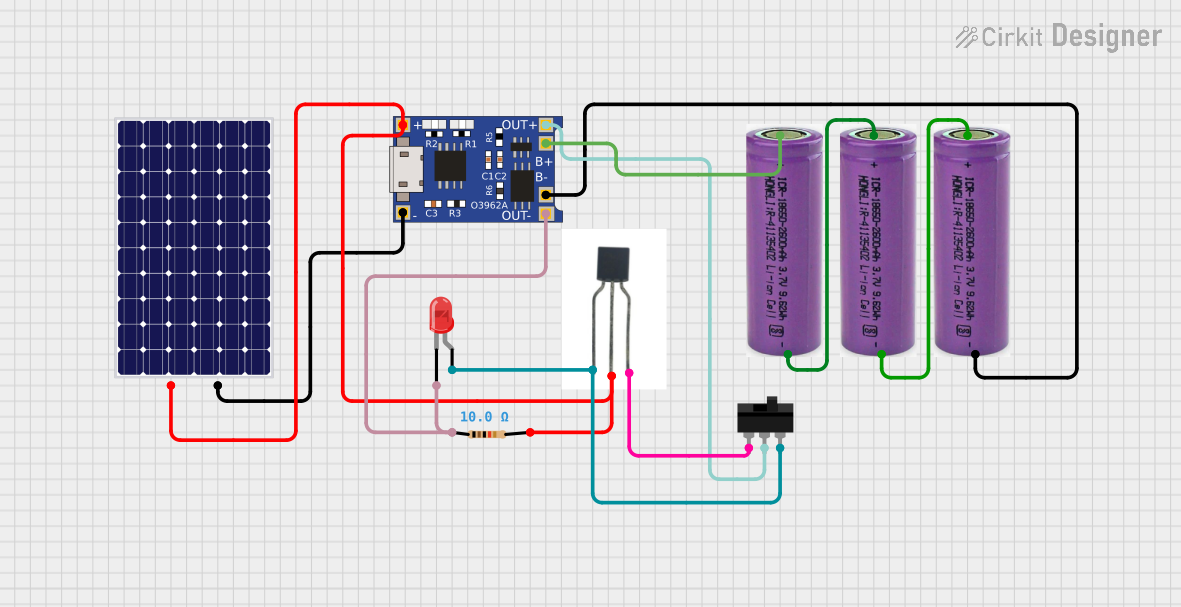 Open Project in Cirkit Designer
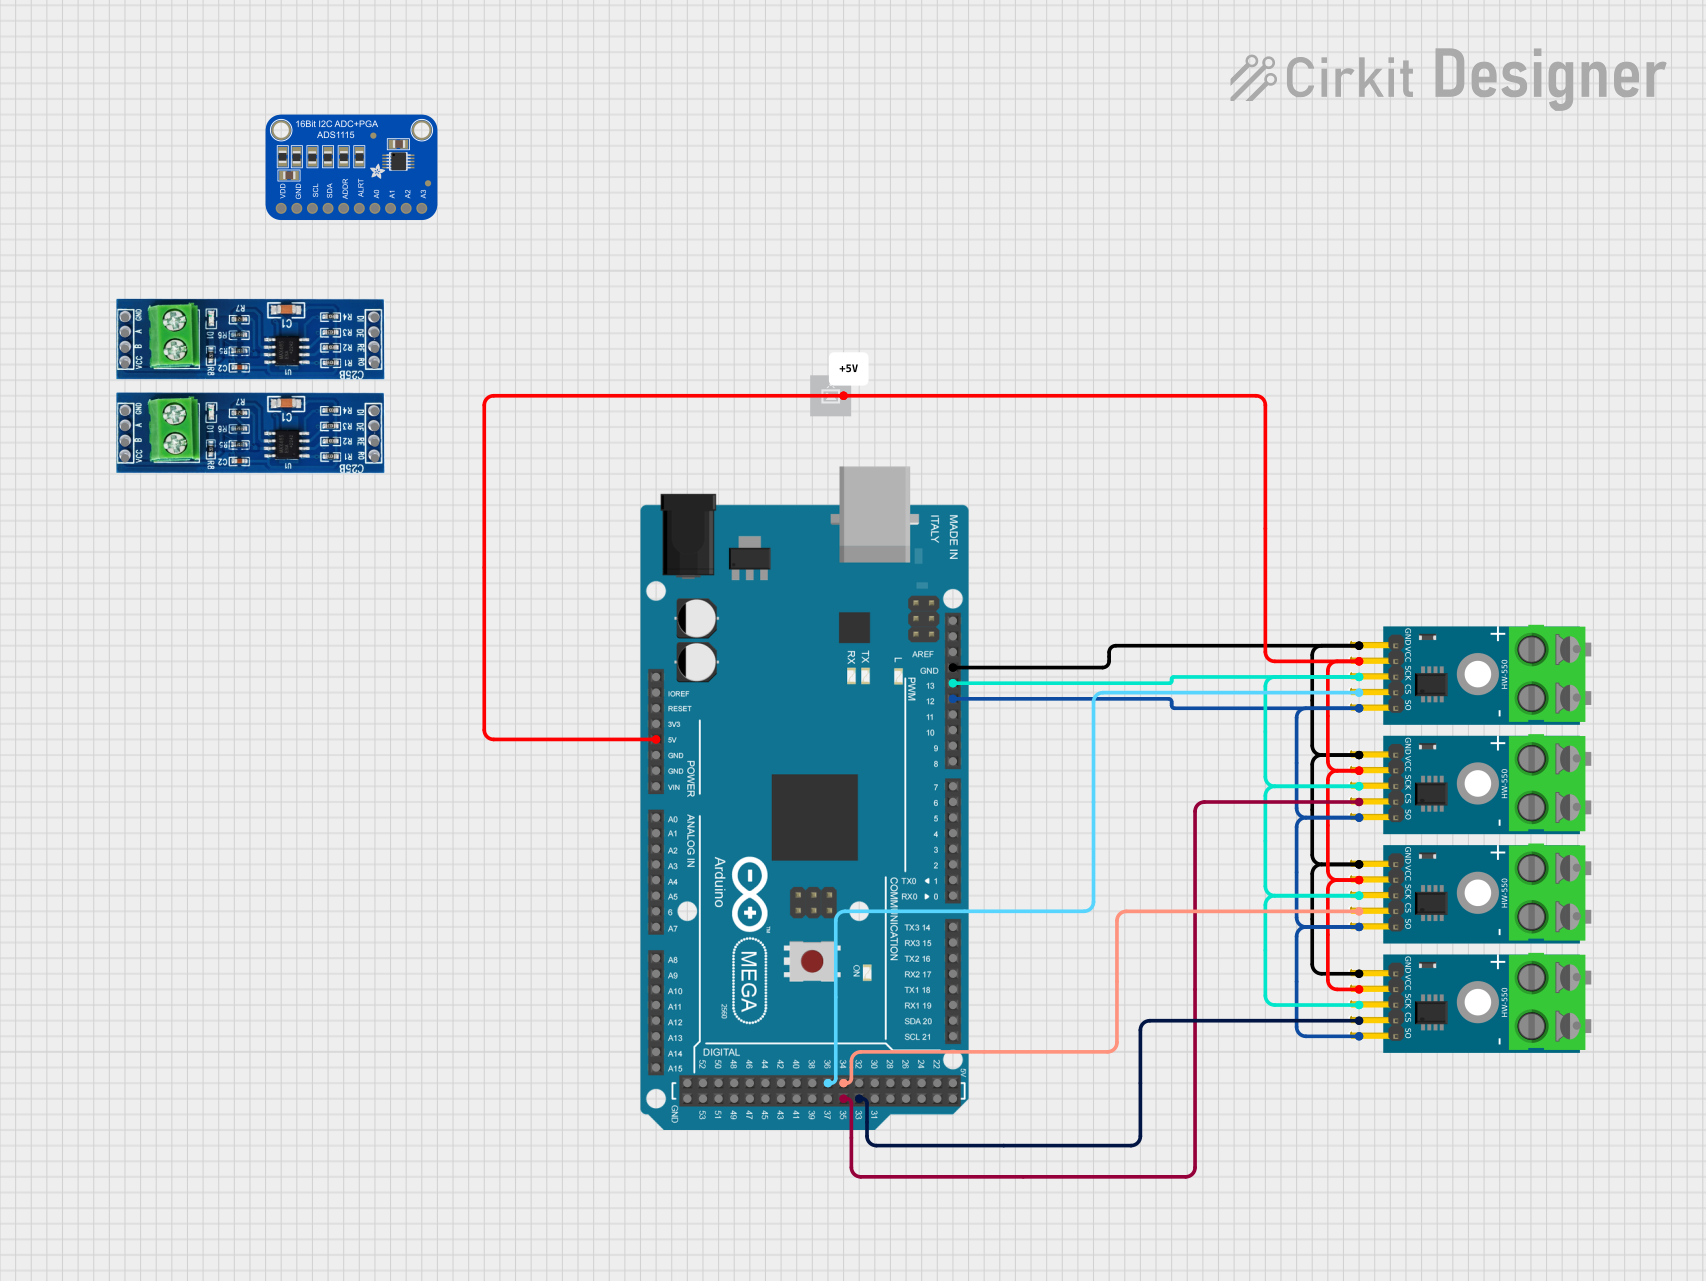 Open Project in Cirkit Designer
 Open Project in Cirkit Designer
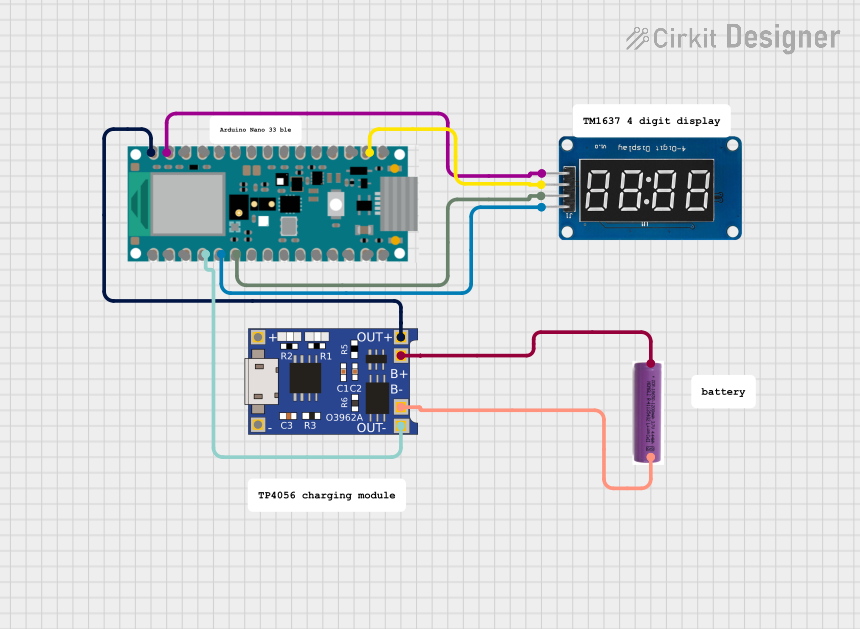 Open Project in Cirkit Designer
Explore Projects Built with MIC4575 (TO263)
Open Project in Cirkit DesignerOpen Project in Cirkit DesignerOpen Project in Cirkit DesignerOpen Project in Cirkit DesignerCommon Applications
- Industrial power supplies
- Battery-powered systems
- Automotive electronics
- Distributed power systems
- Consumer electronics
Technical Specifications
Key Specifications
| Parameter | Value |
|---|---|
| Input Voltage Range | 4V to 40V |
| Output Voltage Range | 1.23V to 37V (adjustable) |
| Output Current | Up to 1.5A |
| Efficiency | Up to 90% |
| Switching Frequency | 200 kHz (fixed) |
| Quiescent Current | 5 mA (typical) |
| Thermal Shutdown | Yes |
| Overcurrent Protection | Yes |
| Package Type | TO-263 |
Pin Configuration
The MIC4575 in the TO-263 package has 5 pins. The table below describes each pin:
| Pin Number | Pin Name | Description |
|---|---|---|
| 1 | VIN | Input voltage pin. Connect to the unregulated DC input voltage. |
| 2 | GND | Ground pin. Connect to the system ground. |
| 3 | SW | Switch output. Connect to the inductor and diode in the output circuit. |
| 4 | FB | Feedback pin. Used to set the output voltage via an external resistor divider. |
| 5 | ON/OFF | Enable pin. Logic high enables the regulator; logic low disables it. |
Usage Instructions
Using the MIC4575 in a Circuit
- Input Voltage: Connect the input voltage (4V to 40V) to the VIN pin. Ensure the input voltage is within the specified range.
- Output Voltage Adjustment: Use a resistor divider network connected to the FB pin to set the desired output voltage. The output voltage can be calculated using the formula: [ V_{OUT} = V_{REF} \times \left(1 + \frac{R1}{R2}\right) ] where ( V_{REF} ) is 1.23V (reference voltage), and ( R1 ) and ( R2 ) are the resistors in the divider.
- Inductor and Diode Selection: Choose an appropriate inductor and Schottky diode based on the output voltage and current requirements. Refer to the datasheet for recommended values.
- Enable/Disable Control: Use the ON/OFF pin to enable or disable the regulator. Connect it to a logic high (e.g., VIN) to enable the regulator or to ground to disable it.
- Output Capacitor: Use a low ESR capacitor at the output to ensure stable operation and reduce ripple.
Example Circuit with Arduino UNO
The MIC4575 can be used to power an Arduino UNO from a higher voltage source. Below is an example circuit and Arduino code to control the ON/OFF pin.
Circuit Connections
- Connect a 12V DC input to the VIN pin of the MIC4575.
- Set the output voltage to 5V using a resistor divider network.
- Connect the output of the MIC4575 to the 5V pin of the Arduino UNO.
- Connect the ON/OFF pin of the MIC4575 to a digital pin (e.g., D7) of the Arduino UNO.
Arduino Code
// MIC4575 ON/OFF Control Example
// This code toggles the ON/OFF pin of the MIC4575 using Arduino pin D7.

#define MIC4575_ON_OFF_PIN 7  // Define the Arduino pin connected to MIC4575 ON/OFF

void setup() {
  pinMode(MIC4575_ON_OFF_PIN, OUTPUT);  // Set the pin as an output
  digitalWrite(MIC4575_ON_OFF_PIN, HIGH);  // Enable the MIC4575 regulator
}

void loop() {
  // Toggle the MIC4575 ON/OFF pin every 5 seconds
  digitalWrite(MIC4575_ON_OFF_PIN, LOW);  // Disable the regulator
  delay(5000);  // Wait for 5 seconds
  digitalWrite(MIC4575_ON_OFF_PIN, HIGH);  // Enable the regulator
  delay(5000);  // Wait for 5 seconds
}
Best Practices
- Use proper decoupling capacitors at the input and output to minimize noise and ensure stable operation.
- Ensure the inductor and diode are rated for the maximum output current.
- Keep the feedback resistor network and other sensitive components close to the IC to reduce noise.
- Use a heat sink or proper PCB layout to manage heat dissipation in high-power applications.
Troubleshooting and FAQs
Common Issues and Solutions
Output Voltage is Incorrect:
- Verify the resistor values in the feedback network.
- Check for loose or incorrect connections.
- Ensure the input voltage is within the specified range.
Excessive Heat Generation:
- Ensure the inductor and diode are properly rated.
- Check for short circuits or excessive load current.
- Improve heat dissipation by using a heat sink or proper PCB layout.
Regulator Does Not Turn On:
- Verify the ON/OFF pin voltage. Ensure it is logic high to enable the regulator.
- Check the input voltage and connections.
High Output Ripple:
- Use a low ESR output capacitor.
- Ensure proper grounding and minimize the length of high-current traces.
FAQs
Q1: Can the MIC4575 be used with a 24V input to generate a 5V output?
A1: Yes, the MIC4575 supports an input voltage range of 4V to 40V and can step down 24V to 5V efficiently.
Q2: What is the maximum output current of the MIC4575?
A2: The MIC4575 can deliver up to 1.5A of output current.
Q3: Is the MIC4575 suitable for battery-powered applications?
A3: Yes, its high efficiency and low quiescent current make it ideal for battery-powered systems.
Q4: Can the MIC4575 operate without an external diode?
A4: No, an external Schottky diode is required for proper operation of the MIC4575.
Q5: How do I calculate the inductor value for my application?
A5: Refer to the datasheet for recommended inductor values based on the input voltage, output voltage, and load current.