How to Use Mini Diaphragm Water Pump: Examples, Pinouts, and Specs
Introduction
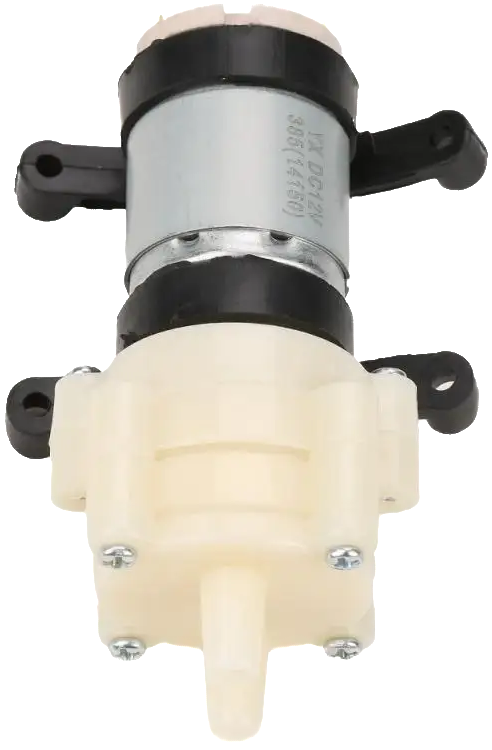
The Mini Diaphragm Water Pump by HJ is a compact and versatile pump designed for the controlled movement of liquids. Utilizing a flexible diaphragm, it provides reliable performance in various applications such as automated plant watering systems, portable water dispensers, and medical devices.
Explore Projects Built with Mini Diaphragm Water Pump
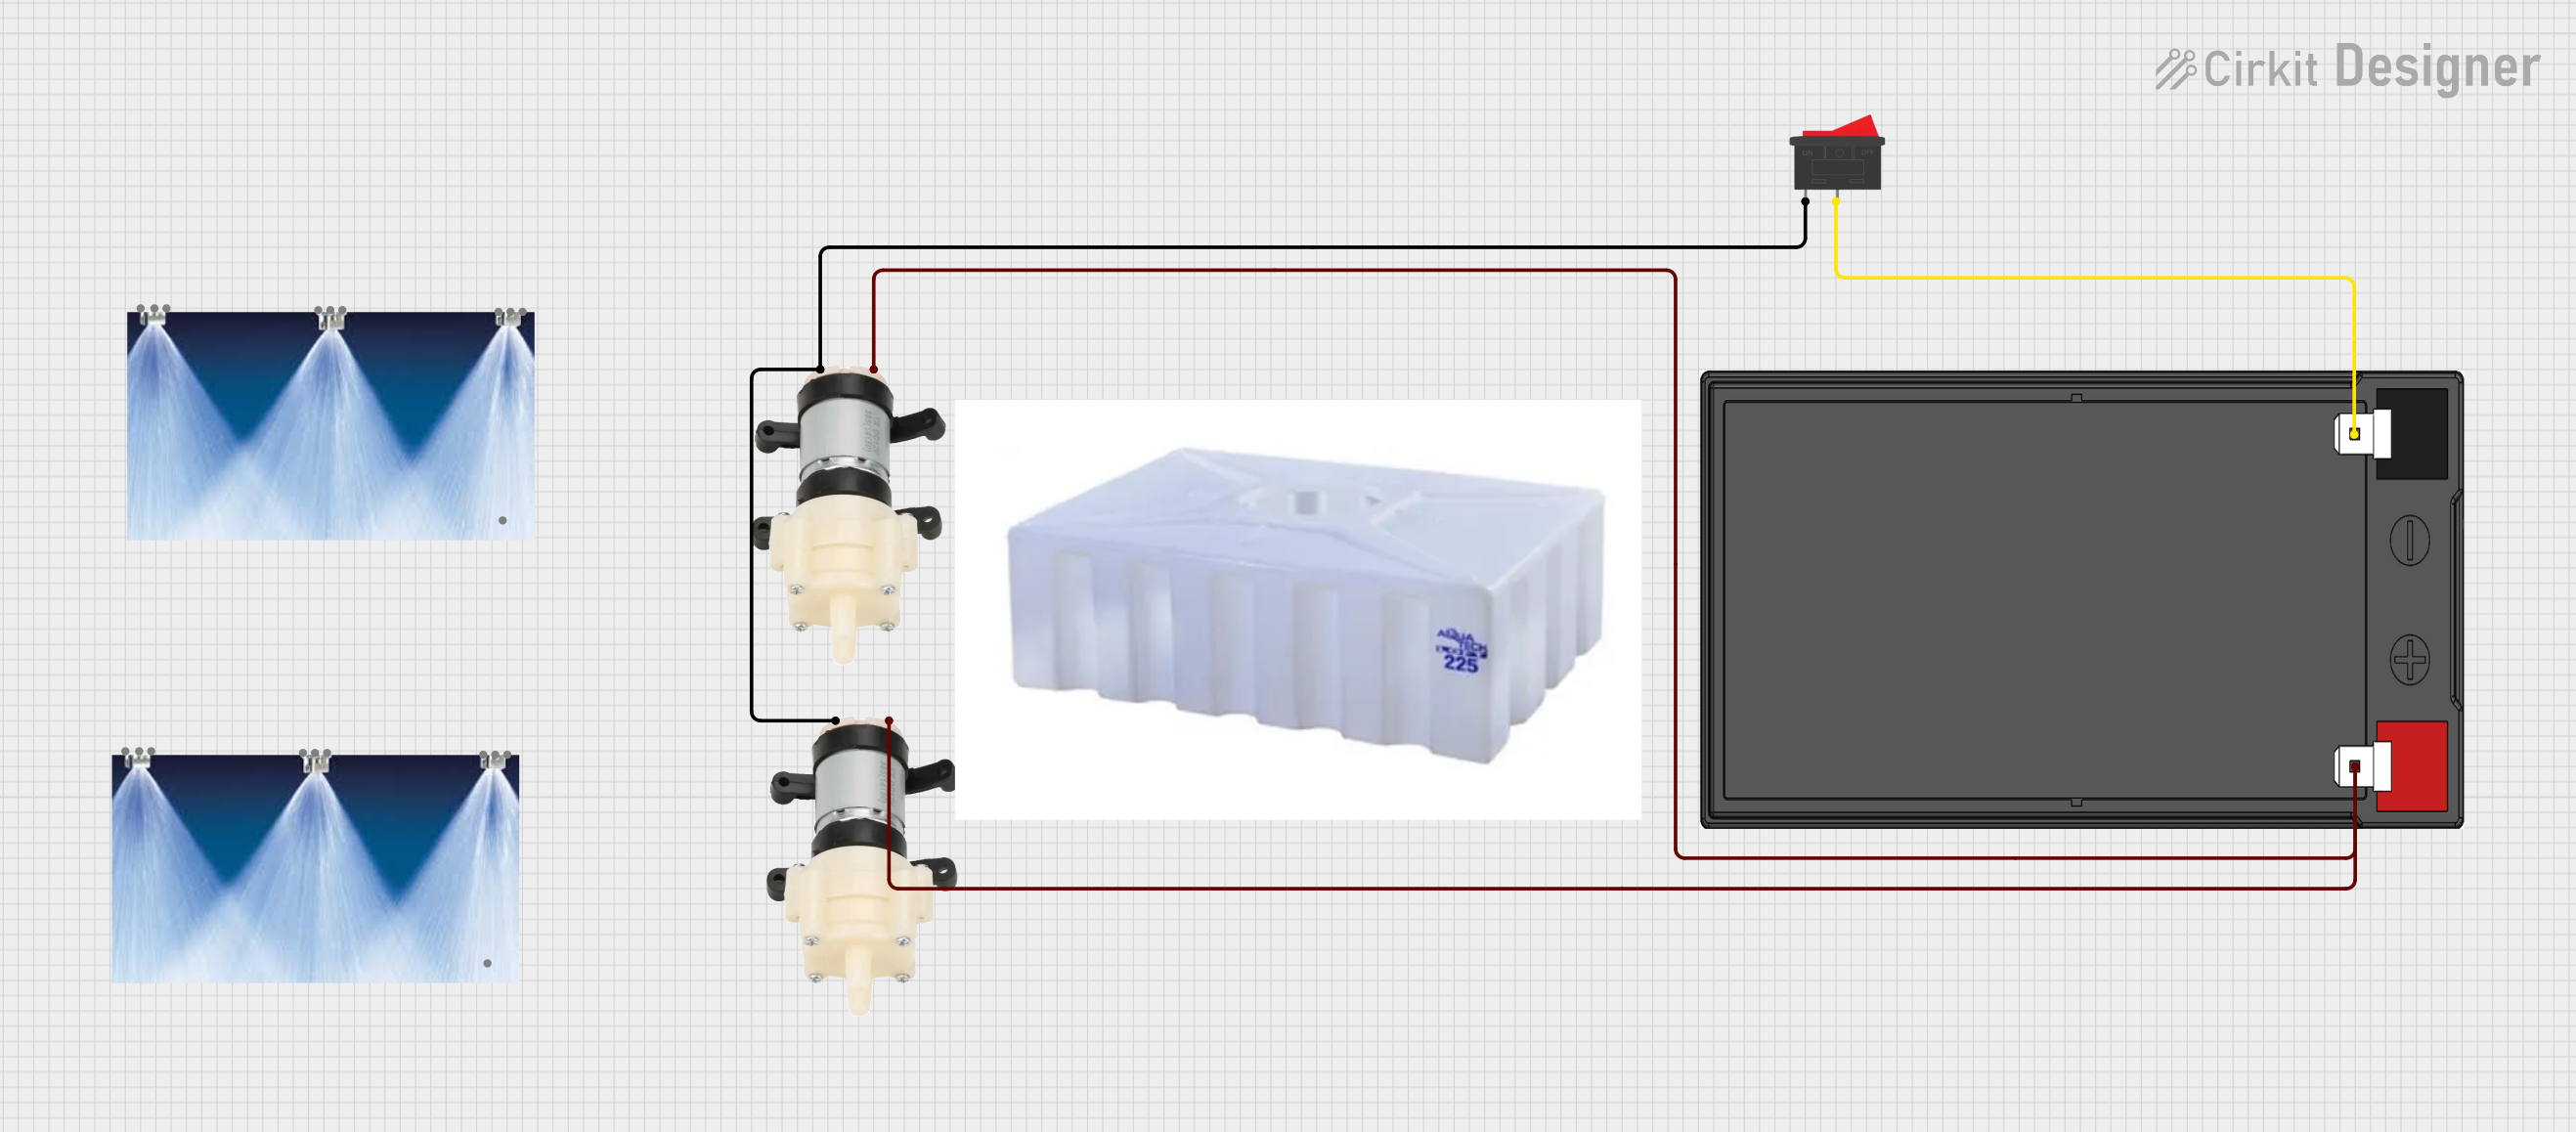
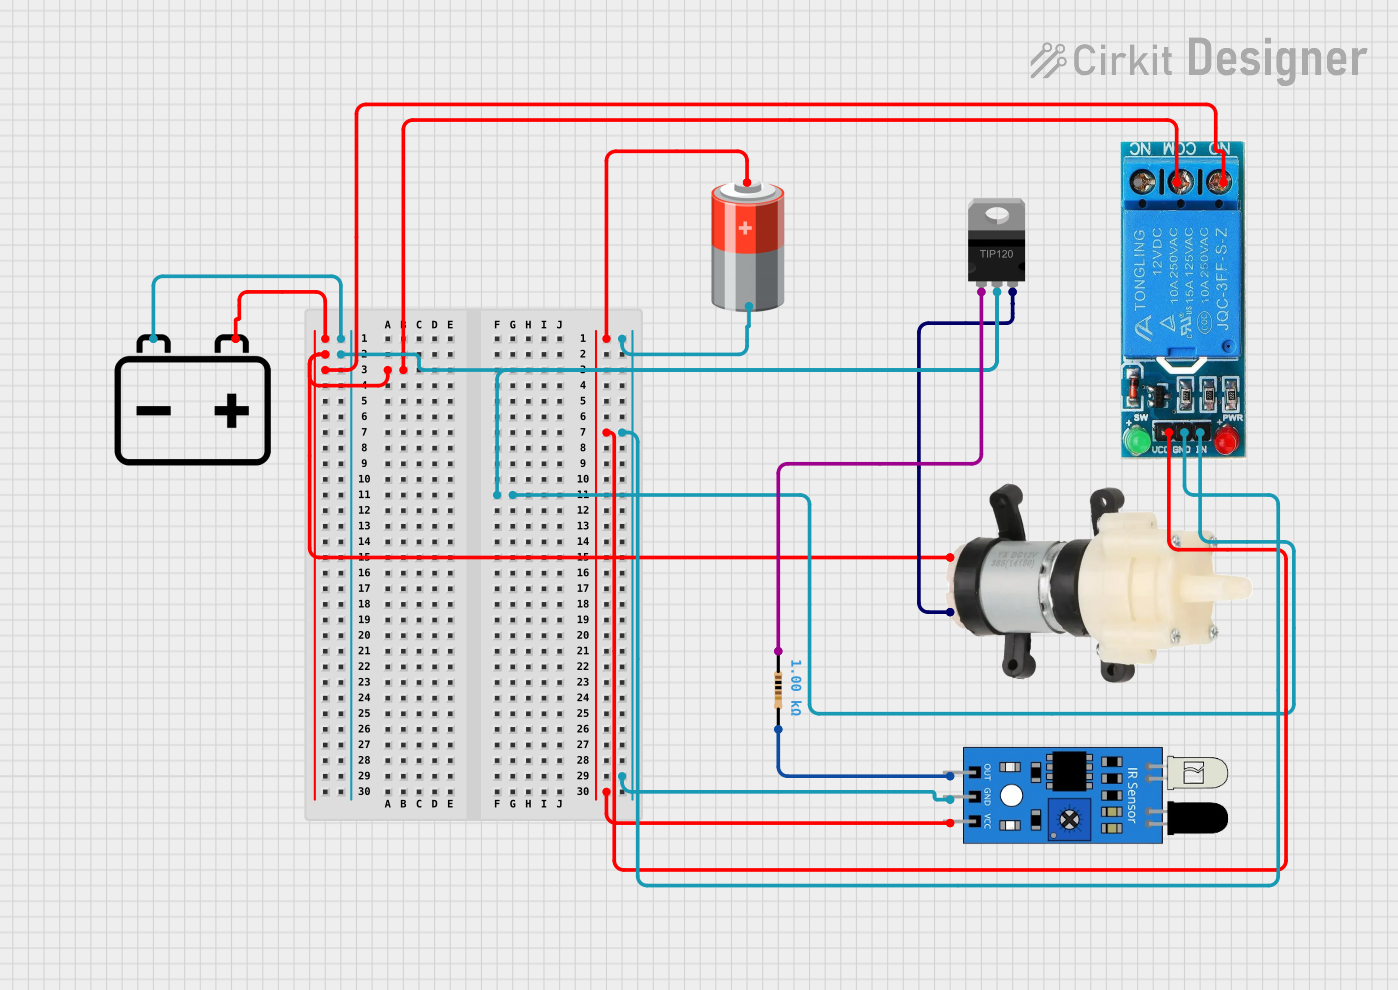

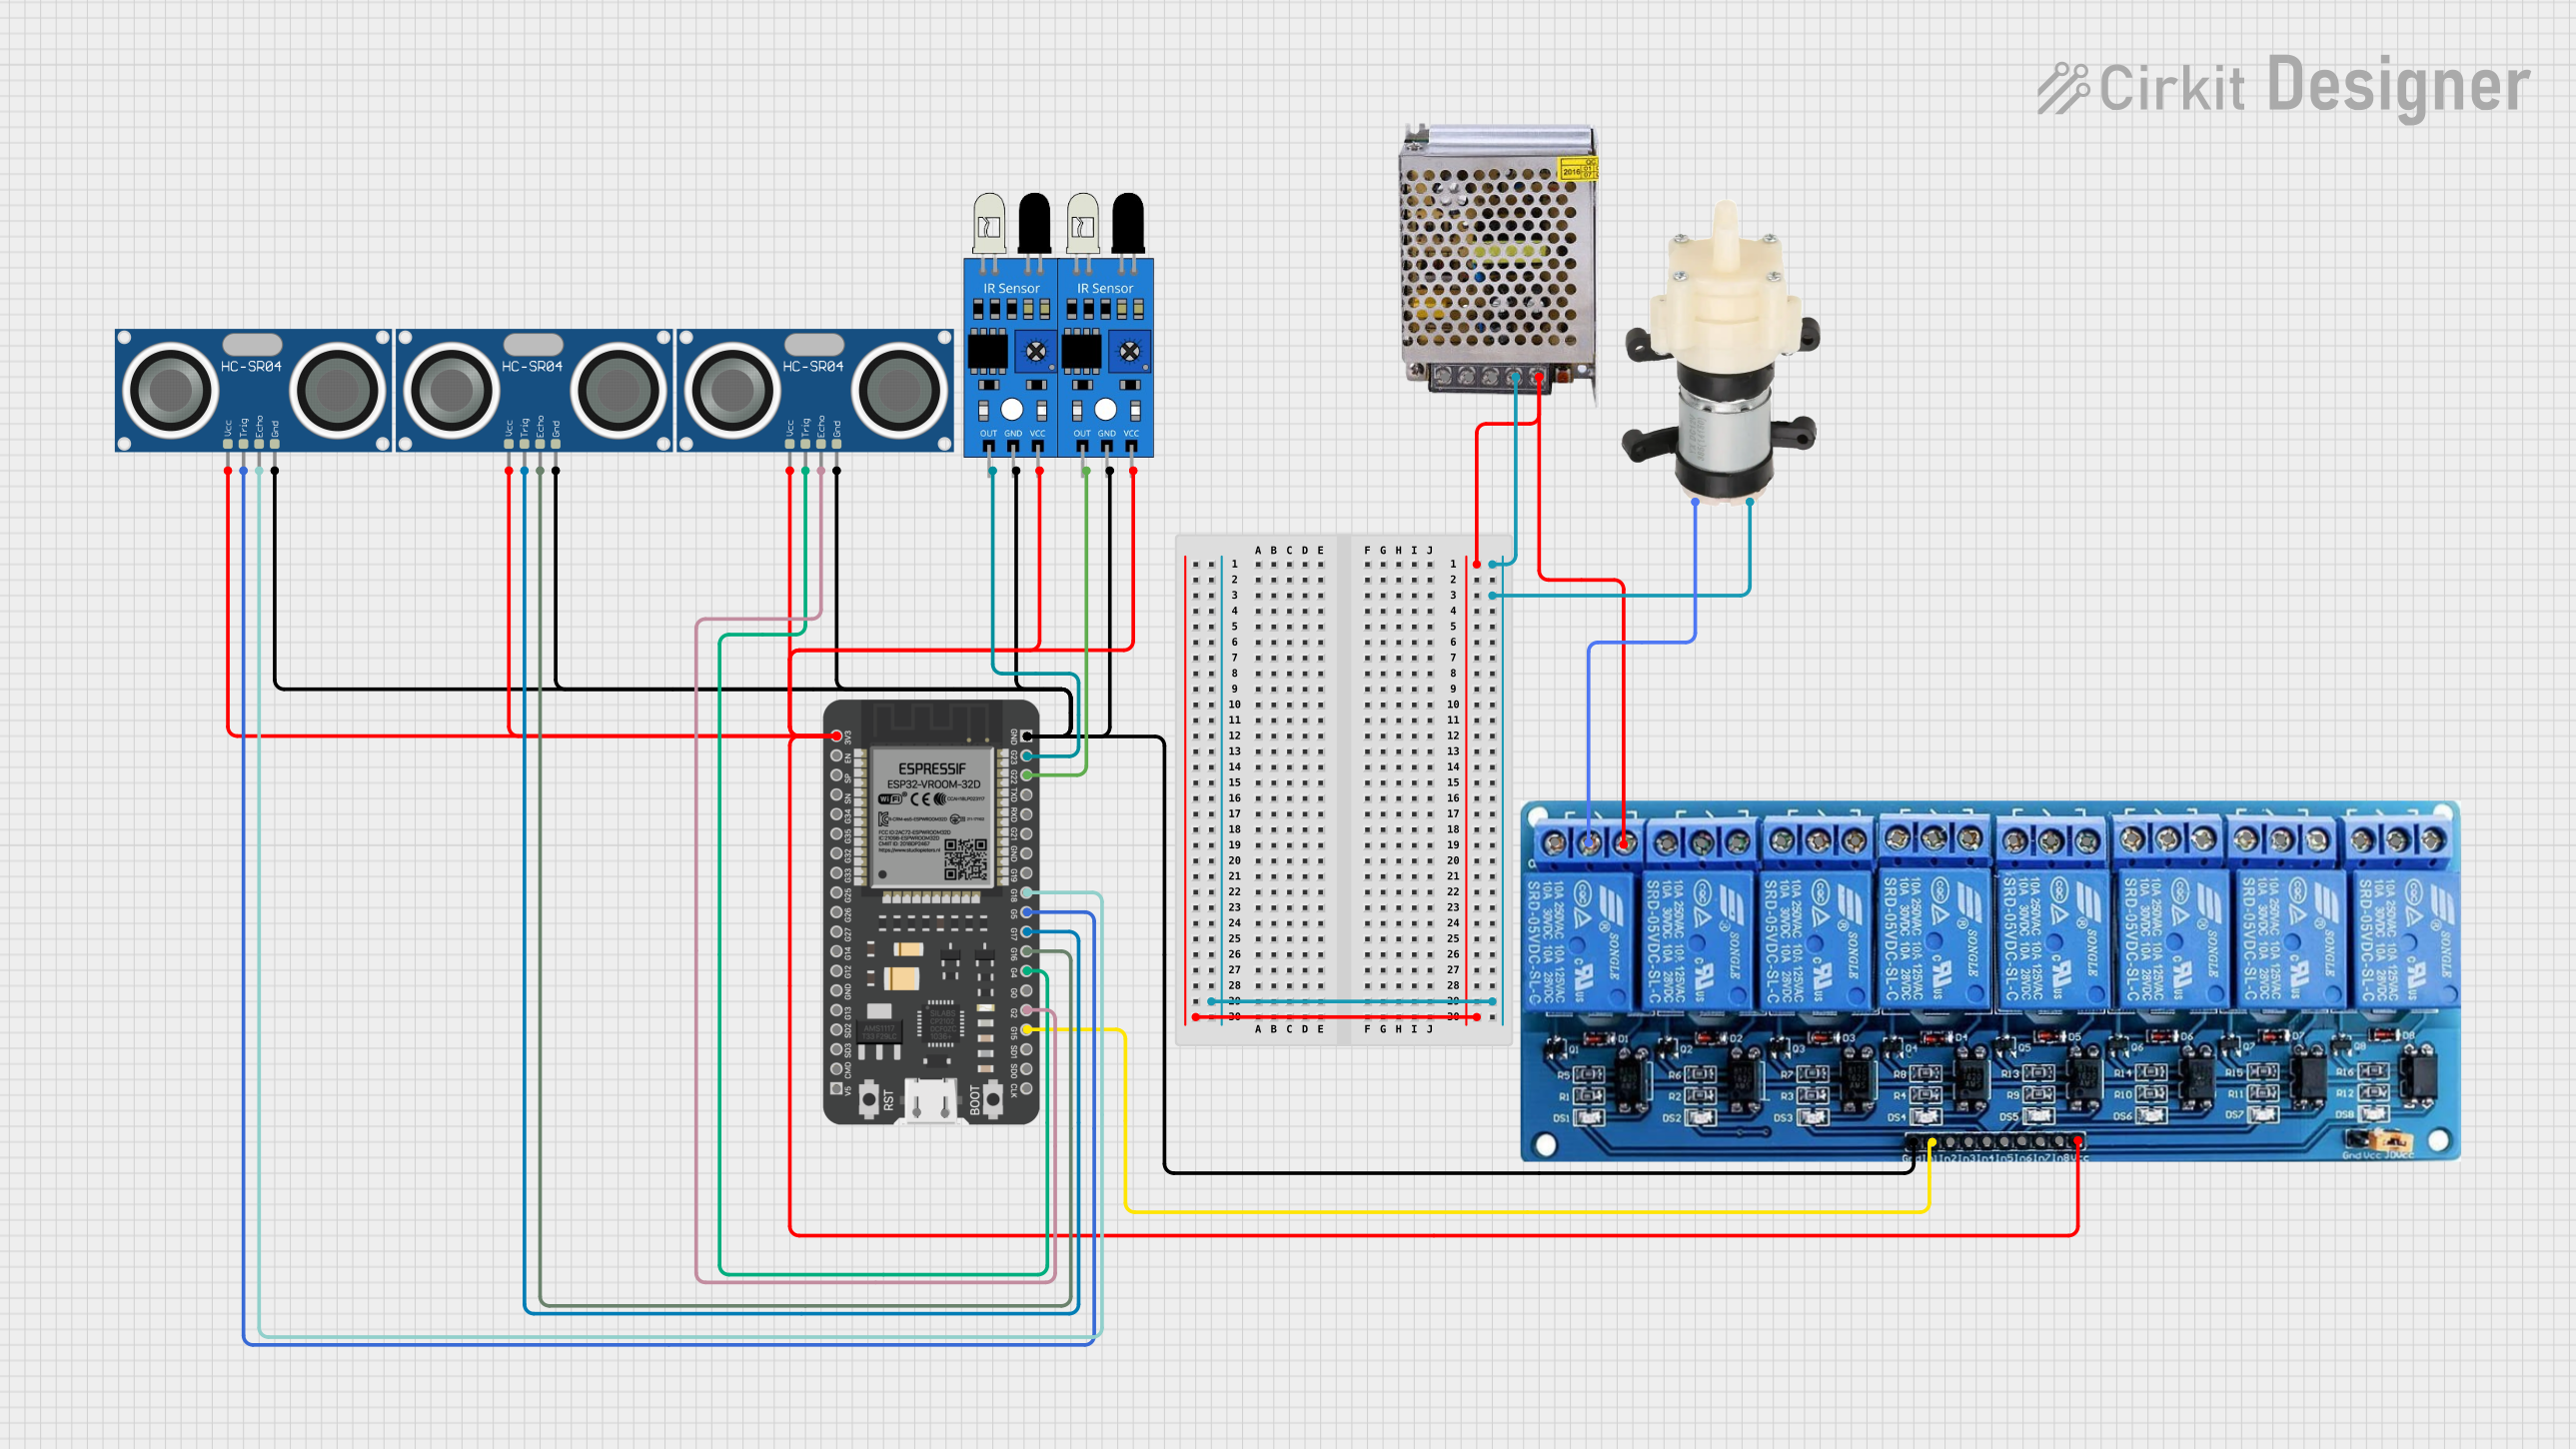
Explore Projects Built with Mini Diaphragm Water Pump
Common Applications
- Automated irrigation systems
- Portable water filtration units
- Medical and laboratory equipment
- Hobbyist projects, including robotics and art installations
Technical Specifications
Key Technical Details
| Parameter | Specification |
|---|---|
| Operating Voltage | 3-12V DC |
| Maximum Current | 2A (at 12V) |
| Flow Rate | 0.1-1.5 L/min |
| Max Water Pressure | 2-3 bar |
| Operating Life | > 600 hours |
| Noise Level | < 60 dB |
| Operating Temp. | 0°C to 60°C |
Pin Configuration and Descriptions
| Pin Number | Description |
|---|---|
| 1 | Positive Voltage (V+) |
| 2 | Ground (GND) |
Usage Instructions
Integration into a Circuit
- Power Supply: Connect the positive voltage supply to Pin 1 and the ground to Pin 2. Ensure that the voltage supply is within the operating range of the pump.
- Activation: The pump operates when the power is applied and stops when the power is cut off. Use a relay or a transistor switch to control the power to the pump from a microcontroller like an Arduino UNO.
- Tubing: Attach flexible tubing to the inlet and outlet ports of the pump. Ensure a secure fit to prevent leaks.
Best Practices
- Avoid running the pump dry, as this can shorten its lifespan.
- Use a filter at the inlet to prevent debris from damaging the diaphragm.
- Ensure the voltage supply is stable to prevent damage to the pump.
- Mount the pump securely to minimize vibrations and noise.
Example Arduino UNO Code
// Define the pin connected to the relay or transistor
const int pumpPin = 7;

void setup() {
  // Set the pump pin as an output
  pinMode(pumpPin, OUTPUT);
}

void loop() {
  // Turn on the pump for 5 seconds
  digitalWrite(pumpPin, HIGH);
  delay(5000);

  // Turn off the pump for 10 seconds
  digitalWrite(pumpPin, LOW);
  delay(10000);
}
Troubleshooting and FAQs
Common Issues
- Pump not operating: Check the power supply and connections. Ensure the voltage is within the specified range.
- Low flow rate: Verify that there are no blockages in the tubing and that the inlet filter is clean.
- Excessive noise: Ensure the pump is securely mounted and that the tubing is not kinked.
FAQs
Q: Can the pump operate continuously? A: Yes, but it is recommended to allow periodic rest to extend the pump's life.
Q: Is it safe for pumping drinking water? A: Check with the manufacturer's material specifications to ensure compatibility with potable water.
Q: Can the pump handle hot liquids? A: The pump is rated for temperatures up to 60°C. Do not exceed this limit.
Q: How do I control the flow rate? A: The flow rate can be controlled by adjusting the input voltage or using a flow control valve on the outlet tubing.
For further assistance, please contact HJ customer support.