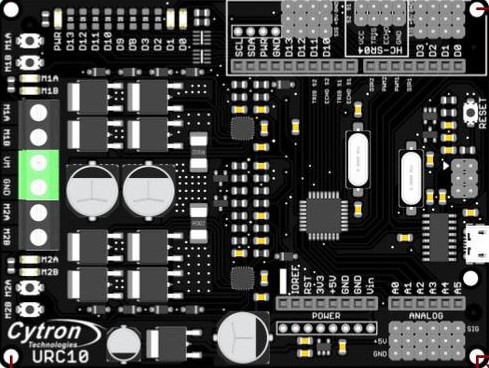
The Cytron URC10 is a versatile 10-channel universal remote control designed for controlling a wide range of electronic devices and projects. With its user-friendly buttons and compact design, the URC10 is ideal for both hobbyists and professionals. Whether you're working on a home automation project, a robotics application, or any other electronic endeavor, the URC10 provides a reliable and straightforward solution for remote control.
Explore Projects Built with Cytron URC10
Use Cirkit Designer to design, explore, and prototype these projects online. Some projects support real-time simulation. Click "Open Project" to start designing instantly!
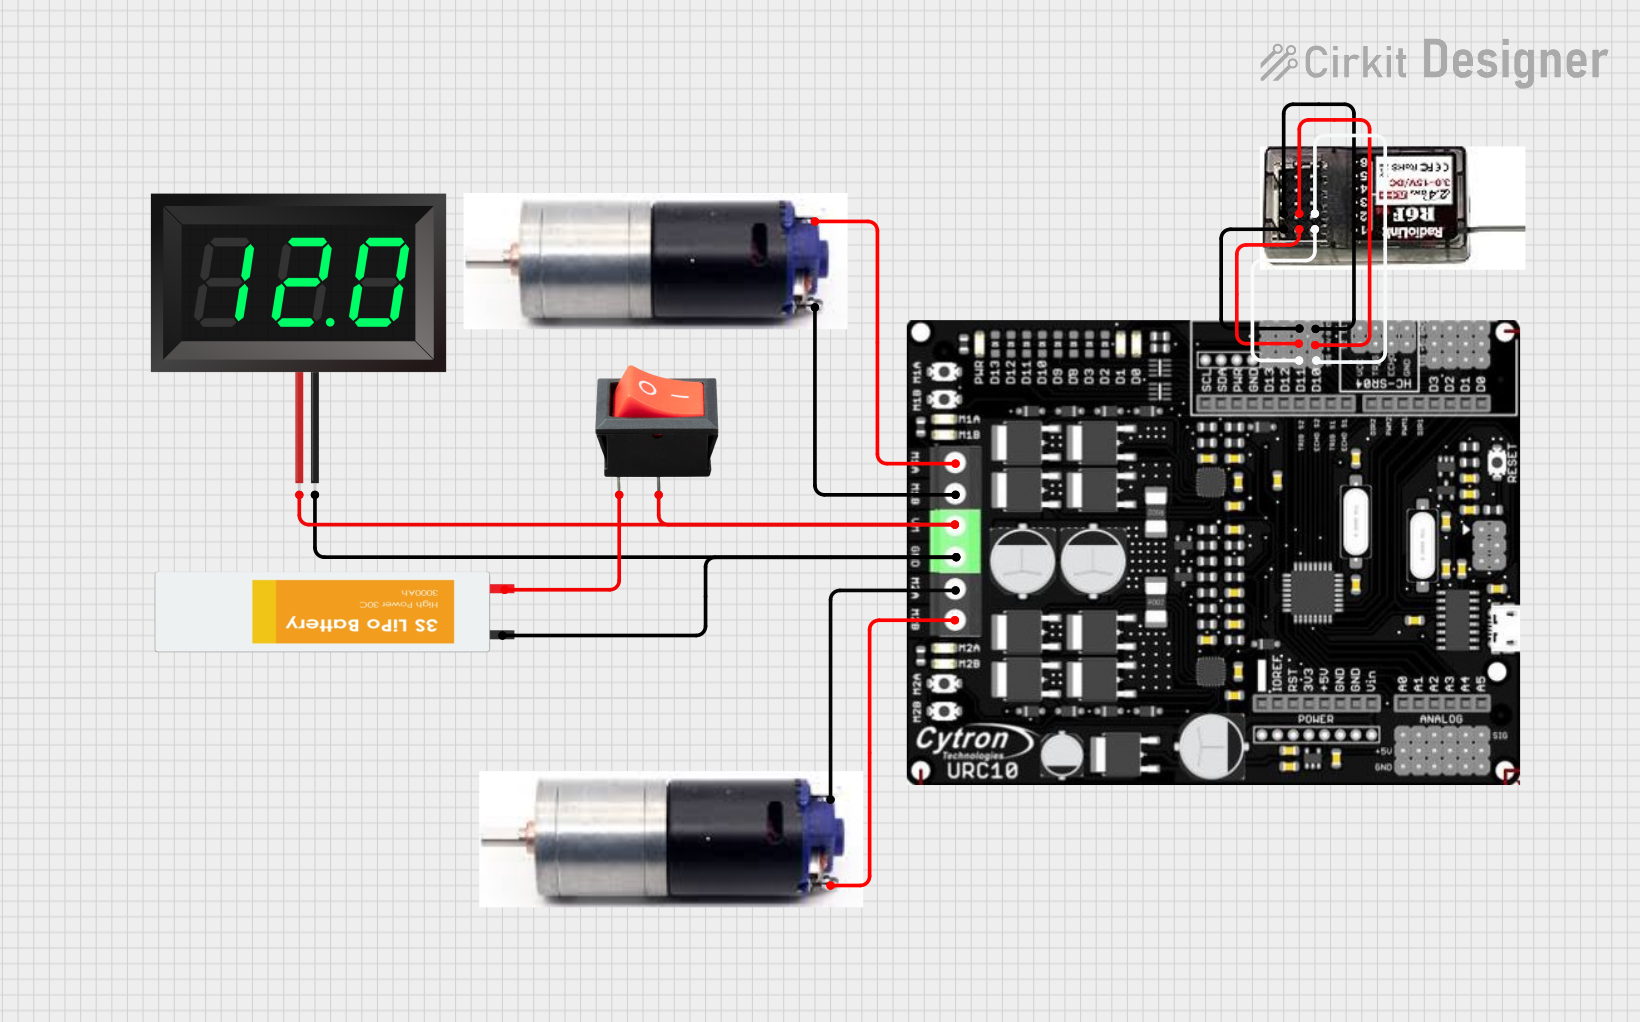
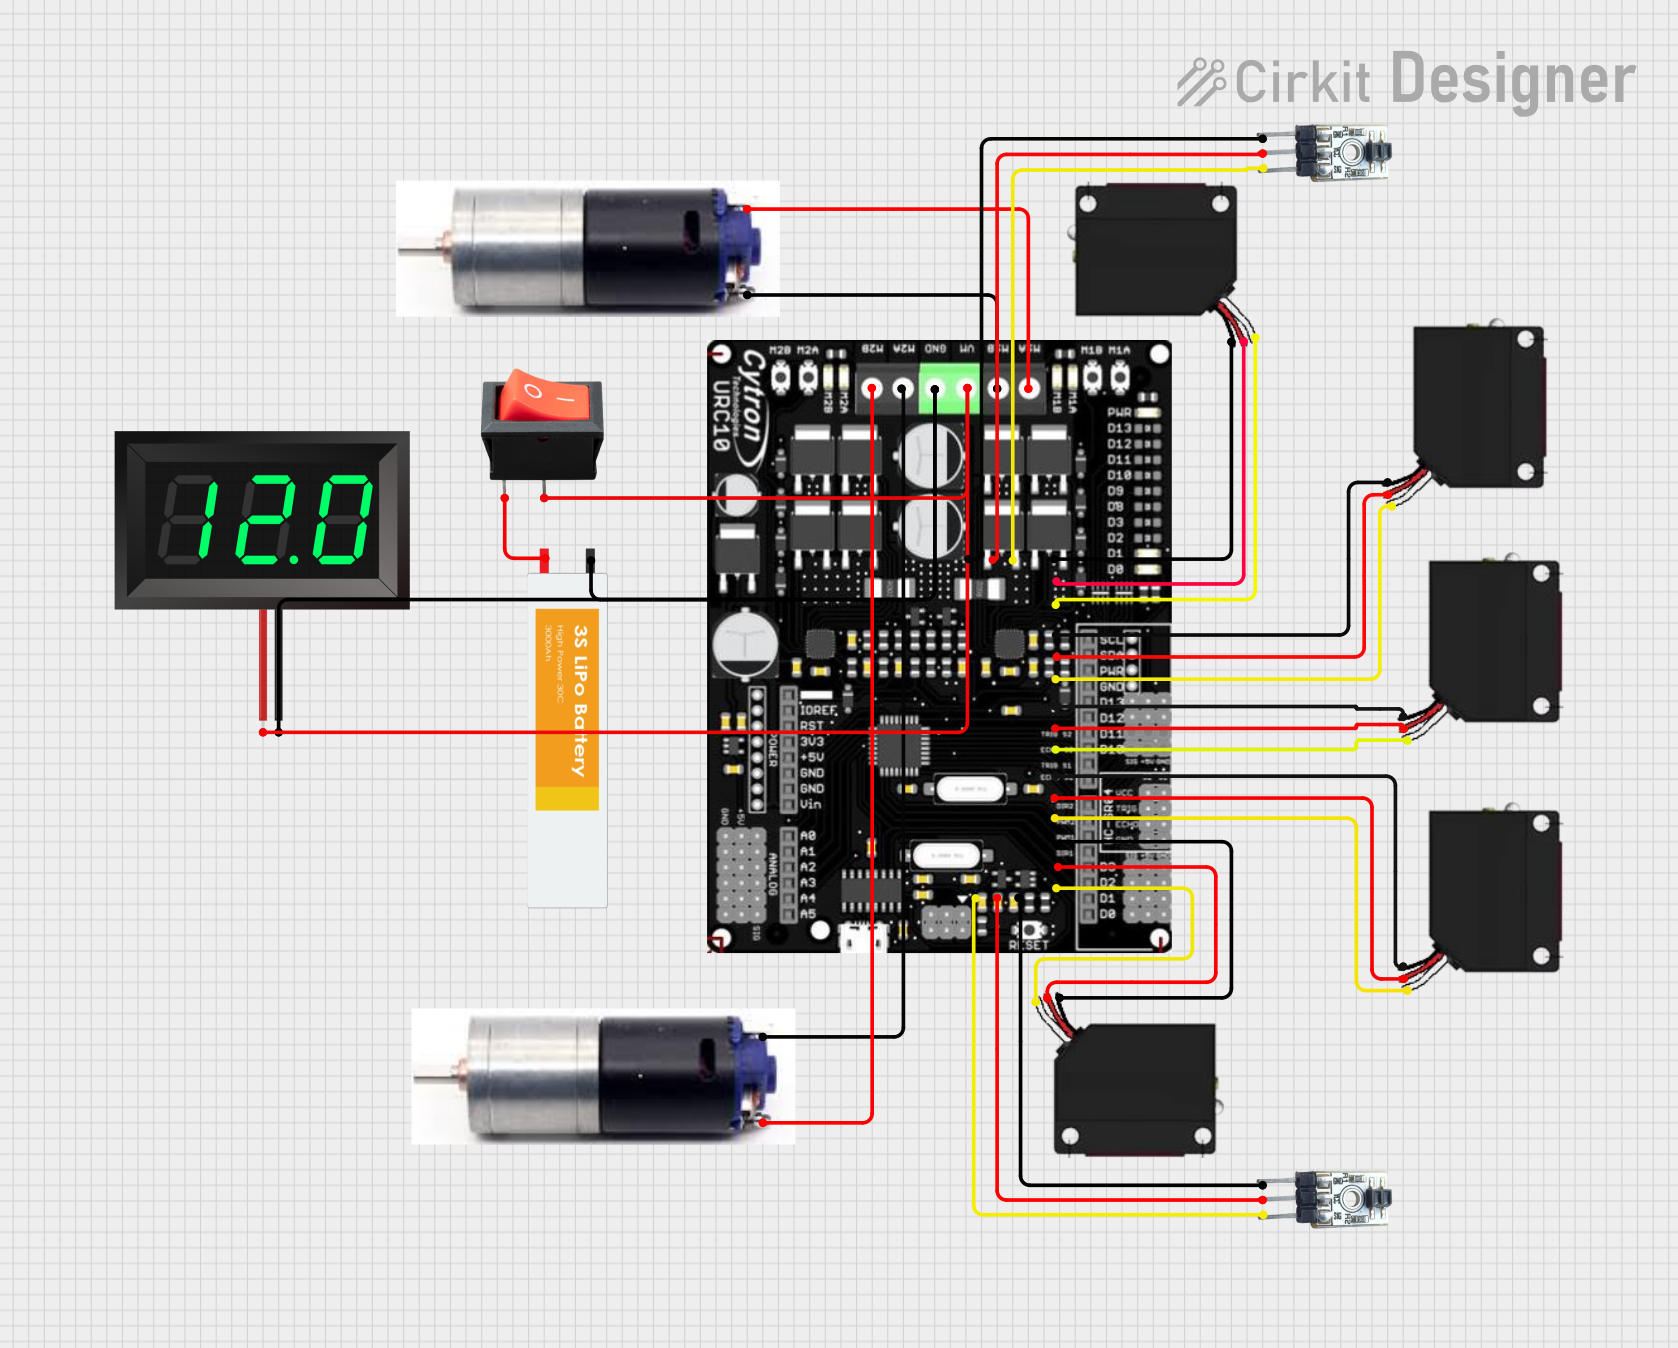
This circuit is a robotic control system that uses multiple IR sensors for line detection and obstacle avoidance, powered by a 3S LiPo battery. The Cytron URC10 motor driver, controlled by a microcontroller, drives two GM25 DC motors based on input from the sensors and a rocker switch, with a 7-segment panel voltmeter displaying the battery voltage.
This circuit is a remote-controlled dual DC motor driver system powered by a 3S LiPo battery. It uses a Cytron URC10 motor driver to control two GM25 DC motors based on signals received from an R6FG receiver, with a rocker switch for power control and a 7-segment panel voltmeter for monitoring the battery voltage.
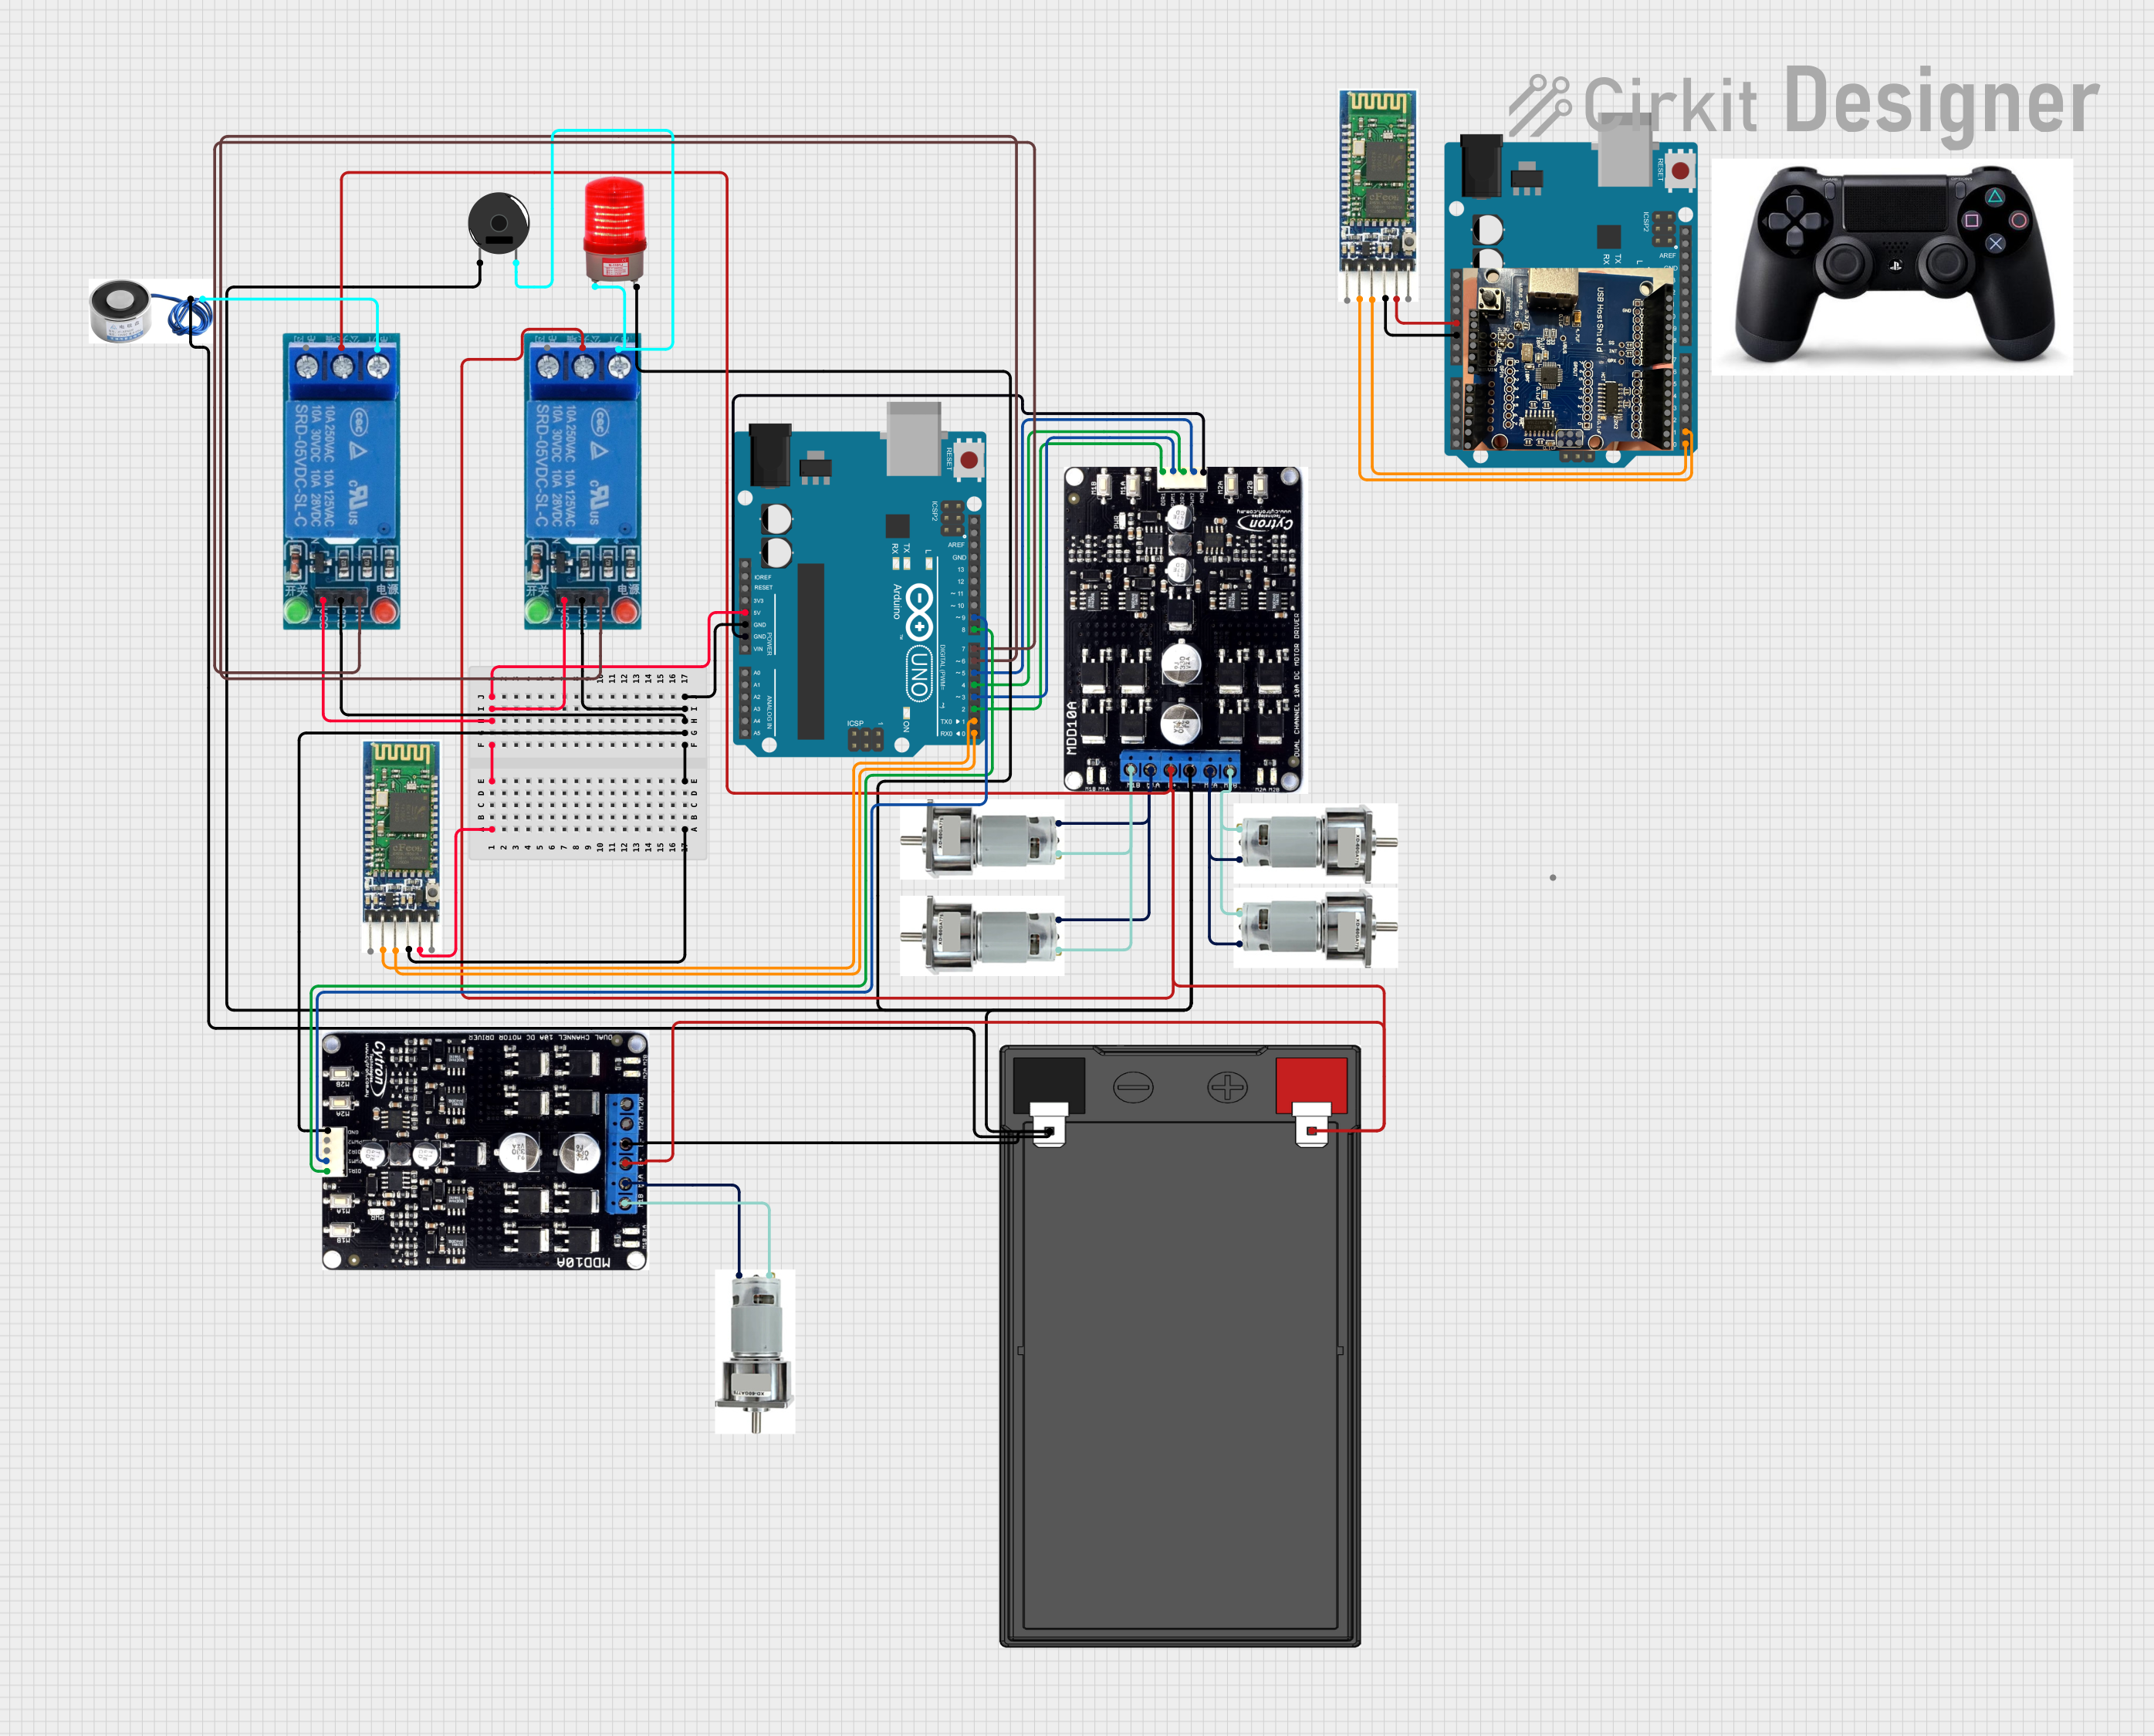
This is a motor control system with wireless communication capabilities, designed to operate multiple motors via Cytron motor drivers, controlled by Arduino UNOs. It includes relays for activating a light and buzzer, and uses Bluetooth for remote operation. The system's software is in the initial stages of development.
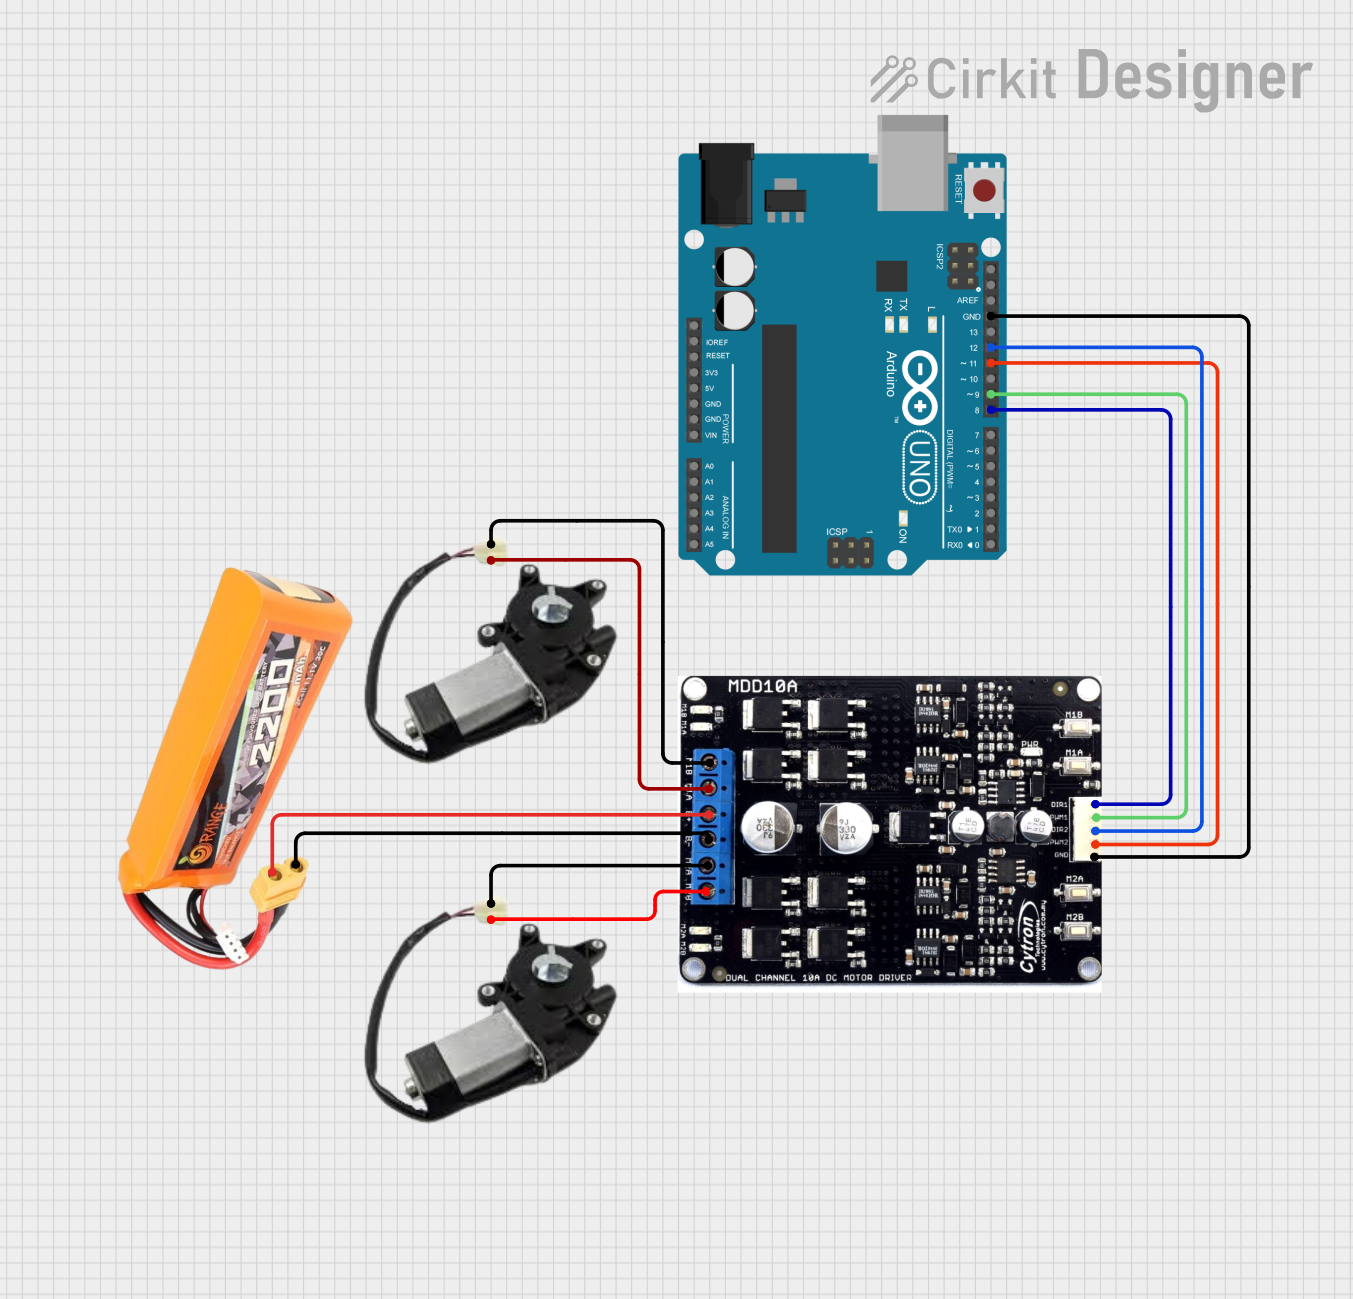
This circuit is a control system for a two-wheel mobile robot, utilizing an Arduino UNO to manage a Cytron motor driver. The Arduino controls the direction and speed of two power window motors via PWM and direction signals, powered by a LiPo battery.
The Cytron URC10 does not have pins as it is a remote control device. However, it communicates with a receiver module that can be connected to a microcontroller such as an Arduino UNO. Below is the typical pin configuration for a compatible IR receiver module:
Pin Number
Pin Name
Description
1
VCC
Power supply (typically 5V)
2
GND
Ground
3
OUT
Output signal to microcontroller
Usage Instructions
How to Use the Component in a Circuit
Connect the IR Receiver Module:
Connect the VCC pin of the IR receiver module to the 5V pin on the Arduino UNO.
Connect the GND pin of the IR receiver module to the GND pin on the Arduino UNO.
Connect the OUT pin of the IR receiver module to a digital input pin on the Arduino UNO (e.g., pin 11).
Install the IRremote Library:
Open the Arduino IDE.
Go to Sketch > Include Library > Manage Libraries.
Search for "IRremote" and install the library by shirriff.
Upload the Code:
Use the following example code to read signals from the URC10 remote control:
#include <IRremote.h>

const int RECV_PIN = 11; // Pin connected to the IR receiver module
IRrecv irrecv(RECV_PIN);
decode_results results;

void setup() {
  Serial.begin(9600); // Initialize serial communication
  irrecv.enableIRIn(); // Start the receiver
}

void loop() {
  if (irrecv.decode(&results)) {
    Serial.println(results.value, HEX); // Print the received value in HEX
    irrecv.resume(); // Receive the next value
  }
}
Important Considerations and Best Practices
Battery Life: Ensure the CR2025 battery in the URC10 remote control is fresh for optimal performance.
Line of Sight: The IR receiver module should have a clear line of sight to the URC10 remote control for reliable communication.
Interference: Avoid using the URC10 in environments with strong IR interference, such as direct sunlight or near other IR remote controls.
Troubleshooting and FAQs
Common Issues and Solutions
No Signal Received:
Solution: Check the connections between the IR receiver module and the Arduino. Ensure the VCC, GND, and OUT pins are correctly connected.
Short Range:
Solution: Replace the CR2025 battery in the URC10 remote control. Ensure there are no obstructions between the remote and the receiver.
Interference from Other Devices:
Solution: Move the setup away from other IR-emitting devices. Ensure the IR receiver module is not exposed to direct sunlight.
FAQs
Q: Can I use the URC10 with other microcontrollers?
A: Yes, the URC10 can be used with any microcontroller that supports IR communication, such as the Raspberry Pi, ESP8266, and others.
Q: How do I know if the URC10 remote control is working?
A: When you press a button on the URC10, you should see a small LED on the remote flash, indicating that it is transmitting a signal.
Q: Can I control multiple devices with the URC10?
A: Yes, the URC10 has 10 channels, allowing you to control multiple devices or functions within a single project.
By following this documentation, you should be able to effectively utilize the Cytron URC10 remote control in your electronic projects. For further assistance, refer to the Cytron website or community forums.

 Open Project in Cirkit Designer