How to Use Adafruit 24 NeoPixel Ring: Examples, Pinouts, and Specs
Introduction
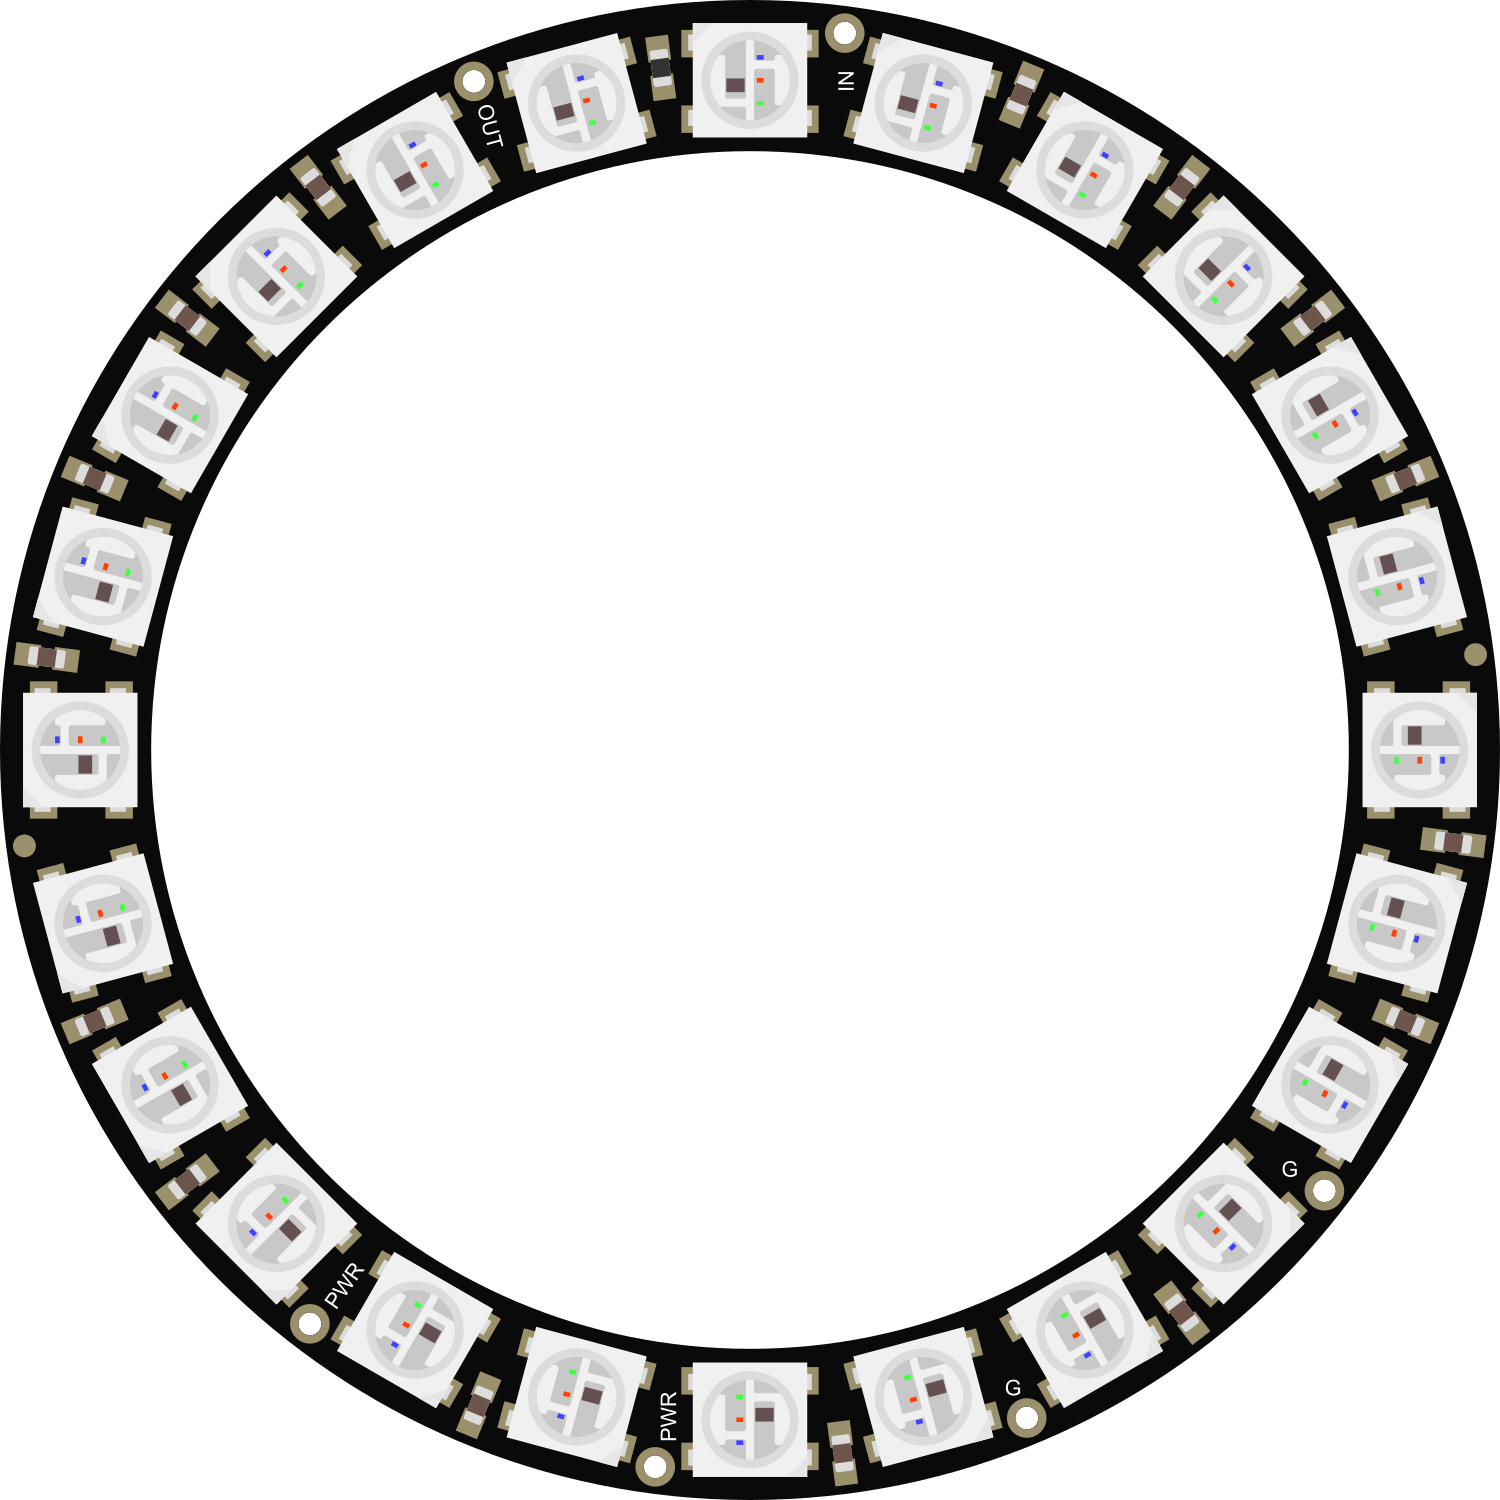
The Adafruit 24 NeoPixel Ring is an innovative and versatile lighting solution that consists of 24 individually addressable RGB LEDs arranged in a circular pattern. This component is widely used in DIY projects, wearables, indicators, and decorative lighting due to its ease of use and vibrant color output. It is compatible with a variety of microcontrollers, including the popular Arduino UNO, and can be programmed to display a wide range of colors and animations.
Explore Projects Built with Adafruit 24 NeoPixel Ring
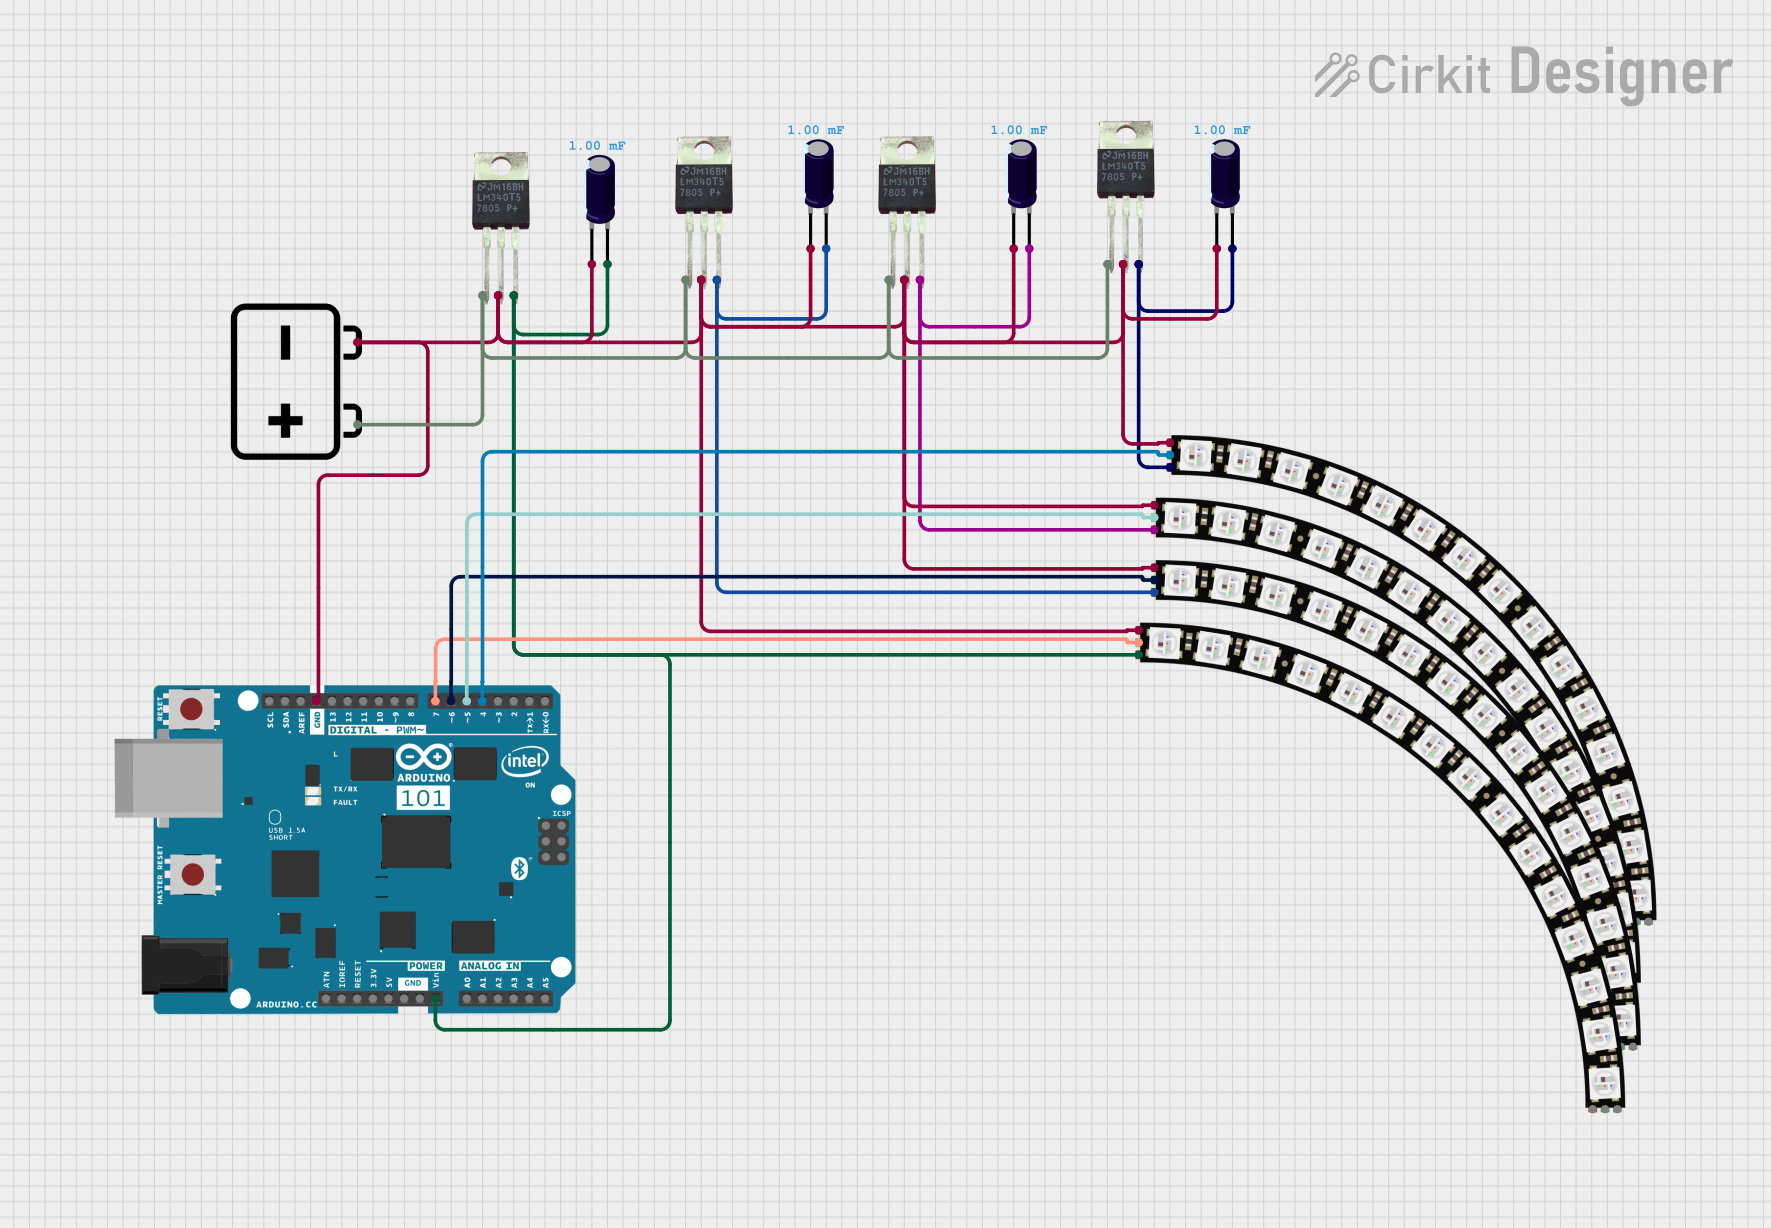
Explore Projects Built with Adafruit 24 NeoPixel Ring
Technical Specifications
Key Technical Details
- Diameter: 66.0 mm / 2.6 inches
- Weight: 14.4 grams / 0.5 oz
- LED Count: 24 RGB LEDs
- Operating Voltage: 5V DC
- Max Current per LED: ~60 mA (when set to full white)
- Max Power Consumption: ~1.44 A (24 x 60 mA)
- Communication Protocol: Single-wire (data) interface
- Brightness Levels: 256 levels per color (24-bit color depth)
Pin Configuration and Descriptions
| Pin | Description |
|---|---|
| VDD | 5V Power Supply Input |
| GND | Ground Connection |
| DIN | Data Input from Microcontroller |
| DOUT | Data Output to Next NeoPixel Device |
Usage Instructions
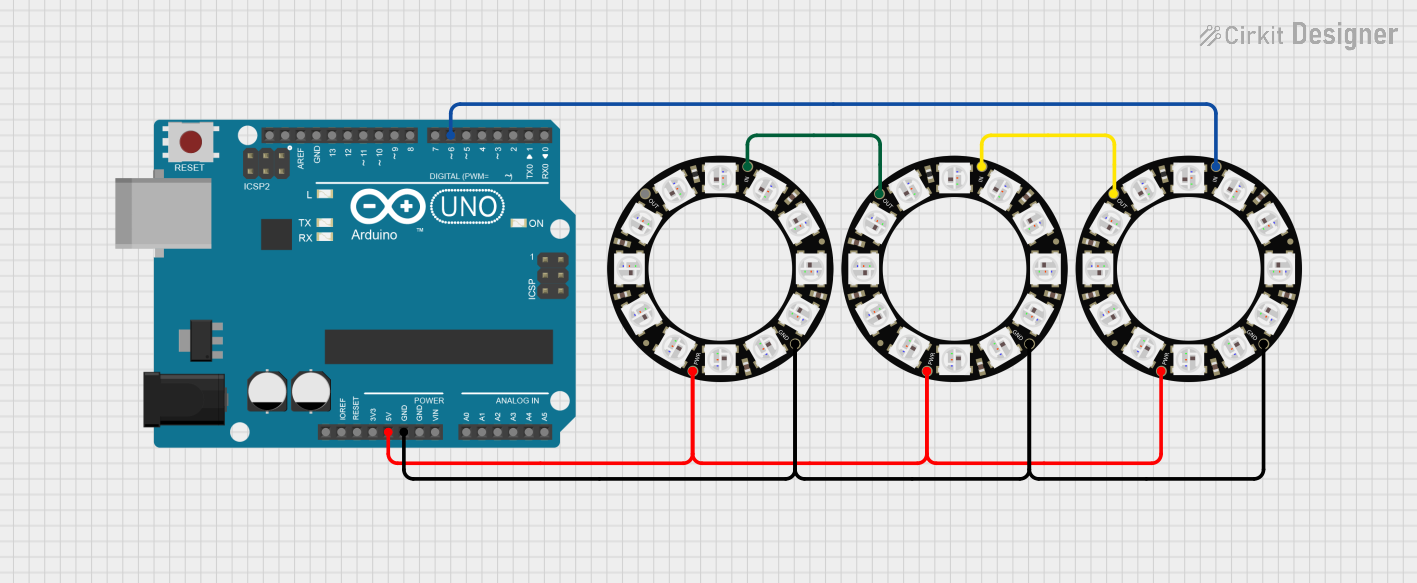
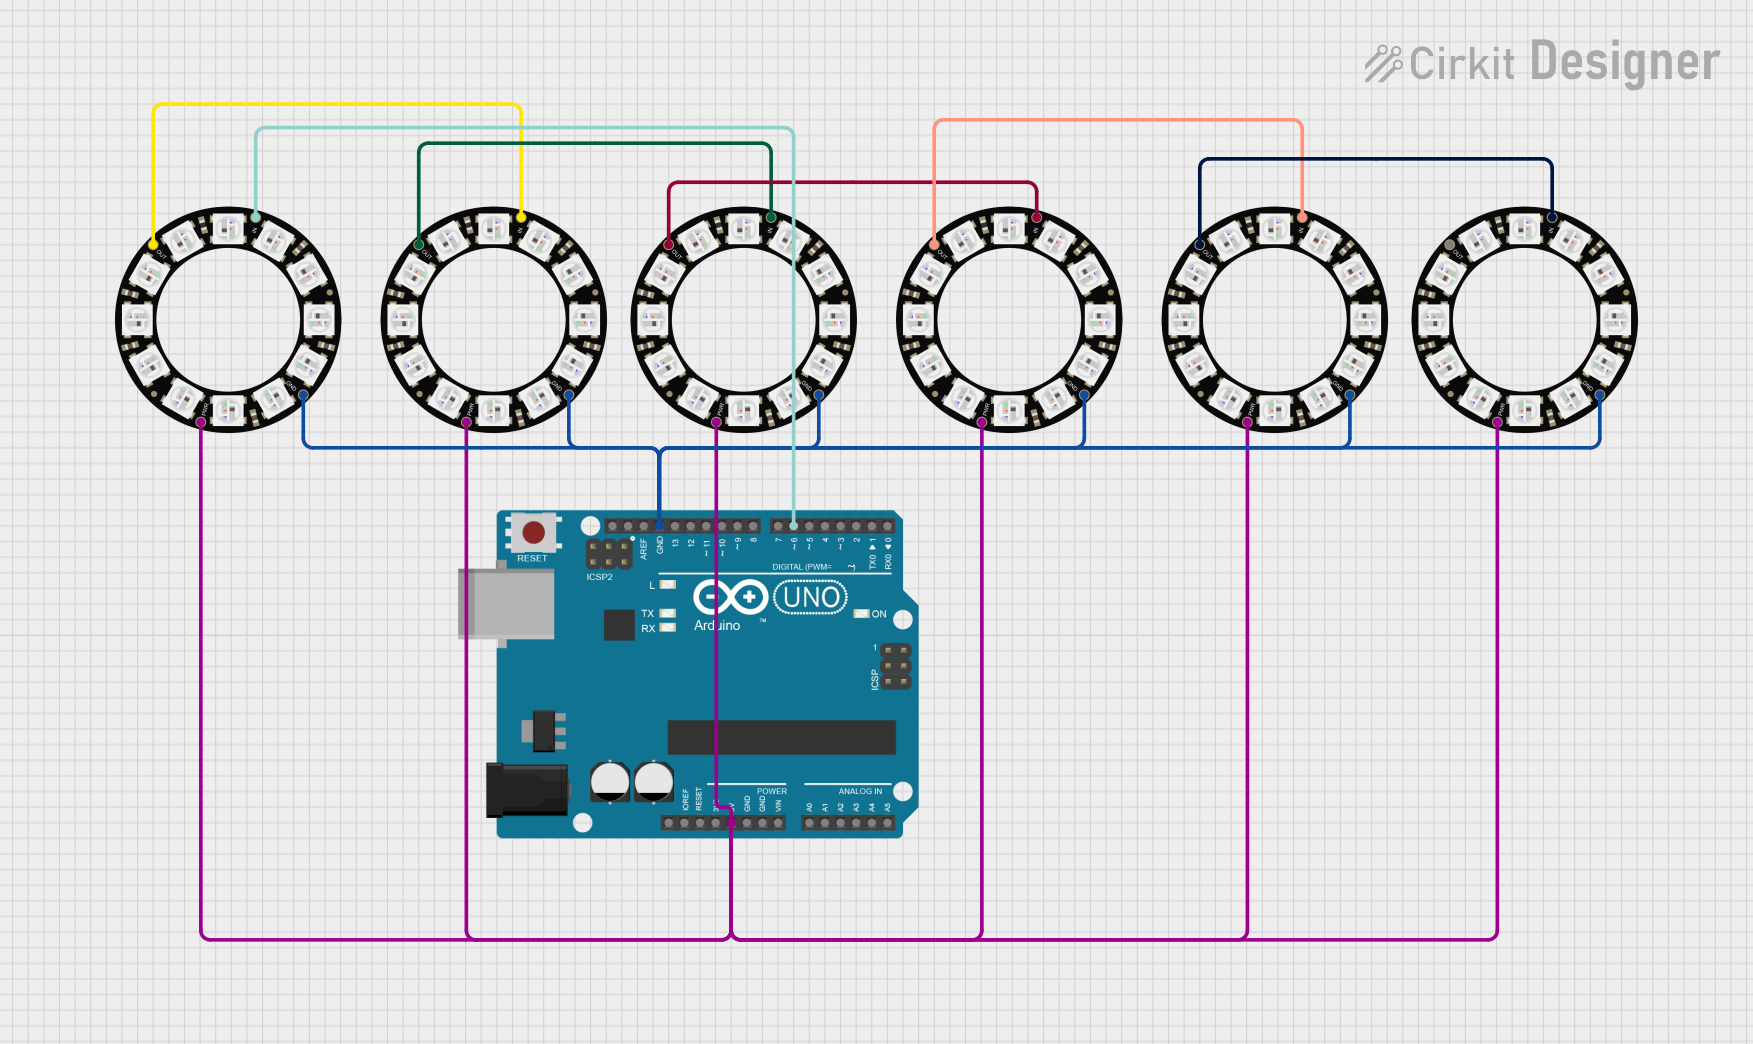
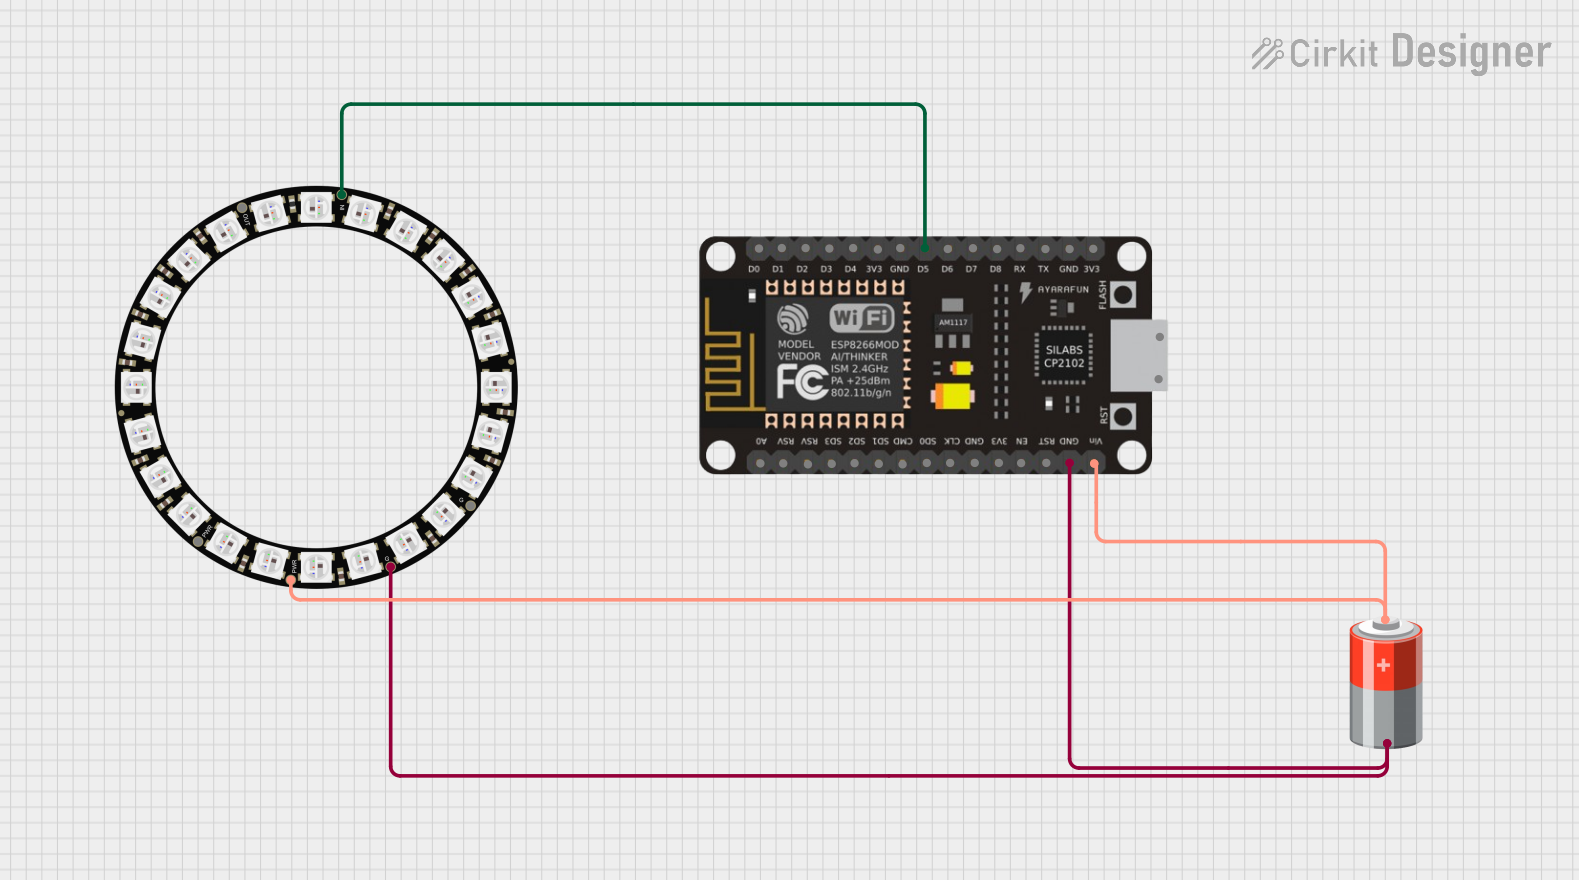
Connecting to a Circuit
- Connect the VDD pin to a 5V power supply.
- Connect the GND pin to the ground of the power supply and the microcontroller.
- Connect the DIN pin to a digital output pin on the microcontroller.
- If chaining multiple NeoPixel devices, connect the DOUT pin of the first device to the DIN pin of the next.
Programming with Arduino
To control the NeoPixel Ring with an Arduino UNO, use the Adafruit NeoPixel library. Here's a simple example to get started:
#include <Adafruit_NeoPixel.h>

#define PIN            6 // Digital IO pin connected to the NeoPixels.
#define NUMPIXELS      24 // Number of NeoPixels in the ring.

// Initialize the NeoPixel ring.
Adafruit_NeoPixel pixels(NUMPIXELS, PIN, NEO_GRB + NEO_KHZ800);

void setup() {
  pixels.begin(); // Initialize the NeoPixel ring.
}

void loop() {
  for(int i=0; i<NUMPIXELS; i++) {
    pixels.setPixelColor(i, pixels.Color(150, 0, 90)); // Set color to purple.
    pixels.show(); // Update the ring with the new color.
    delay(50);
    pixels.setPixelColor(i, pixels.Color(0, 0, 0)); // Turn off the pixel.
  }
}
Important Considerations and Best Practices
- Always use a proper 5V power supply that can handle the maximum current draw.
- Include a 1000 µF capacitor across the power lines to prevent initial onrush of current from damaging the LEDs.
- Place a 300 to 500 Ohm resistor on the data input line to prevent voltage spikes that can damage the first LED.
- Avoid lighting all LEDs at full brightness simultaneously to prevent overheating and excessive power consumption.
Troubleshooting and FAQs
Common Issues
- LEDs not lighting up: Check power supply connections and ensure the data input pin is correctly connected to the microcontroller.
- Incorrect colors displayed: Verify that the data signal is clean and not degraded by long wires or poor connections.
- Flickering LEDs: Ensure that the power supply is stable and can handle the current draw.
Solutions and Tips
- If experiencing erratic behavior, check for proper grounding between the NeoPixel Ring and the microcontroller.
- Use a level shifter if the microcontroller operates at a voltage different from 5V to match the NeoPixel's data line voltage.
- Update the NeoPixel library to the latest version to ensure compatibility and functionality.
FAQs
Q: Can I power the NeoPixel Ring directly from the Arduino 5V pin? A: It is not recommended to power the ring directly from the Arduino when all LEDs are used at high brightness due to the limited current capacity of the Arduino's 5V pin.
Q: How do I chain multiple NeoPixel Rings together? A: Connect the DOUT pin of the first ring to the DIN pin of the next ring. Ensure that the power supply can handle the increased current draw of multiple rings.
Q: Can I cut the NeoPixel Ring if I need fewer LEDs? A: No, the NeoPixel Ring is not designed to be cut. If you require fewer LEDs, consider using a smaller NeoPixel product.
This documentation provides a comprehensive guide to using the Adafruit 24 NeoPixel Ring. For more advanced usage and custom animations, refer to the Adafruit NeoPixel Uberguide and the library's extensive examples.