
How to Use Adafruit ESP32 Feather V2: Examples, Pinouts, and Specs
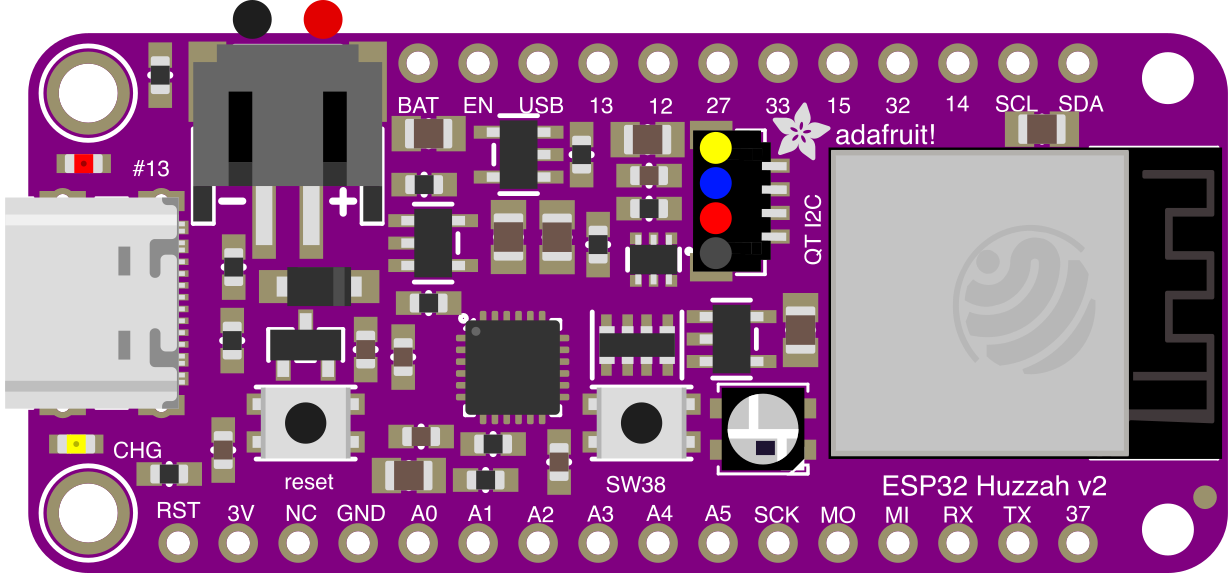
 Design with Adafruit ESP32 Feather V2 in Cirkit Designer
Introduction
The Adafruit ESP32 Feather V2 (Part ID: 5400) is a compact and versatile microcontroller board designed for IoT projects and prototyping. It features the powerful ESP32 chip, which provides dual-core processing, integrated Wi-Fi, and Bluetooth capabilities. The Feather V2 form factor ensures compatibility with a wide range of FeatherWing add-ons, making it an excellent choice for developers looking to build connected devices with ease.
Explore Projects Built with Adafruit ESP32 Feather V2
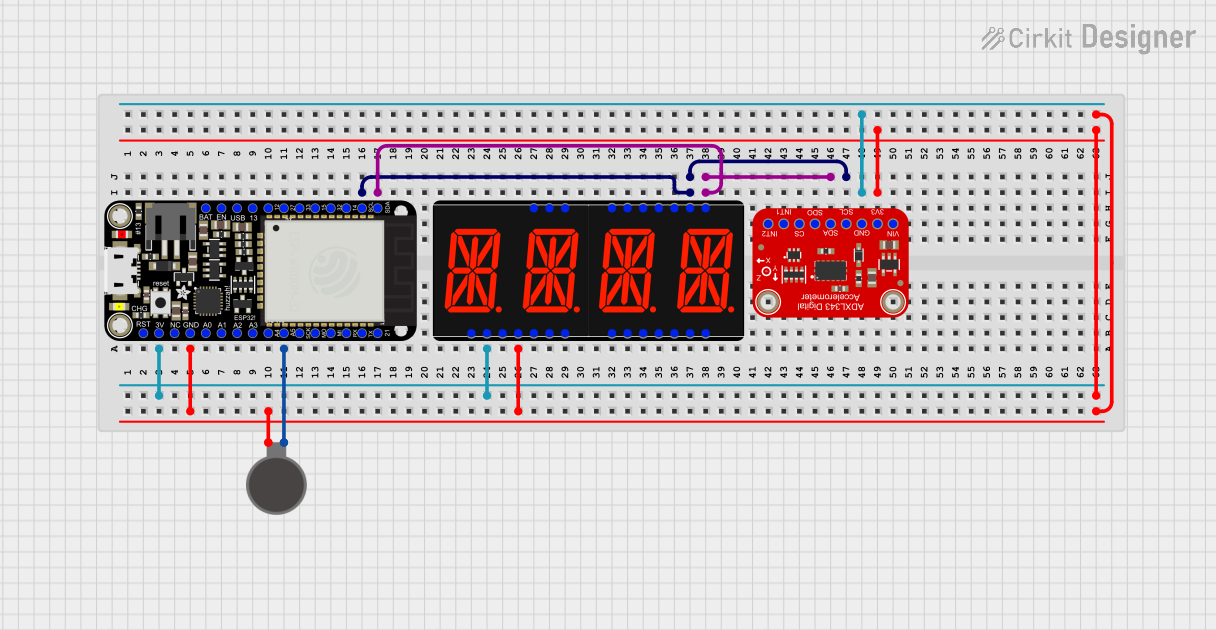 Open Project in Cirkit Designer
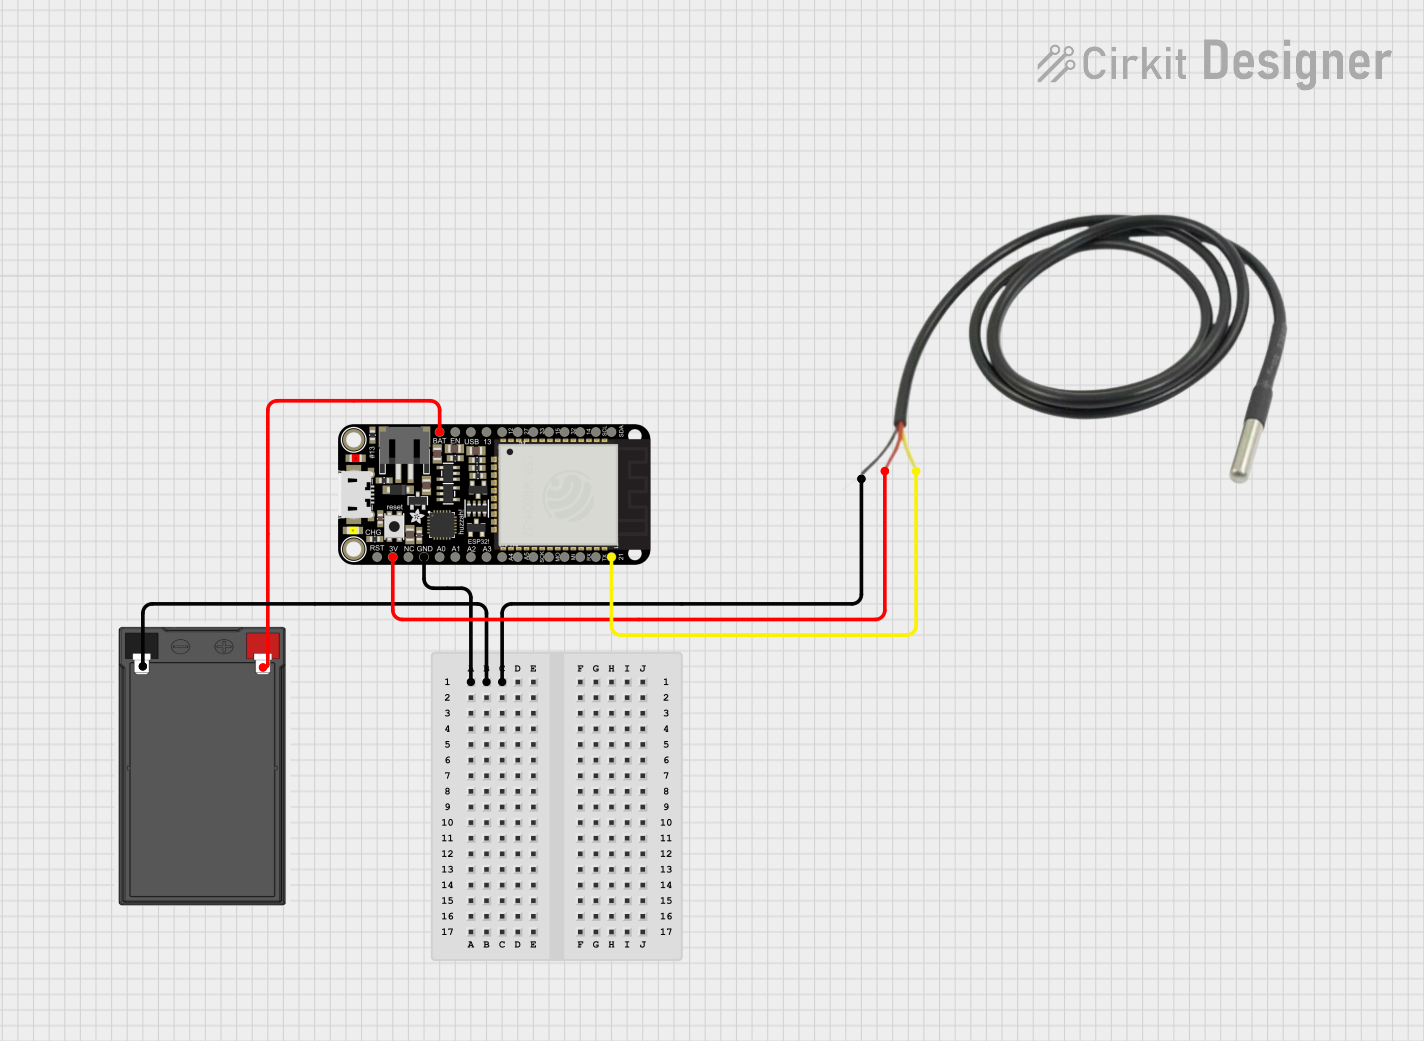 Open Project in Cirkit Designer
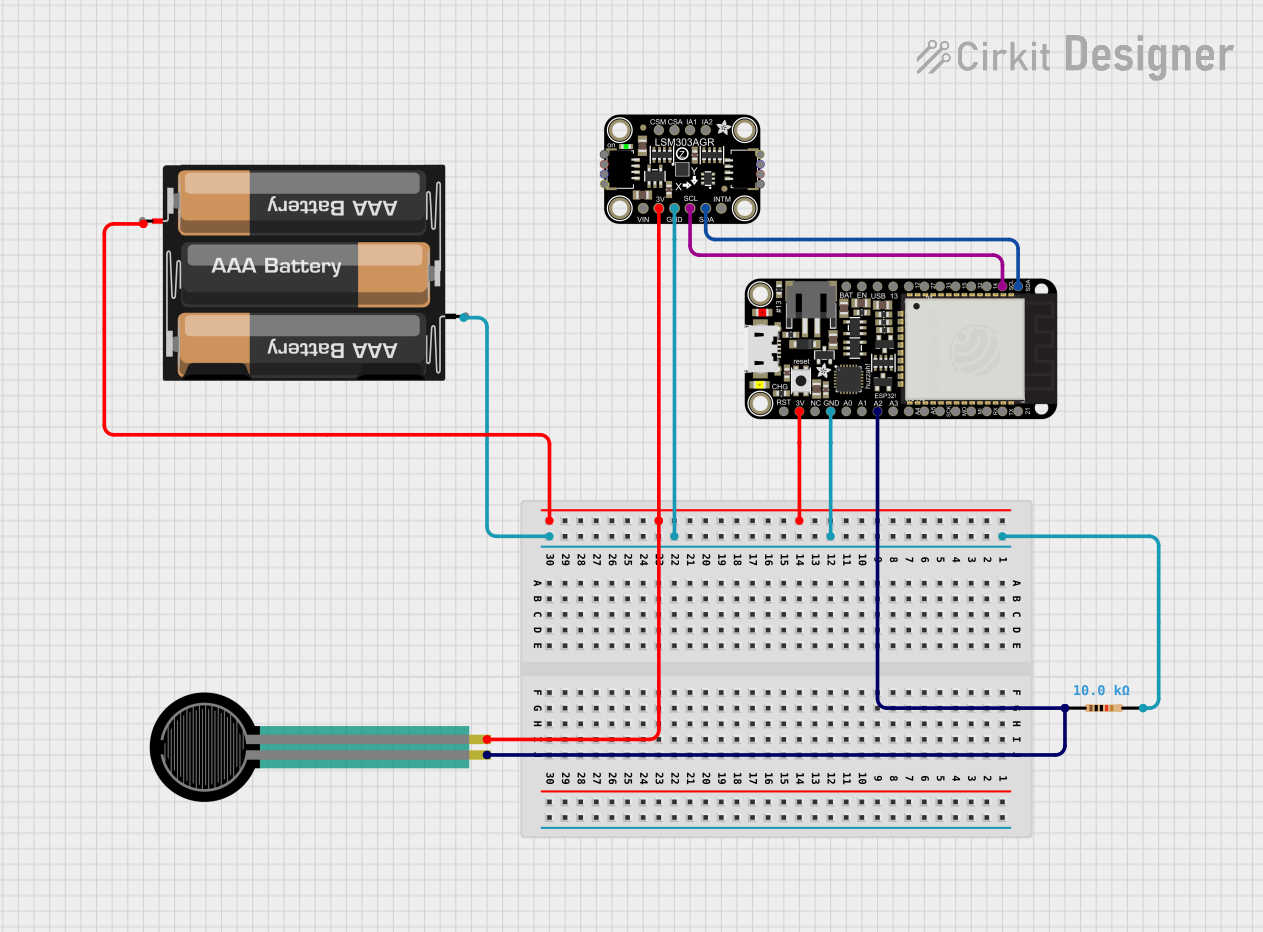 Open Project in Cirkit Designer
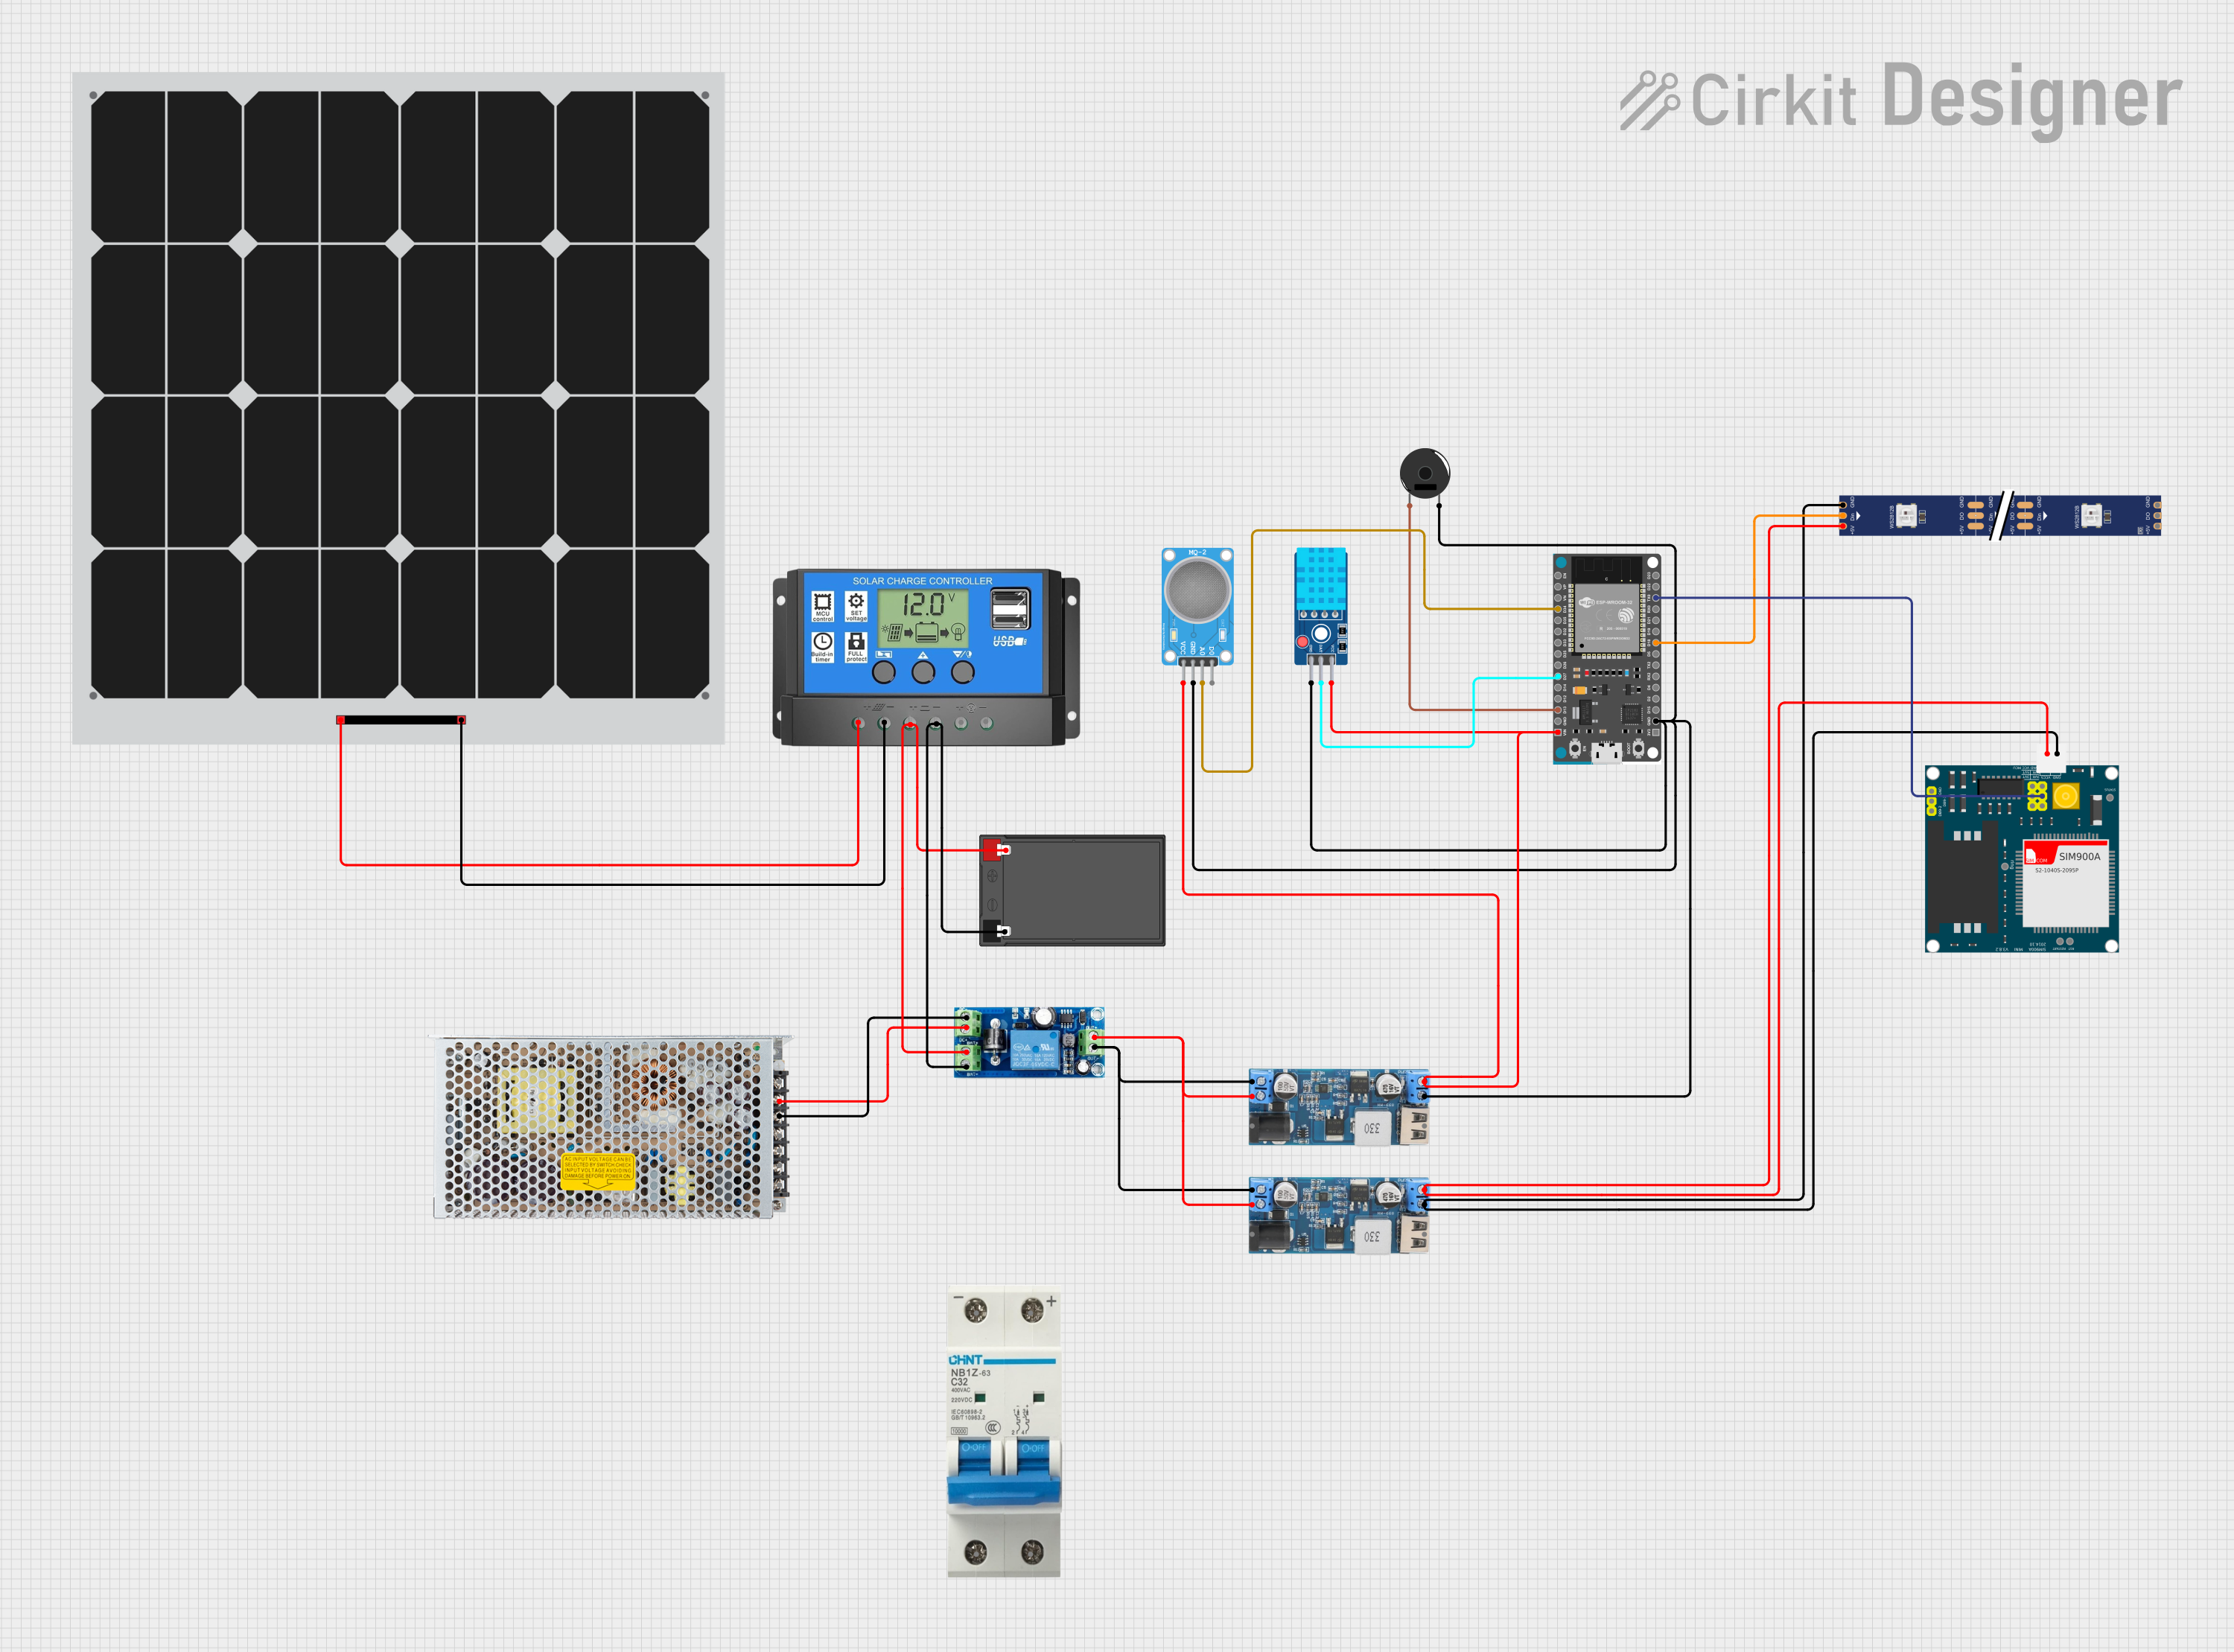 Open Project in Cirkit Designer
Explore Projects Built with Adafruit ESP32 Feather V2
Open Project in Cirkit DesignerOpen Project in Cirkit DesignerOpen Project in Cirkit DesignerOpen Project in Cirkit DesignerCommon Applications and Use Cases
- IoT (Internet of Things) devices and smart home automation
- Wireless sensor networks
- Prototyping Bluetooth-enabled devices
- Data logging and remote monitoring
- Robotics and wearable electronics
Technical Specifications
The Adafruit ESP32 Feather V2 is packed with features to support a wide range of applications. Below are the key technical details:
Key Technical Details
- Microcontroller: ESP32-WROOM-32E module
- Processor: Dual-core Xtensa® 32-bit LX6 at up to 240 MHz
- Flash Memory: 16 MB
- SRAM: 520 KB
- Wireless Connectivity: Wi-Fi (802.11 b/g/n) and Bluetooth 4.2 (Classic and BLE)
- Operating Voltage: 3.3V
- Input Voltage: 5V via USB-C or 3.7V via LiPo battery
- GPIO Pins: 20 (including ADC, DAC, I2C, SPI, UART, PWM)
- USB Interface: USB-C with native USB-to-serial support
- Battery Support: JST connector for 3.7V LiPo battery with charging circuit
- Dimensions: 51mm x 23mm x 8mm
- Weight: 6.6g
Pin Configuration and Descriptions
The Adafruit ESP32 Feather V2 has a total of 20 GPIO pins, each with specific functions. Below is the pinout description:
| Pin | Name | Function |
|---|---|---|
| 1 | GND | Ground |
| 2 | 3.3V | 3.3V power output |
| 3 | EN | Enable pin (active high) |
| 4 | GPIO0 | General-purpose I/O, boot mode selection |
| 5 | GPIO1 (TX) | UART TX (serial communication) |
| 6 | GPIO3 (RX) | UART RX (serial communication) |
| 7 | GPIO5 | General-purpose I/O, PWM capable |
| 8 | GPIO12 | General-purpose I/O, ADC, PWM capable |
| 9 | GPIO13 | General-purpose I/O, ADC, PWM capable |
| 10 | GPIO14 | General-purpose I/O, ADC, PWM capable |
| 11 | GPIO15 | General-purpose I/O, ADC, PWM capable |
| 12 | GPIO16 | General-purpose I/O, ADC, PWM capable |
| 13 | GPIO17 | General-purpose I/O, ADC, PWM capable |
| 14 | GPIO18 (SCK) | SPI Clock |
| 15 | GPIO19 (MISO) | SPI Master-In-Slave-Out |
| 16 | GPIO21 (MOSI) | SPI Master-Out-Slave-In |
| 17 | GPIO22 (SCL) | I2C Clock |
| 18 | GPIO23 (SDA) | I2C Data |
| 19 | BAT | Battery voltage output |
| 20 | USB | USB 5V input/output |
Usage Instructions
The Adafruit ESP32 Feather V2 is easy to use in a variety of projects. Below are the steps to get started and important considerations.
How to Use the Component in a Circuit
Powering the Board:
- Connect the board to your computer via the USB-C port for power and programming.
- Alternatively, connect a 3.7V LiPo battery to the JST connector for portable applications.
Programming the Board:
- Install the Arduino IDE and add the ESP32 board support package.
- Select "Adafruit ESP32 Feather V2" from the Tools > Board menu.
- Connect the board to your computer and upload your code.
Connecting Peripherals:
- Use the GPIO pins to connect sensors, actuators, or other peripherals.
- Ensure that the voltage levels of connected devices are compatible with the 3.3V logic of the ESP32.
Important Considerations and Best Practices
- Voltage Levels: The GPIO pins operate at 3.3V. Avoid connecting 5V signals directly to the pins to prevent damage.
- Battery Charging: If using a LiPo battery, the onboard charging circuit will automatically charge the battery when connected to USB power.
- Wi-Fi and Bluetooth: Ensure proper antenna placement and avoid interference for optimal wireless performance.
- Boot Mode: To enter bootloader mode, hold down the BOOT button while pressing the RESET button.
Example Code for Arduino UNO Integration
Below is an example of how to use the Adafruit ESP32 Feather V2 to blink an LED connected to GPIO5:
// Example: Blink an LED on GPIO5

#define LED_PIN 5  // Define the GPIO pin connected to the LED

void setup() {
  pinMode(LED_PIN, OUTPUT);  // Set GPIO5 as an output
}

void loop() {
  digitalWrite(LED_PIN, HIGH);  // Turn the LED on
  delay(1000);                  // Wait for 1 second
  digitalWrite(LED_PIN, LOW);   // Turn the LED off
  delay(1000);                  // Wait for 1 second
}
Troubleshooting and FAQs
Common Issues Users Might Face
Board Not Detected by Computer:
- Ensure the USB-C cable is data-capable (not just a charging cable).
- Check that the correct COM port is selected in the Arduino IDE.
Code Upload Fails:
- Verify that the correct board and port are selected in the Arduino IDE.
- Hold the BOOT button while uploading to force the board into bootloader mode.
Wi-Fi Connection Issues:
- Ensure the correct SSID and password are used in your code.
- Check for interference or weak signal strength.
Overheating:
- Avoid overloading the GPIO pins or exceeding the current limits.
- Ensure proper ventilation if the board is used in an enclosure.
Solutions and Tips for Troubleshooting
- Reset the Board: Press the RESET button to restart the microcontroller.
- Check Power Supply: Ensure the board is receiving sufficient power from USB or battery.
- Update Firmware: Use the latest ESP32 board support package in the Arduino IDE.
- Consult Documentation: Refer to the Adafruit ESP32 Feather V2 product page for additional resources and support.
By following this documentation, you can effectively utilize the Adafruit ESP32 Feather V2 in your projects and troubleshoot common issues with ease.