How to Use ADP SENSOR: Examples, Pinouts, and Specs

Introduction
The ADP Sensor (Manufacturer Part ID: ASAIR 810) is a specialized device designed to detect and measure the presence of adenosine diphosphate (ADP) in biological and chemical processes. Manufactured by ASAIR, this sensor is highly sensitive and precise, making it an essential tool in research, medical diagnostics, and biochemical analysis. Its compact design and reliable performance allow for seamless integration into laboratory equipment and experimental setups.
Explore Projects Built with ADP SENSOR
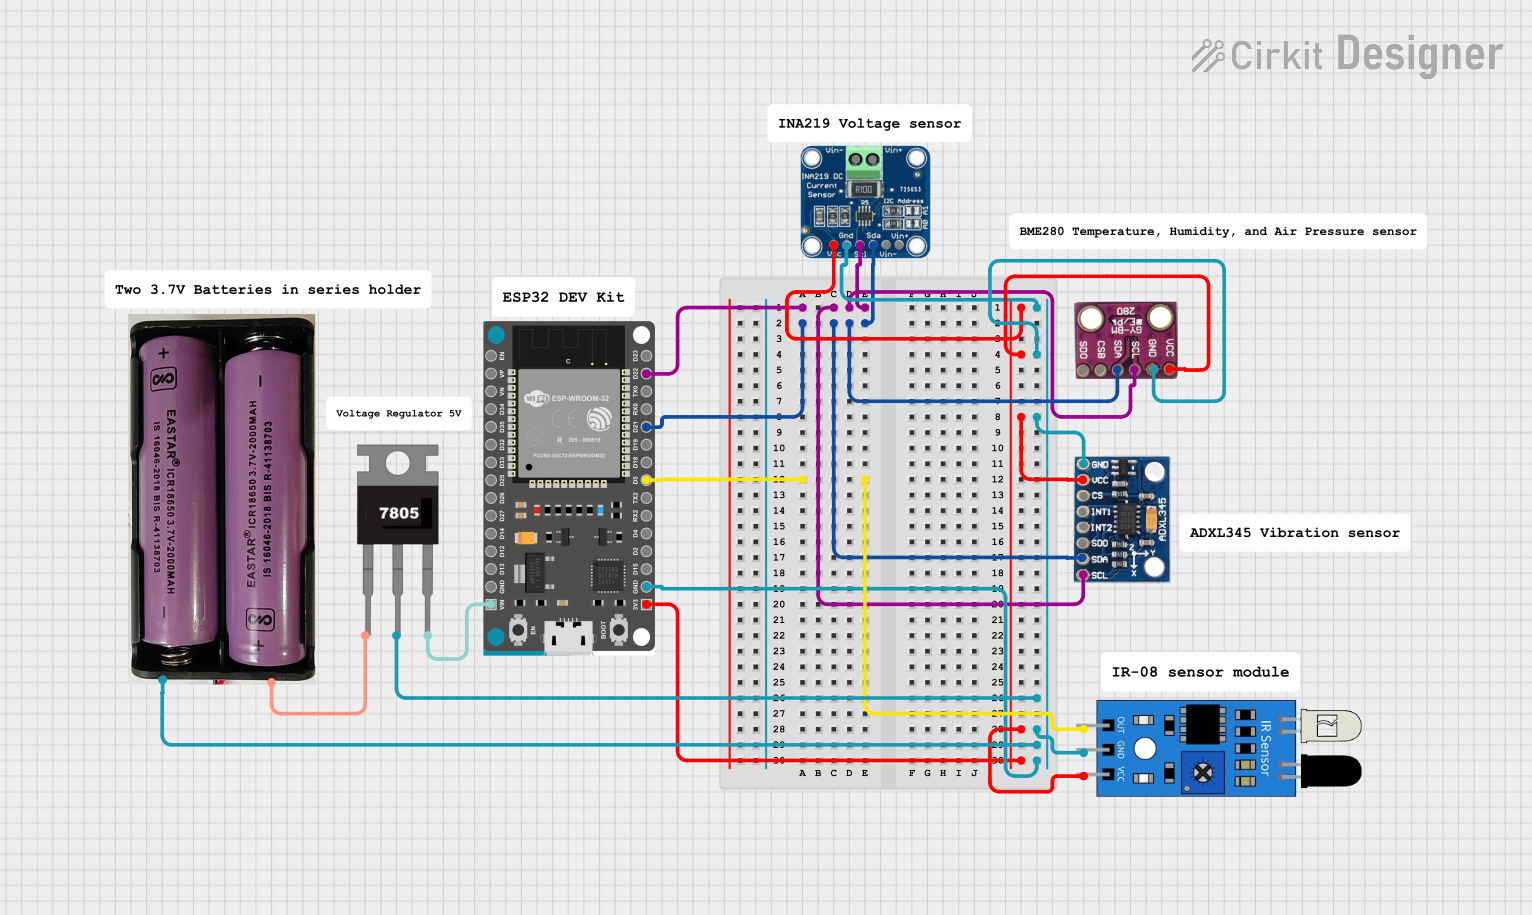

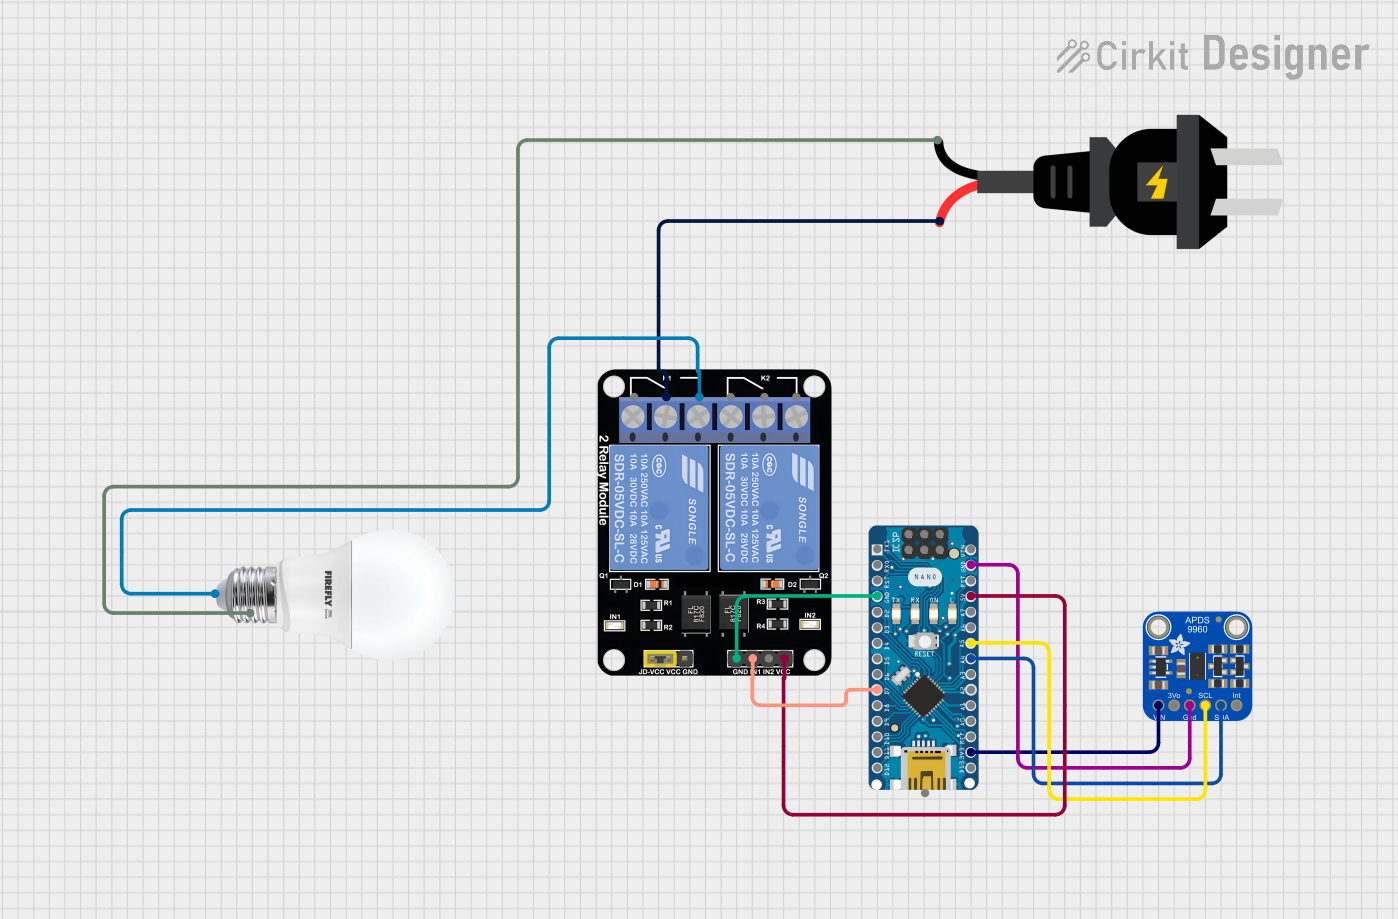
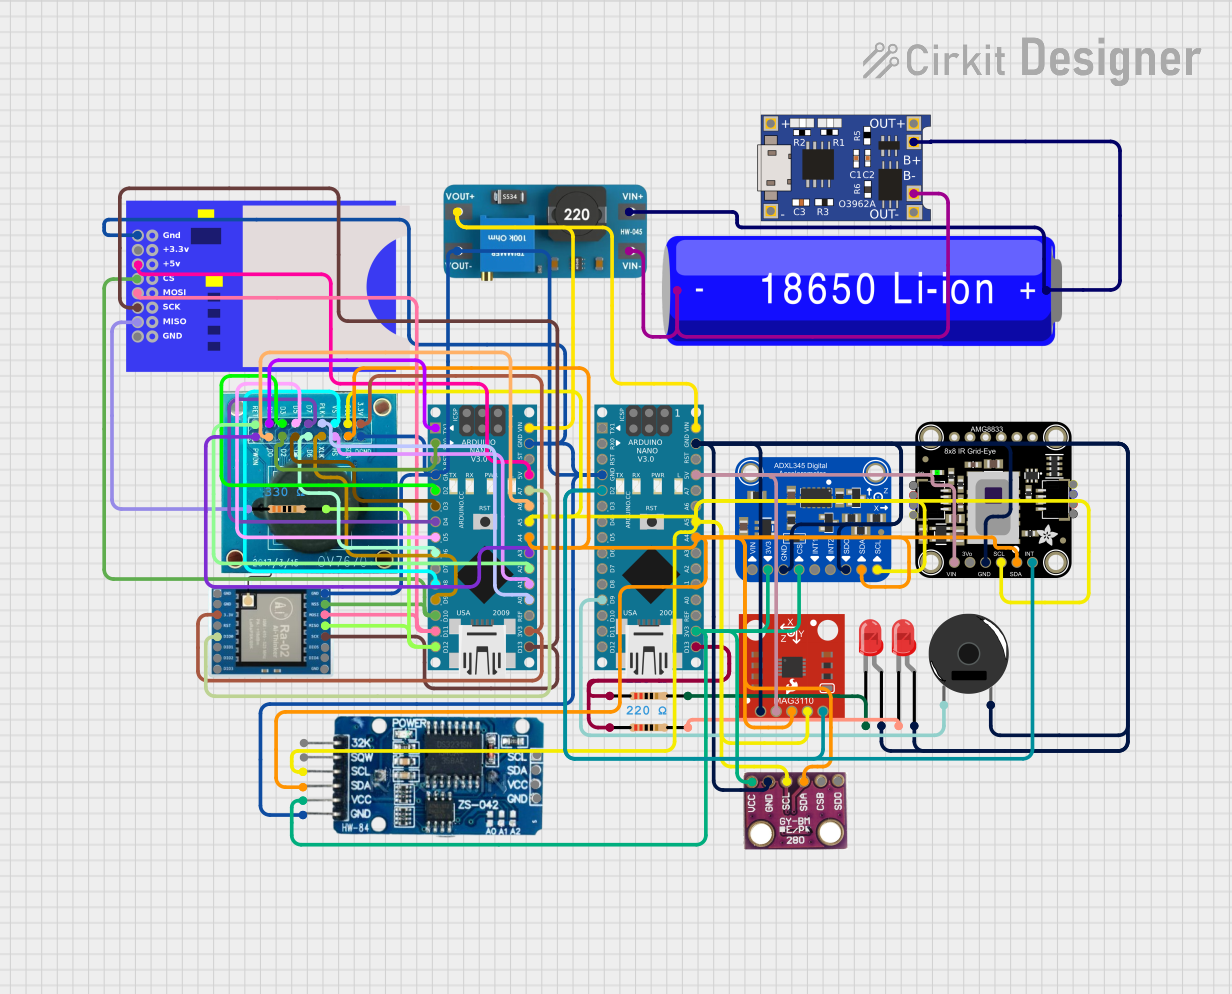
Explore Projects Built with ADP SENSOR
Common Applications and Use Cases
- Monitoring ADP levels in biochemical reactions
- Research in cellular energy metabolism
- Medical diagnostics for ATP/ADP-related disorders
- Pharmaceutical and drug development studies
- Integration into lab-on-a-chip devices for real-time analysis
Technical Specifications
The ADP Sensor (ASAIR 810) is engineered for high accuracy and reliability. Below are its key technical details:
General Specifications
| Parameter | Value |
|---|---|
| Manufacturer | ASAIR |
| Part ID | ASAIR 810 |
| Measurement Range | 0.1 µM to 10 mM |
| Sensitivity | ±0.01 µM |
| Response Time | < 1 second |
| Operating Voltage | 3.3V to 5V |
| Operating Current | ≤ 10 mA |
| Communication Protocol | Analog Output / I2C |
| Operating Temperature | 0°C to 50°C |
| Storage Temperature | -20°C to 70°C |
| Dimensions | 25mm x 15mm x 5mm |
Pin Configuration and Descriptions
The ADP Sensor has a 4-pin interface for easy integration into circuits. The pinout is as follows:
| Pin Number | Pin Name | Description |
|---|---|---|
| 1 | VCC | Power supply input (3.3V to 5V) |
| 2 | GND | Ground connection |
| 3 | OUT | Analog output signal proportional to ADP levels |
| 4 | SCL/SDA | I2C communication lines (optional, configurable) |
Usage Instructions
How to Use the ADP Sensor in a Circuit
- Power the Sensor: Connect the
VCCpin to a 3.3V or 5V power source and theGNDpin to the ground. - Signal Output: Use the
OUTpin to read the analog signal corresponding to the ADP concentration. If using I2C, connect theSCLandSDApins to the appropriate microcontroller pins. - Calibration: Before use, calibrate the sensor using known ADP concentrations to ensure accurate measurements.
- Data Processing: Convert the analog or digital output into meaningful ADP concentration values using the sensor's sensitivity specification.
Important Considerations and Best Practices
- Power Supply: Ensure a stable power supply to avoid noise in the output signal.
- Environmental Conditions: Operate the sensor within the specified temperature range for optimal performance.
- Calibration: Regularly calibrate the sensor to maintain accuracy, especially in long-term applications.
- Signal Filtering: Use a low-pass filter if the output signal is noisy.
- I2C Configuration: If using I2C, ensure the microcontroller's pull-up resistors are properly configured.
Example: Connecting to an Arduino UNO
Below is an example of how to connect and read data from the ADP Sensor using an Arduino UNO:
Circuit Connections
| ADP Sensor Pin | Arduino UNO Pin |
|---|---|
| VCC | 5V |
| GND | GND |
| OUT | A0 |
Arduino Code
// ADP Sensor Example Code for Arduino UNO
// Reads analog output from the sensor and converts it to ADP concentration

const int sensorPin = A0; // Analog pin connected to the sensor's OUT pin
float sensorValue;        // Variable to store the raw sensor reading
float adpConcentration;   // Variable to store the calculated ADP concentration

void setup() {
  Serial.begin(9600); // Initialize serial communication at 9600 baud
  pinMode(sensorPin, INPUT); // Set the sensor pin as input
}

void loop() {
  // Read the analog value from the sensor
  sensorValue = analogRead(sensorPin);

  // Convert the raw value to ADP concentration (example formula)
  // Assuming a linear relationship: ADP (µM) = (sensorValue / 1023) * 10
  adpConcentration = (sensorValue / 1023.0) * 10.0;

  // Print the ADP concentration to the Serial Monitor
  Serial.print("ADP Concentration: ");
  Serial.print(adpConcentration);
  Serial.println(" µM");

  delay(1000); // Wait for 1 second before the next reading
}
Troubleshooting and FAQs
Common Issues and Solutions
No Output Signal
- Cause: Incorrect wiring or insufficient power supply.
- Solution: Verify all connections and ensure the power supply is within the specified range.
Inaccurate Readings
- Cause: Sensor not calibrated or environmental interference.
- Solution: Perform a calibration using known ADP concentrations and minimize external noise.
Fluctuating Output
- Cause: Electrical noise or unstable power supply.
- Solution: Use a decoupling capacitor near the sensor's power pins and ensure a stable power source.
I2C Communication Failure
- Cause: Incorrect pull-up resistor configuration or wiring.
- Solution: Check the I2C connections and ensure proper pull-up resistors are in place.
FAQs
Q1: Can the ADP Sensor detect ATP (adenosine triphosphate)?
A1: No, the ADP Sensor is specifically designed to detect adenosine diphosphate (ADP). For ATP detection, a different sensor is required.
Q2: How often should the sensor be calibrated?
A2: Calibration frequency depends on usage. For critical applications, calibrate before each use. For routine applications, calibrate weekly or monthly.
Q3: Can the sensor be used in liquid environments?
A3: The ADP Sensor is not waterproof. Use it in a controlled environment or integrate it into a sealed system for liquid measurements.
Q4: What is the lifespan of the sensor?
A4: The sensor's lifespan depends on usage and environmental conditions. Under normal conditions, it can last several years with proper care.
Q5: Is the sensor compatible with other microcontrollers?
A5: Yes, the sensor can be used with any microcontroller that supports analog or I2C inputs, such as Raspberry Pi, ESP32, or STM32.