How to Use Rocker Switch (SPST): Examples, Pinouts, and Specs
Introduction
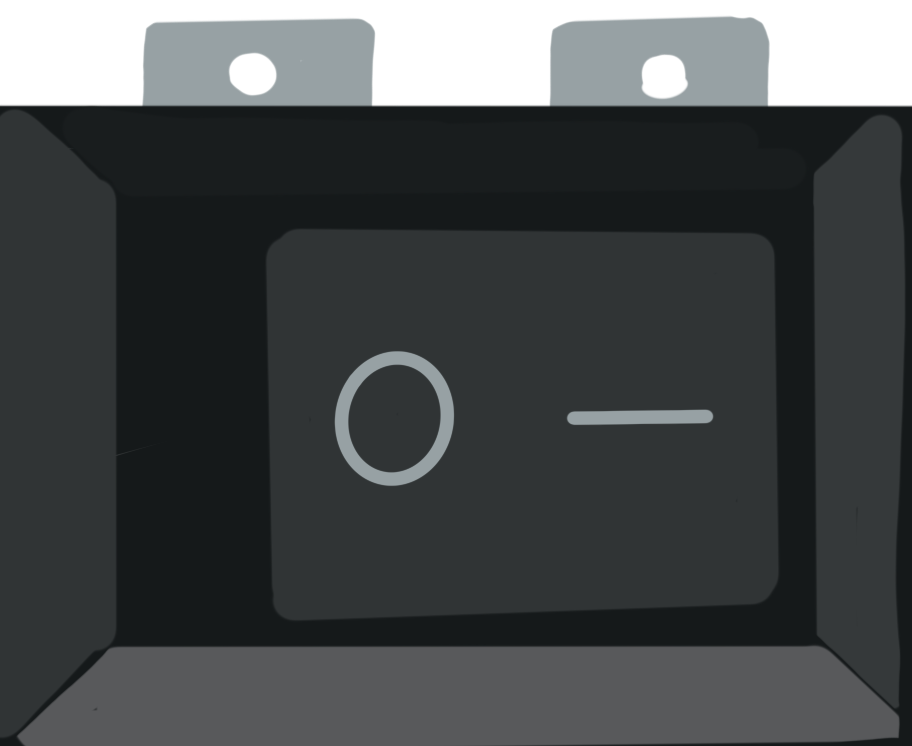
A rocker switch is a user-interface electronic component that operates as an on-off switch. The SPST (Single Pole, Single Throw) designation indicates that the switch has one input (pole) and one output (throw), making it a simple binary device that either completes or breaks a circuit. Rocker switches are commonly used in household appliances, office equipment, and industrial controls due to their ease of operation and reliability.
Explore Projects Built with Rocker Switch (SPST)

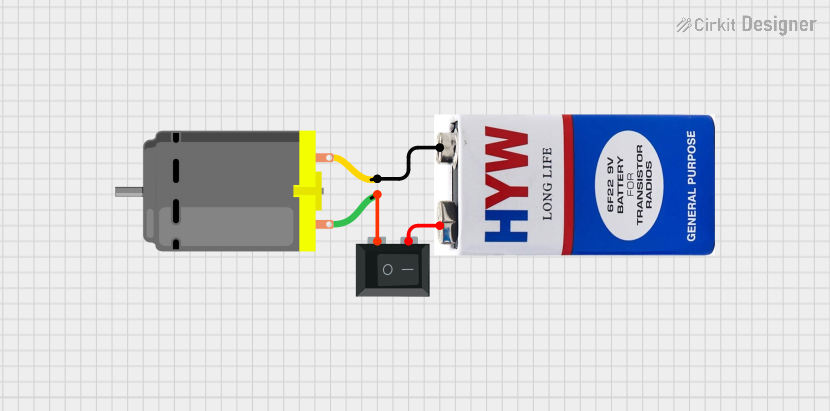
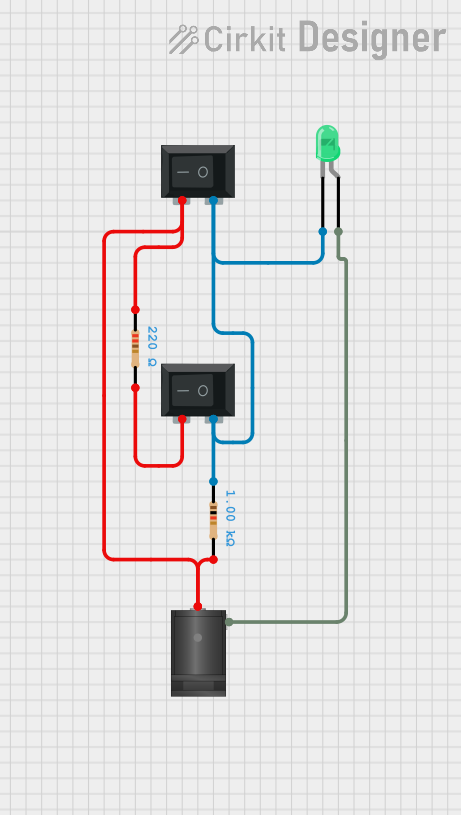

Explore Projects Built with Rocker Switch (SPST)
Common Applications and Use Cases
- Power switches for electronic devices
- Light switches
- Automotive switches (e.g., for lights or accessories)
- Control panels for machinery
Technical Specifications
Key Technical Details
- Voltage Rating: Typically ranges from 110V to 250V
- Current Rating: Often rated up to 15A or 20A
- Contact Resistance: Usually below 50 mΩ
- Insulation Resistance: Typically greater than 100 MΩ
- Dielectric Strength: Commonly around 1500VAC for 1 minute
- Operating Temperature: Ranges from -20°C to +85°C
- Mechanical Life: Can exceed 50,000 cycles
- Electrical Life: Often rated at 10,000 cycles
Pin Configuration and Descriptions
| Pin Number | Description |
|---|---|
| 1 | Input (Line Voltage) |
| 2 | Output (Load) |
Note: The pin numbers are for reference and may vary based on the manufacturer's design.
Usage Instructions
How to Use the Rocker Switch in a Circuit
- Power Off: Ensure that the power supply to the circuit is turned off before installing the switch.
- Wiring: Connect the line voltage wire to pin 1 and the load wire to pin 2. Ensure that the connections are secure and insulated to prevent short circuits.
- Mounting: Install the rocker switch into the desired panel or enclosure, making sure it is firmly seated and aligned.
- Testing: Once installed, turn on the power supply and test the switch operation. The rocker should move smoothly between the on and off positions.
Important Considerations and Best Practices
- Always verify the voltage and current ratings of the switch match the requirements of your application.
- Use appropriate wire gauges to handle the expected current load.
- Ensure that the switch is accessible for operation and maintenance.
- If the switch is to be used in an environment exposed to moisture or dust, consider a switch with an appropriate IP rating for protection.
Troubleshooting and FAQs
Common Issues and Solutions
- Switch Does Not Operate: Check for loose connections or a blown fuse. Ensure that the power supply is functional.
- Intermittent Operation: Inspect for any signs of damage or wear. Replace the switch if necessary.
- Overheating: Ensure that the current rating is not exceeded. Check for short circuits or overloads in the connected load.
FAQs
Q: Can I use a rocker switch with a DC circuit?
- A: Yes, rocker switches can be used with both AC and DC circuits, but ensure the voltage and current ratings are suitable for your DC application.
Q: Is it possible to replace a toggle switch with a rocker switch?
- A: Yes, as long as the rocker switch matches the electrical specifications of the toggle switch, it can be used as a replacement.
Q: How do I know if the rocker switch is in the on or off position?
- A: Many rocker switches have an indicator, often marked with "I" and "O" (for on and off, respectively), or they may have a built-in light to indicate the status.
Example Code for Arduino UNO
If you're using a rocker switch with an Arduino UNO to control a device like an LED, here's a simple example code:
// Define the pin connected to the rocker switch
const int rockerSwitchPin = 2;
// Define the pin connected to the LED
const int ledPin = 13;

void setup() {
  // Set the LED pin as output
  pinMode(ledPin, OUTPUT);
  // Set the rocker switch pin as input
  pinMode(rockerSwitchPin, INPUT);
}

void loop() {
  // Read the state of the rocker switch
  int switchState = digitalRead(rockerSwitchPin);

  // If the switch is in the 'on' position, turn on the LED
  if (switchState == HIGH) {
    digitalWrite(ledPin, HIGH);
  } else {
    // If the switch is in the 'off' position, turn off the LED
    digitalWrite(ledPin, LOW);
  }
}
Note: In this example, the rocker switch is assumed to be connected to the Arduino such that it closes the circuit when in the 'on' position, connecting the input pin to 5V. A pull-down resistor may be needed to ensure the pin reads LOW when the switch is open (off).