
How to Use 7 INCH LCD: Examples, Pinouts, and Specs
 Design with 7 INCH LCD in Cirkit Designer
Introduction
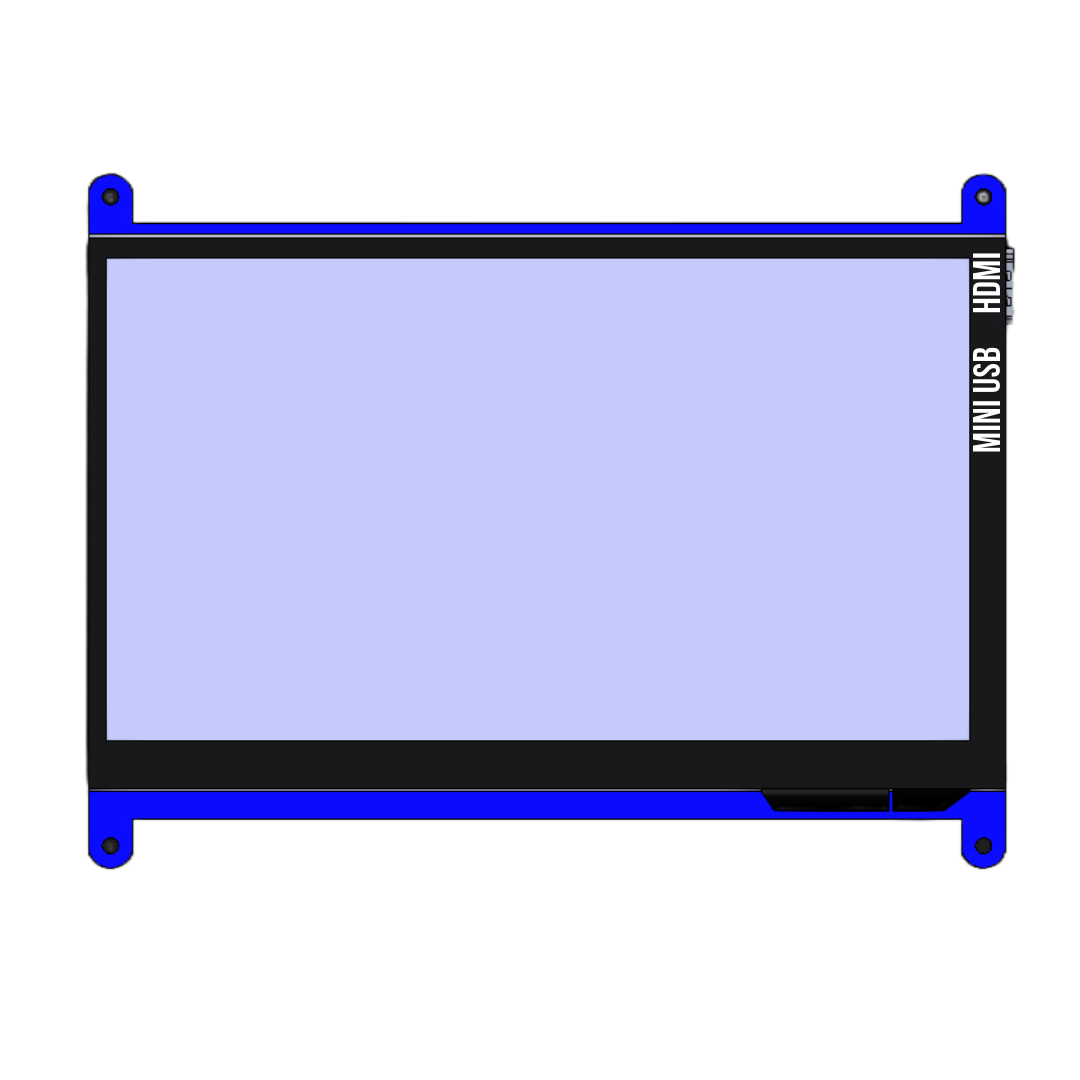
The Waveshare 7-inch LCD is a high-quality liquid crystal display designed for visual output in a wide range of electronic applications. With its 7-inch diagonal size, this display provides clear and vibrant images, making it ideal for projects requiring graphical interfaces, video playback, or data visualization. Its low power consumption and compatibility with popular microcontrollers and single-board computers make it a versatile choice for hobbyists and professionals alike.
Explore Projects Built with 7 INCH LCD
 Open Project in Cirkit Designer
 Open Project in Cirkit Designer
 Open Project in Cirkit Designer
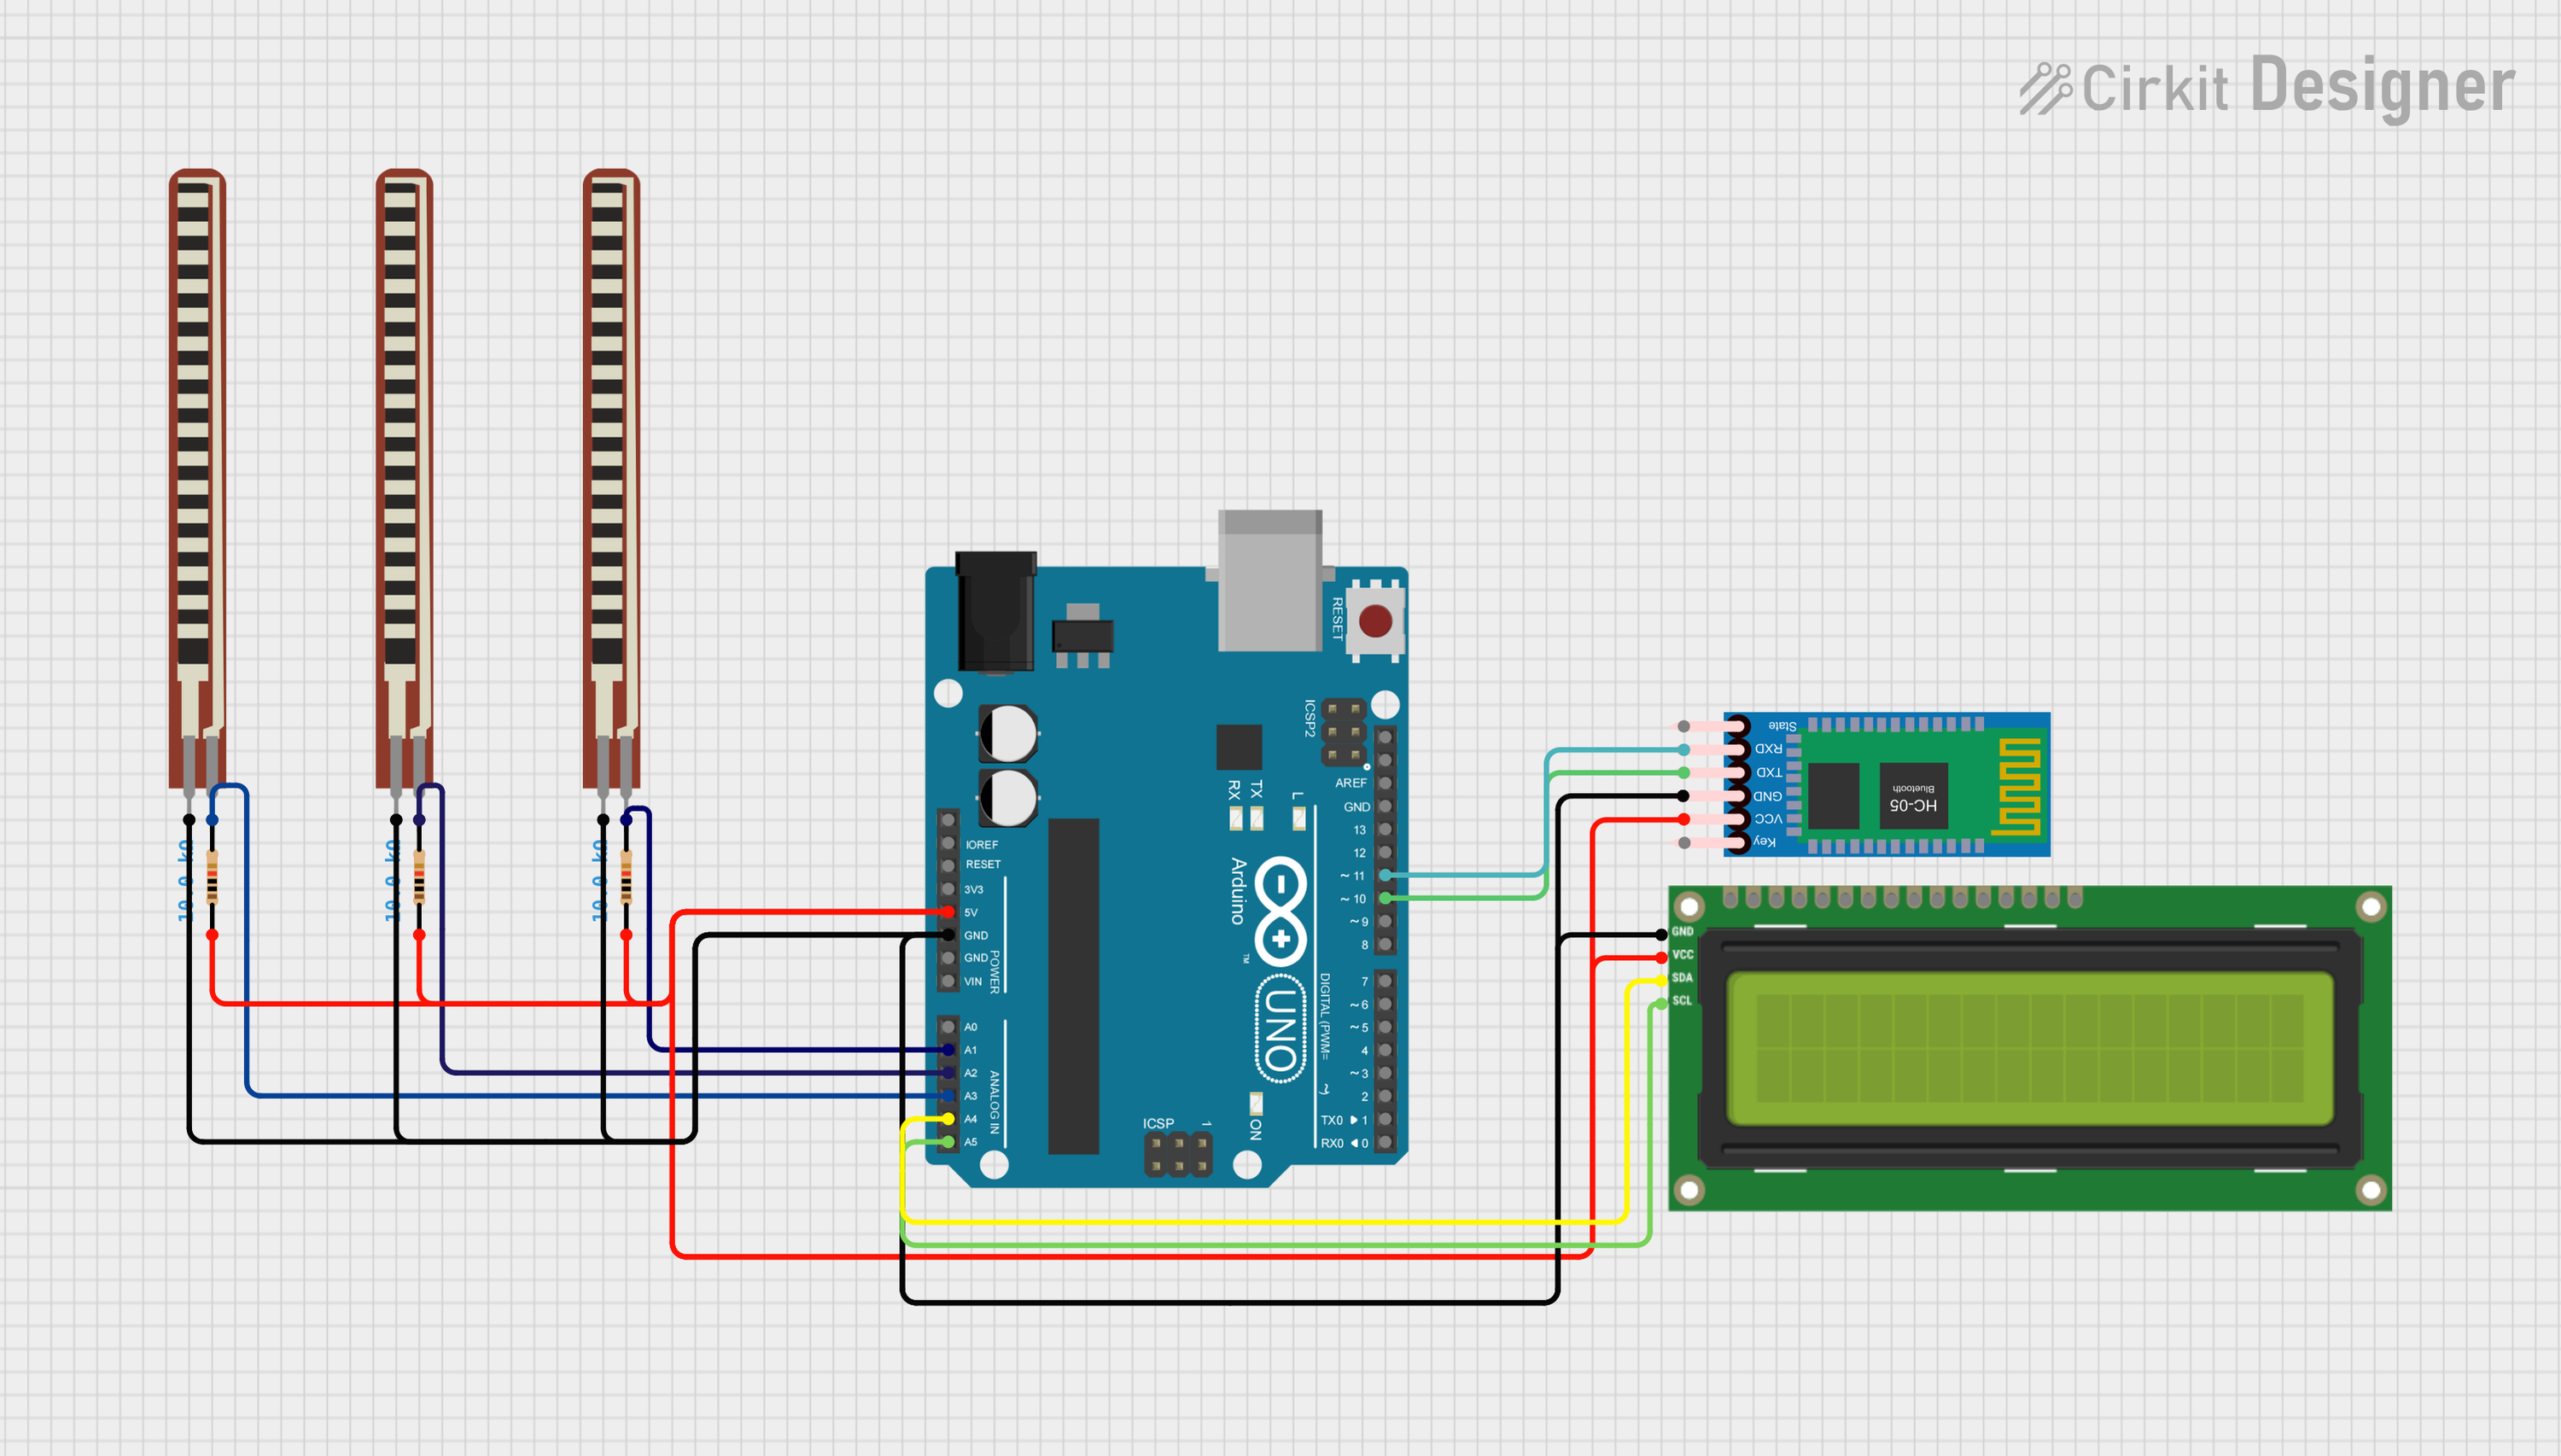 Open Project in Cirkit Designer
Explore Projects Built with 7 INCH LCD
Open Project in Cirkit DesignerOpen Project in Cirkit DesignerOpen Project in Cirkit DesignerOpen Project in Cirkit DesignerCommon Applications and Use Cases
- Graphical user interfaces for embedded systems
- Video playback and multimedia displays
- Industrial control panels
- DIY projects with Raspberry Pi, Arduino, or other microcontrollers
- Educational tools and interactive displays
Technical Specifications
Below are the key technical details of the Waveshare 7-inch LCD:
| Specification | Details |
|---|---|
| Display Type | TFT LCD |
| Screen Size | 7 inches (diagonal) |
| Resolution | 1024 × 600 pixels |
| Aspect Ratio | 16:9 |
| Touch Panel | Capacitive (optional, depending on model) |
| Interface | HDMI, GPIO, or SPI (model-dependent) |
| Power Supply Voltage | 5V (via USB or GPIO) |
| Power Consumption | ~4W |
| Viewing Angle | 170° |
| Dimensions | 164.9mm × 100mm × 7.2mm |
Pin Configuration and Descriptions
The Waveshare 7-inch LCD typically connects via HDMI or GPIO pins. Below is the pin configuration for the GPIO interface (if applicable):
| Pin | Name | Description |
|---|---|---|
| 1 | 5V | Power supply (5V input) |
| 2 | GND | Ground |
| 3 | SCL | Serial Clock Line for I2C communication |
| 4 | SDA | Serial Data Line for I2C communication |
| 5 | INT | Interrupt signal (used for touch functionality) |
| 6 | RST | Reset signal |
| 7 | CS | Chip Select (used for SPI communication) |
| 8 | MOSI | Master Out Slave In (SPI data input) |
| 9 | MISO | Master In Slave Out (SPI data output) |
| 10 | SCK | Serial Clock (SPI clock signal) |
Note: The exact pin configuration may vary depending on the specific model of the Waveshare 7-inch LCD. Refer to the manufacturer's datasheet for precise details.
Usage Instructions
How to Use the Component in a Circuit
- Power Supply: Connect the 5V and GND pins to a stable power source. If using HDMI, power can also be supplied via USB.
- Interface Selection: Choose the appropriate interface (HDMI, GPIO, or SPI) based on your project requirements.
- For HDMI: Connect the HDMI cable to your microcontroller or computer.
- For GPIO/SPI: Wire the pins according to the pin configuration table above.
- Driver Installation: Install the necessary drivers for your operating system or microcontroller. Waveshare provides drivers for Raspberry Pi and other platforms.
- Touch Functionality: If using a touch-enabled model, connect the I2C pins (SCL and SDA) for touch data communication.
- Testing: Power on the display and test it with a simple graphical output or video playback.
Important Considerations and Best Practices
- Power Stability: Ensure a stable 5V power supply to avoid flickering or display issues.
- Resolution Settings: Configure the resolution of your microcontroller or computer to match the display's native resolution (1024 × 600).
- Cable Quality: Use high-quality HDMI or GPIO cables to prevent signal degradation.
- Touch Calibration: If using the touch panel, calibrate it using the provided software or tools.
- Heat Management: Avoid placing the display in environments with excessive heat to ensure longevity.
Example Code for Arduino UNO
The Waveshare 7-inch LCD is typically used with Raspberry Pi or other HDMI-compatible devices. However, for GPIO-based models, you can use the following example code to display basic graphics using an Arduino UNO:
#include <SPI.h>

// Define SPI pins
#define CS_PIN 10  // Chip Select pin
#define DC_PIN 9   // Data/Command pin
#define RST_PIN 8  // Reset pin

void setup() {
  // Initialize SPI communication
  SPI.begin();

  // Configure control pins
  pinMode(CS_PIN, OUTPUT);
  pinMode(DC_PIN, OUTPUT);
  pinMode(RST_PIN, OUTPUT);

  // Reset the display
  digitalWrite(RST_PIN, LOW);
  delay(100);
  digitalWrite(RST_PIN, HIGH);

  // Initialize the display (example command sequence)
  initializeDisplay();
}

void loop() {
  // Example: Draw a simple pattern on the display
  drawPattern();
}

void initializeDisplay() {
  // Send initialization commands to the display
  digitalWrite(CS_PIN, LOW);
  SPI.transfer(0x01); // Example command: Software reset
  digitalWrite(CS_PIN, HIGH);
  delay(120); // Wait for the display to reset
}

void drawPattern() {
  // Example: Send data to draw a pattern
  digitalWrite(CS_PIN, LOW);
  SPI.transfer(0x2C); // Example command: Memory write
  for (int i = 0; i < 1024 * 600; i++) {
    SPI.transfer(0xFF); // Example: Fill screen with white
  }
  digitalWrite(CS_PIN, HIGH);
}
Note: The above code is a basic example and may require modifications based on the specific model and library support for the Waveshare 7-inch LCD.
Troubleshooting and FAQs
Common Issues Users Might Face
No Display Output:
- Ensure the power supply is stable and connected properly.
- Verify that the HDMI or GPIO connections are secure.
- Check if the resolution settings match the display's native resolution.
Touch Panel Not Working:
- Confirm that the I2C pins (SCL and SDA) are connected correctly.
- Install the appropriate touch drivers for your platform.
- Calibrate the touch panel using the provided tools.
Flickering or Distorted Image:
- Use a high-quality HDMI or GPIO cable.
- Ensure the power supply provides sufficient current (at least 1A).
Display Not Detected:
- Verify that the correct drivers are installed.
- Check the interface selection (HDMI, GPIO, or SPI) and ensure it matches your setup.
Solutions and Tips for Troubleshooting
- Driver Updates: Always download the latest drivers and software from the Waveshare website.
- Testing on Another Device: Test the display with a different microcontroller or computer to isolate the issue.
- Consult the Datasheet: Refer to the manufacturer's datasheet for detailed technical information and troubleshooting steps.
By following this documentation, you can effectively integrate the Waveshare 7-inch LCD into your projects and troubleshoot common issues with ease.