How to Use LiDAR TF Luna: Examples, Pinouts, and Specs
Introduction
The LiDAR TF Luna, manufactured by Sensor (Part ID: UNO), is a high-precision LiDAR sensor designed for mapping and navigation. It features advanced scanning capabilities and real-time data processing, making it ideal for applications such as autonomous vehicles, robotics, drones, and smart devices. Its compact size, low power consumption, and reliable performance make it a popular choice for developers and engineers working on distance measurement and object detection projects.
Explore Projects Built with LiDAR TF Luna
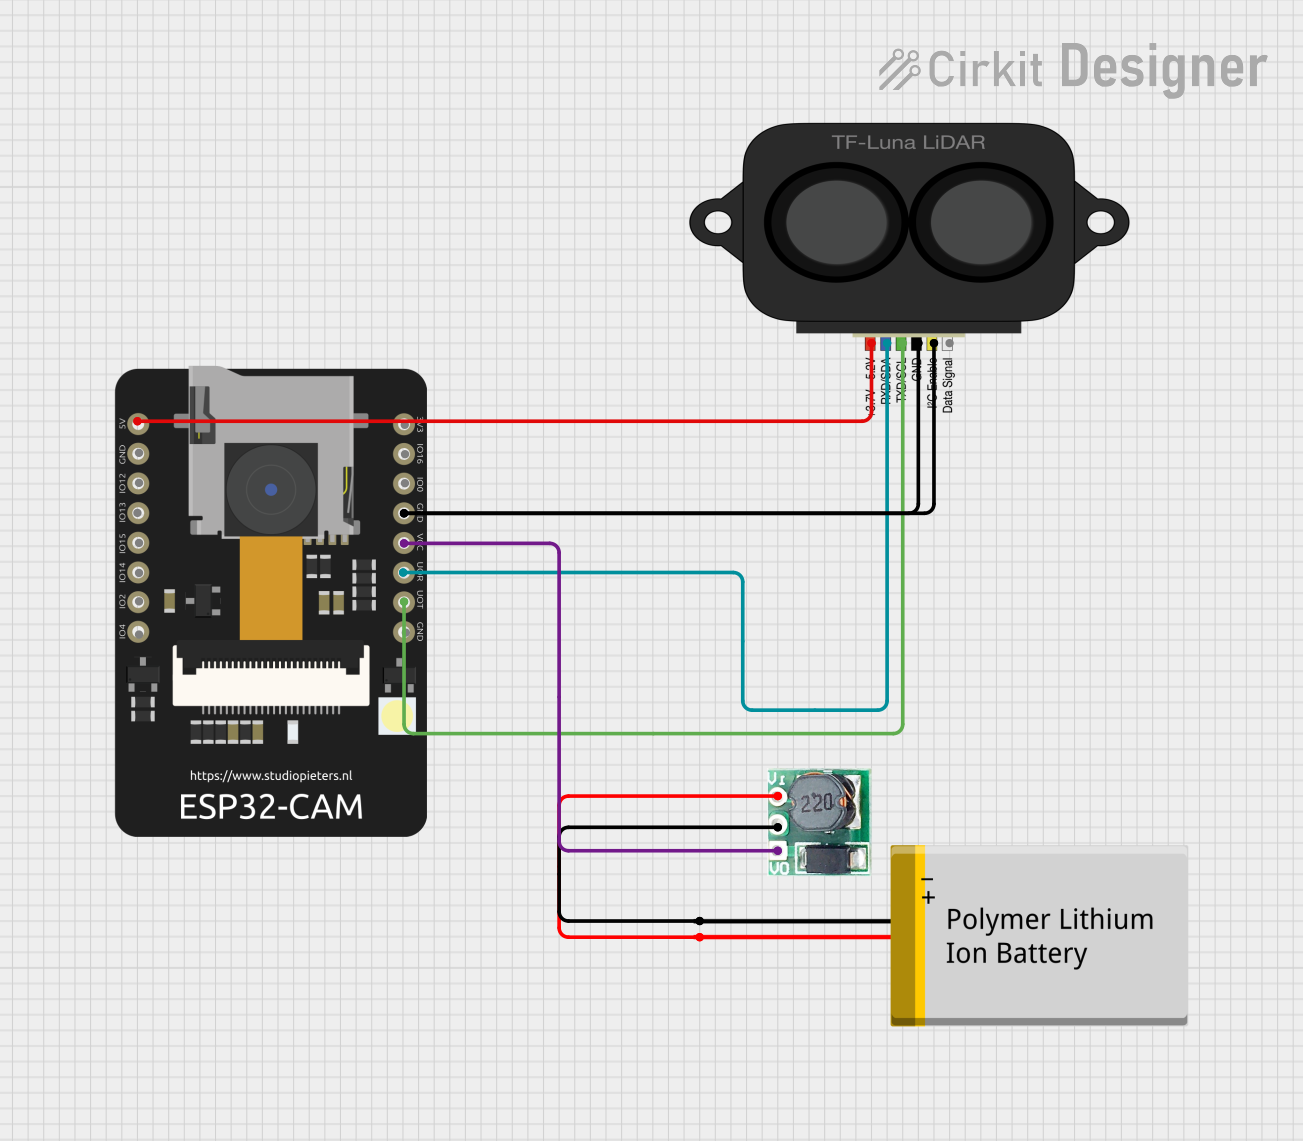
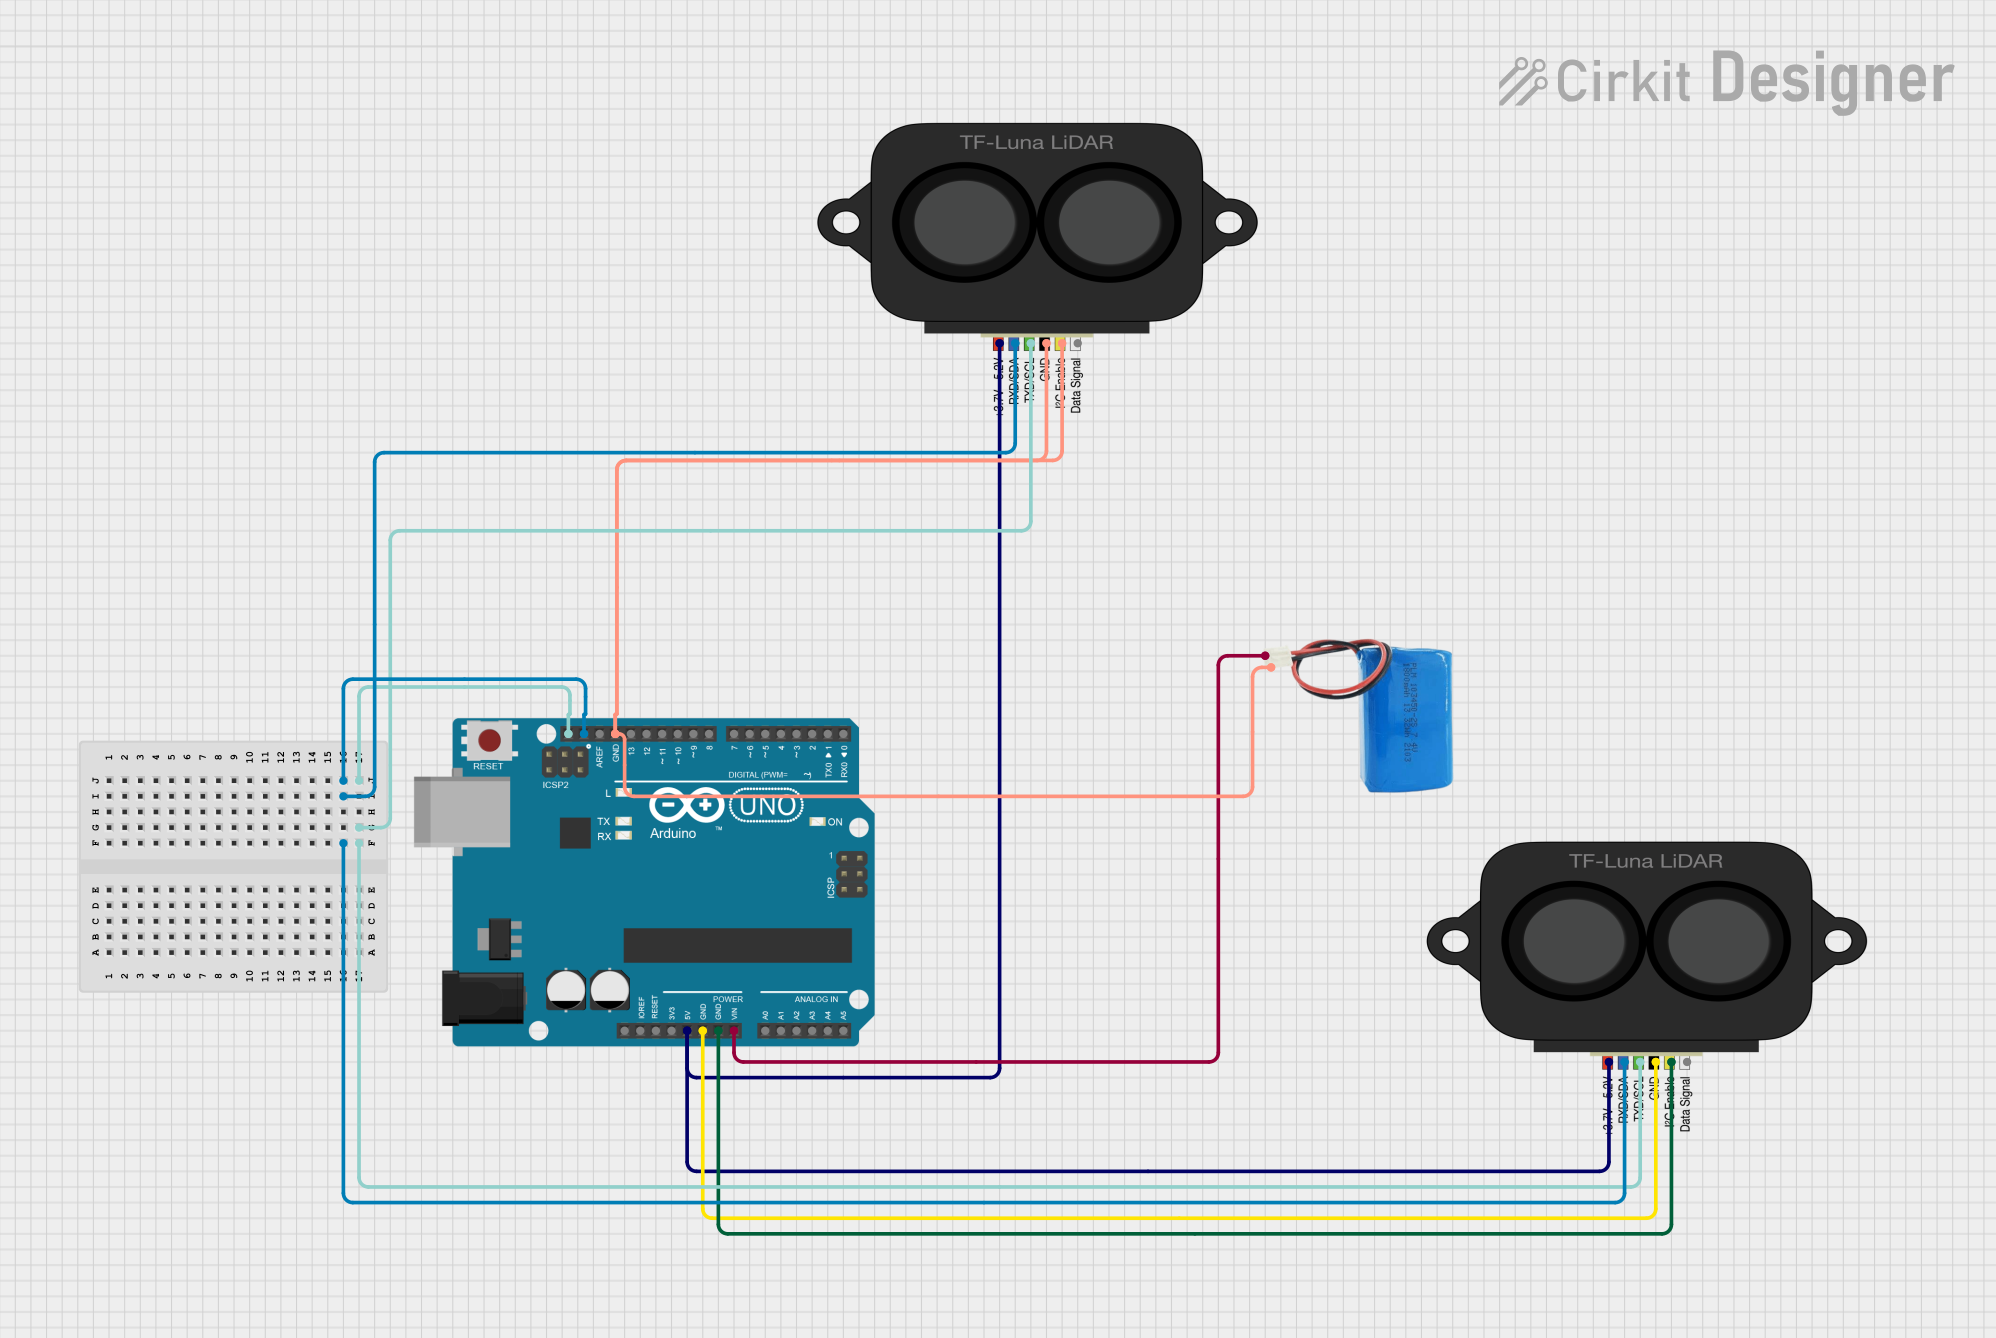
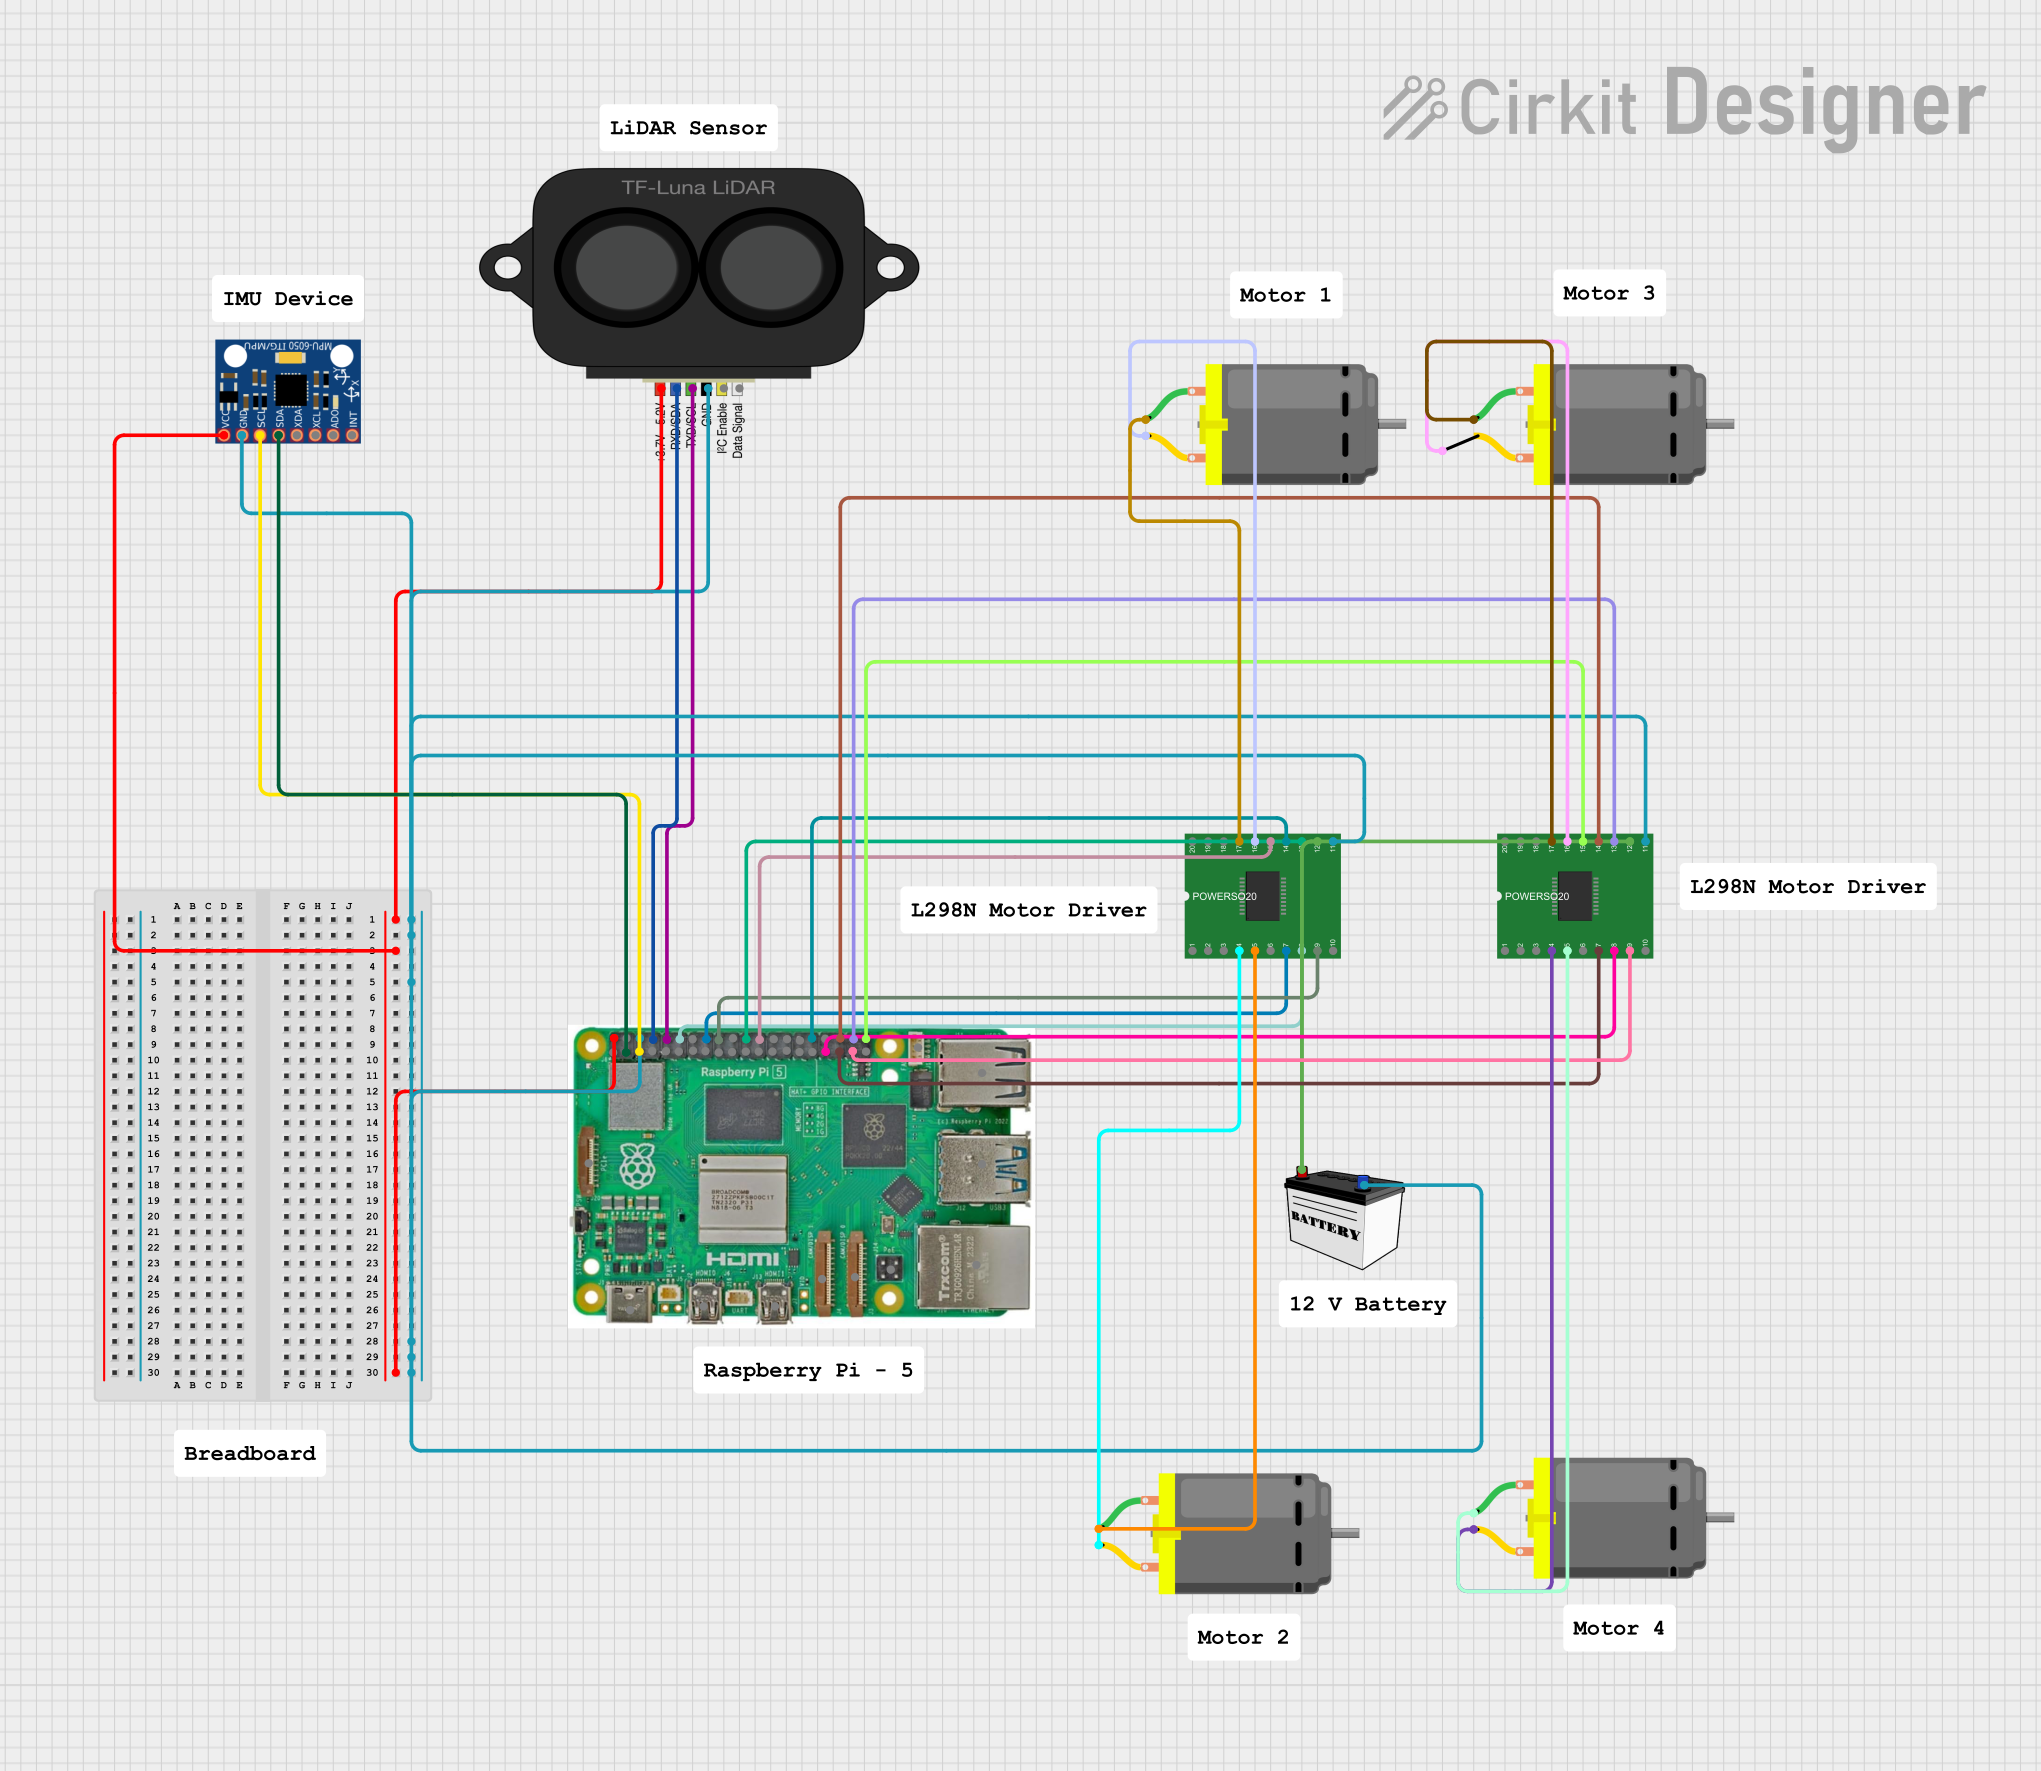

Explore Projects Built with LiDAR TF Luna
Common Applications
- Autonomous vehicles for obstacle detection and navigation
- Robotics for mapping and environment sensing
- Drones for altitude measurement and collision avoidance
- Smart devices for proximity sensing and automation
- Industrial automation for object detection and positioning
Technical Specifications
The TF Luna is a versatile and efficient LiDAR sensor with the following key specifications:
| Parameter | Value |
|---|---|
| Measurement Range | 0.2 m to 8 m (indoor), 0.2 m to 6 m (outdoor) |
| Accuracy | ±6 cm (0.2 m to 3 m), ±2% (>3 m) |
| Measurement Frequency | 1 Hz to 250 Hz |
| Operating Voltage | 5 V DC |
| Power Consumption | ≤0.35 W |
| Communication Interface | UART (3.3 V TTL) |
| Operating Temperature | -10°C to 60°C |
| Dimensions | 35 mm × 21.2 mm × 12 mm |
| Weight | 5 g |
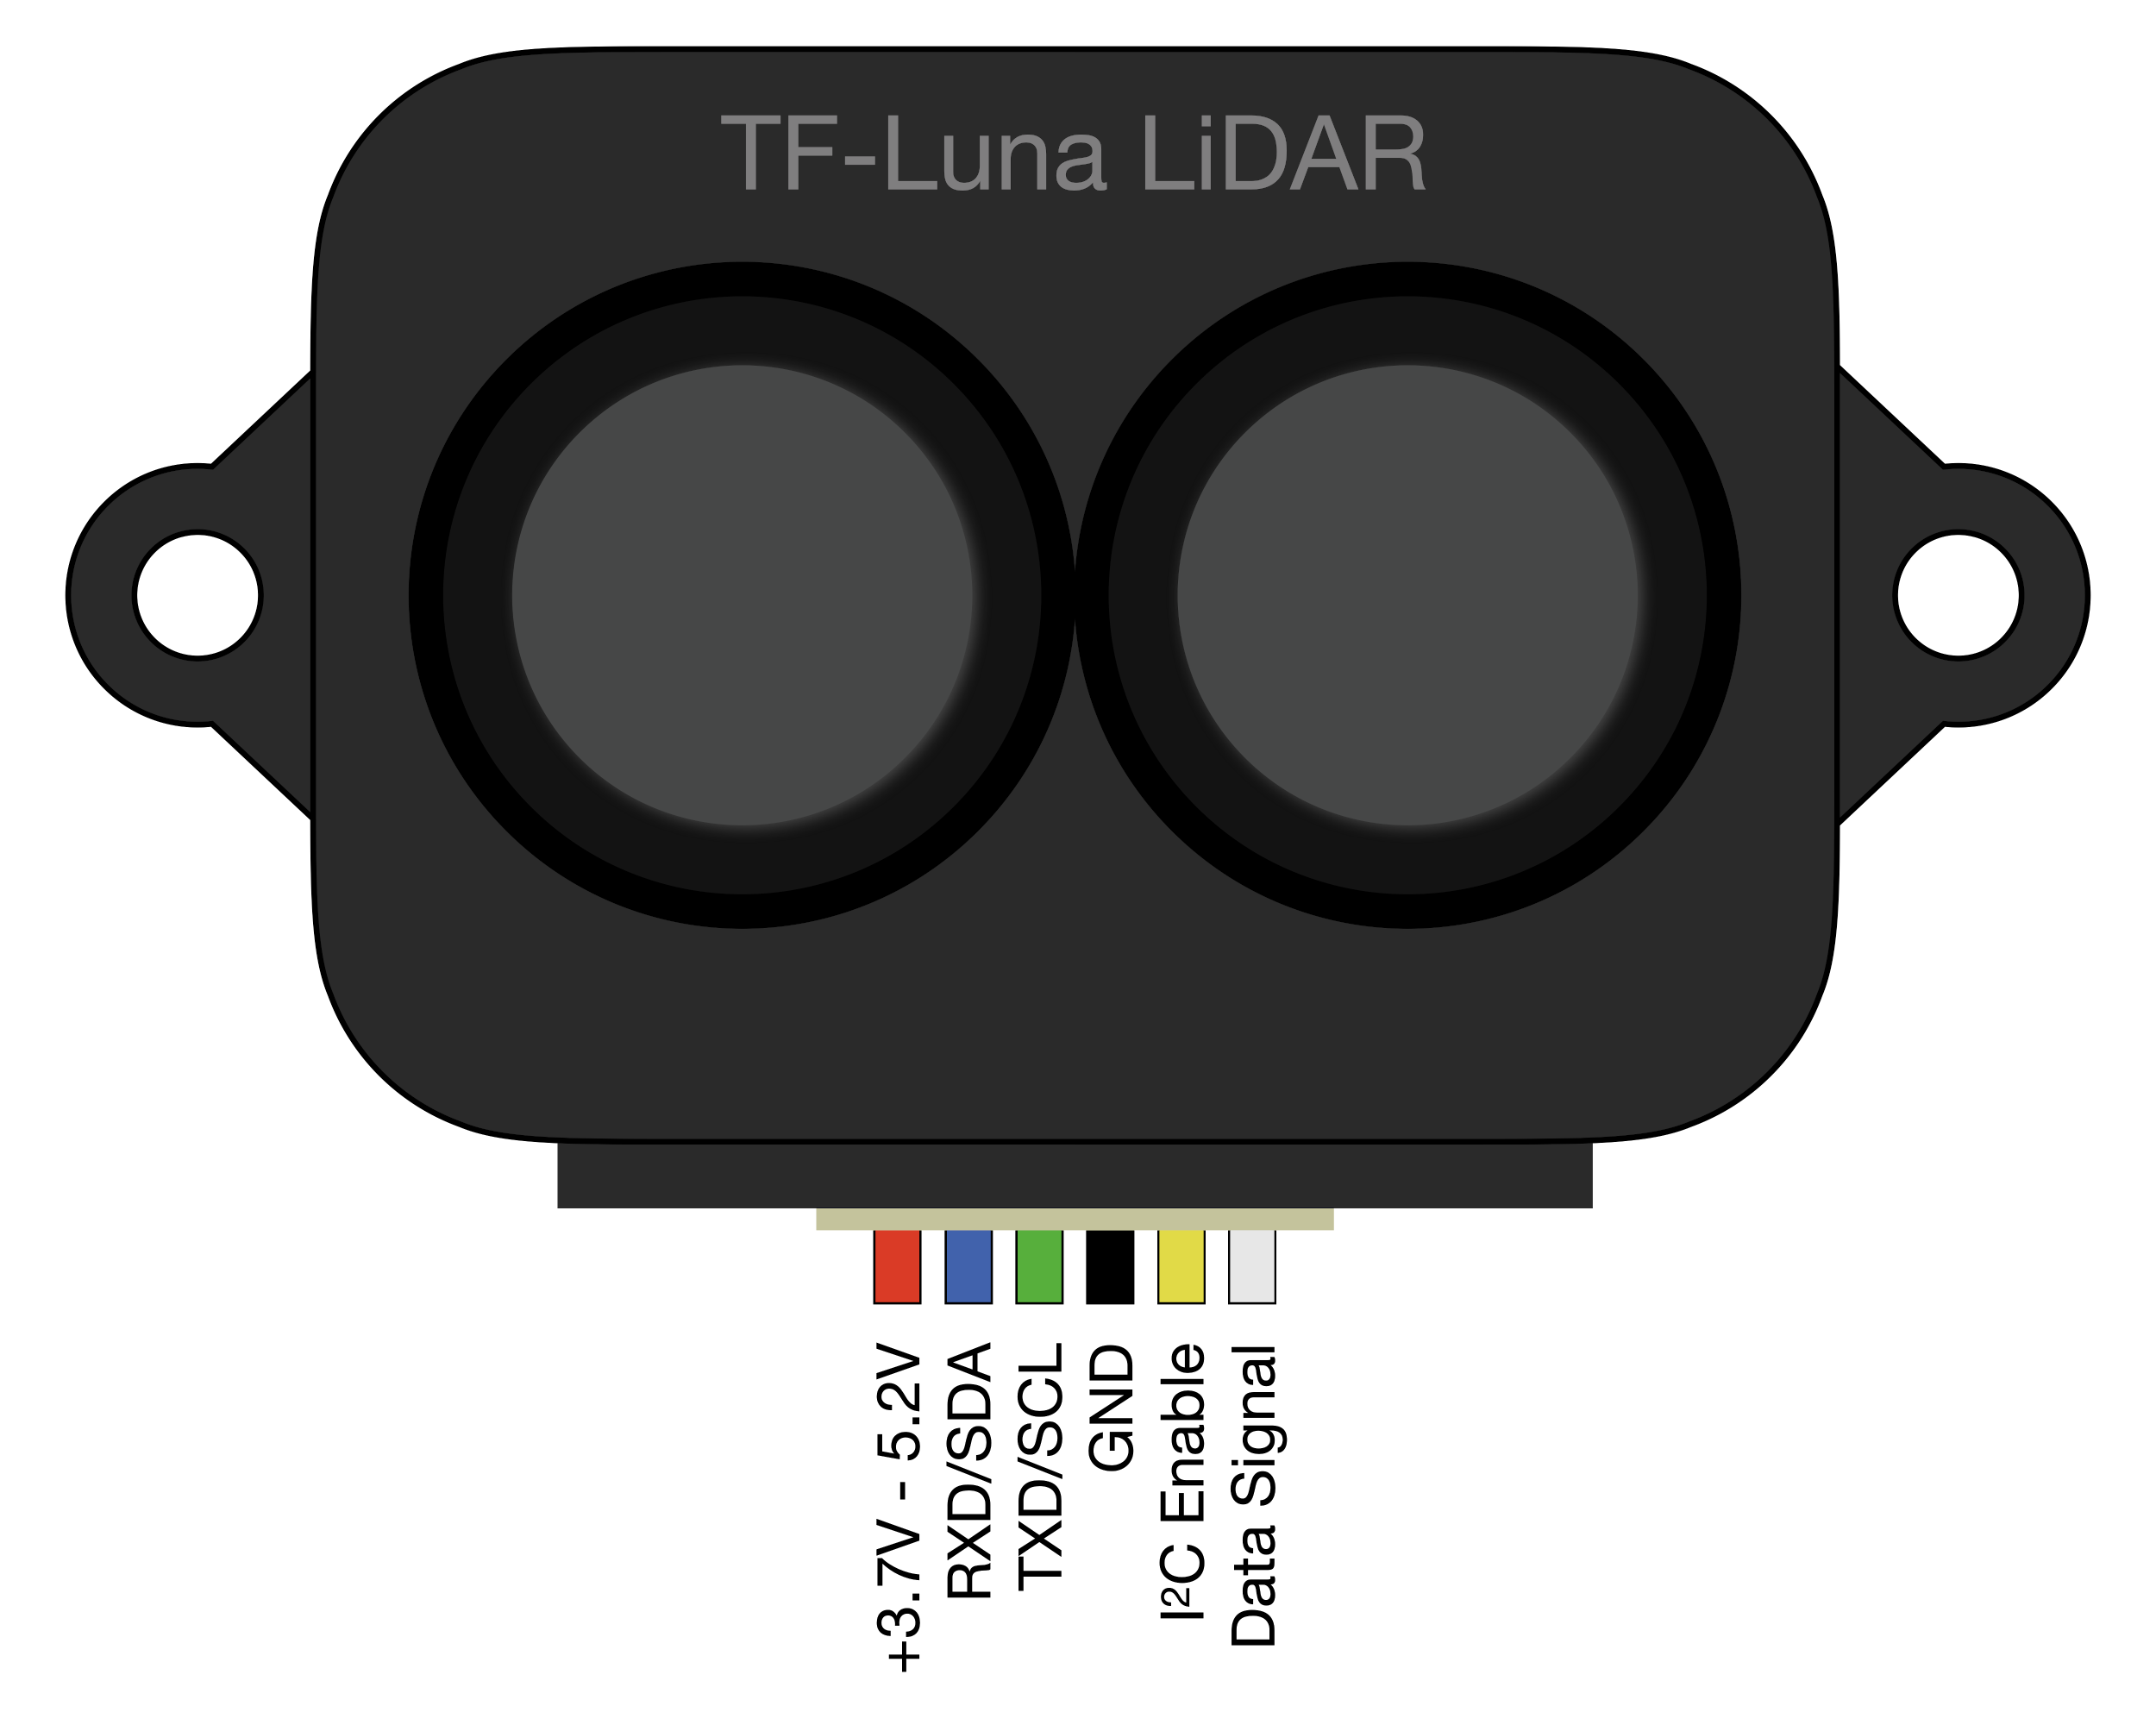
Pin Configuration
The TF Luna has a 4-pin interface for power and communication. The pin configuration is as follows:
| Pin | Name | Description |
|---|---|---|
| 1 | VCC | Power supply input (5 V DC) |
| 2 | GND | Ground |
| 3 | RX | UART Receive (3.3 V TTL) |
| 4 | TX | UART Transmit (3.3 V TTL) |
Usage Instructions
Connecting the TF Luna to an Arduino UNO
To use the TF Luna with an Arduino UNO, follow these steps:
- Connect the VCC pin of the TF Luna to the 5V pin on the Arduino.
- Connect the GND pin of the TF Luna to the GND pin on the Arduino.
- Connect the TX pin of the TF Luna to the RX pin (pin 0) on the Arduino.
- Connect the RX pin of the TF Luna to the TX pin (pin 1) on the Arduino.
Sample Arduino Code
Below is a sample Arduino sketch to read distance data from the TF Luna using UART communication:
// Include necessary libraries
#include <SoftwareSerial.h>

// Define the RX and TX pins for SoftwareSerial
SoftwareSerial tfLunaSerial(10, 11); // RX = pin 10, TX = pin 11

void setup() {
  Serial.begin(9600); // Initialize Serial Monitor at 9600 baud
  tfLunaSerial.begin(115200); // Initialize TF Luna at 115200 baud

  Serial.println("TF Luna LiDAR Sensor Initialized");
}

void loop() {
  if (tfLunaSerial.available()) {
    // Read data from the TF Luna
    int distance = tfLunaSerial.read(); // Read distance data (in cm)

    // Print the distance to the Serial Monitor
    Serial.print("Distance: ");
    Serial.print(distance);
    Serial.println(" cm");
  }

  delay(100); // Add a small delay for stability
}
Important Considerations
- Ensure the TF Luna is powered with a stable 5V DC supply.
- Use a level shifter if connecting the TF Luna to a 5V logic microcontroller, as its UART operates at 3.3V TTL.
- Avoid exposing the sensor to direct sunlight or reflective surfaces, as this may affect accuracy.
- For outdoor use, note that the maximum range is reduced to 6 meters.
Troubleshooting and FAQs
Common Issues and Solutions
No data received from the sensor:
- Verify the wiring connections, especially the RX and TX pins.
- Ensure the baud rate in the code matches the sensor's default baud rate (115200).
Inaccurate distance readings:
- Check for obstructions or reflective surfaces in the sensor's field of view.
- Ensure the sensor is mounted securely to avoid vibrations.
Sensor not powering on:
- Confirm the VCC and GND connections are correct.
- Ensure the power supply provides a stable 5V DC output.
FAQs
Q: Can the TF Luna measure distances beyond 8 meters?
A: No, the maximum range is 8 meters indoors and 6 meters outdoors. For longer ranges, consider other LiDAR models.
Q: Can I use the TF Luna with a Raspberry Pi?
A: Yes, the TF Luna can be connected to a Raspberry Pi via its UART interface. Ensure proper voltage level shifting if needed.
Q: How do I change the measurement frequency?
A: The measurement frequency can be adjusted via UART commands. Refer to the manufacturer's communication protocol documentation for details.
Q: Is the TF Luna waterproof?
A: No, the TF Luna is not waterproof. Use it in dry environments or enclose it in a protective housing for outdoor applications.