How to Use lamp: Examples, Pinouts, and Specs

Introduction
A lamp is a device that produces light, typically using an electric bulb, and is used for illumination in various settings. Lamps are essential components in both residential and industrial environments, providing visibility and enhancing the aesthetic appeal of spaces. They are commonly used in lighting systems, decorative fixtures, and as indicators in electronic circuits.
Explore Projects Built with lamp


Explore Projects Built with lamp
Technical Specifications
The technical specifications of a lamp can vary depending on its type (e.g., incandescent, LED, or fluorescent). Below are general specifications for a standard electric lamp:
- Voltage Rating: 3V to 240V (depending on the type and application)
- Current Rating: 20mA to 1A
- Power Rating: 0.5W to 100W
- Light Output: 10 lumens to 1600 lumens
- Lifespan: 1,000 to 50,000 hours (varies by type)
- Base Type: E10, E27, GU10, or custom pin configurations
Pin Configuration and Descriptions
For a basic two-terminal lamp (e.g., an incandescent or LED lamp), the pin configuration is as follows:
| Pin Number | Name | Description |
|---|---|---|
| 1 | Positive (+) | Connects to the positive terminal of the power supply. |
| 2 | Negative (-) | Connects to the negative terminal (ground). |
For specialized lamps with additional features (e.g., dimmable or smart lamps), refer to the manufacturer's datasheet for detailed pin configurations.
Usage Instructions
How to Use the Lamp in a Circuit
- Determine the Voltage and Current Requirements: Check the lamp's voltage and current ratings to ensure compatibility with your power source.
- Connect the Lamp:
- For a basic lamp, connect the positive terminal of the power supply to the lamp's positive pin and the negative terminal to the lamp's negative pin.
- If using a lamp with a specific base (e.g., E27), ensure it is securely fitted into the appropriate socket.
- Add a Resistor (if necessary): For low-voltage lamps (e.g., LEDs), include a current-limiting resistor in series to prevent overcurrent damage.
- Power On the Circuit: Once all connections are secure, turn on the power supply to illuminate the lamp.
Important Considerations and Best Practices
- Voltage Matching: Always use a power supply that matches the lamp's voltage rating to avoid damage.
- Heat Management: Some lamps (e.g., incandescent) generate significant heat. Ensure proper ventilation to prevent overheating.
- Polarity: For polarized lamps (e.g., LEDs), ensure correct polarity when connecting to the power supply.
- Dimming Compatibility: If using a dimmer, verify that the lamp is dimmable and compatible with the dimmer type.
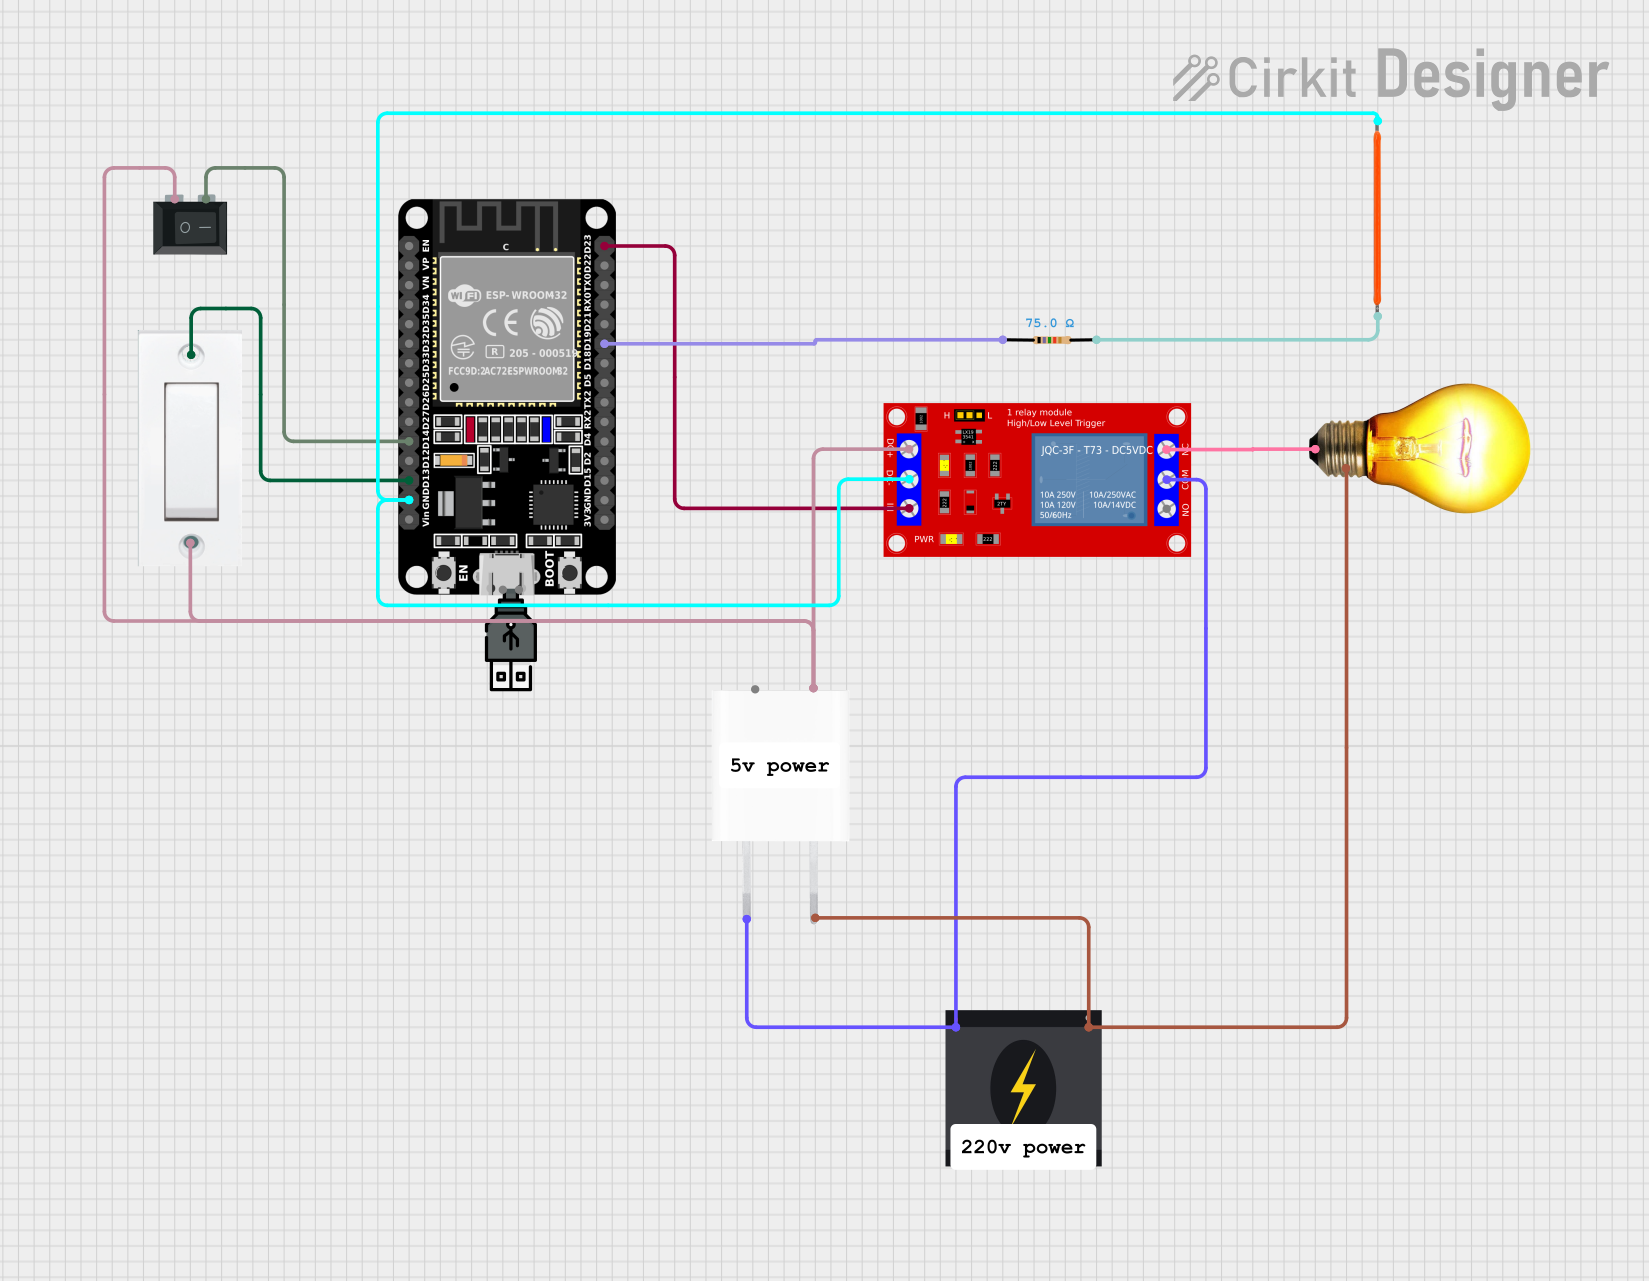
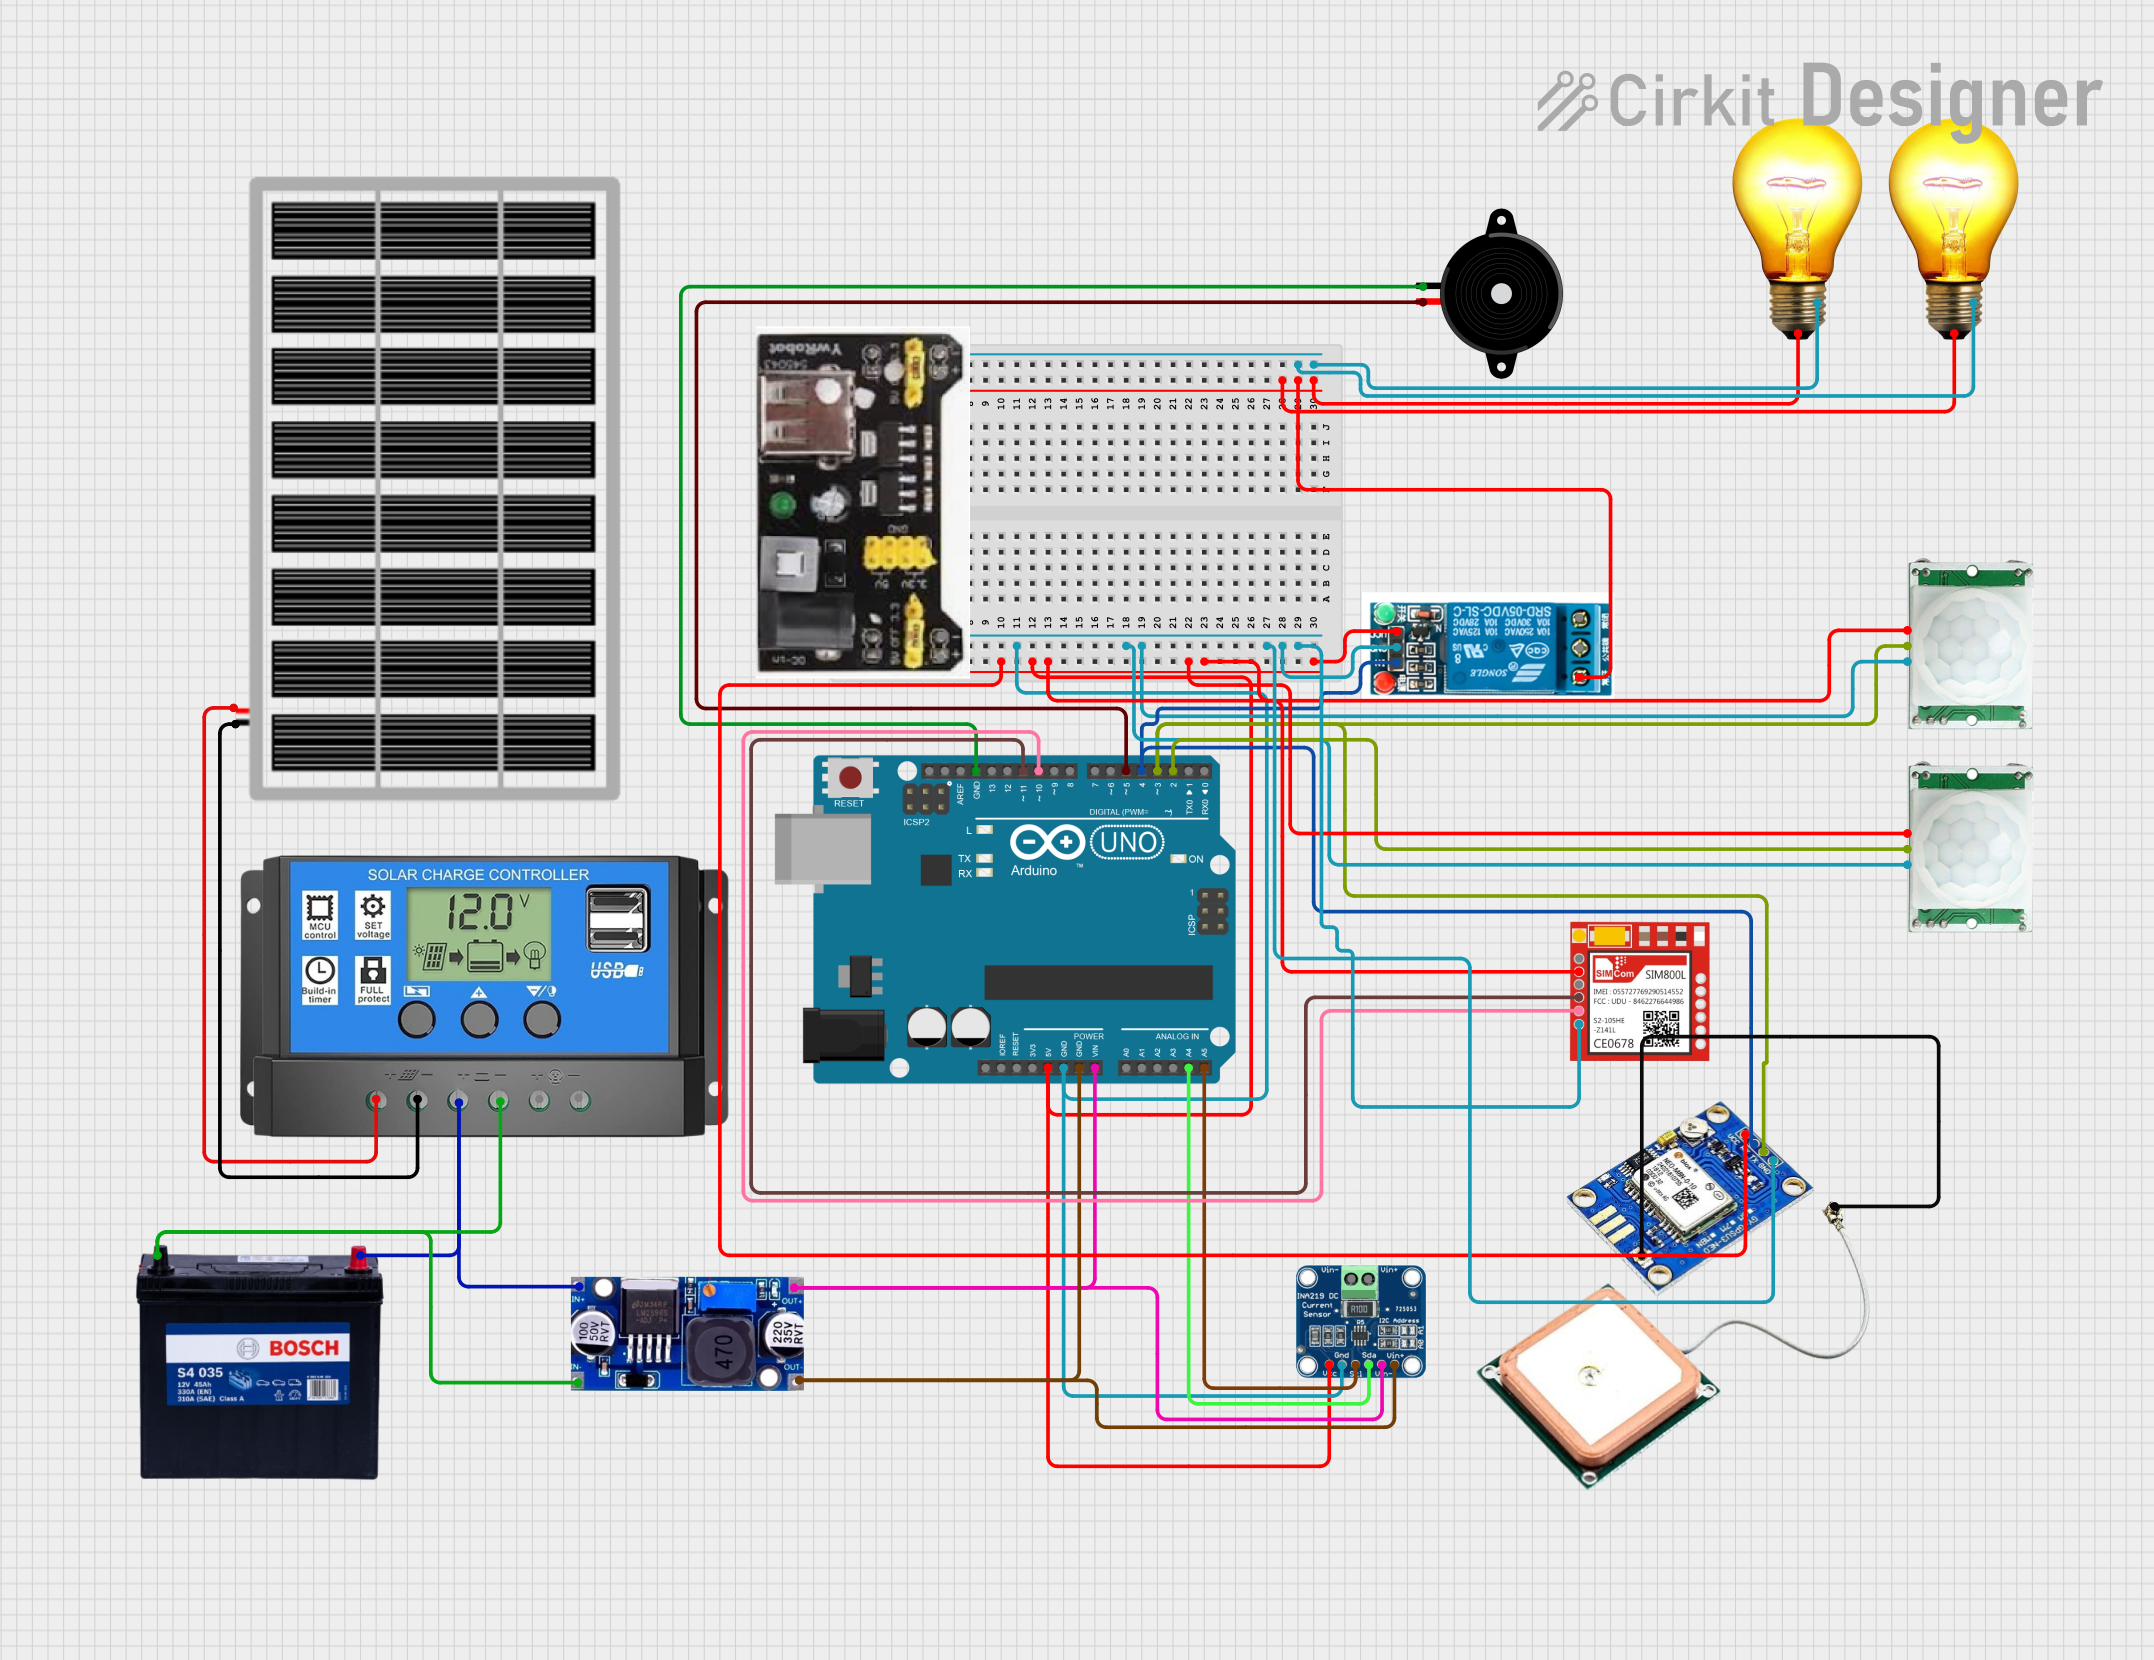
Example: Connecting a Lamp to an Arduino UNO
Below is an example of controlling an LED lamp using an Arduino UNO:
// Example: Controlling an LED lamp with Arduino UNO
// This code turns the lamp ON for 1 second and OFF for 1 second repeatedly.

const int lampPin = 9; // Pin connected to the lamp (via a resistor, if needed)

void setup() {
  pinMode(lampPin, OUTPUT); // Set the lamp pin as an output
}

void loop() {
  digitalWrite(lampPin, HIGH); // Turn the lamp ON
  delay(1000);                 // Wait for 1 second
  digitalWrite(lampPin, LOW);  // Turn the lamp OFF
  delay(1000);                 // Wait for 1 second
}
Note: Use a suitable transistor or relay if the lamp's current exceeds the Arduino's pin current limit (40mA).
Troubleshooting and FAQs
Common Issues and Solutions
Lamp Does Not Light Up:
- Cause: Incorrect voltage or loose connections.
- Solution: Verify the power supply voltage and ensure all connections are secure.
Lamp Flickers:
- Cause: Unstable power supply or loose wiring.
- Solution: Check the power source and tighten all connections.
Lamp Overheats:
- Cause: Excessive voltage or poor ventilation.
- Solution: Use a power supply within the lamp's voltage rating and ensure proper airflow.
LED Lamp Does Not Work with Arduino:
- Cause: Insufficient current or incorrect wiring.
- Solution: Use a current-limiting resistor and verify the wiring.
FAQs
Q: Can I use a lamp with a battery?
- A: Yes, as long as the battery voltage matches the lamp's voltage rating.
Q: How do I calculate the resistor value for an LED lamp?
- A: Use the formula:
R = (V_supply - V_forward) / I_forward, whereV_supplyis the power supply voltage,V_forwardis the LED's forward voltage, andI_forwardis the LED's forward current.
- A: Use the formula:
Q: Can I dim any lamp?
- A: No, only lamps labeled as "dimmable" can be dimmed. Check the manufacturer's specifications.
By following this documentation, you can effectively use and troubleshoot lamps in various applications.