
How to Use AC source: Examples, Pinouts, and Specs
 Design with AC source in Cirkit Designer
Introduction
An AC source is an electronic component or device that provides alternating current (AC), a type of electrical current that periodically reverses direction. AC sources are widely used in power supplies, electrical outlets, and various electronic systems due to their efficiency in transmitting power over long distances. The frequency and voltage of an AC source depend on the region and application, with common frequencies being 50 Hz or 60 Hz.
Explore Projects Built with AC source
 Open Project in Cirkit Designer
 Open Project in Cirkit Designer
 Open Project in Cirkit Designer
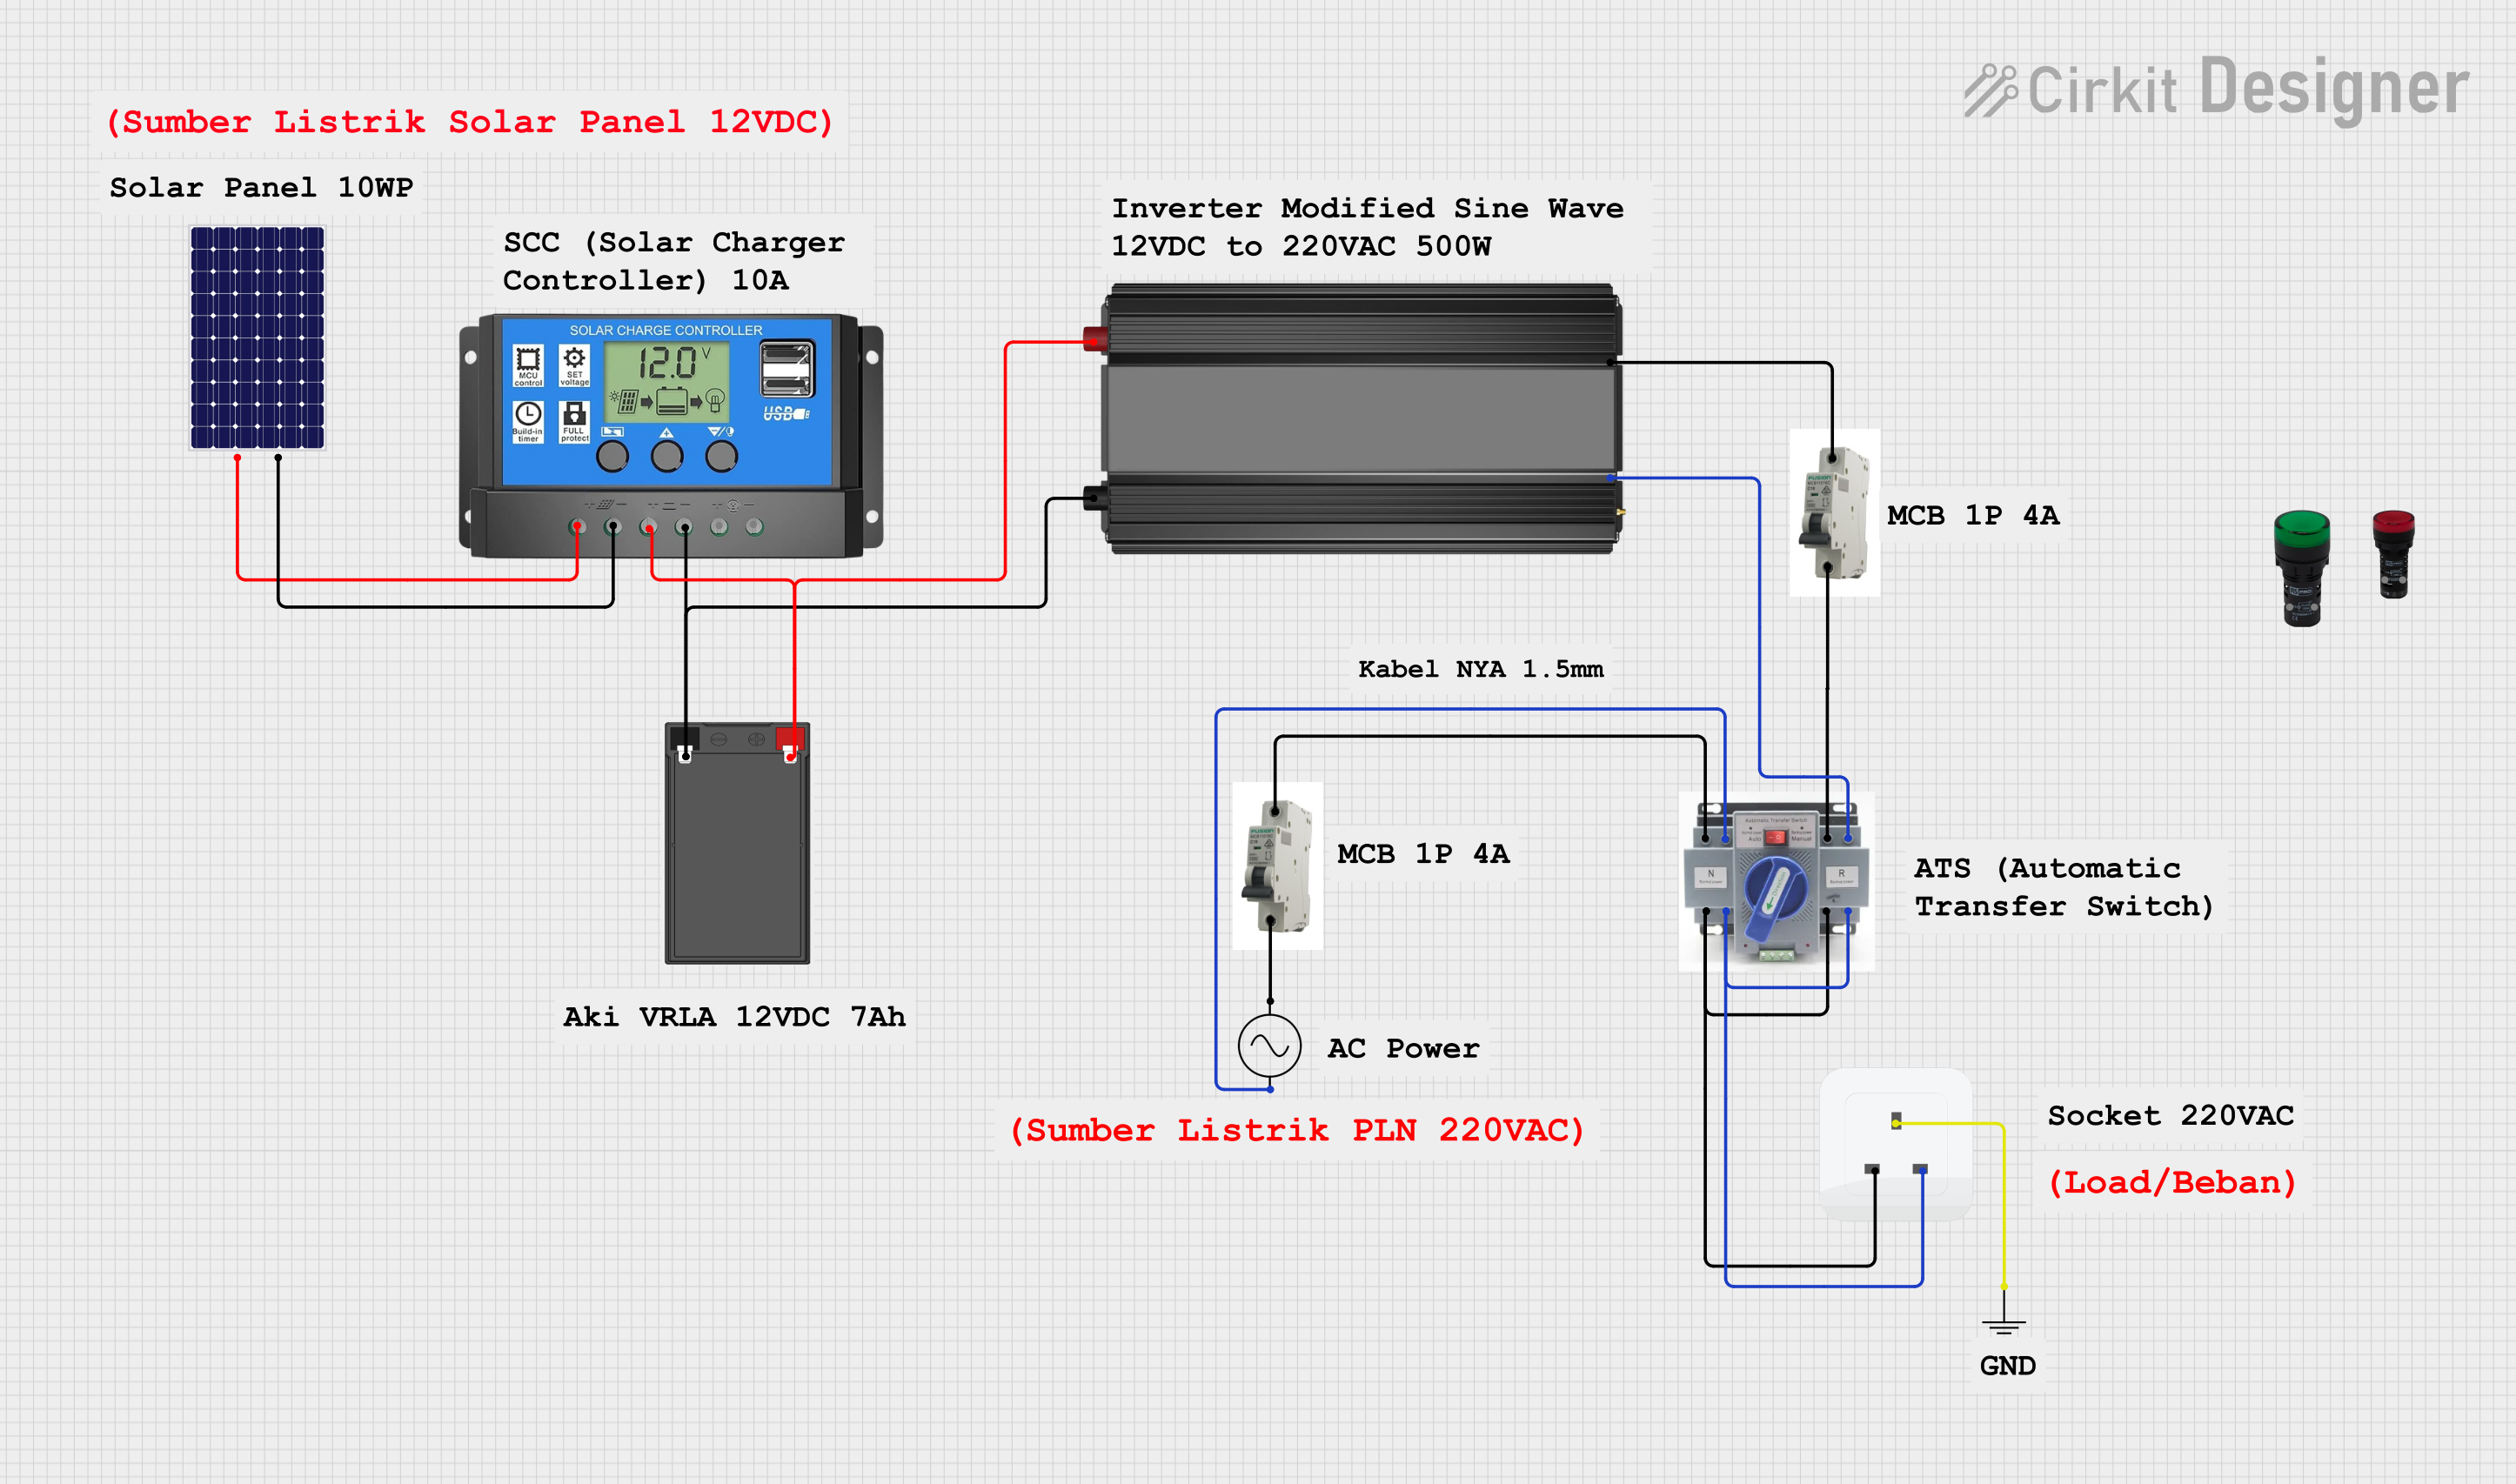 Open Project in Cirkit Designer
Explore Projects Built with AC source
Open Project in Cirkit DesignerOpen Project in Cirkit DesignerOpen Project in Cirkit DesignerOpen Project in Cirkit DesignerCommon Applications and Use Cases
- Powering household appliances and industrial equipment
- Testing and calibrating electronic devices
- Supplying power to transformers and motors
- Simulating grid power in laboratory environments
Technical Specifications
Below are the general technical specifications for a standard AC source. Note that specific values may vary depending on the model or design.
| Parameter | Specification |
|---|---|
| Output Voltage Range | 110V to 240V (region-dependent) |
| Output Frequency | 50 Hz or 60 Hz |
| Maximum Output Current | Varies (e.g., 5A, 10A, etc.) |
| Power Rating | Typically 500W to 10kW |
| Waveform Type | Sine wave (standard) |
| Input Voltage | 110V or 220V AC (region-specific) |
| Efficiency | 85% to 95% |
Pin Configuration and Descriptions
For an AC source with a standard three-pin output (e.g., a power outlet or connector), the pin configuration is as follows:
| Pin Name | Description |
|---|---|
| Line (L) | Live or hot wire carrying the AC voltage |
| Neutral (N) | Return path for the current |
| Ground (G) | Safety ground to prevent electrical hazards |
Usage Instructions
How to Use the Component in a Circuit
- Connect the AC Source: Ensure the AC source is compatible with the input voltage and frequency of your circuit or device. Use appropriate connectors or terminals to establish a secure connection.
- Safety Precautions: Always handle AC sources with care. Ensure the circuit is powered off before making connections to avoid electric shock.
- Load Connection: Connect the load (e.g., appliance, motor, or circuit) to the output terminals of the AC source. Ensure the load does not exceed the power rating of the source.
- Power On: Switch on the AC source and verify the output voltage and frequency using a multimeter or oscilloscope if necessary.
Important Considerations and Best Practices
- Isolation: Use isolation transformers or circuit breakers to protect sensitive components and ensure safety.
- Overload Protection: Avoid exceeding the maximum current or power rating of the AC source to prevent damage.
- Grounding: Always connect the ground pin to a proper earth ground to minimize the risk of electric shock.
- Frequency Matching: Ensure the frequency of the AC source matches the requirements of the connected device.
Example: Using an AC Source with an Arduino UNO
While the Arduino UNO operates on DC power, an AC source can be used indirectly by connecting it to a step-down transformer or AC-to-DC converter. Below is an example of how to use an AC source to power an Arduino UNO:
- Use an AC-to-DC adapter to convert the AC source output (e.g., 110V AC) to 9V DC.
- Connect the DC output of the adapter to the Arduino UNO's power jack.
- Verify the voltage using a multimeter before powering the Arduino.
// Example Arduino code to blink an LED
// This assumes the Arduino is powered via an AC-to-DC adapter

void setup() {
  pinMode(13, OUTPUT); // Set pin 13 as an output for the onboard LED
}

void loop() {
  digitalWrite(13, HIGH); // Turn the LED on
  delay(1000);            // Wait for 1 second
  digitalWrite(13, LOW);  // Turn the LED off
  delay(1000);            // Wait for 1 second
}
Troubleshooting and FAQs
Common Issues Users Might Face
No Output Voltage:
- Cause: The AC source may not be powered on or connected properly.
- Solution: Check the power switch, input connections, and ensure the source is plugged into a live outlet.
Overheating:
- Cause: The load may exceed the power rating of the AC source.
- Solution: Reduce the load or use an AC source with a higher power rating.
Frequent Tripping of Circuit Breaker:
- Cause: A short circuit or ground fault in the connected load.
- Solution: Inspect the load for faults and ensure proper wiring.
Inconsistent Output Voltage:
- Cause: Fluctuations in the input voltage or a faulty AC source.
- Solution: Use a voltage stabilizer or repair/replace the AC source.
FAQs
Q1: Can I use an AC source to directly power a DC device?
A1: No, DC devices require a steady direct current. Use an AC-to-DC converter or adapter to step down and rectify the AC voltage.
Q2: What safety precautions should I take when using an AC source?
A2: Always ensure proper grounding, avoid touching live wires, and use insulated tools. Disconnect the AC source before making any changes to the circuit.
Q3: How do I measure the output of an AC source?
A3: Use a multimeter set to AC voltage mode to measure the output voltage. For frequency, use a frequency counter or oscilloscope.
Q4: Can I use an AC source with a different frequency (e.g., 50 Hz in a 60 Hz region)?
A4: It depends on the device. Some devices are frequency-sensitive, while others can operate on either frequency. Check the device specifications before use.