
How to Use SOCKET: Examples, Pinouts, and Specs
 Design with SOCKET in Cirkit Designer
Introduction
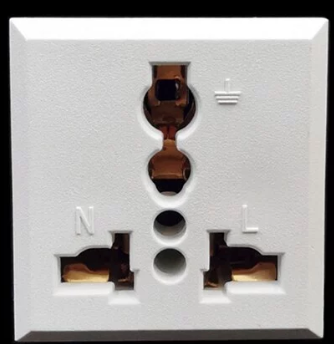
A socket is a device that provides a connection point for electrical components, allowing for easy insertion and removal of plugs or connectors. Sockets are widely used in electronics to facilitate modularity, ease of maintenance, and quick replacement of components. They are available in various types, including IC sockets, power sockets, and communication sockets, each designed for specific applications.
Common applications of sockets include:
- Connecting integrated circuits (ICs) to printed circuit boards (PCBs) without soldering.
- Providing power connections for devices and appliances.
- Enabling communication between devices through data or signal connectors.
Explore Projects Built with SOCKET
 Open Project in Cirkit Designer
 Open Project in Cirkit Designer
 Open Project in Cirkit Designer
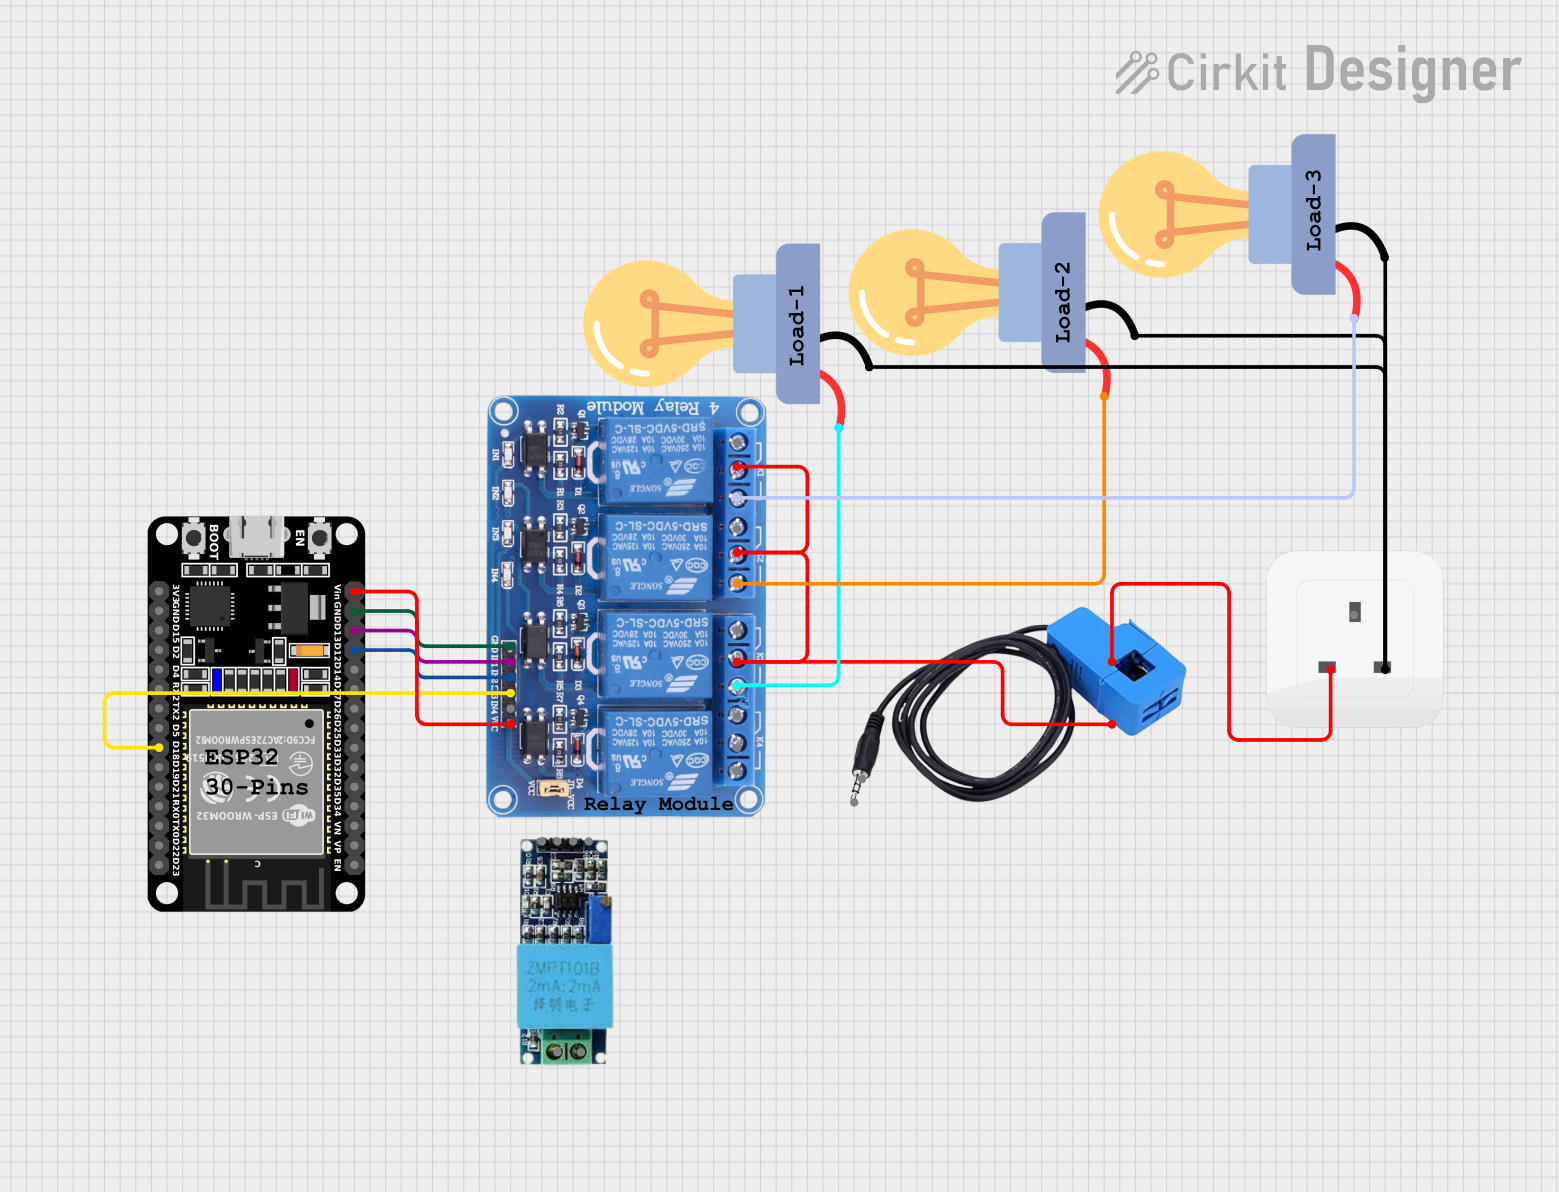 Open Project in Cirkit Designer
Explore Projects Built with SOCKET
Open Project in Cirkit DesignerOpen Project in Cirkit DesignerOpen Project in Cirkit DesignerOpen Project in Cirkit DesignerTechnical Specifications
Sockets come in a variety of designs and specifications depending on their intended use. Below are the general technical details for common types of sockets:
General Specifications
| Parameter | Description |
|---|---|
| Material | Plastic (insulator) with metal (conductive contacts) |
| Voltage Rating | Typically 5V to 250V (varies by type) |
| Current Rating | 1A to 15A (depending on the socket type) |
| Operating Temperature | -40°C to 85°C (varies by material and design) |
| Contact Resistance | < 20 mΩ (typical for high-quality sockets) |
| Insulation Resistance | > 100 MΩ |
Pin Configuration and Descriptions
Example: IC Socket (DIP-8)
| Pin Number | Description |
|---|---|
| 1 | IC Pin 1 connection |
| 2 | IC Pin 2 connection |
| 3 | IC Pin 3 connection |
| 4 | IC Pin 4 connection |
| 5 | IC Pin 5 connection |
| 6 | IC Pin 6 connection |
| 7 | IC Pin 7 connection |
| 8 | IC Pin 8 connection |
Example: Power Socket (2-pin)
| Pin Number | Description |
|---|---|
| 1 | Live (L) connection |
| 2 | Neutral (N) connection |
Usage Instructions
How to Use a Socket in a Circuit
- Select the Appropriate Socket: Choose a socket that matches the component or connector you intend to use. For example, use an IC socket for integrated circuits or a power socket for electrical plugs.
- Mount the Socket: Place the socket on the PCB or enclosure. For PCB-mounted sockets, ensure the pins align with the board's holes.
- Solder the Socket (if applicable): For PCB-mounted sockets, solder the pins to the board to secure the connection.
- Insert the Component or Plug: Carefully insert the component (e.g., IC) or plug into the socket. Ensure proper orientation to avoid damage.
- Test the Connection: Power on the circuit and verify that the socket provides a reliable connection.
Important Considerations and Best Practices
- Avoid Overcurrent: Ensure the socket's current rating matches or exceeds the current requirements of the connected device.
- Check Compatibility: Verify that the socket's pin configuration matches the component or plug.
- Handle with Care: Avoid excessive force when inserting or removing components to prevent damage to the socket or pins.
- Use Proper Orientation: For polarized sockets (e.g., power sockets), ensure correct alignment to avoid reverse polarity issues.
Example: Using an IC Socket with Arduino UNO
IC sockets are often used to connect integrated circuits to Arduino projects. Below is an example of using an IC socket with a 555 timer IC in a simple LED blinking circuit.
Arduino Code Example
// Example: Blinking an LED using a 555 timer IC in an IC socket
// Ensure the 555 timer is properly inserted into the IC socket
// and connected to the Arduino UNO.

const int ledPin = 13; // Pin connected to the LED

void setup() {
  pinMode(ledPin, OUTPUT); // Set the LED pin as an output
}

void loop() {
  digitalWrite(ledPin, HIGH); // Turn the LED on
  delay(1000);                // Wait for 1 second
  digitalWrite(ledPin, LOW);  // Turn the LED off
  delay(1000);                // Wait for 1 second
}
Troubleshooting and FAQs
Common Issues
- Loose Connections: If the component or plug is not securely inserted, the circuit may not function properly.
- Solution: Ensure the component or plug is fully seated in the socket.
- Incorrect Orientation: Reversing the orientation of a polarized socket can cause malfunction or damage.
- Solution: Double-check the orientation before powering the circuit.
- Damaged Pins or Contacts: Bent or corroded pins can lead to poor connections.
- Solution: Inspect and repair or replace damaged pins or sockets.
FAQs
Q: Can I reuse a socket after desoldering it from a PCB?
A: Yes, sockets can often be reused if they are not damaged during desoldering. Use a desoldering pump or wick to carefully remove solder.
Q: How do I know if a socket is compatible with my component?
A: Check the socket's pin configuration, voltage, and current ratings to ensure compatibility with your component.
Q: Are sockets necessary for all components?
A: No, sockets are optional but recommended for components that may need frequent replacement or testing, such as ICs or connectors.