Cirkit Designer Logo
Cirkit Designer
Your all-in-one circuit design IDE
Home / 
Component Documentation

How to Use EZ-SFX Amp: Examples, Pinouts, and Specs

Image of EZ-SFX Amp
Cirkit Designer LogoDesign with EZ-SFX Amp in Cirkit Designer

Introduction

The EZ-SFX Amp is a compact audio amplifier module designed to amplify low-level audio signals to a higher level suitable for driving speakers. This makes it an ideal choice for a variety of audio applications, such as DIY audio projects, portable speakers, and enhancing the audio output of small electronic devices.

Explore Projects Built with EZ-SFX Amp

Use Cirkit Designer to design, explore, and prototype these projects online. Some projects support real-time simulation. Click "Open Project" to start designing instantly!
ESP32-Based Portable Smart Speaker with Audio Input Processing
Image of talkAI: A project utilizing EZ-SFX Amp in a practical application
This circuit features two ESP32 microcontrollers configured for serial communication, with one ESP32's TX0 connected to the other's RX2, and vice versa. An INMP441 microphone is interfaced with one ESP32 for audio input, using I2S protocol with connections for serial clock (SCK), word select (WS), and serial data (SD). A Max98357 audio amplifier is connected to the other ESP32 to drive a loudspeaker, receiving I2S data (DIN), bit clock (BLCK), and left-right clock (LRC), and is powered by a lipo battery charger module.
Cirkit Designer LogoOpen Project in Cirkit Designer
ESP32-Based Voice-Activated SD Card Audio Recorder
Image of Main Design: A project utilizing EZ-SFX Amp in a practical application
This circuit features an ESP32 Devkit V1 microcontroller connected to a Micro SD Card Module for data storage, an Adafruit MAX9814 Electret Microphone Amplifier for audio input, and an Adafruit MAX98357A I2S Class-D Mono Amp connected to a loudspeaker for audio output. A pushbutton is interfaced with the ESP32 for user input. The circuit is likely designed for audio recording and playback with the capability to store the audio data on the SD card.
Cirkit Designer LogoOpen Project in Cirkit Designer
ESP32-Based Smart Power Monitoring System with Wi-Fi Connectivity
Image of Alaa : A project utilizing EZ-SFX Amp in a practical application
This circuit is designed to monitor and measure electrical parameters using an ESP32 microcontroller, a ZMPT101B voltage sensor, and a 5A current sensor. It includes visual indicators with red and green LEDs and an audible alert via a piezo buzzer, all controlled by the ESP32.
Cirkit Designer LogoOpen Project in Cirkit Designer
PAM8403 Amplified Piezo Speaker Array with ATTiny Control
Image of mamamo: A project utilizing EZ-SFX Amp in a practical application
This circuit is an audio amplification system with multiple piezo speakers driven by a PAM8403 amplifier IC. It features an ATtiny microcontroller for potential audio control, powered by a 5V battery with capacitors for stabilization and a trimmer potentiometer for input level adjustment.
Cirkit Designer LogoOpen Project in Cirkit Designer

Explore Projects Built with EZ-SFX Amp

Use Cirkit Designer to design, explore, and prototype these projects online. Some projects support real-time simulation. Click "Open Project" to start designing instantly!
Image of talkAI: A project utilizing EZ-SFX Amp in a practical application
ESP32-Based Portable Smart Speaker with Audio Input Processing
This circuit features two ESP32 microcontrollers configured for serial communication, with one ESP32's TX0 connected to the other's RX2, and vice versa. An INMP441 microphone is interfaced with one ESP32 for audio input, using I2S protocol with connections for serial clock (SCK), word select (WS), and serial data (SD). A Max98357 audio amplifier is connected to the other ESP32 to drive a loudspeaker, receiving I2S data (DIN), bit clock (BLCK), and left-right clock (LRC), and is powered by a lipo battery charger module.
Cirkit Designer LogoOpen Project in Cirkit Designer
Image of Main Design: A project utilizing EZ-SFX Amp in a practical application
ESP32-Based Voice-Activated SD Card Audio Recorder
This circuit features an ESP32 Devkit V1 microcontroller connected to a Micro SD Card Module for data storage, an Adafruit MAX9814 Electret Microphone Amplifier for audio input, and an Adafruit MAX98357A I2S Class-D Mono Amp connected to a loudspeaker for audio output. A pushbutton is interfaced with the ESP32 for user input. The circuit is likely designed for audio recording and playback with the capability to store the audio data on the SD card.
Cirkit Designer LogoOpen Project in Cirkit Designer
Image of Alaa : A project utilizing EZ-SFX Amp in a practical application
ESP32-Based Smart Power Monitoring System with Wi-Fi Connectivity
This circuit is designed to monitor and measure electrical parameters using an ESP32 microcontroller, a ZMPT101B voltage sensor, and a 5A current sensor. It includes visual indicators with red and green LEDs and an audible alert via a piezo buzzer, all controlled by the ESP32.
Cirkit Designer LogoOpen Project in Cirkit Designer
Image of mamamo: A project utilizing EZ-SFX Amp in a practical application
PAM8403 Amplified Piezo Speaker Array with ATTiny Control
This circuit is an audio amplification system with multiple piezo speakers driven by a PAM8403 amplifier IC. It features an ATtiny microcontroller for potential audio control, powered by a 5V battery with capacitors for stabilization and a trimmer potentiometer for input level adjustment.
Cirkit Designer LogoOpen Project in Cirkit Designer

Common Applications and Use Cases

  • Personal DIY audio projects
  • Portable speaker systems
  • Enhancing audio output in electronic devices
  • Educational projects involving audio signal processing

Technical Specifications

The EZ-SFX Amp module is designed with the following key technical specifications:

Specification Value Description
Supply Voltage 2.5V - 5.5V The operating voltage range of the module.
Output Power 3W (typical) Power output when driving a 4Ω speaker.
Input Impedance 10kΩ Impedance of the audio input.
Frequency Response 20Hz - 20kHz The range of frequencies the amp can handle.
Efficiency >90% Power efficiency of the amplifier.
THD+N <0.1% Total Harmonic Distortion plus Noise.

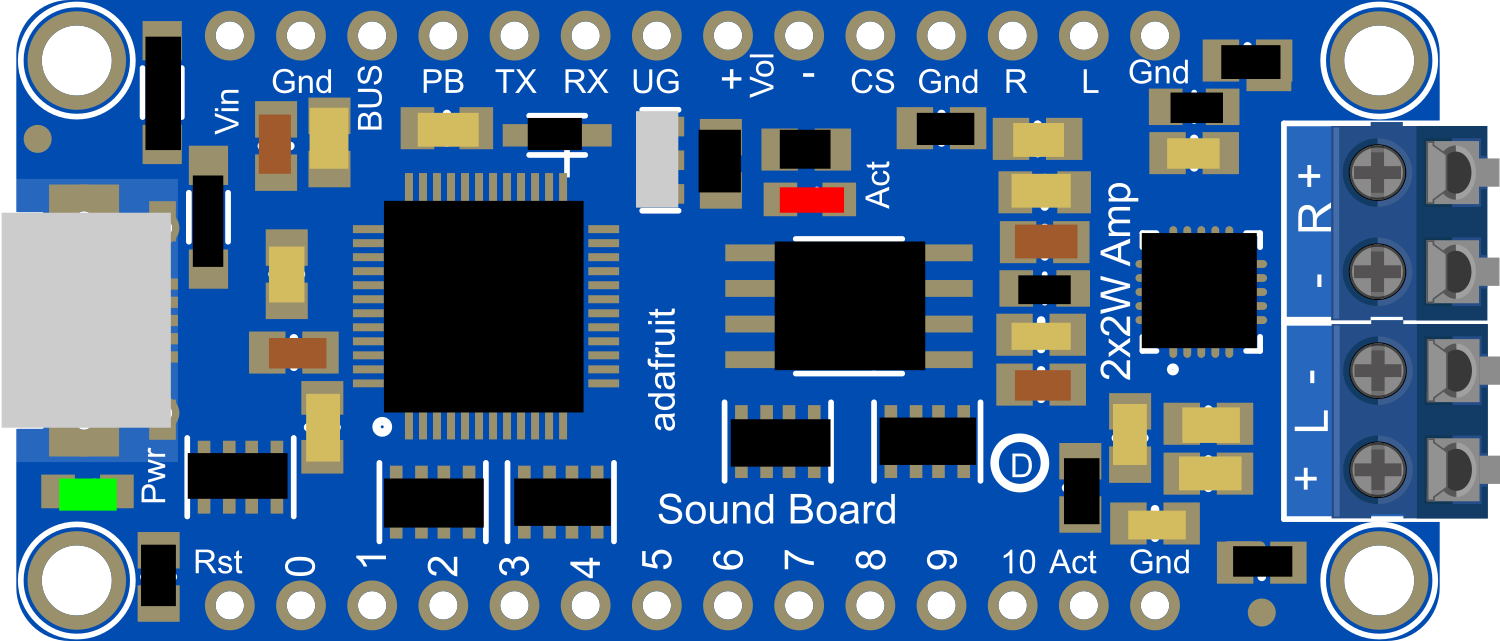
Pin Configuration and Descriptions

Pin Number Name Description
1 VCC Power supply input (2.5V - 5.5V).
2 GND Ground reference for power and signal.
3 IN+ Positive audio input signal.
4 IN- Negative audio input signal (ground for single-ended input).
5 OUT+ Positive speaker output.
6 OUT- Negative speaker output.

Usage Instructions

How to Use the Component in a Circuit

  1. Power Supply Connection: Connect the VCC pin to a power source within the specified voltage range and the GND pin to the common ground of your circuit.

  2. Audio Input Connection: Connect your audio source to the IN+ and IN- pins. For a single-ended input, connect IN- to ground.

  3. Speaker Connection: Connect the speaker terminals to the OUT+ and OUT- pins, ensuring that the speaker's impedance matches the amplifier's requirements.

  4. Signal Source: Ensure that the input signal level is within the acceptable range to prevent distortion.

Important Considerations and Best Practices

  • Use a clean power supply to minimize noise in the audio output.
  • Keep audio input cables as short as possible to reduce potential interference.
  • Avoid placing the amplifier near sources of electromagnetic interference (EMI).
  • Ensure proper heat dissipation if the amplifier is used at high output levels for extended periods.

Troubleshooting and FAQs

Common Issues

  • No Sound: Check power supply connections and ensure the input signal is present.
  • Distorted Sound: Lower the input signal level or check if the speaker impedance is too low.
  • Overheating: Ensure adequate ventilation and check if the speaker impedance is within specifications.

Solutions and Tips for Troubleshooting

  • Verify all connections are secure and correct.
  • Use a multimeter to check for the presence of the supply voltage and input signal.
  • If the sound is distorted at high volumes, try reducing the volume or check for a mismatched speaker impedance.

FAQs

Q: Can I use the EZ-SFX Amp with a 6Ω speaker? A: Yes, the amplifier can drive speakers with impedances higher than 4Ω, but the output power will be reduced.

Q: What is the maximum input signal level for the EZ-SFX Amp? A: The maximum input signal level should not exceed the supply voltage to prevent clipping and distortion.

Q: Can the EZ-SFX Amp be used with a mono input signal? A: Yes, for a mono input, connect the audio signal to IN+ and ground the IN- pin.

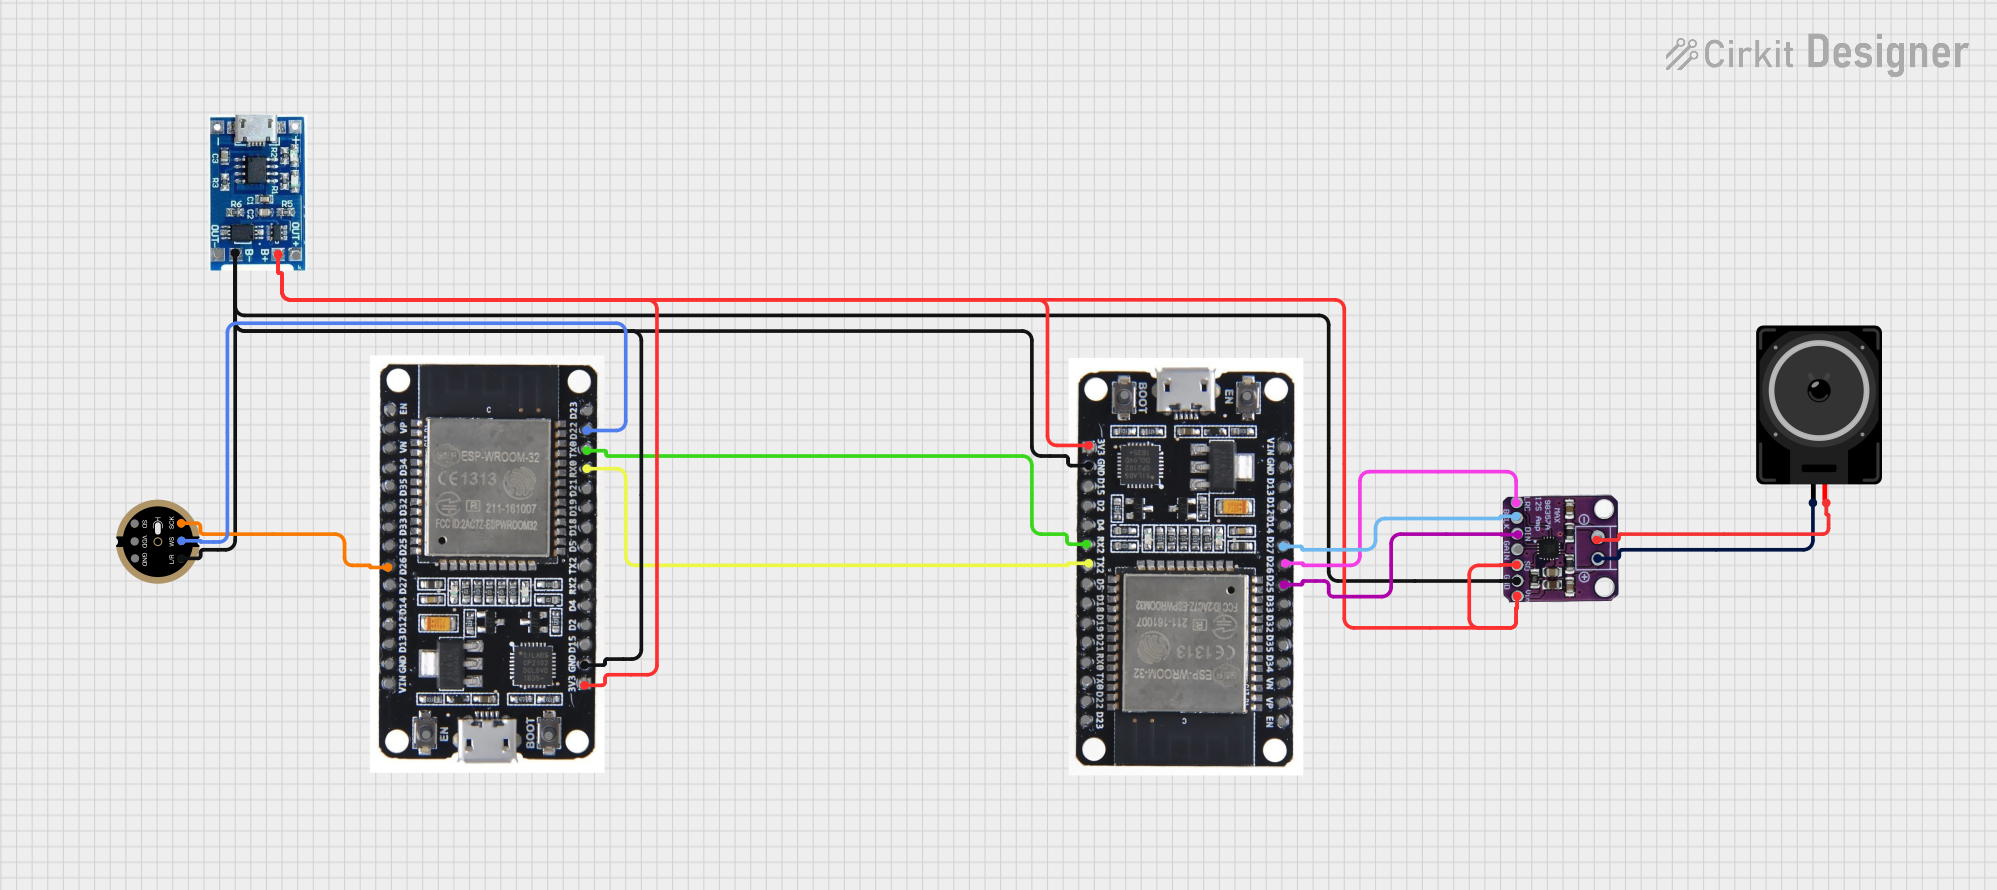
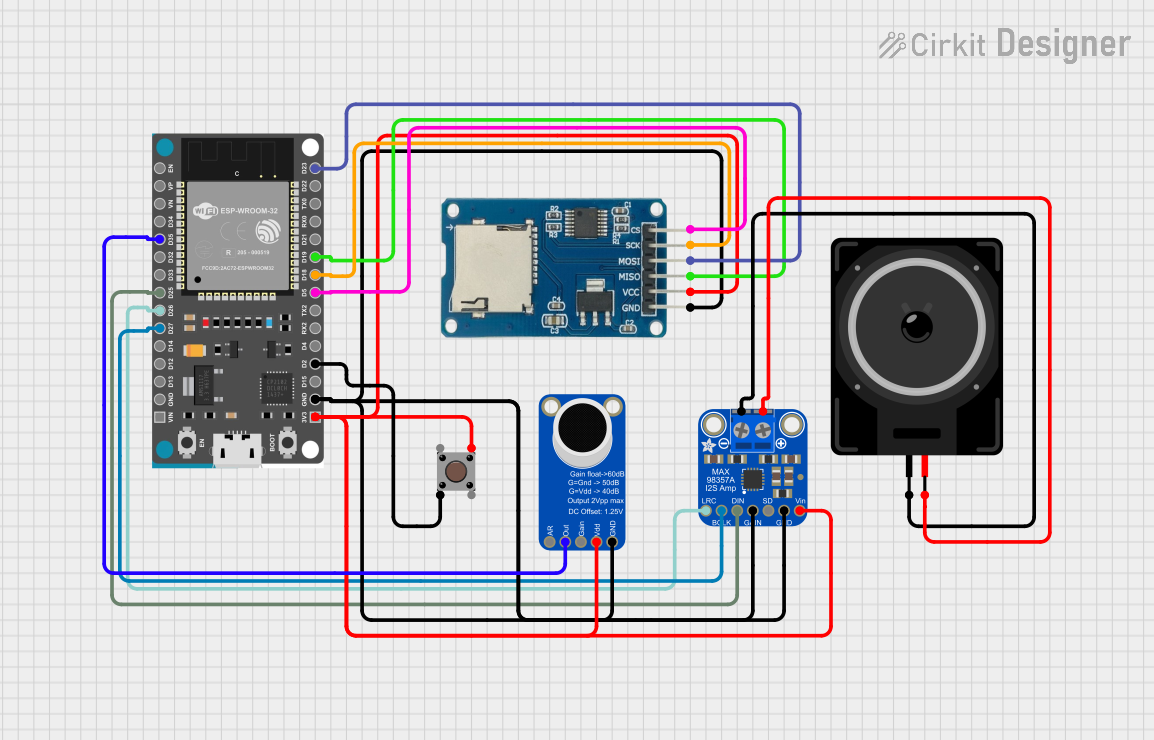
Example Arduino UNO Connection and Code

The following example demonstrates how to connect the EZ-SFX Amp to an Arduino UNO and generate a simple tone.

Circuit Connection

  • Connect the EZ-SFX Amp VCC to the 5V output on the Arduino UNO.
  • Connect the GND pin to the Arduino's ground.
  • Generate an audio signal from one of the PWM-capable digital pins on the Arduino and connect it to the IN+ pin of the EZ-SFX Amp. Ground the IN- pin.
  • Connect a speaker to the OUT+ and OUT- pins of the EZ-SFX Amp.

Arduino Code

int speakerPin = 9; // PWM-capable pin connected to IN+ on the EZ-SFX Amp

void setup() {
  pinMode(speakerPin, OUTPUT);
}

void loop() {
  // Generate a 1kHz tone for 1 second
  tone(speakerPin, 1000, 1000);
  delay(1500); // Wait for 1.5 seconds
}

Note: The tone() function generates a square wave at the specified frequency and duration. The EZ-SFX Amp will amplify this signal to drive the speaker. Ensure that the PWM frequency is within the audio range for the best results.