How to Use CJMCU-36 (Airspeed Sensor): Examples, Pinouts, and Specs
Introduction
The CJMCU-36 is an airspeed sensor designed to measure the speed of air flowing over it. It is widely used in applications such as drones, weather stations, and other systems requiring precise airspeed measurements. This sensor is essential for flight control, performance monitoring, and environmental data collection. Its compact design and reliable performance make it a popular choice for both hobbyists and professionals.
Explore Projects Built with CJMCU-36 (Airspeed Sensor)

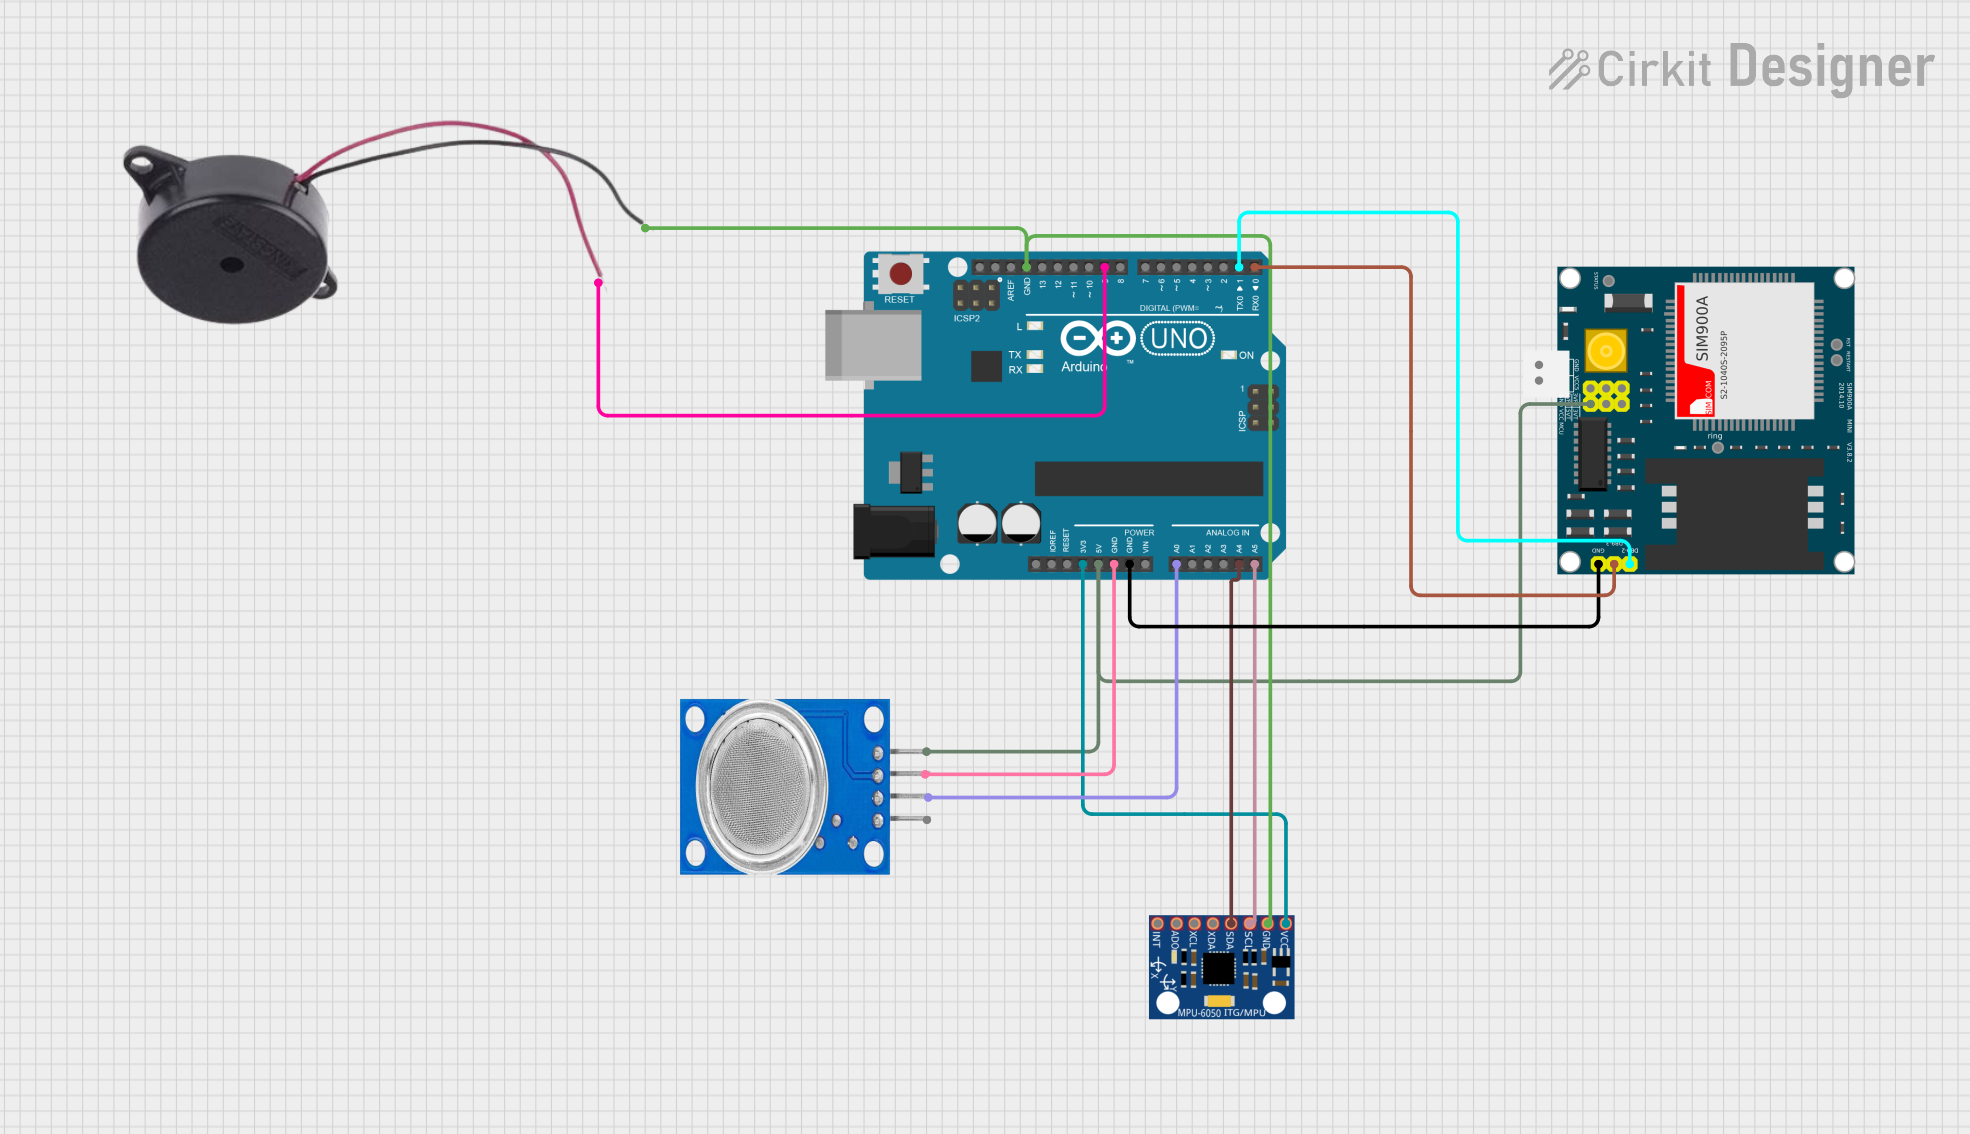
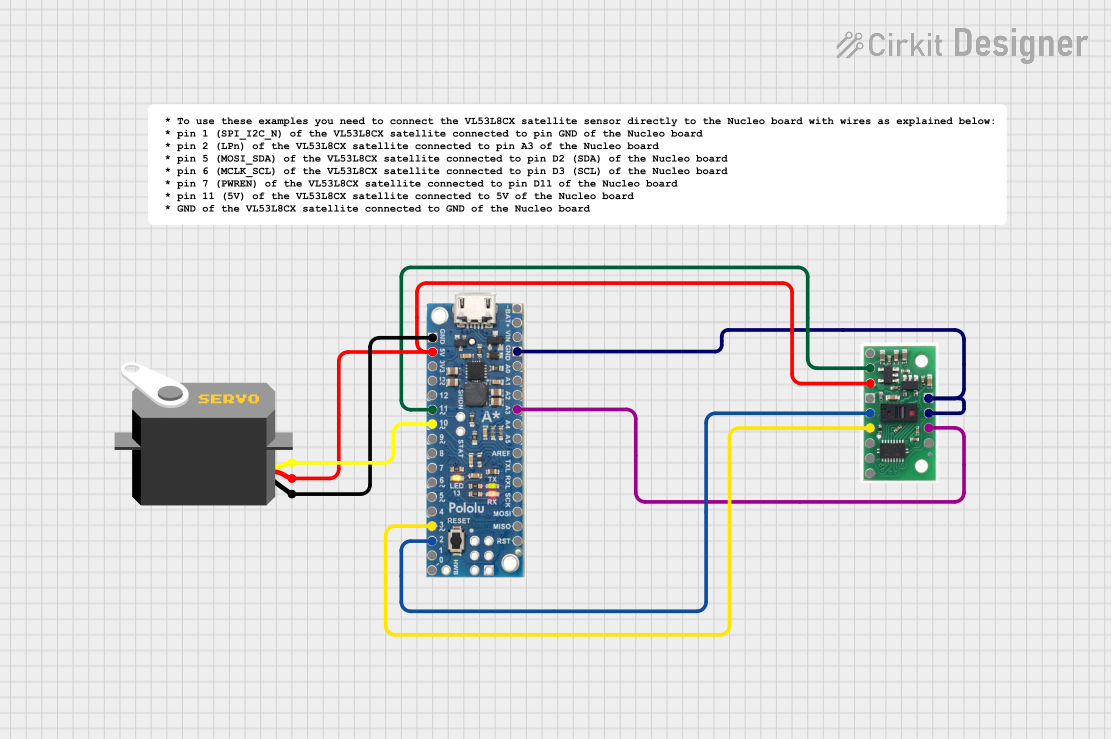
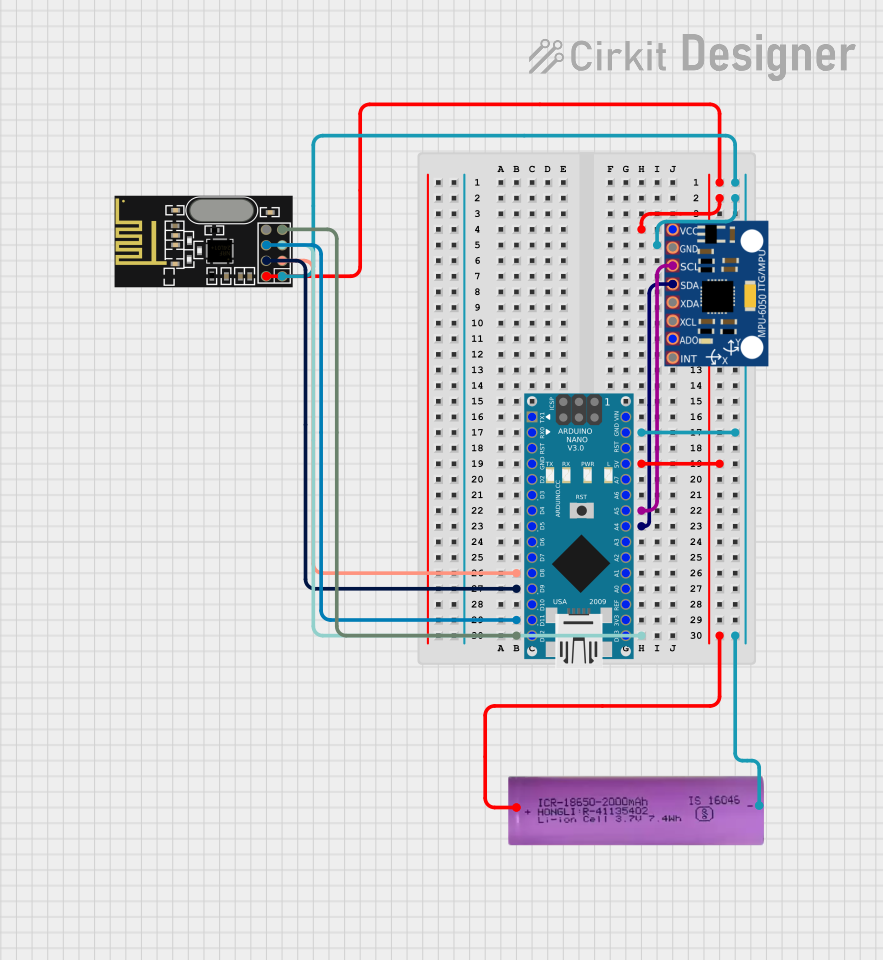
Explore Projects Built with CJMCU-36 (Airspeed Sensor)
Technical Specifications
The CJMCU-36 airspeed sensor is based on a differential pressure sensor that calculates airspeed by measuring the pressure difference between two points. Below are the key technical details:
Key Specifications
| Parameter | Value |
|---|---|
| Operating Voltage | 3.3V to 5V |
| Operating Current | ~5mA |
| Measurement Range | ±500 Pa (Pascal) |
| Airspeed Range | 0 to ~100 m/s (approx.) |
| Communication Protocol | I2C |
| I2C Address | 0x28 (default) |
| Operating Temperature | -40°C to +85°C |
| Dimensions | 25mm x 25mm x 5mm |
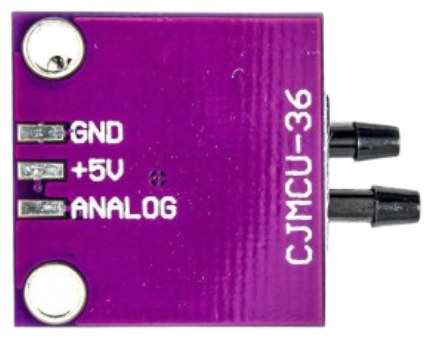
Pin Configuration
The CJMCU-36 has a 4-pin interface for power and communication. The pinout is as follows:
| Pin Name | Description |
|---|---|
| VCC | Power supply (3.3V to 5V) |
| GND | Ground |
| SDA | I2C data line |
| SCL | I2C clock line |
Usage Instructions
Connecting the CJMCU-36 to a Circuit
- Power Supply: Connect the
VCCpin to a 3.3V or 5V power source and theGNDpin to ground. - I2C Communication: Connect the
SDApin to the SDA pin of your microcontroller and theSCLpin to the SCL pin of your microcontroller. Use pull-up resistors (typically 4.7kΩ) on the SDA and SCL lines if not already present. - Airflow Tubes: Attach the provided tubes to the sensor's ports. Ensure one tube is exposed to the airflow and the other is in a static pressure zone.
Important Considerations
- Ensure the sensor is mounted securely to avoid vibrations that could affect readings.
- Avoid exposing the sensor to water or debris, as this may damage the internal components.
- Calibrate the sensor in a controlled environment for accurate measurements.
Example Code for Arduino UNO
Below is an example of how to interface the CJMCU-36 with an Arduino UNO using the I2C protocol:
#include <Wire.h>

// Define the I2C address of the CJMCU-36 sensor
#define CJMCU36_ADDRESS 0x28

void setup() {
  Wire.begin(); // Initialize I2C communication
  Serial.begin(9600); // Start serial communication for debugging
  Serial.println("CJMCU-36 Airspeed Sensor Test");
}

void loop() {
  Wire.beginTransmission(CJMCU36_ADDRESS); // Start communication with sensor
  Wire.write(0x00); // Request data (register 0x00 for airspeed)
  Wire.endTransmission();

  Wire.requestFrom(CJMCU36_ADDRESS, 2); // Request 2 bytes of data
  if (Wire.available() == 2) {
    int16_t rawData = (Wire.read() << 8) | Wire.read(); // Combine MSB and LSB
    float airspeed = rawData / 10.0; // Convert to airspeed (example scaling)
    Serial.print("Airspeed: ");
    Serial.print(airspeed);
    Serial.println(" m/s");
  } else {
    Serial.println("Error: No data received");
  }

  delay(500); // Wait 500ms before next reading
}
Notes on the Code
- The scaling factor (
rawData / 10.0) may vary depending on the specific sensor calibration. Refer to the datasheet for precise scaling. - Ensure the I2C address matches the default or configured address of your sensor.
Troubleshooting and FAQs
Common Issues
No Data Received
- Cause: Incorrect I2C wiring or address mismatch.
- Solution: Verify the connections and ensure the I2C address in the code matches the sensor's address.
Inaccurate Readings
- Cause: Sensor not calibrated or exposed to turbulence.
- Solution: Calibrate the sensor in a controlled environment and ensure proper mounting.
Sensor Not Detected
- Cause: Pull-up resistors missing on SDA/SCL lines.
- Solution: Add 4.7kΩ pull-up resistors to the SDA and SCL lines.
FAQs
Q: Can the CJMCU-36 be used with 5V microcontrollers?
A: Yes, the sensor supports a 3.3V to 5V power supply and is compatible with 5V logic levels.
Q: How do I calibrate the sensor?
A: Calibration involves exposing the sensor to known airspeeds and adjusting the scaling factor in your code accordingly.
Q: Can this sensor measure wind direction?
A: No, the CJMCU-36 only measures airspeed. For wind direction, additional sensors are required.
Q: Is the sensor waterproof?
A: No, the sensor is not waterproof. Avoid exposing it to water or high humidity environments.