How to Use SparkFun SAMD51 Thing Plus: Examples, Pinouts, and Specs
Introduction
The SparkFun SAMD51 Thing Plus is a versatile development board centered around the Microchip ATSAMD51J20, a high-performance ARM Cortex-M4F microcontroller. This board is an excellent choice for projects requiring significant processing power, low power consumption, and multiple connectivity options. It is suitable for a wide range of applications, from rapid prototyping to final product integration, including IoT devices, wearables, and complex control systems.
Explore Projects Built with SparkFun SAMD51 Thing Plus


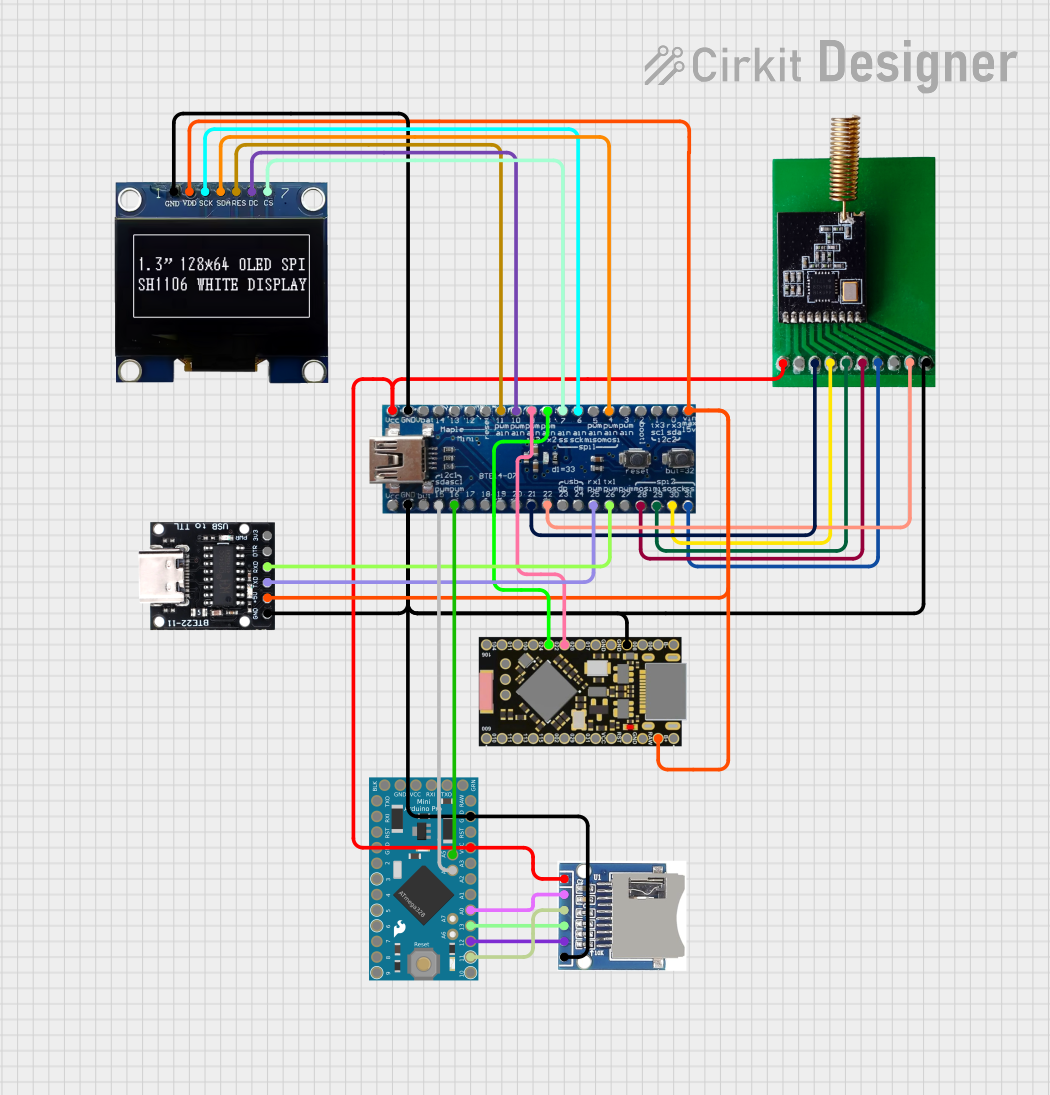
Explore Projects Built with SparkFun SAMD51 Thing Plus
Common Applications and Use Cases
- IoT and connected devices
- Wearable technology
- Advanced robotics
- Data logging
- High-speed signal processing
- Educational purposes and prototyping
Technical Specifications
Key Technical Details
- Microcontroller: ATSAMD51J20 ARM Cortex-M4F
- Clock Speed: 120 MHz
- Flash Memory: 1 MB
- SRAM: 256 KB
- Operating Voltage: 3.3V
- I/O Pin Voltage: 3.3V (not 5V tolerant)
- Digital I/O Pins: 30
- Analog Input Pins: 6 (12-bit ADC)
- Analog Output Pins: 2 (10-bit DAC)
- Peripheral Features: I2C, SPI, UART, PWM, CAN, LIN, PTC
- Connectivity: USB-C, Qwiic connector
- Programming: Bootloader with UF2 support, JTAG
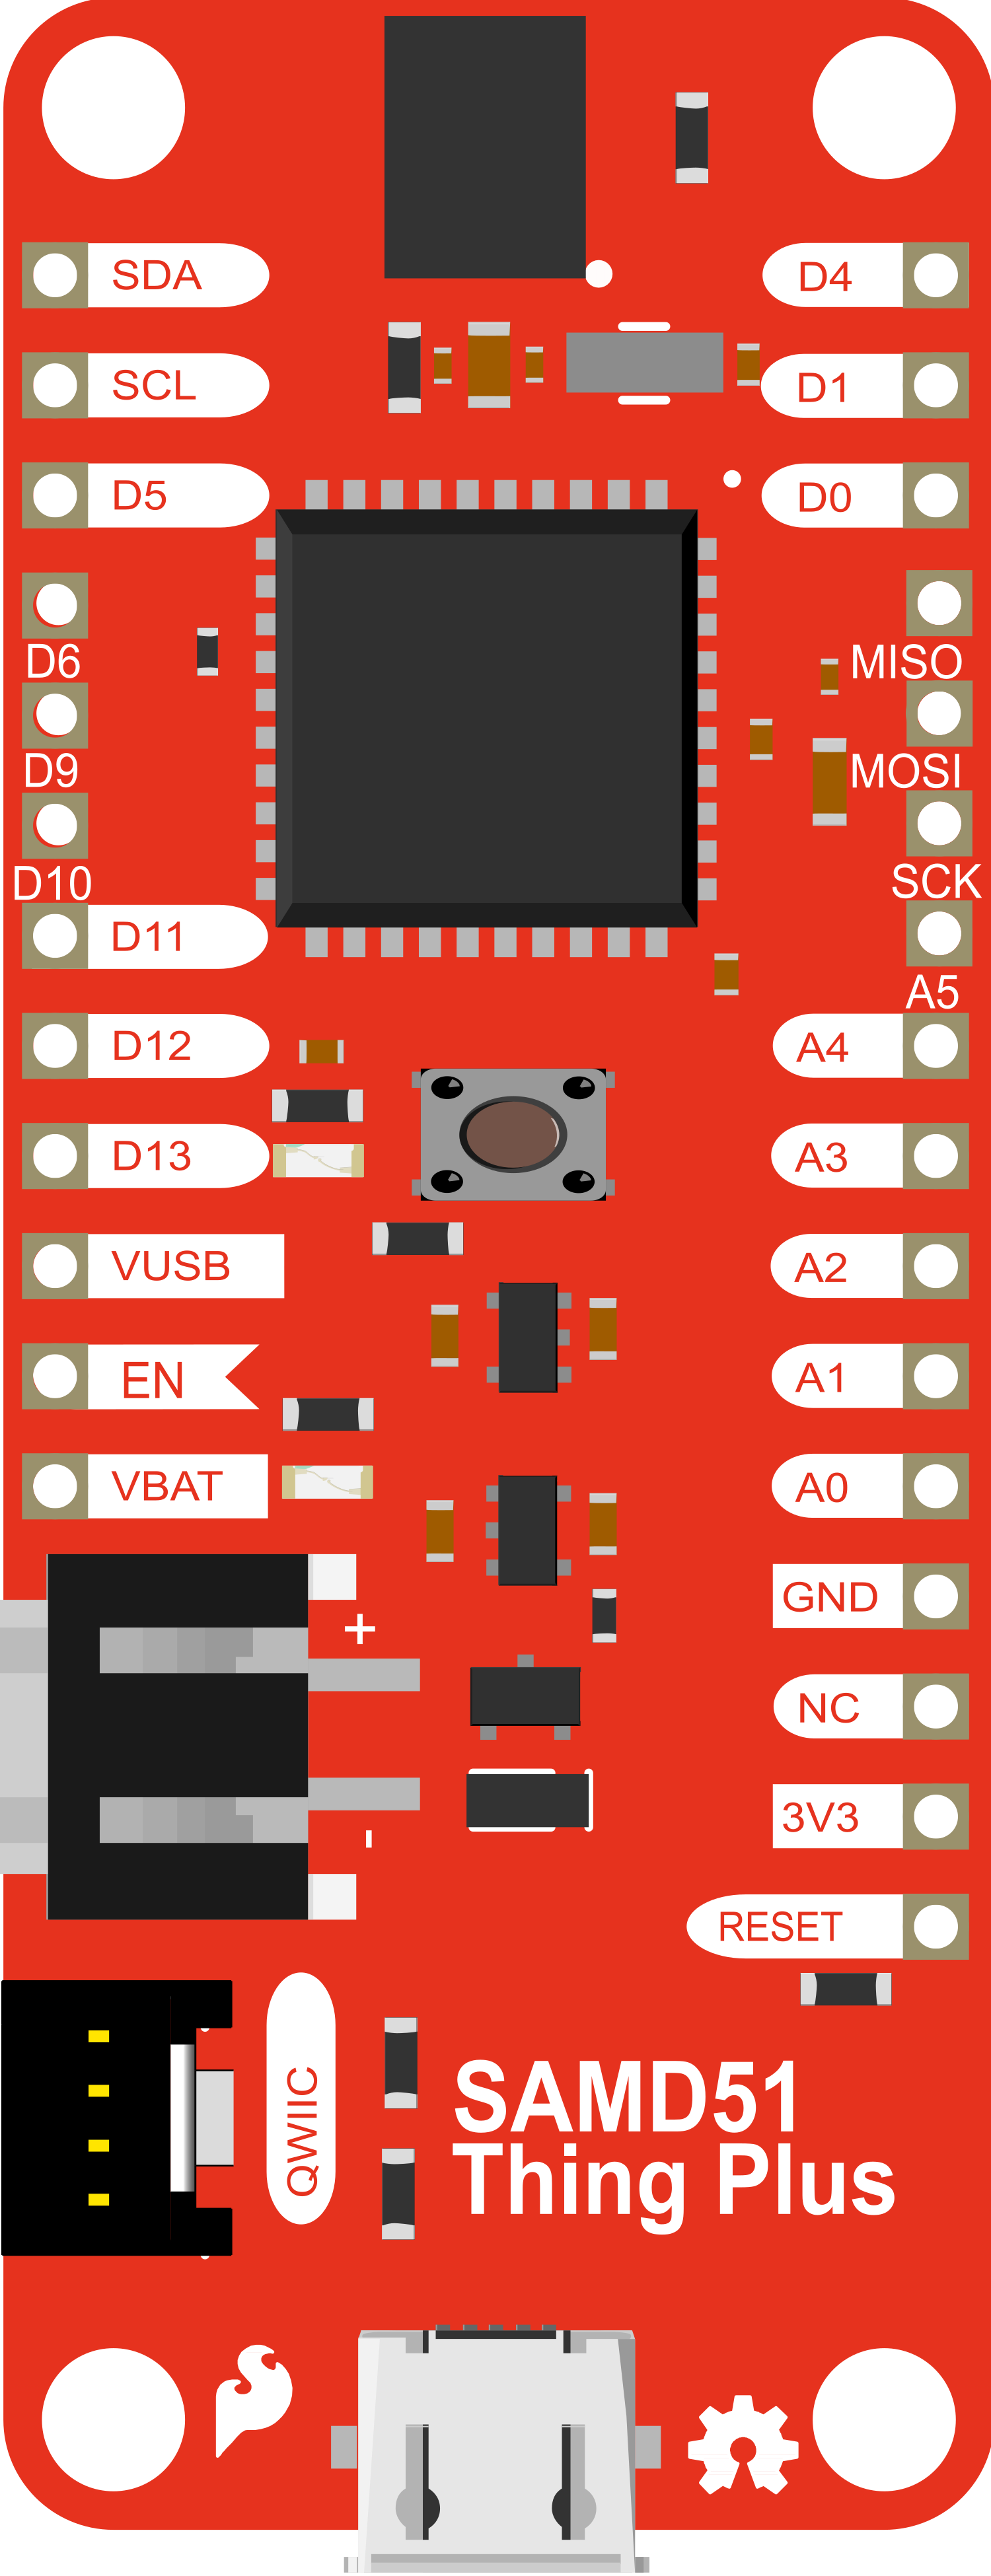
Pin Configuration and Descriptions
| Pin Number | Function | Description |
|---|---|---|
| 1 | GND | Ground |
| 2 | 3.3V | 3.3V power supply |
| 3-8 | Digital I/O | General-purpose input/output |
| 9 | AREF | Analog reference voltage for ADC |
| 10-15 | Analog Input | Analog input channels for ADC |
| 16-21 | PWM | Pulse Width Modulation output capable pins |
| 22-27 | Communication | I2C, SPI, UART pins |
| 28 | Reset | Reset pin (active low) |
| 29 | USB | USB-C connector for programming and power |
| 30 | Qwiic | Qwiic connector for I2C devices |
Usage Instructions
How to Use the Component in a Circuit
Powering the Board:
- Connect a USB-C cable to the board for power and programming.
- Alternatively, supply 3.3V to the 3.3V pin for an external power source.
Programming the Board:
- The board comes with a UF2 bootloader. Simply double-tap the reset button to enter the bootloader mode, and the board will appear as a storage device on your computer.
- Drag-and-drop a UF2 file onto the board to program it.
Connecting Peripherals:
- Use the GPIO pins to connect sensors, actuators, and other peripherals.
- Utilize the Qwiic connector for easy I2C device connection without soldering.
Important Considerations and Best Practices
- Voltage Levels: Ensure that all peripherals are compatible with 3.3V logic levels. The I/O pins are not 5V tolerant.
- Current Draw: Do not exceed the maximum current rating for each I/O pin and the power supply pin.
- ESD Precautions: Always handle the board with proper electrostatic discharge (ESD) precautions.
- Firmware Updates: Regularly check for updates to the board's firmware and bootloader for optimal performance and new features.
Troubleshooting and FAQs
Common Issues
- Board Not Recognized: Ensure the USB cable is properly connected and the computer's USB port is functioning. Try a different USB port or cable if necessary.
- Failed Upload: Double-check the board selection and port in your development environment. Ensure the board is in bootloader mode if required.
- I/O Pin Not Working: Verify that the pin is not being used by another peripheral and that your code is correctly configured for the intended use.
Solutions and Tips for Troubleshooting
- Reset the Board: If the board is unresponsive, use the reset button to restart it.
- Check Connections: Loose or incorrect connections can cause various issues. Double-check all wiring.
- Update Firmware: Ensure the board's firmware is up to date to fix known issues and improve stability.
FAQs
Q: Can I power the board with 5V? A: No, the board operates at 3.3V. Applying 5V to the 3.3V pin can damage the board.
Q: Is the SAMD51 Thing Plus compatible with Arduino IDE? A: Yes, it is compatible with the Arduino IDE. You will need to install the appropriate board definitions for the ATSAMD51.
Q: How do I use the Qwiic connector? A: The Qwiic connector is an I2C interface. You can connect compatible Qwiic devices directly without soldering.
Example Code for Arduino UNO
// Blink LED example for SparkFun SAMD51 Thing Plus

void setup() {
  // Configure the onboard LED pin as an output
  pinMode(LED_BUILTIN, OUTPUT);
}

void loop() {
  // Turn the LED on
  digitalWrite(LED_BUILTIN, HIGH);
  delay(1000); // Wait for a second
  // Turn the LED off
  digitalWrite(LED_BUILTIN, LOW);
  delay(1000); // Wait for a second
}
This example code will blink the onboard LED of the SparkFun SAMD51 Thing Plus. Make sure to select the correct board and port in your Arduino IDE before uploading the code.