How to Use D-Robotics: Examples, Pinouts, and Specs
Introduction
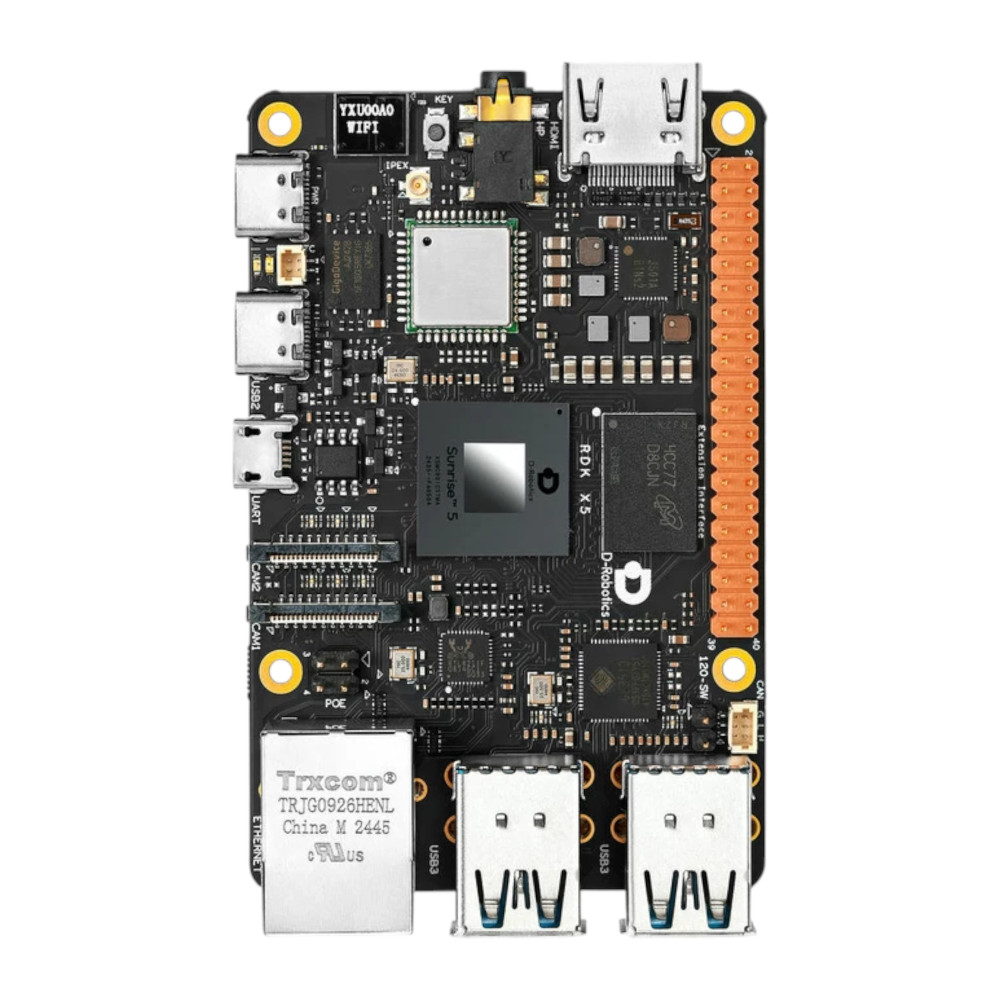
The D-Robotics RDK X5 is a versatile robotic component designed for automation, control, and interaction in a wide range of applications. It integrates seamlessly with sensors, actuators, and microcontrollers to enable intelligent robotic behavior. This component is ideal for use in educational robotics, industrial automation, and hobbyist projects, offering a robust platform for building and controlling robotic systems.
Explore Projects Built with D-Robotics

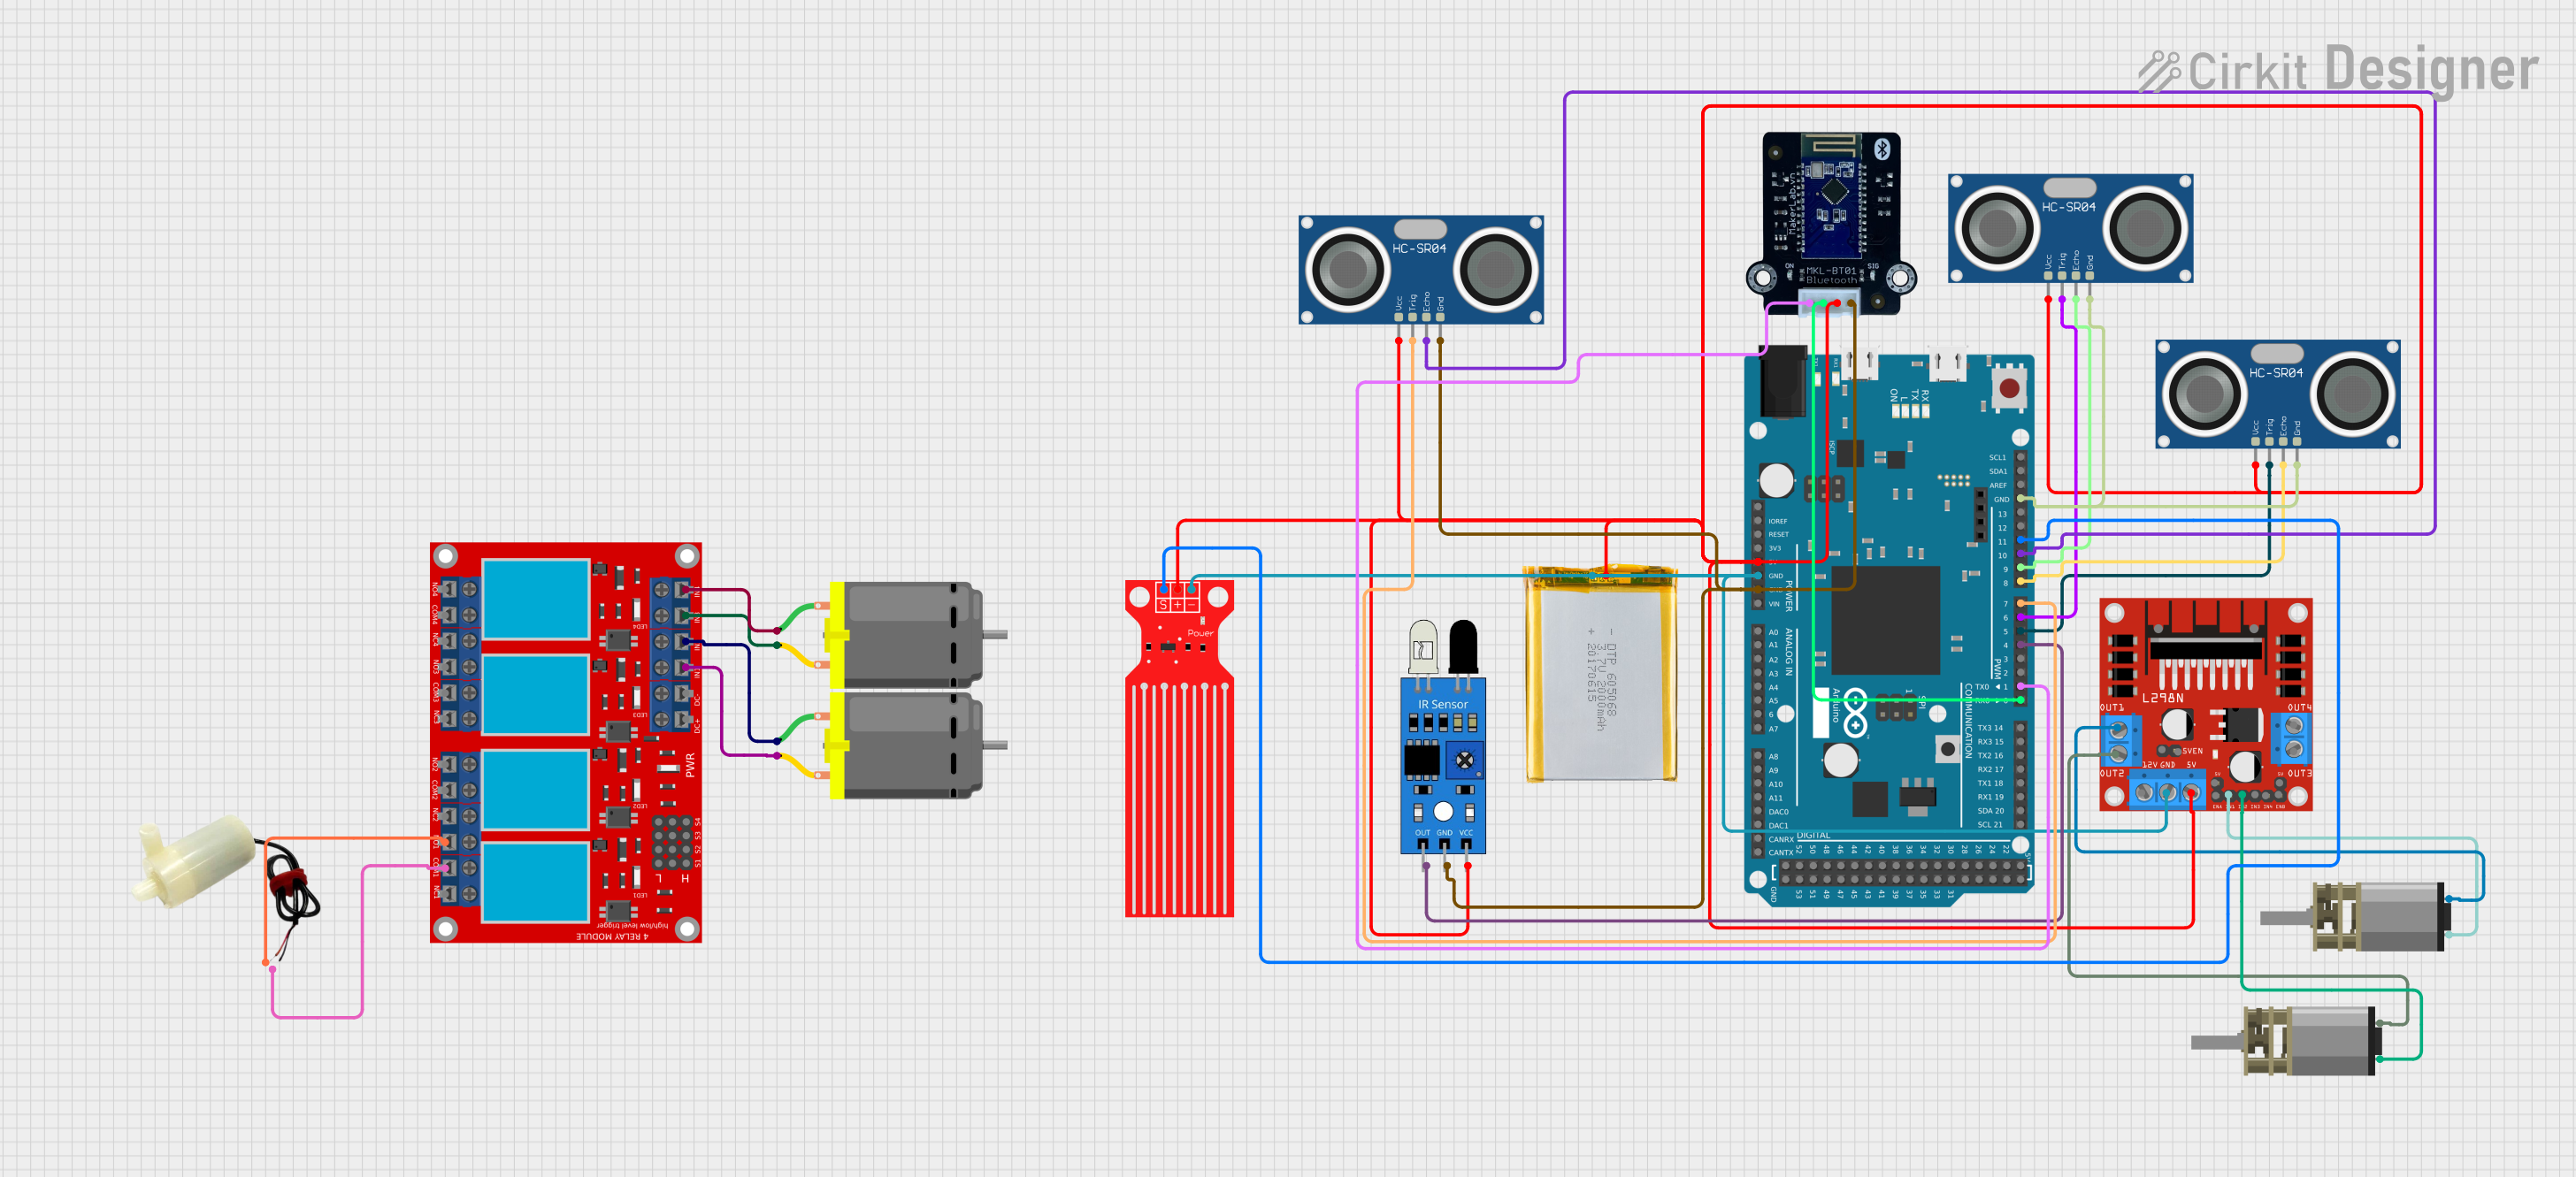
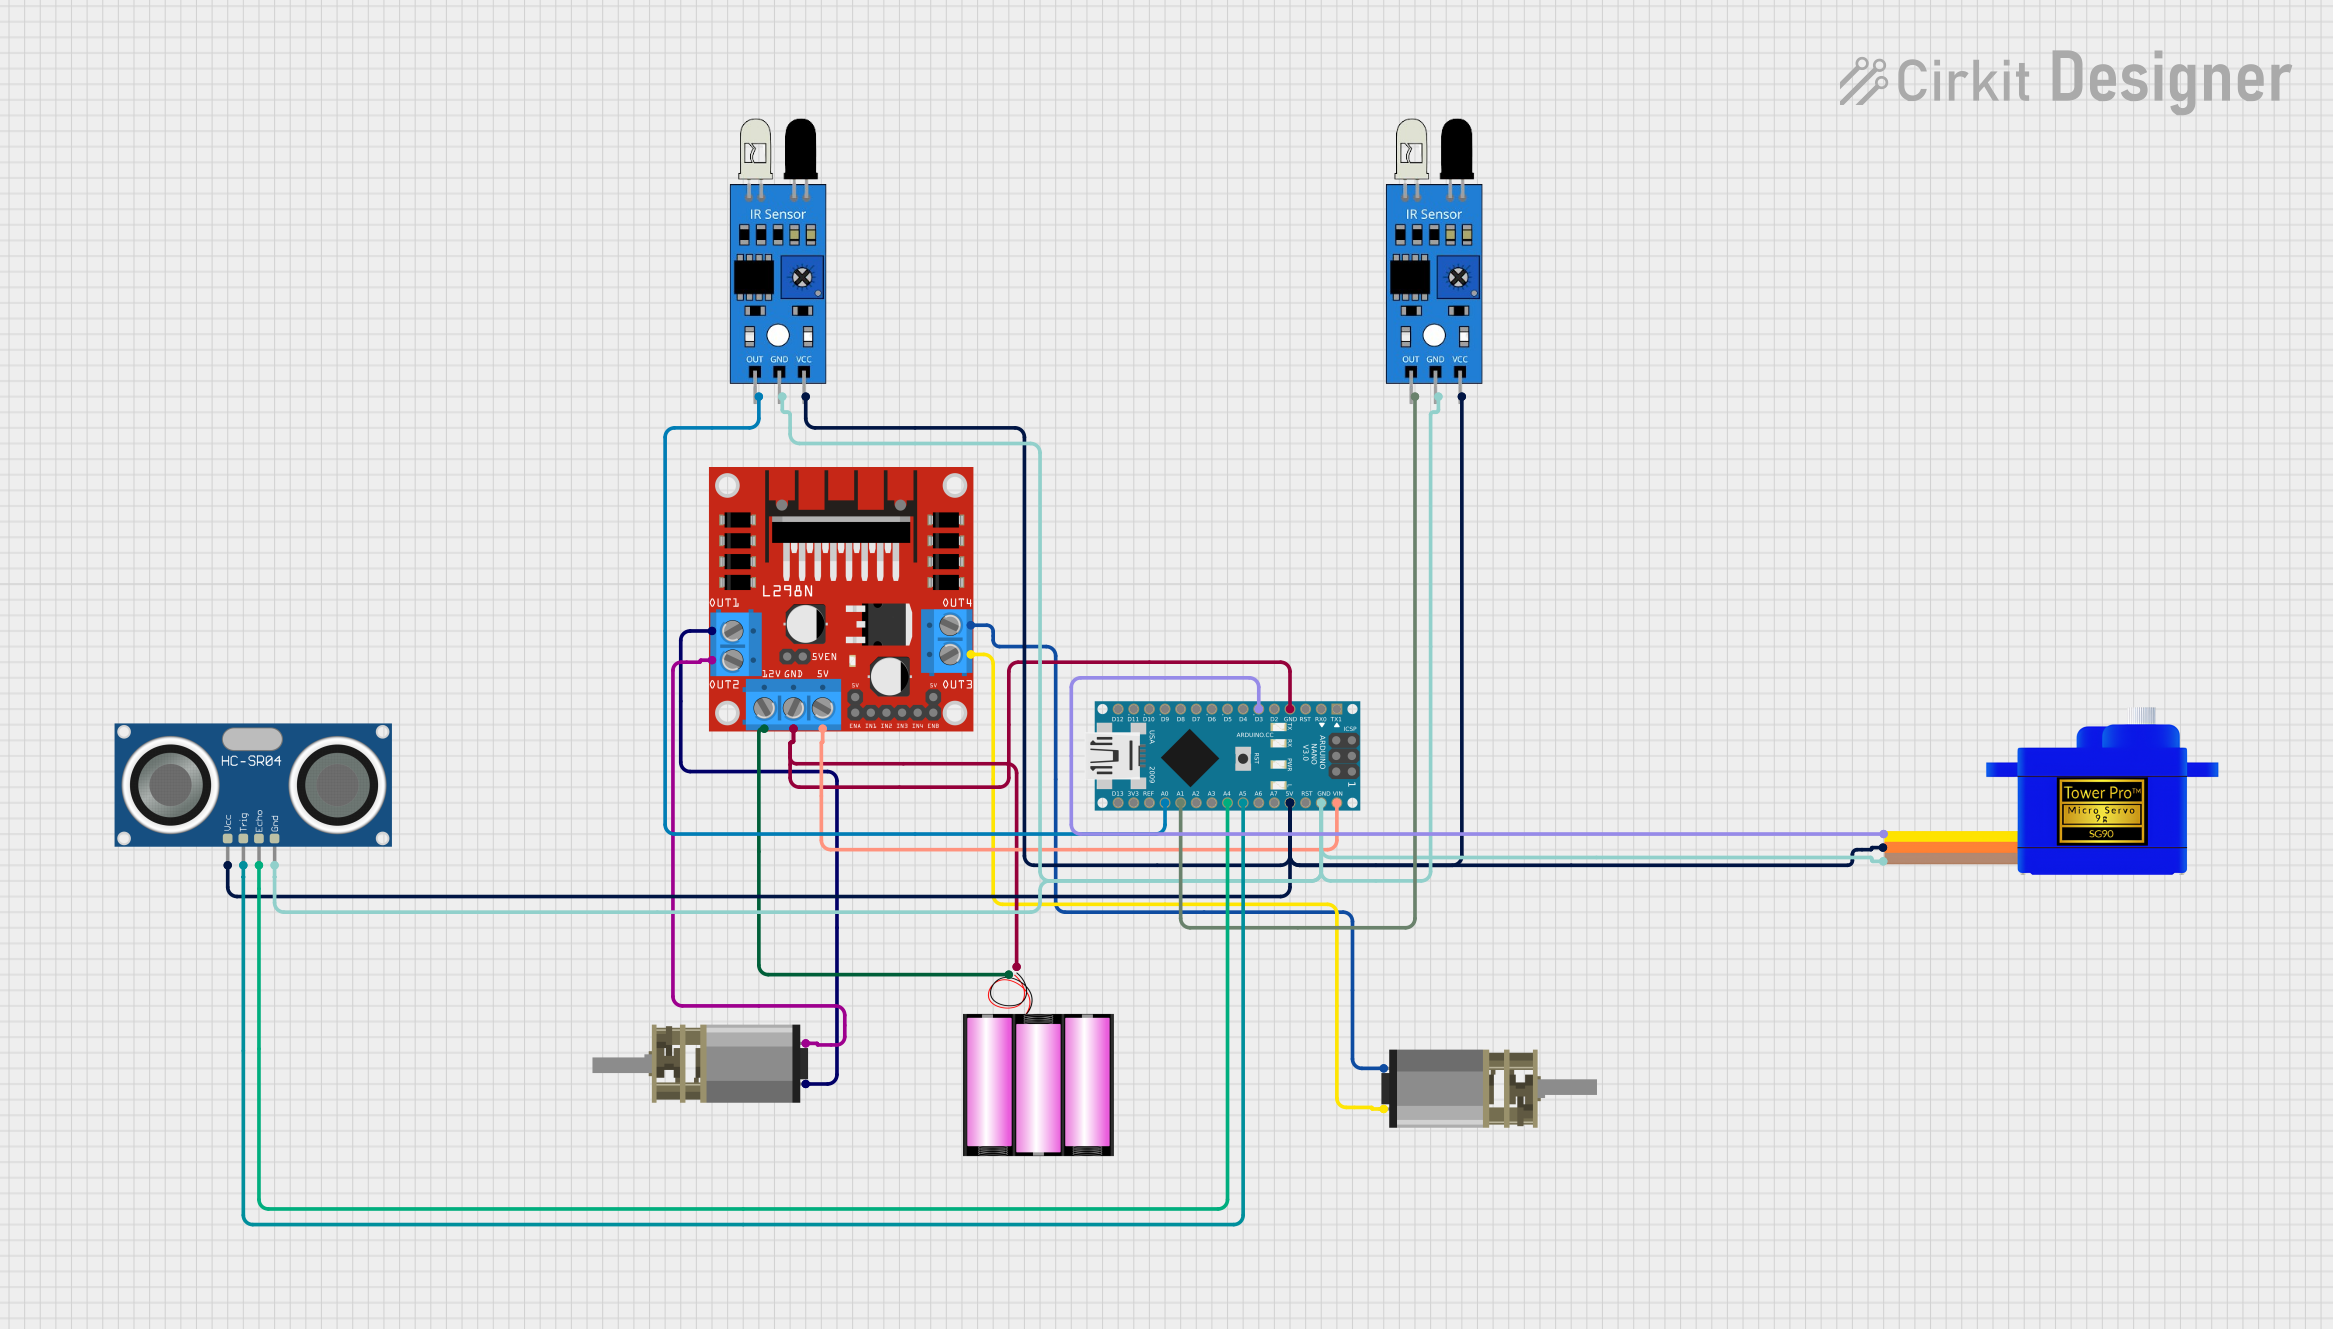
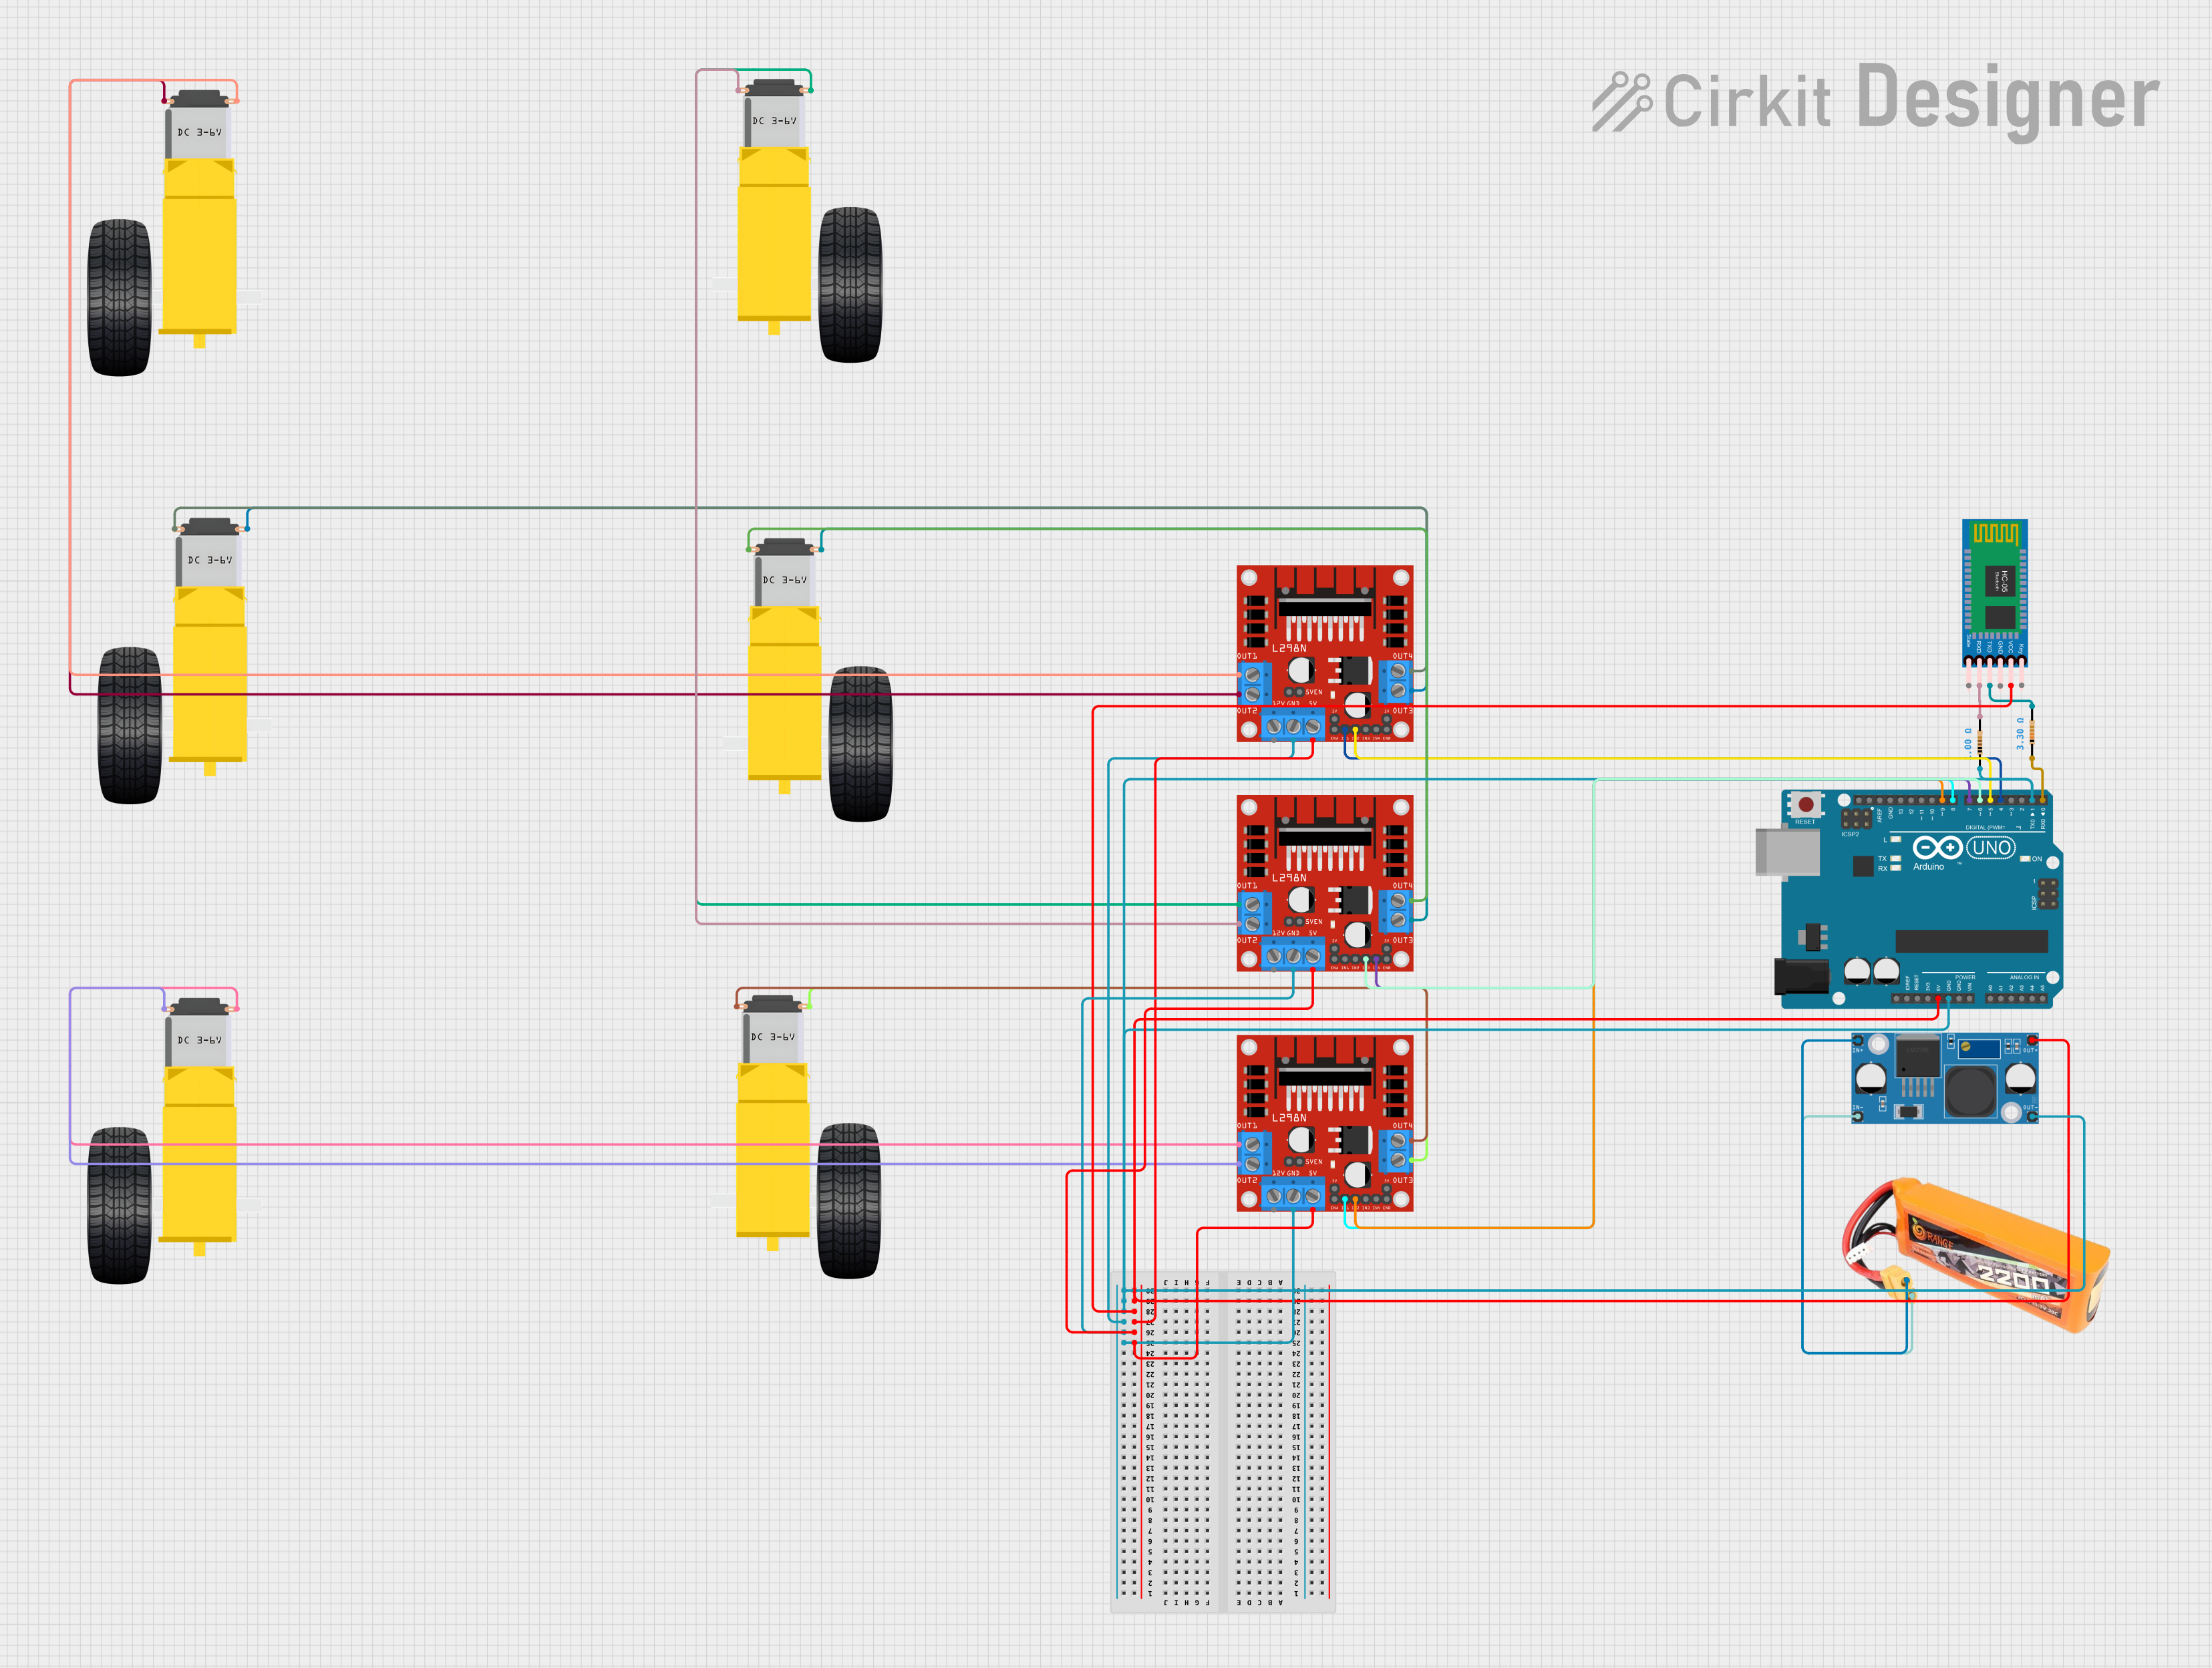
Explore Projects Built with D-Robotics
Common Applications
- Educational Robotics: Ideal for teaching robotics and programming concepts.
- Industrial Automation: Used in assembly lines, pick-and-place systems, and automated inspection.
- Hobbyist Projects: Perfect for DIY robotic systems and home automation.
- Prototyping: Suitable for rapid development of robotic solutions.
Technical Specifications
The D-Robotics RDK X5 is designed to provide flexibility and reliability in robotic systems. Below are its key technical details:
General Specifications
| Parameter | Value |
|---|---|
| Manufacturer | D-Robotics |
| Part ID | RDK X5 |
| Operating Voltage | 5V to 12V |
| Maximum Current | 2A |
| Communication Protocols | I2C, UART, SPI |
| Dimensions | 50mm x 50mm x 15mm |
| Weight | 25g |
| Operating Temperature | -10°C to 50°C |
Pin Configuration
The RDK X5 features a 10-pin interface for easy integration with other components. Below is the pinout description:
| Pin Number | Pin Name | Description |
|---|---|---|
| 1 | VCC | Power input (5V to 12V) |
| 2 | GND | Ground connection |
| 3 | SDA | I2C data line |
| 4 | SCL | I2C clock line |
| 5 | TX | UART transmit |
| 6 | RX | UART receive |
| 7 | MOSI | SPI Master Out Slave In |
| 8 | MISO | SPI Master In Slave Out |
| 9 | SCK | SPI clock |
| 10 | INT | Interrupt pin for external event handling |
Usage Instructions
The D-Robotics RDK X5 is designed for ease of use in a variety of robotic systems. Follow the steps below to integrate and use the component effectively:
Step 1: Powering the Component
- Connect the VCC pin to a regulated power supply (5V to 12V).
- Ensure the GND pin is connected to the ground of your circuit.
Step 2: Communication Setup
- For I2C communication, connect the SDA and SCL pins to the corresponding pins on your microcontroller.
- For UART communication, connect the TX and RX pins to the UART pins on your microcontroller.
- For SPI communication, connect the MOSI, MISO, and SCK pins to the SPI interface of your microcontroller.
Step 3: Programming with Arduino UNO
The RDK X5 can be easily interfaced with an Arduino UNO. Below is an example code snippet for using the I2C interface:
#include <Wire.h> // Include the Wire library for I2C communication

#define RDK_X5_ADDRESS 0x40 // Replace with the actual I2C address of the RDK X5

void setup() {
  Wire.begin(); // Initialize I2C communication
  Serial.begin(9600); // Start serial communication for debugging
  Serial.println("Initializing D-Robotics RDK X5...");
}

void loop() {
  Wire.beginTransmission(RDK_X5_ADDRESS); // Start communication with RDK X5
  Wire.write(0x01); // Example command to send to the RDK X5
  Wire.endTransmission(); // End transmission

  delay(1000); // Wait for 1 second before sending the next command
}
Best Practices
- Use a stable power supply to avoid voltage fluctuations.
- Ensure proper grounding to prevent communication errors.
- Use pull-up resistors for I2C lines if not already integrated into the RDK X5.
- Avoid exceeding the maximum current rating of 2A to prevent damage.
Troubleshooting and FAQs
Common Issues and Solutions
Issue: The RDK X5 is not responding to commands.
- Solution: Verify the power supply voltage and ensure proper connections to the VCC and GND pins.
- Solution: Check the communication protocol setup (I2C, UART, or SPI) and ensure the correct pins are connected.
Issue: Communication errors occur during I2C operation.
- Solution: Ensure pull-up resistors are present on the SDA and SCL lines.
- Solution: Verify the I2C address of the RDK X5 and update the code accordingly.
Issue: The component overheats during operation.
- Solution: Check the current draw and ensure it does not exceed 2A.
- Solution: Improve ventilation or add a heatsink if necessary.
FAQs
Q: Can the RDK X5 be powered with a 3.3V supply?
- A: No, the RDK X5 requires a minimum of 5V for proper operation.
Q: Is the RDK X5 compatible with Raspberry Pi?
- A: Yes, the RDK X5 can be interfaced with Raspberry Pi using I2C, UART, or SPI.
Q: What is the maximum communication speed for I2C?
- A: The RDK X5 supports I2C speeds up to 400kHz.
By following this documentation, users can effectively integrate and utilize the D-Robotics RDK X5 in their robotic systems.