
How to Use Piezo Speaker: Examples, Pinouts, and Specs

 Design with Piezo Speaker in Cirkit Designer
Introduction
A piezo speaker is a type of audio output device that uses piezoelectric materials to convert electrical signals into sound. It is known for its compact size, low power consumption, and ability to produce a range of frequencies. Piezo speakers are widely used in applications such as alarms, notifications, and simple sound effects in electronic devices. Their lightweight and durable design make them ideal for portable and embedded systems.
Explore Projects Built with Piezo Speaker
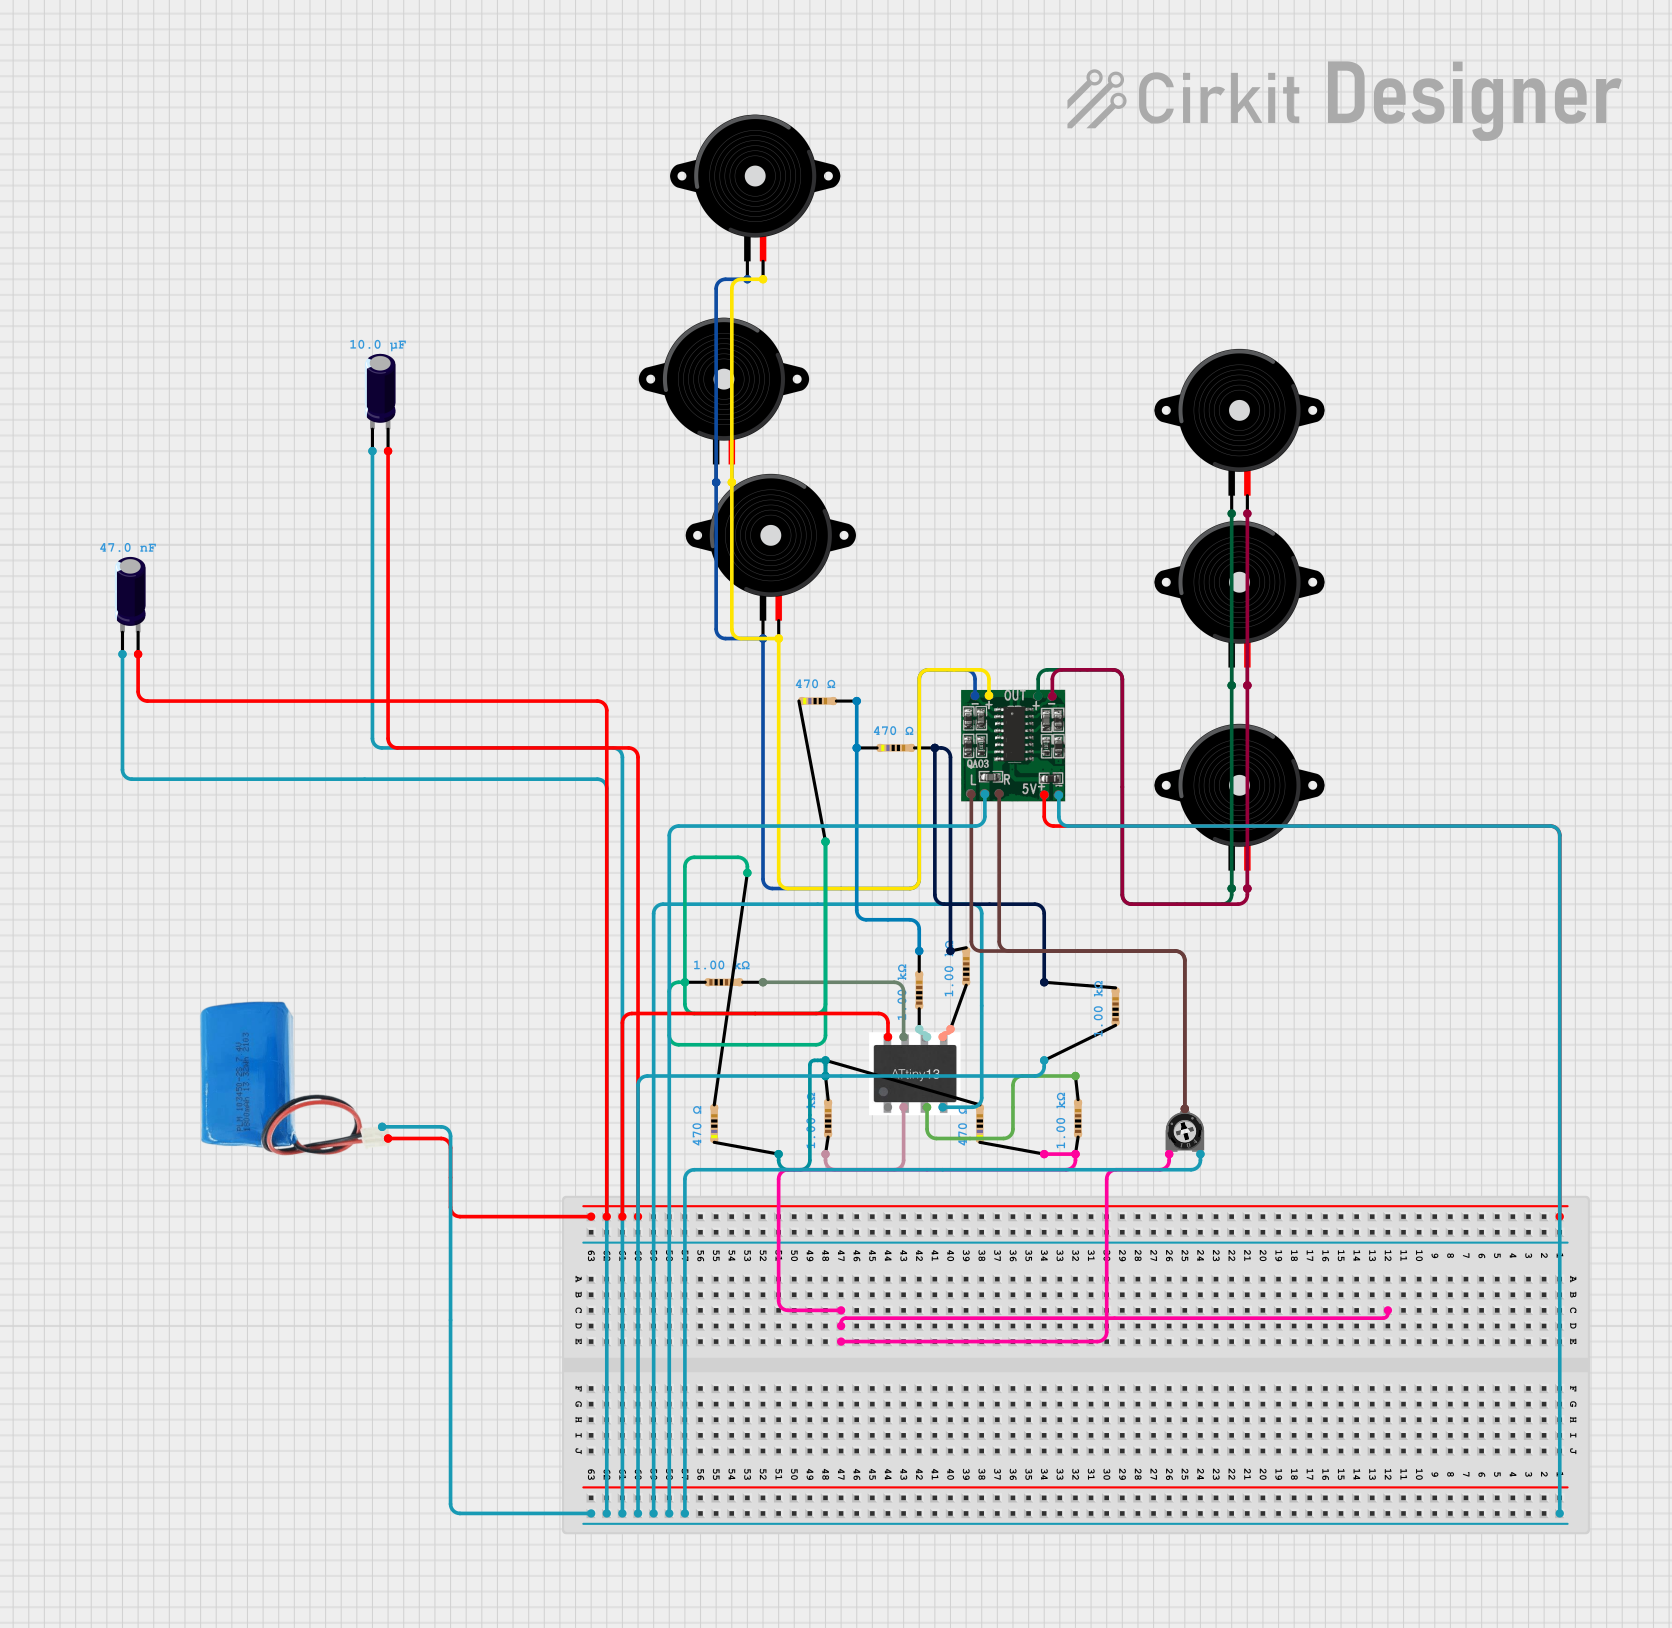 Open Project in Cirkit Designer
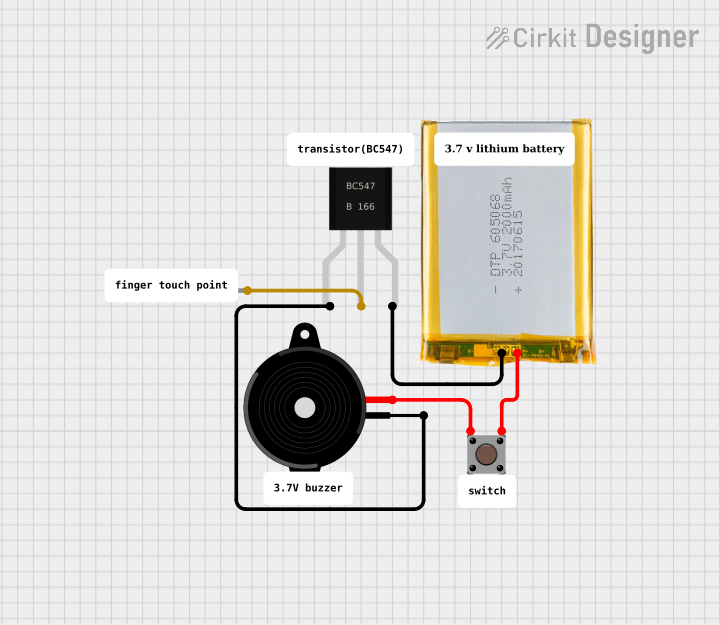 Open Project in Cirkit Designer
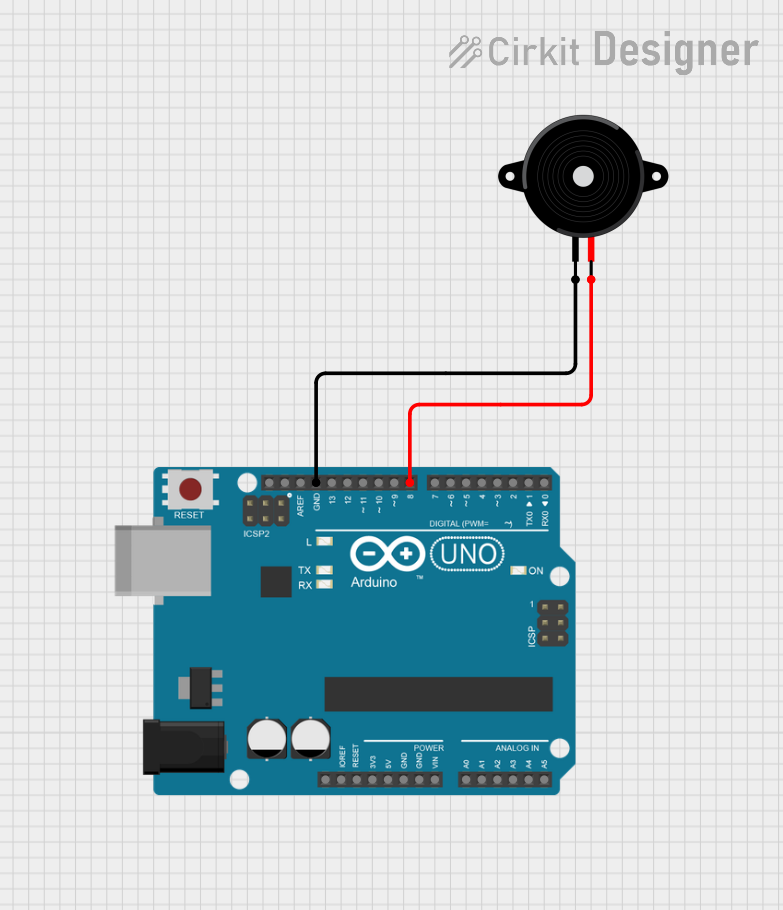 Open Project in Cirkit Designer
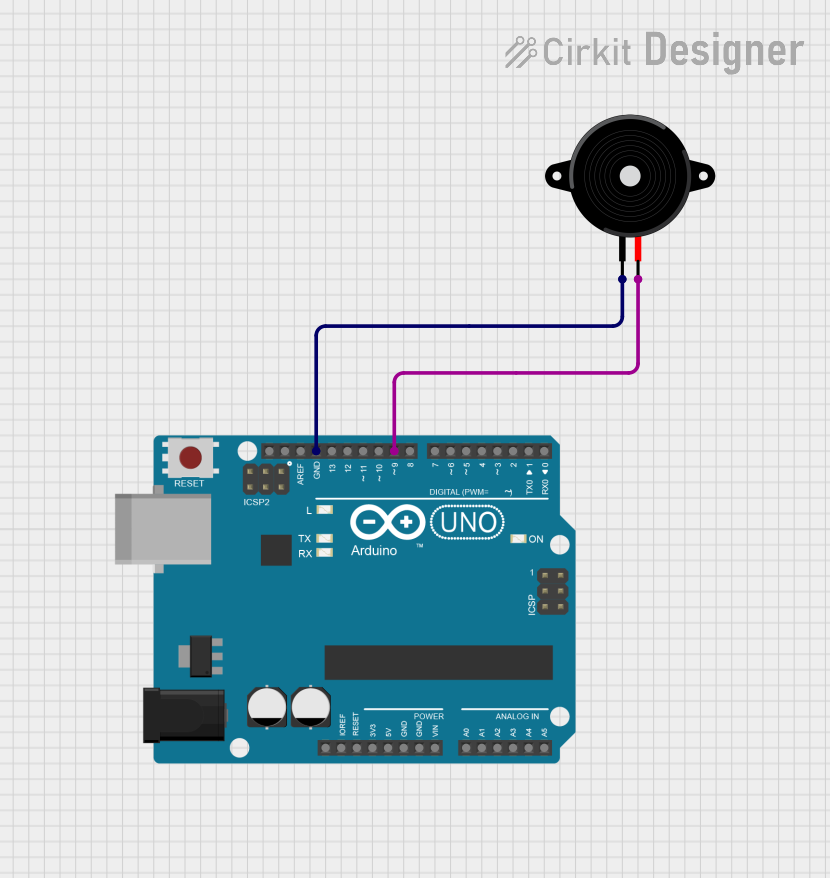 Open Project in Cirkit Designer
Explore Projects Built with Piezo Speaker
Open Project in Cirkit DesignerOpen Project in Cirkit DesignerOpen Project in Cirkit DesignerOpen Project in Cirkit DesignerTechnical Specifications
Below are the key technical details of a typical piezo speaker:
| Parameter | Value |
|---|---|
| Operating Voltage | 3V to 12V |
| Operating Current | 5mA to 30mA |
| Frequency Range | 2 kHz to 5 kHz (typical) |
| Sound Pressure Level | 85 dB to 100 dB (at 10 cm) |
| Dimensions | Varies (e.g., 12mm to 30mm) |
| Impedance | 16Ω to 32Ω |
| Operating Temperature | -20°C to +70°C |
Pin Configuration
Piezo speakers typically have two pins:
| Pin | Description |
|---|---|
| Positive (+) | Connects to the positive terminal of the power source or signal output. |
| Negative (-) | Connects to the ground (GND) of the circuit. |
Usage Instructions
How to Use the Piezo Speaker in a Circuit
Connect the Pins:
- Connect the positive pin of the piezo speaker to the output pin of a microcontroller or signal generator.
- Connect the negative pin to the ground (GND) of the circuit.
Drive the Speaker:
- Use a square wave signal to drive the piezo speaker. The frequency of the square wave determines the pitch of the sound produced.
- Ensure the voltage and current supplied to the speaker are within its operating range to avoid damage.
Optional Resistor:
- For some circuits, you may need to add a current-limiting resistor in series with the piezo speaker to protect the microcontroller's output pin.
Important Considerations and Best Practices
- Frequency Selection: Piezo speakers are most efficient at their resonant frequency. Refer to the datasheet to determine the optimal frequency for your specific model.
- Power Supply: Ensure the power supply voltage matches the operating voltage range of the piezo speaker.
- Avoid Overdriving: Do not exceed the maximum voltage or current ratings, as this can damage the speaker.
- Mounting: Secure the piezo speaker properly to avoid unwanted vibrations or noise.
Example: Using a Piezo Speaker with Arduino UNO
Below is an example of how to use a piezo speaker with an Arduino UNO to generate a simple tone:
// Piezo Speaker Example with Arduino UNO
// This code generates a 1 kHz tone on pin 8 for 1 second, then stops for 1 second.

const int piezoPin = 8; // Pin connected to the piezo speaker

void setup() {
  pinMode(piezoPin, OUTPUT); // Set the piezo pin as an output
}

void loop() {
  tone(piezoPin, 1000); // Generate a 1 kHz tone
  delay(1000);          // Wait for 1 second
  noTone(piezoPin);     // Stop the tone
  delay(1000);          // Wait for 1 second
}
Notes:
- The
tone()function generates a square wave at the specified frequency. - The
noTone()function stops the sound output.
Troubleshooting and FAQs
Common Issues
No Sound Output:
- Cause: Incorrect wiring or insufficient voltage.
- Solution: Verify the connections and ensure the power supply voltage is within the operating range.
Distorted Sound:
- Cause: Driving the speaker at a non-optimal frequency or exceeding its power ratings.
- Solution: Use the recommended frequency range and ensure the voltage/current are within limits.
Low Volume:
- Cause: Insufficient drive signal or improper mounting.
- Solution: Increase the signal amplitude (within safe limits) and ensure the speaker is securely mounted.
FAQs
Q: Can I use a piezo speaker without a microcontroller?
A: Yes, you can use a signal generator or a simple oscillator circuit to drive the piezo speaker.Q: What is the difference between a piezo speaker and a buzzer?
A: A piezo speaker requires an external signal to produce sound, while a buzzer has an internal oscillator and produces sound when powered.Q: How do I choose the right piezo speaker for my project?
A: Consider factors such as operating voltage, frequency range, sound pressure level, and physical size based on your application requirements.