
How to Use UV-C Tube: Examples, Pinouts, and Specs
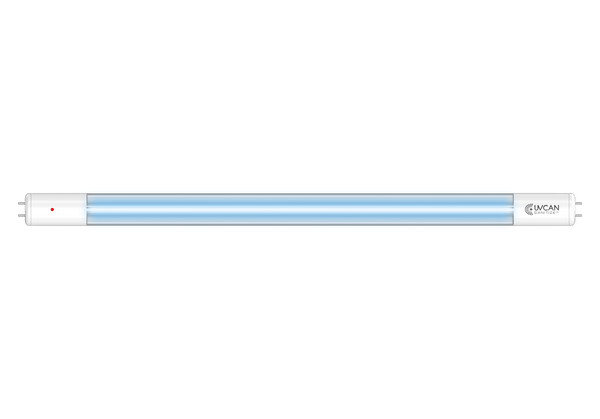
 Design with UV-C Tube in Cirkit Designer
Introduction
A UV-C tube is a specialized ultraviolet lamp designed to emit UV-C light, which has a wavelength range of 200-280 nm. This type of light is highly effective for disinfection and sterilization purposes, as it can kill or inactivate microorganisms such as bacteria, viruses, and fungi by disrupting their DNA or RNA. UV-C tubes are widely used in healthcare, water purification, air sterilization, and surface disinfection applications.
Explore Projects Built with UV-C Tube
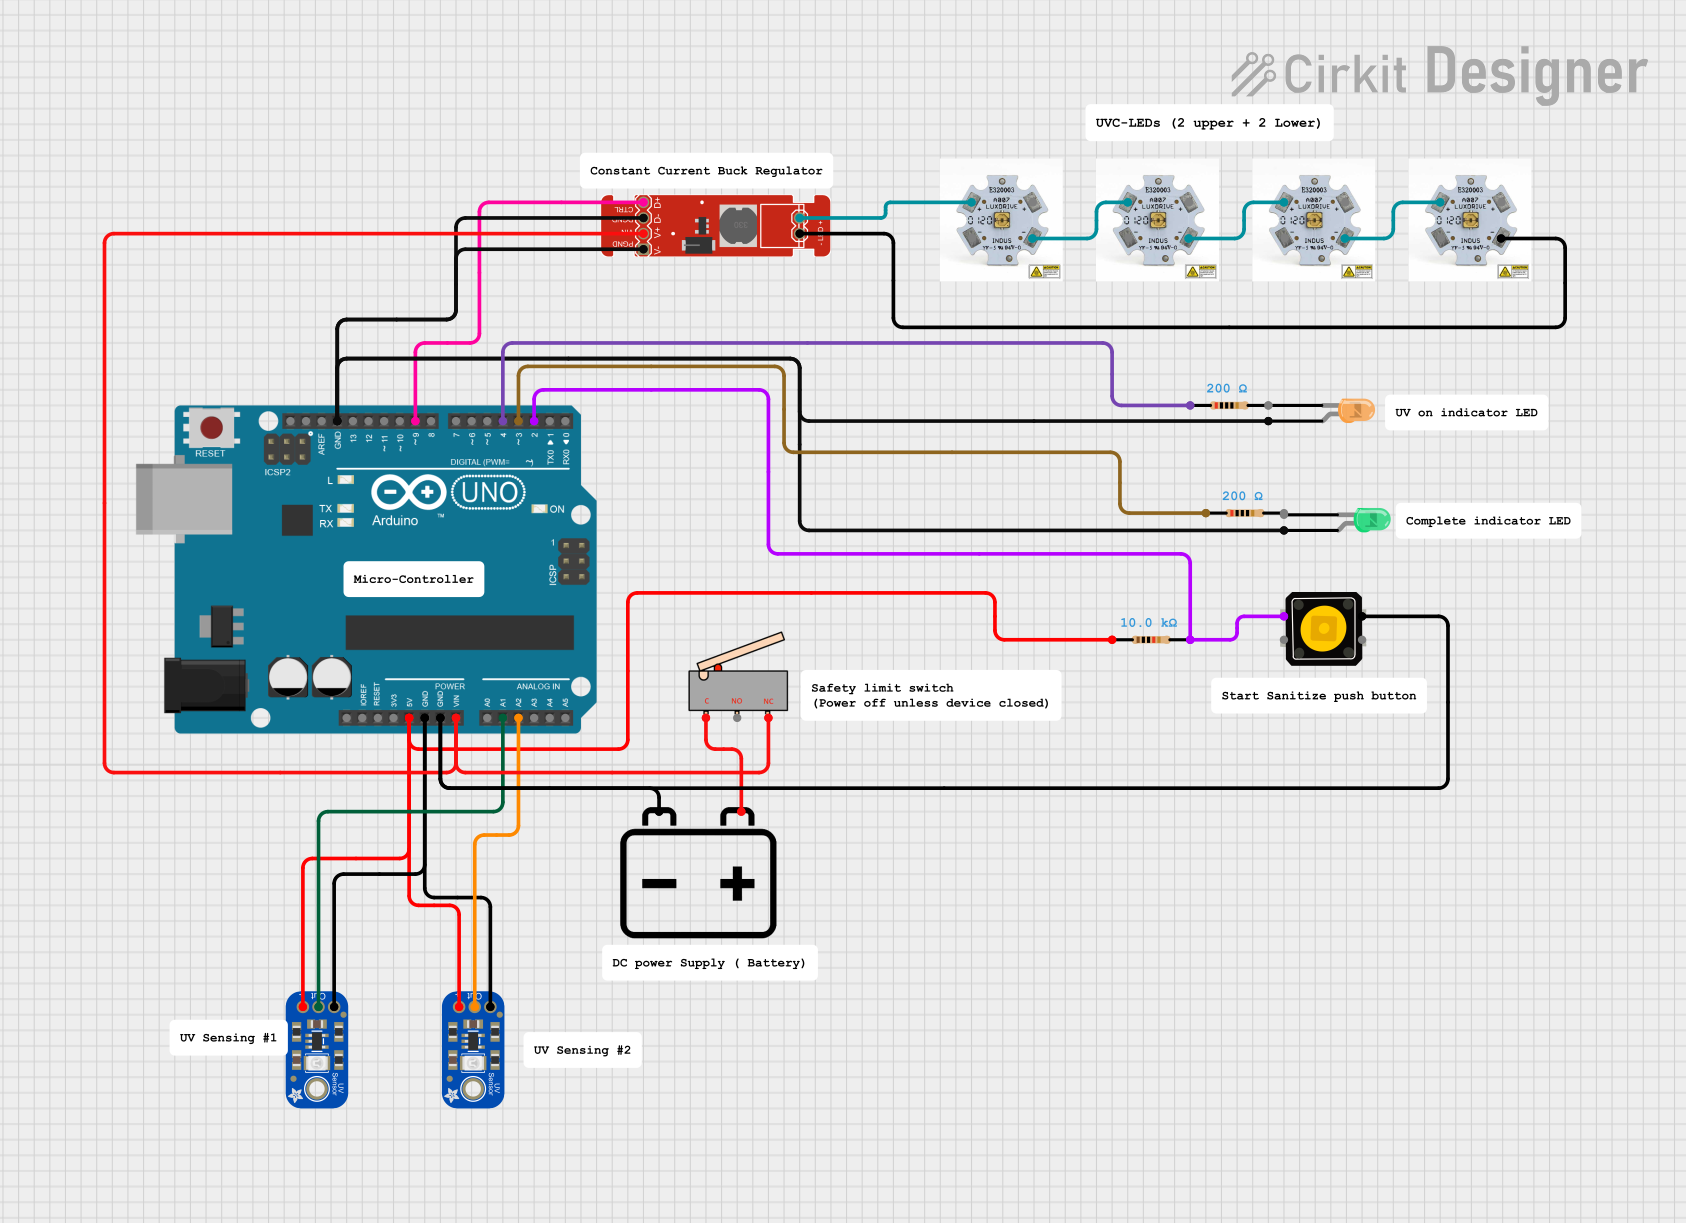 Open Project in Cirkit Designer
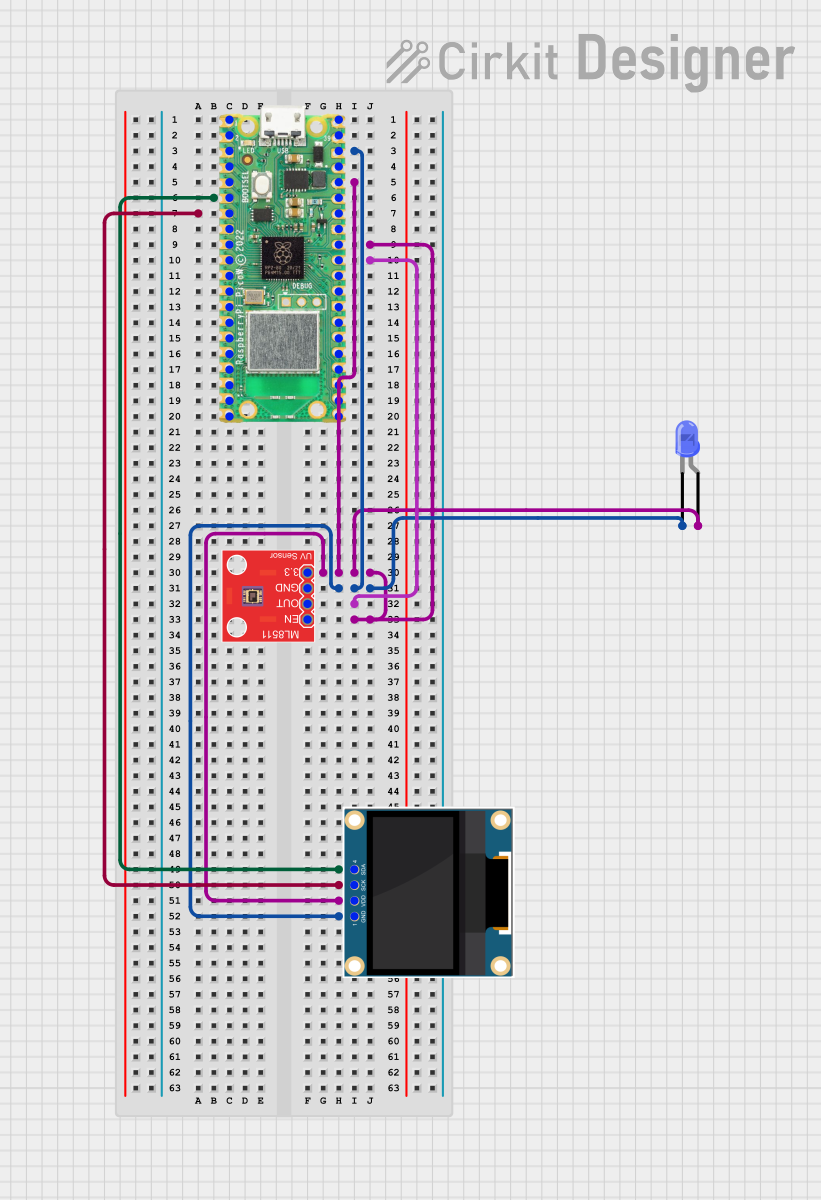 Open Project in Cirkit Designer
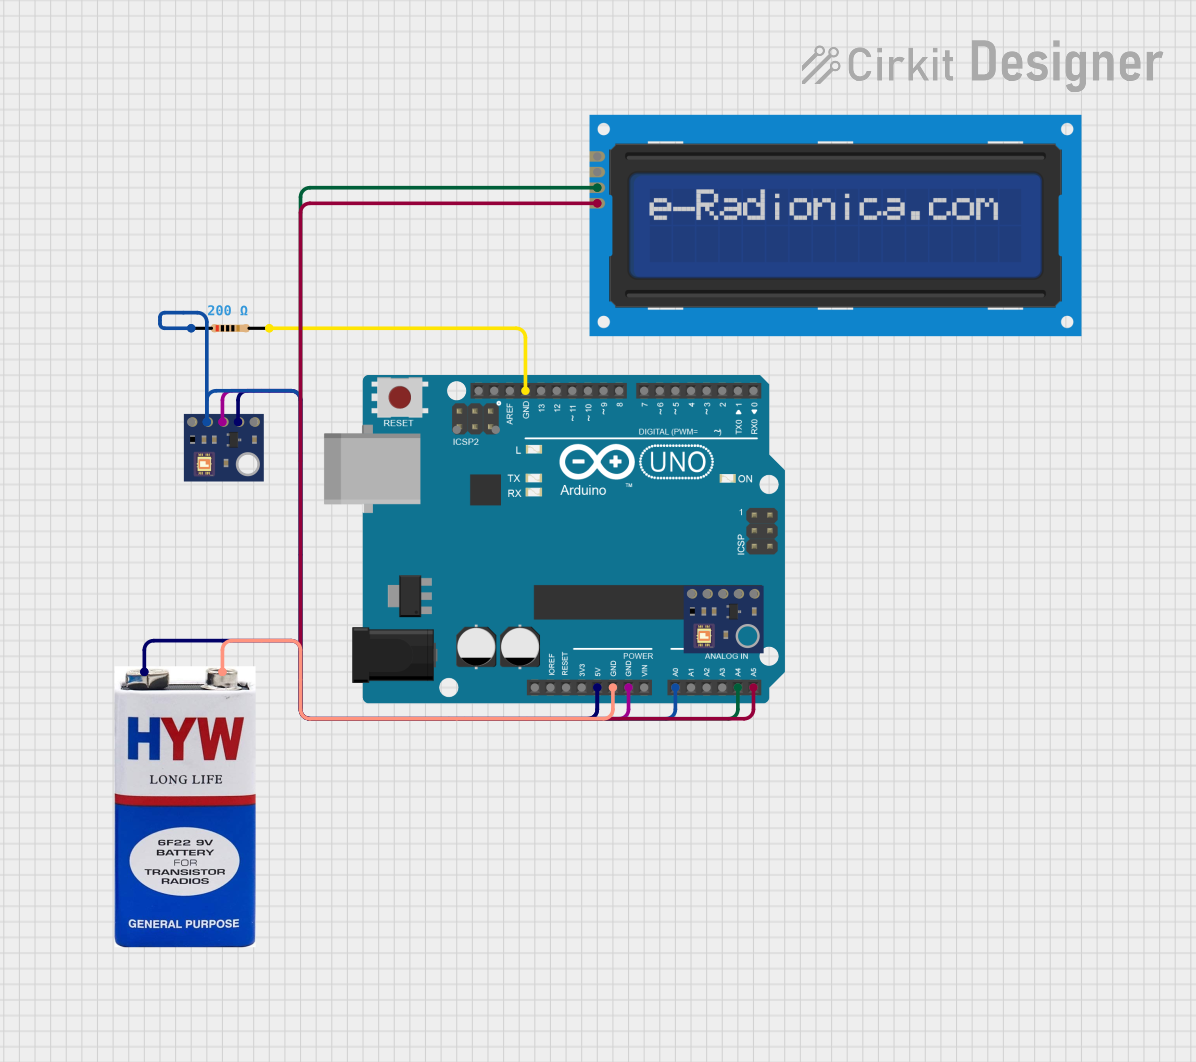 Open Project in Cirkit Designer
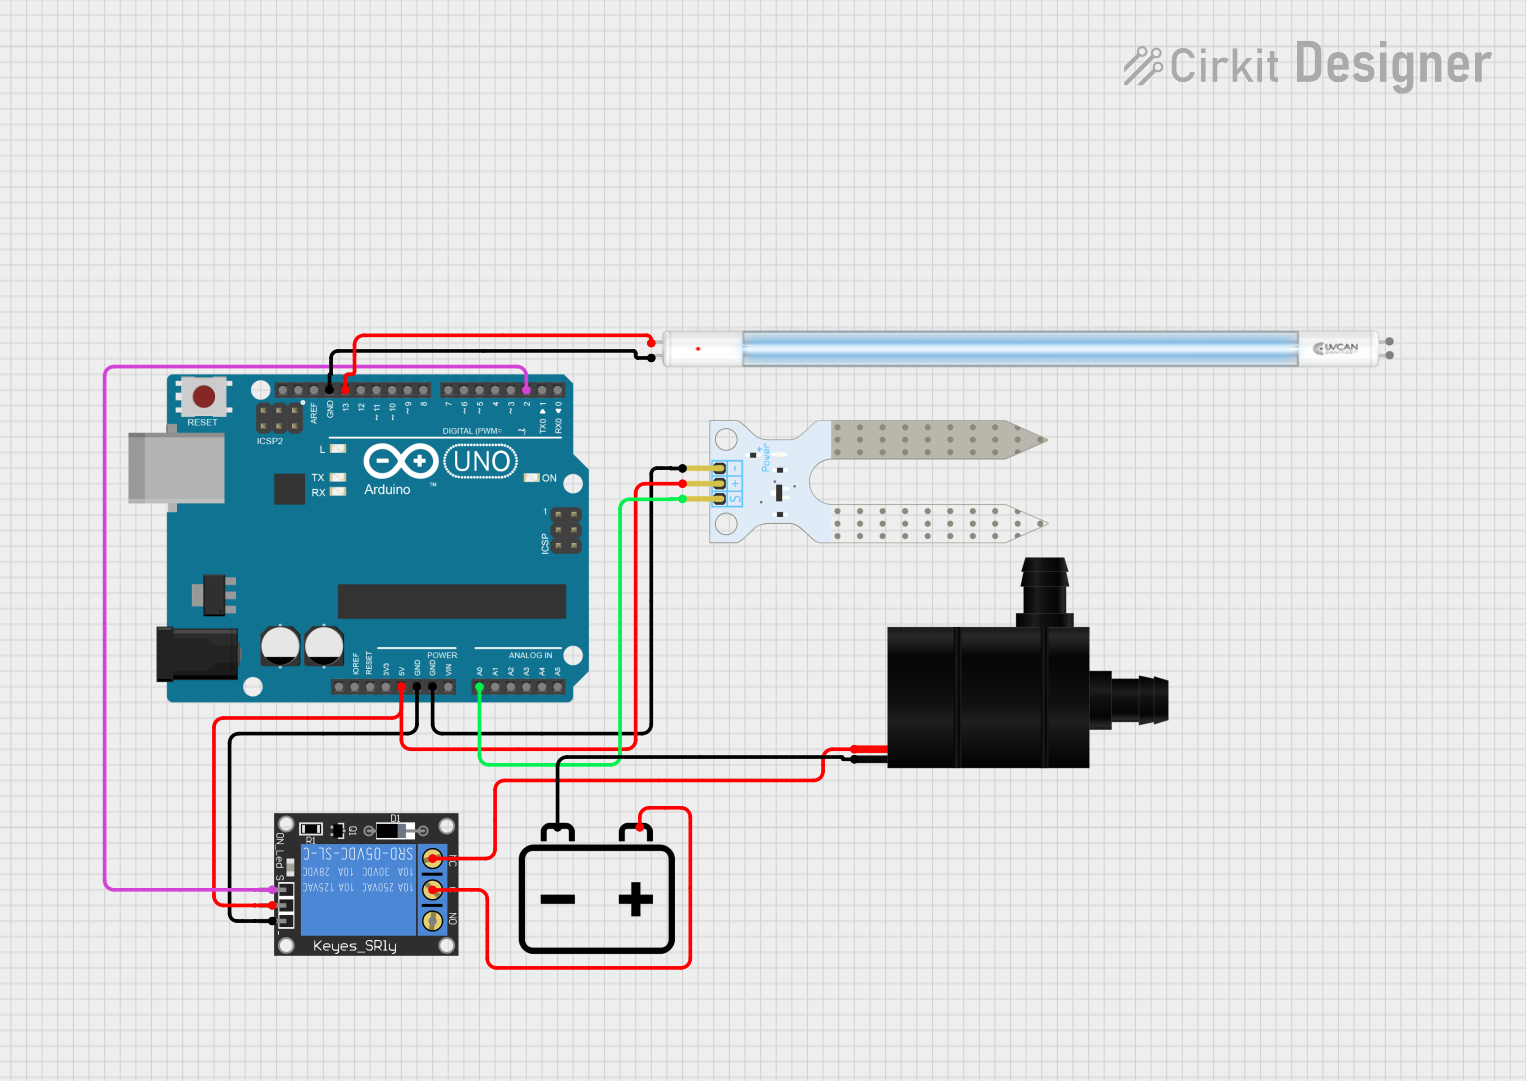 Open Project in Cirkit Designer
Explore Projects Built with UV-C Tube
Open Project in Cirkit DesignerOpen Project in Cirkit DesignerOpen Project in Cirkit DesignerOpen Project in Cirkit DesignerCommon Applications and Use Cases
- Healthcare: Sterilizing medical equipment and hospital rooms.
- Water Treatment: Disinfecting drinking water and wastewater.
- Air Purification: Eliminating airborne pathogens in HVAC systems.
- Surface Disinfection: Sanitizing workspaces, laboratories, and public areas.
- Food Industry: Extending shelf life by sterilizing packaging and surfaces.
Technical Specifications
Below are the key technical details of a typical UV-C tube. Note that specifications may vary depending on the manufacturer and model.
General Specifications
| Parameter | Value |
|---|---|
| Wavelength Range | 200-280 nm (UV-C spectrum) |
| Typical Wavelength | 254 nm |
| Power Rating | 4 W to 40 W (varies by model) |
| Input Voltage | 110-240 V AC (depending on ballast) |
| Operating Temperature | 0°C to 50°C |
| Lifespan | ~8,000 to 10,000 hours |
| Base Type | G5, G13, or 2G11 (varies by model) |
Pin Configuration and Descriptions
UV-C tubes typically have two or four pins, depending on the type of tube. Below is a table describing the pin configuration for a common two-pin UV-C tube.
| Pin Number | Description |
|---|---|
| 1 | Cathode (connected to ballast) |
| 2 | Cathode (connected to ballast) |
For four-pin UV-C tubes, the configuration is as follows:
| Pin Number | Description |
|---|---|
| 1 | Cathode 1 (connected to ballast) |
| 2 | Cathode 1 (connected to ballast) |
| 3 | Cathode 2 (connected to ballast) |
| 4 | Cathode 2 (connected to ballast) |
Usage Instructions
How to Use the UV-C Tube in a Circuit
- Power Supply: UV-C tubes require a ballast to regulate the current. Ensure the ballast is compatible with the tube's power rating and input voltage.
- Wiring: Connect the tube's pins to the ballast as per the manufacturer's wiring diagram. For two-pin tubes, connect each pin to the ballast terminals. For four-pin tubes, connect the corresponding cathodes to the ballast.
- Safety Precautions:
- Avoid direct exposure to UV-C light, as it can cause skin burns and eye damage.
- Use protective gear such as gloves and UV-blocking goggles when handling the tube.
- Ensure the tube is installed in an enclosed or shielded fixture to prevent accidental exposure.
- Testing: After installation, power on the circuit and verify that the tube emits a bright, bluish light. If the tube does not light up, check the wiring and ballast connections.
Important Considerations and Best Practices
- Ventilation: Operate the UV-C tube in a well-ventilated area to prevent ozone buildup (if applicable).
- Cleaning: Periodically clean the tube with a soft, lint-free cloth to remove dust and maintain efficiency.
- Replacement: Replace the tube after its rated lifespan to ensure consistent disinfection performance.
- Arduino Integration: While UV-C tubes are not directly compatible with Arduino due to high voltage requirements, you can use a relay module to control the tube's power supply. Below is an example Arduino code snippet for controlling a UV-C tube via a relay.
// Arduino code to control a UV-C tube using a relay module
const int relayPin = 7; // Define the pin connected to the relay module

void setup() {
  pinMode(relayPin, OUTPUT); // Set the relay pin as an output
  digitalWrite(relayPin, LOW); // Ensure the relay is off initially
}

void loop() {
  digitalWrite(relayPin, HIGH); // Turn on the UV-C tube
  delay(60000); // Keep the tube on for 1 minute (60000 ms)
  digitalWrite(relayPin, LOW); // Turn off the UV-C tube
  delay(300000); // Wait for 5 minutes before turning it on again
}
Note: Ensure the relay module is rated for the voltage and current of the UV-C tube's ballast.
Troubleshooting and FAQs
Common Issues and Solutions
The UV-C tube does not light up:
- Check the wiring connections between the tube and the ballast.
- Verify that the ballast is functioning correctly.
- Ensure the power supply voltage matches the ballast's requirements.
The tube flickers or emits dim light:
- Replace the tube if it has reached the end of its lifespan.
- Inspect the ballast for signs of damage or wear.
The tube generates a strong ozone smell:
- Some UV-C tubes produce ozone as a byproduct. Ensure proper ventilation in the operating area.
The tube overheats:
- Check for proper airflow around the tube.
- Ensure the ballast is not overloading the tube.
FAQs
Q: Can I use a UV-C tube without a ballast?
A: No, a ballast is required to regulate the current and prevent the tube from overheating or failing.
Q: How can I safely dispose of a UV-C tube?
A: UV-C tubes contain small amounts of mercury and should be disposed of at a certified recycling facility. Do not throw them in regular trash.
Q: Can UV-C tubes be used to disinfect food?
A: Yes, UV-C tubes can be used to sterilize food surfaces and packaging, but direct exposure to UV-C light should be avoided for consumable items.
Q: How do I know when to replace the tube?
A: Replace the tube when it no longer emits light or after its rated lifespan (typically 8,000-10,000 hours), even if it still lights up, as its disinfection effectiveness may decrease over time.