
How to Use 4 Ohm 3W Square Cavity Speaker for Laptop 3525 Ultra Thin Speaker: Examples, Pinouts, and Specs
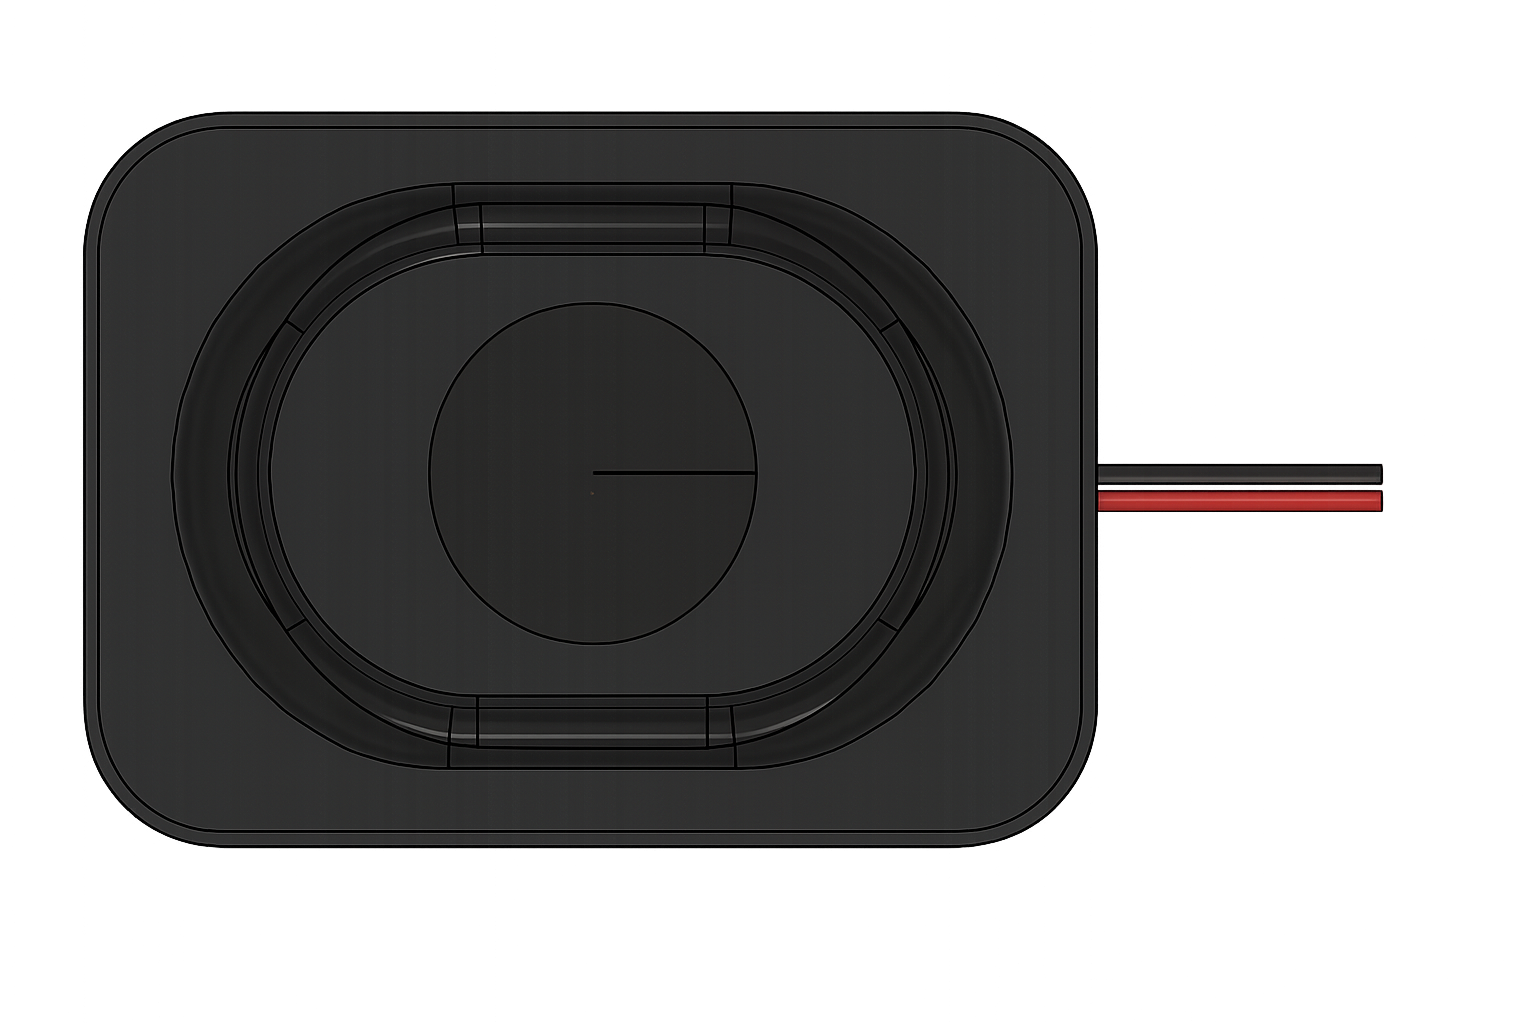
 Design with 4 Ohm 3W Square Cavity Speaker for Laptop 3525 Ultra Thin Speaker in Cirkit Designer
Introduction
The 4 Ohm 3W Square Cavity Speaker for Laptop 3525 Ultra Thin Speaker, manufactured by Kznifmk (Part ID: 500754827A1), is a compact and efficient audio output device designed for applications requiring high-quality sound in a small form factor. Its ultra-thin design makes it ideal for integration into slim devices such as laptops, tablets, and other portable electronics.
Explore Projects Built with 4 Ohm 3W Square Cavity Speaker for Laptop 3525 Ultra Thin Speaker
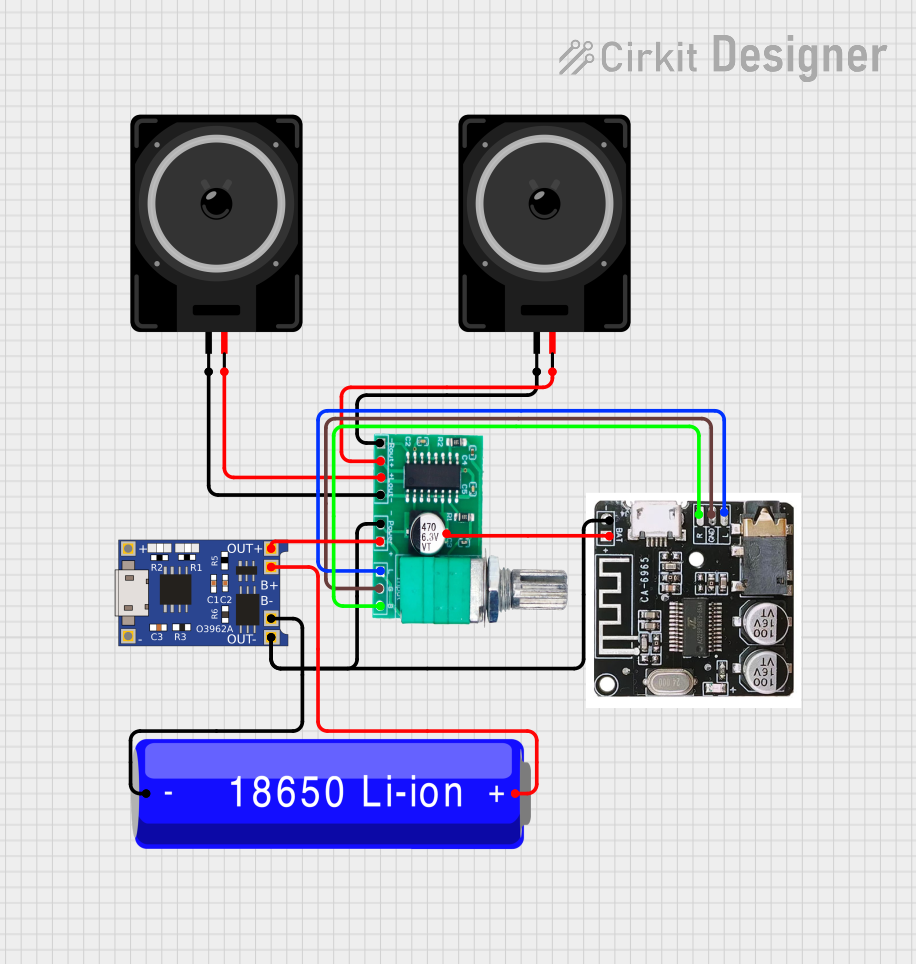 Open Project in Cirkit Designer
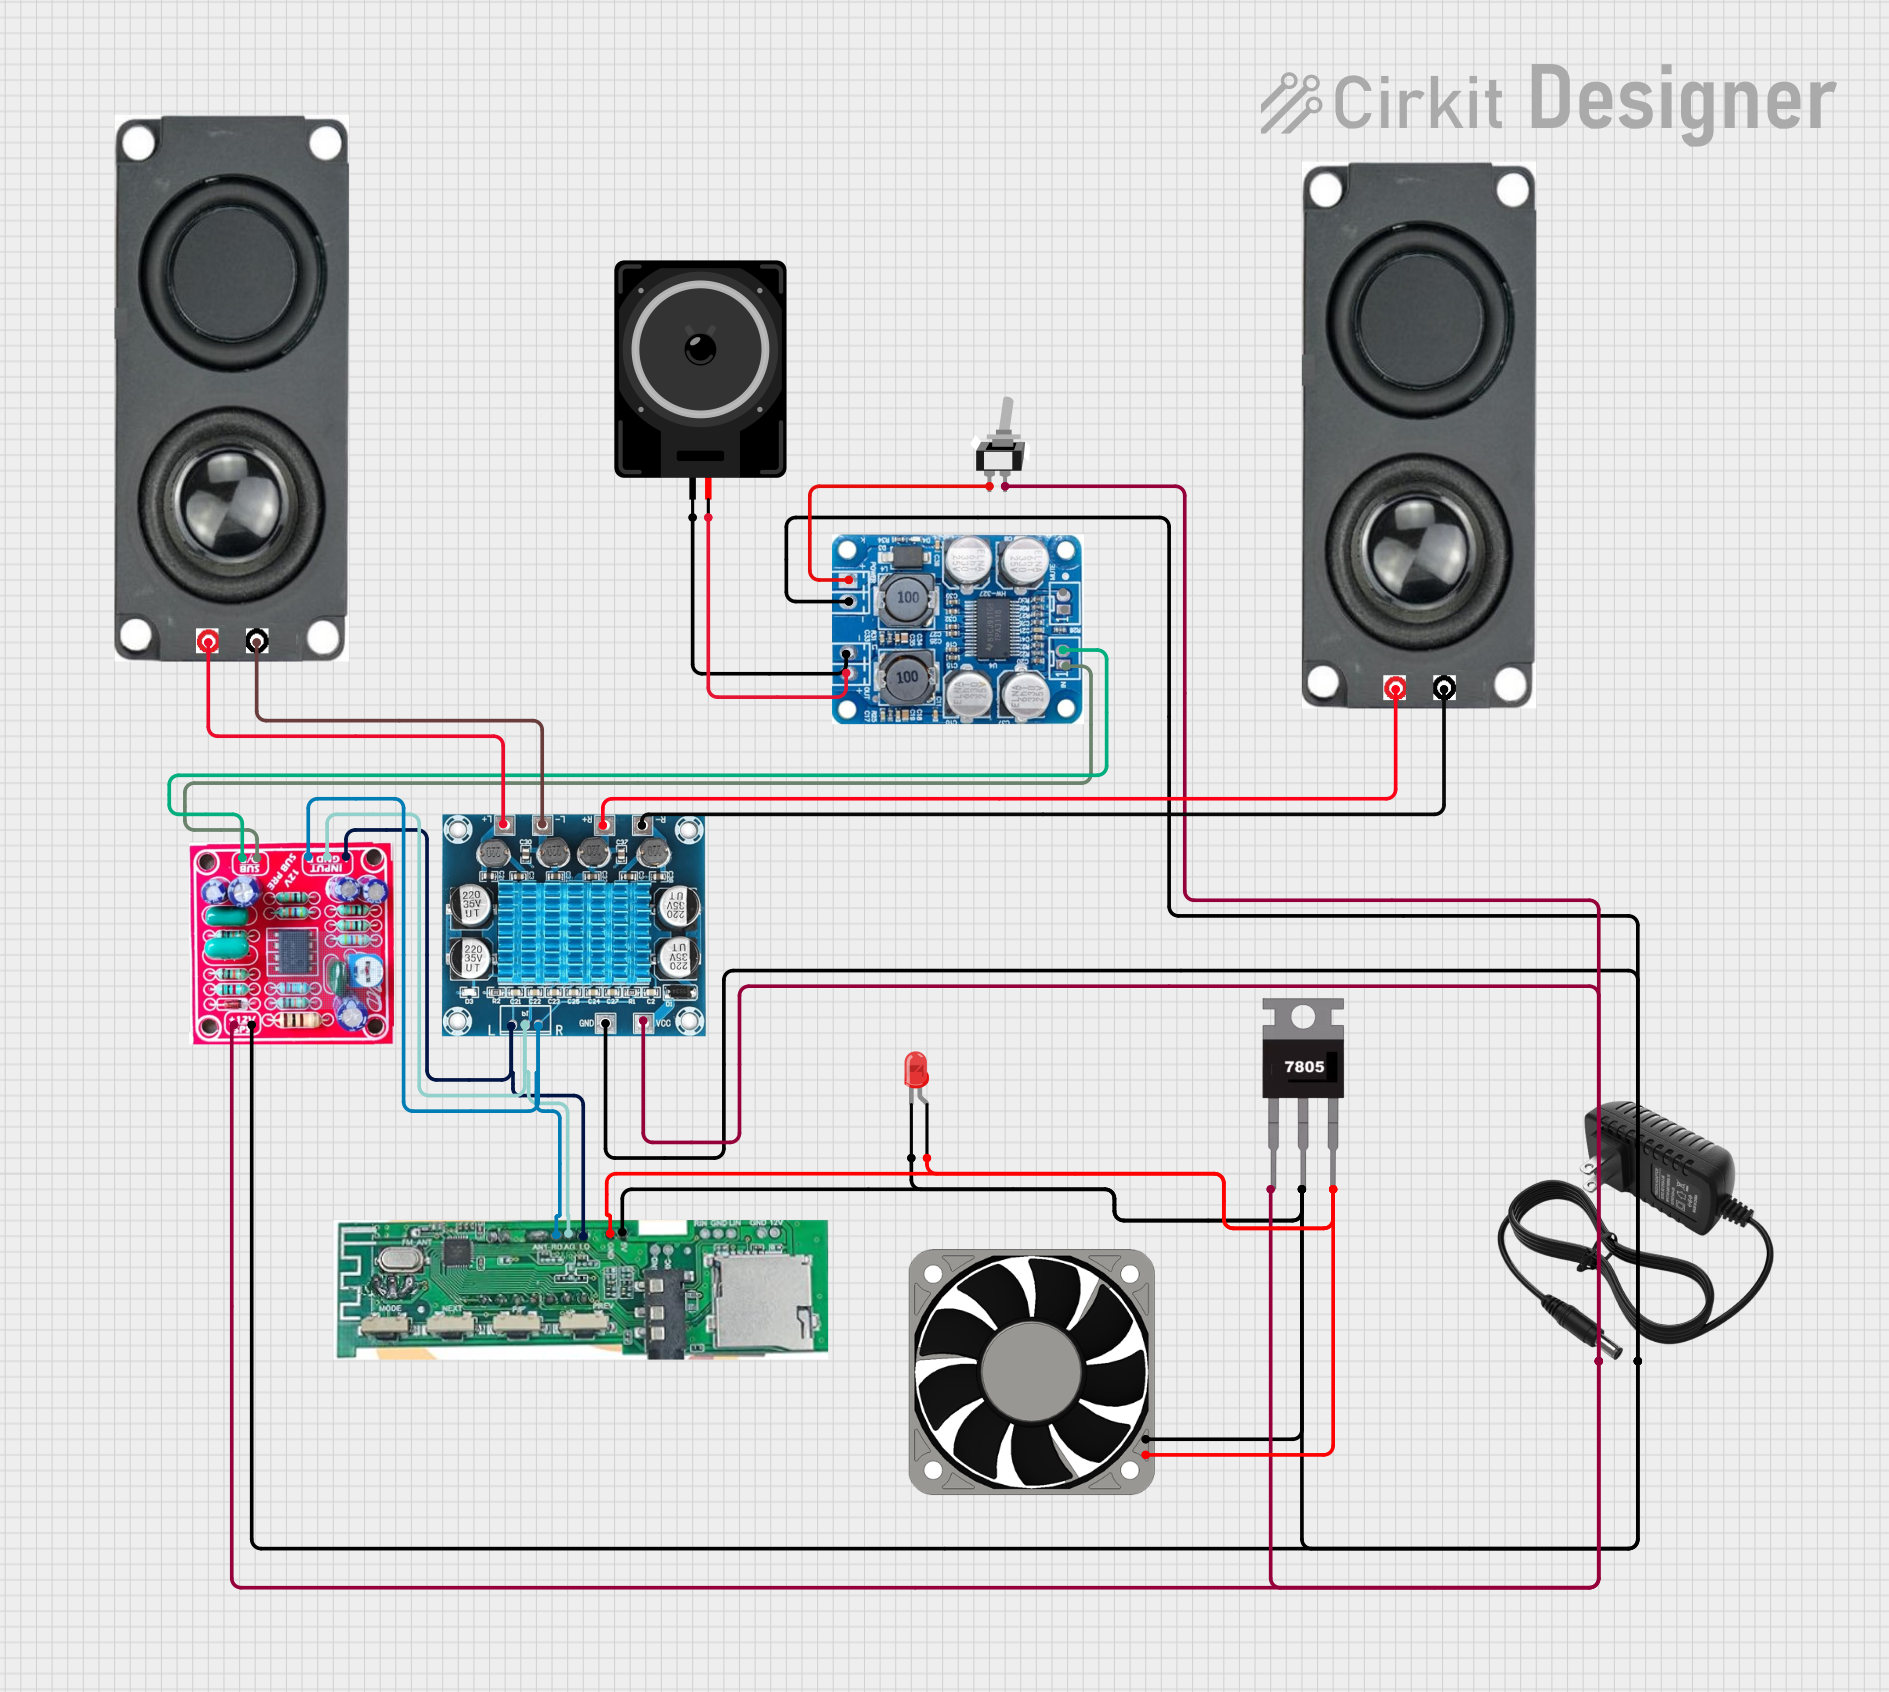 Open Project in Cirkit Designer
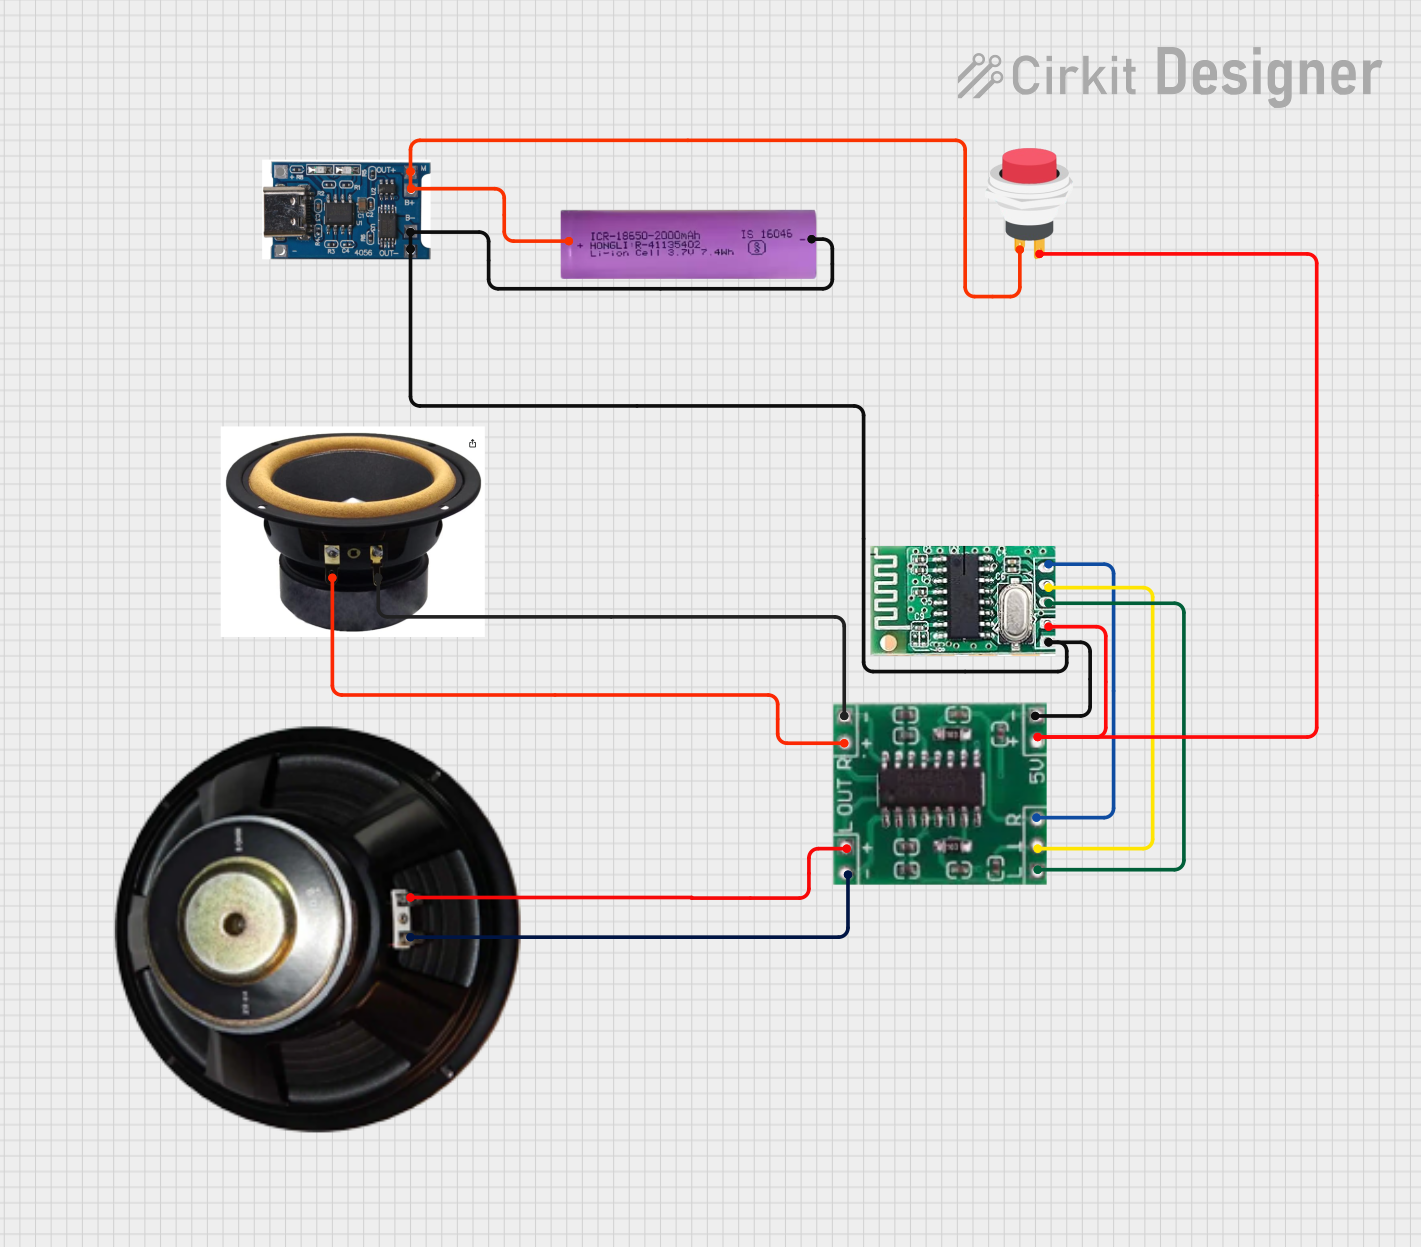 Open Project in Cirkit Designer
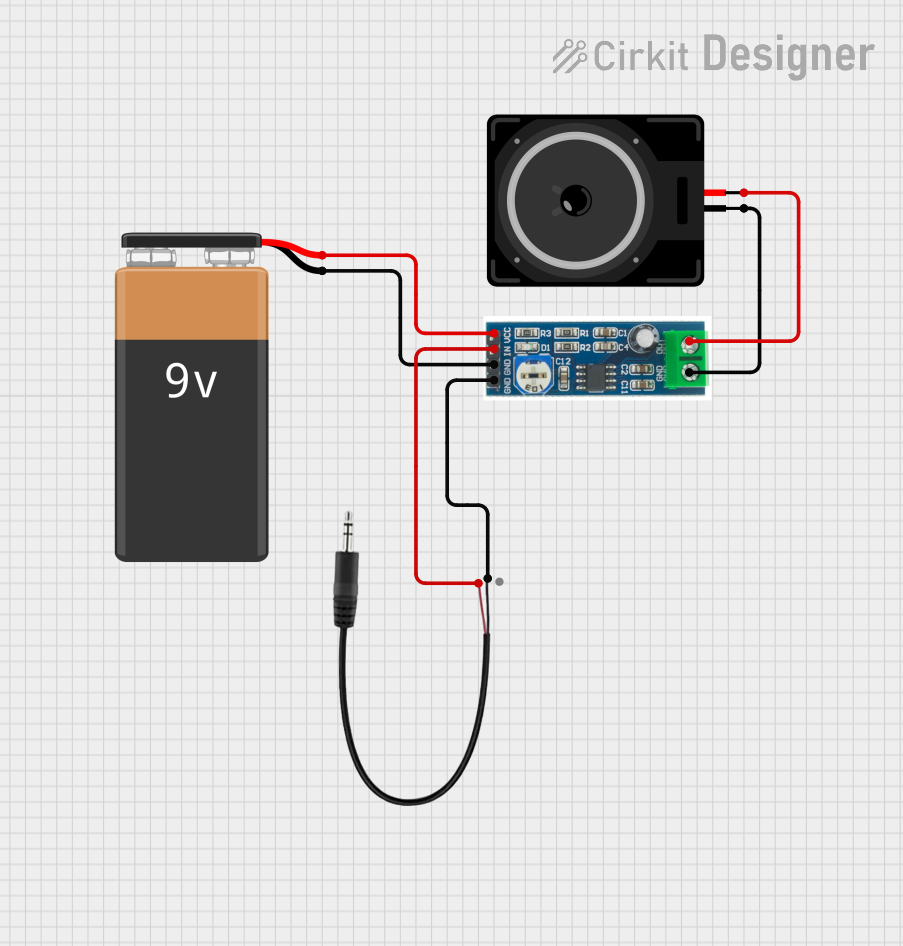 Open Project in Cirkit Designer
Explore Projects Built with 4 Ohm 3W Square Cavity Speaker for Laptop 3525 Ultra Thin Speaker
Open Project in Cirkit DesignerOpen Project in Cirkit DesignerOpen Project in Cirkit DesignerOpen Project in Cirkit DesignerCommon Applications and Use Cases
- Laptops and ultrabooks
- Tablets and handheld devices
- Portable audio systems
- Embedded systems requiring audio output
- DIY electronics projects
Technical Specifications
Below are the key technical details of the speaker:
| Parameter | Value |
|---|---|
| Manufacturer | Kznifmk |
| Part ID | 500754827A1 |
| Impedance | 4 Ohms |
| Rated Power | 3 Watts |
| Maximum Power | 4 Watts |
| Frequency Response | 200 Hz – 20 kHz |
| Sensitivity | 88 dB ± 3 dB |
| Dimensions | 35 mm x 25 mm x 4 mm |
| Weight | 10 grams |
| Connector Type | Solder pads |
| Housing Material | ABS plastic with metal grill |
Pin Configuration and Descriptions
The speaker has two solder pads for electrical connections:
| Pin | Description |
|---|---|
| + | Positive terminal |
| - | Negative terminal (GND) |
Usage Instructions
How to Use the Component in a Circuit
- Power Requirements: Ensure the audio amplifier driving the speaker can deliver a maximum of 3W at 4 Ohms. Exceeding this power rating may damage the speaker.
- Connection:
- Solder the positive terminal (
+) of the speaker to the positive output of the amplifier. - Solder the negative terminal (
-) to the ground (GND) of the amplifier.
- Solder the positive terminal (
- Amplifier Selection: Use an amplifier IC such as the LM386 or PAM8403, which are compatible with 4 Ohm speakers.
- Enclosure: For optimal sound quality, mount the speaker in a properly designed enclosure to enhance bass response and minimize distortion.
Important Considerations and Best Practices
- Avoid Overloading: Do not exceed the rated power of 3W to prevent damage to the speaker.
- Polarity: Ensure correct polarity when connecting the speaker to avoid phase cancellation in multi-speaker setups.
- Heat Management: If used in high-power applications, ensure proper ventilation to prevent overheating of the amplifier circuit.
- Testing: Test the speaker at low volume initially to verify proper operation before increasing the power.
Example: Connecting to an Arduino UNO
To use the speaker with an Arduino UNO, you can generate simple tones using the tone() function. Below is an example:
/*
  Example: Generate a tone using Arduino UNO and a 4 Ohm 3W speaker.
  Note: Use a resistor or small amplifier to protect the Arduino pin.
*/

const int speakerPin = 9; // Connect the speaker to digital pin 9

void setup() {
  // No setup required for tone generation
}

void loop() {
  tone(speakerPin, 1000); // Generate a 1 kHz tone
  delay(1000);            // Play the tone for 1 second
  noTone(speakerPin);     // Stop the tone
  delay(1000);            // Wait for 1 second before repeating
}
Note: Directly connecting the speaker to the Arduino pin may damage the microcontroller. Use a current-limiting resistor or a small amplifier circuit for safe operation.
Troubleshooting and FAQs
Common Issues Users Might Face
- No Sound Output:
- Check the connections to ensure proper soldering and polarity.
- Verify that the amplifier is functioning and delivering sufficient power.
- Distorted Sound:
- Ensure the amplifier is not overdriving the speaker.
- Check for loose connections or damaged wires.
- Low Volume:
- Verify that the amplifier output matches the speaker's impedance (4 Ohms).
- Ensure the audio source is providing a strong enough signal.
Solutions and Tips for Troubleshooting
- Test with a Multimeter: Measure the resistance across the speaker terminals. It should read approximately 4 Ohms.
- Inspect for Physical Damage: Check the speaker cone and housing for visible damage.
- Use a Known Good Amplifier: Test the speaker with a different amplifier to rule out amplifier issues.
- Check Power Supply: Ensure the amplifier's power supply is stable and within the required voltage range.
By following these guidelines, you can effectively integrate and troubleshoot the 4 Ohm 3W Square Cavity Speaker for Laptop 3525 Ultra Thin Speaker in your projects.