How to Use Lattepanda V1: Examples, Pinouts, and Specs
Introduction
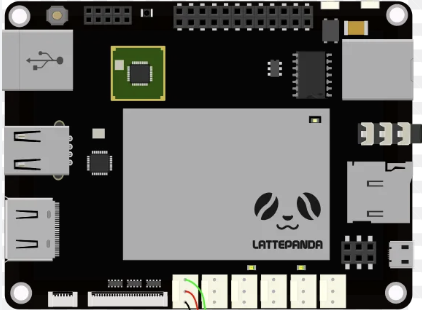
The Lattepanda V1, manufactured by DF Robot (Part ID: V1), is a powerful single-board computer that integrates an Intel processor with an Arduino co-processor. This unique combination allows developers to leverage the computational power of a PC alongside the real-time control capabilities of an Arduino. The Lattepanda V1 is designed for a wide range of applications, including robotics, IoT, embedded systems, and prototyping.
With support for both Windows and Linux operating systems, the Lattepanda V1 is a versatile platform for developers, hobbyists, and engineers. Its compact size, extensive connectivity options, and dual-processor architecture make it an excellent choice for projects requiring high performance and flexibility.
Explore Projects Built with Lattepanda V1

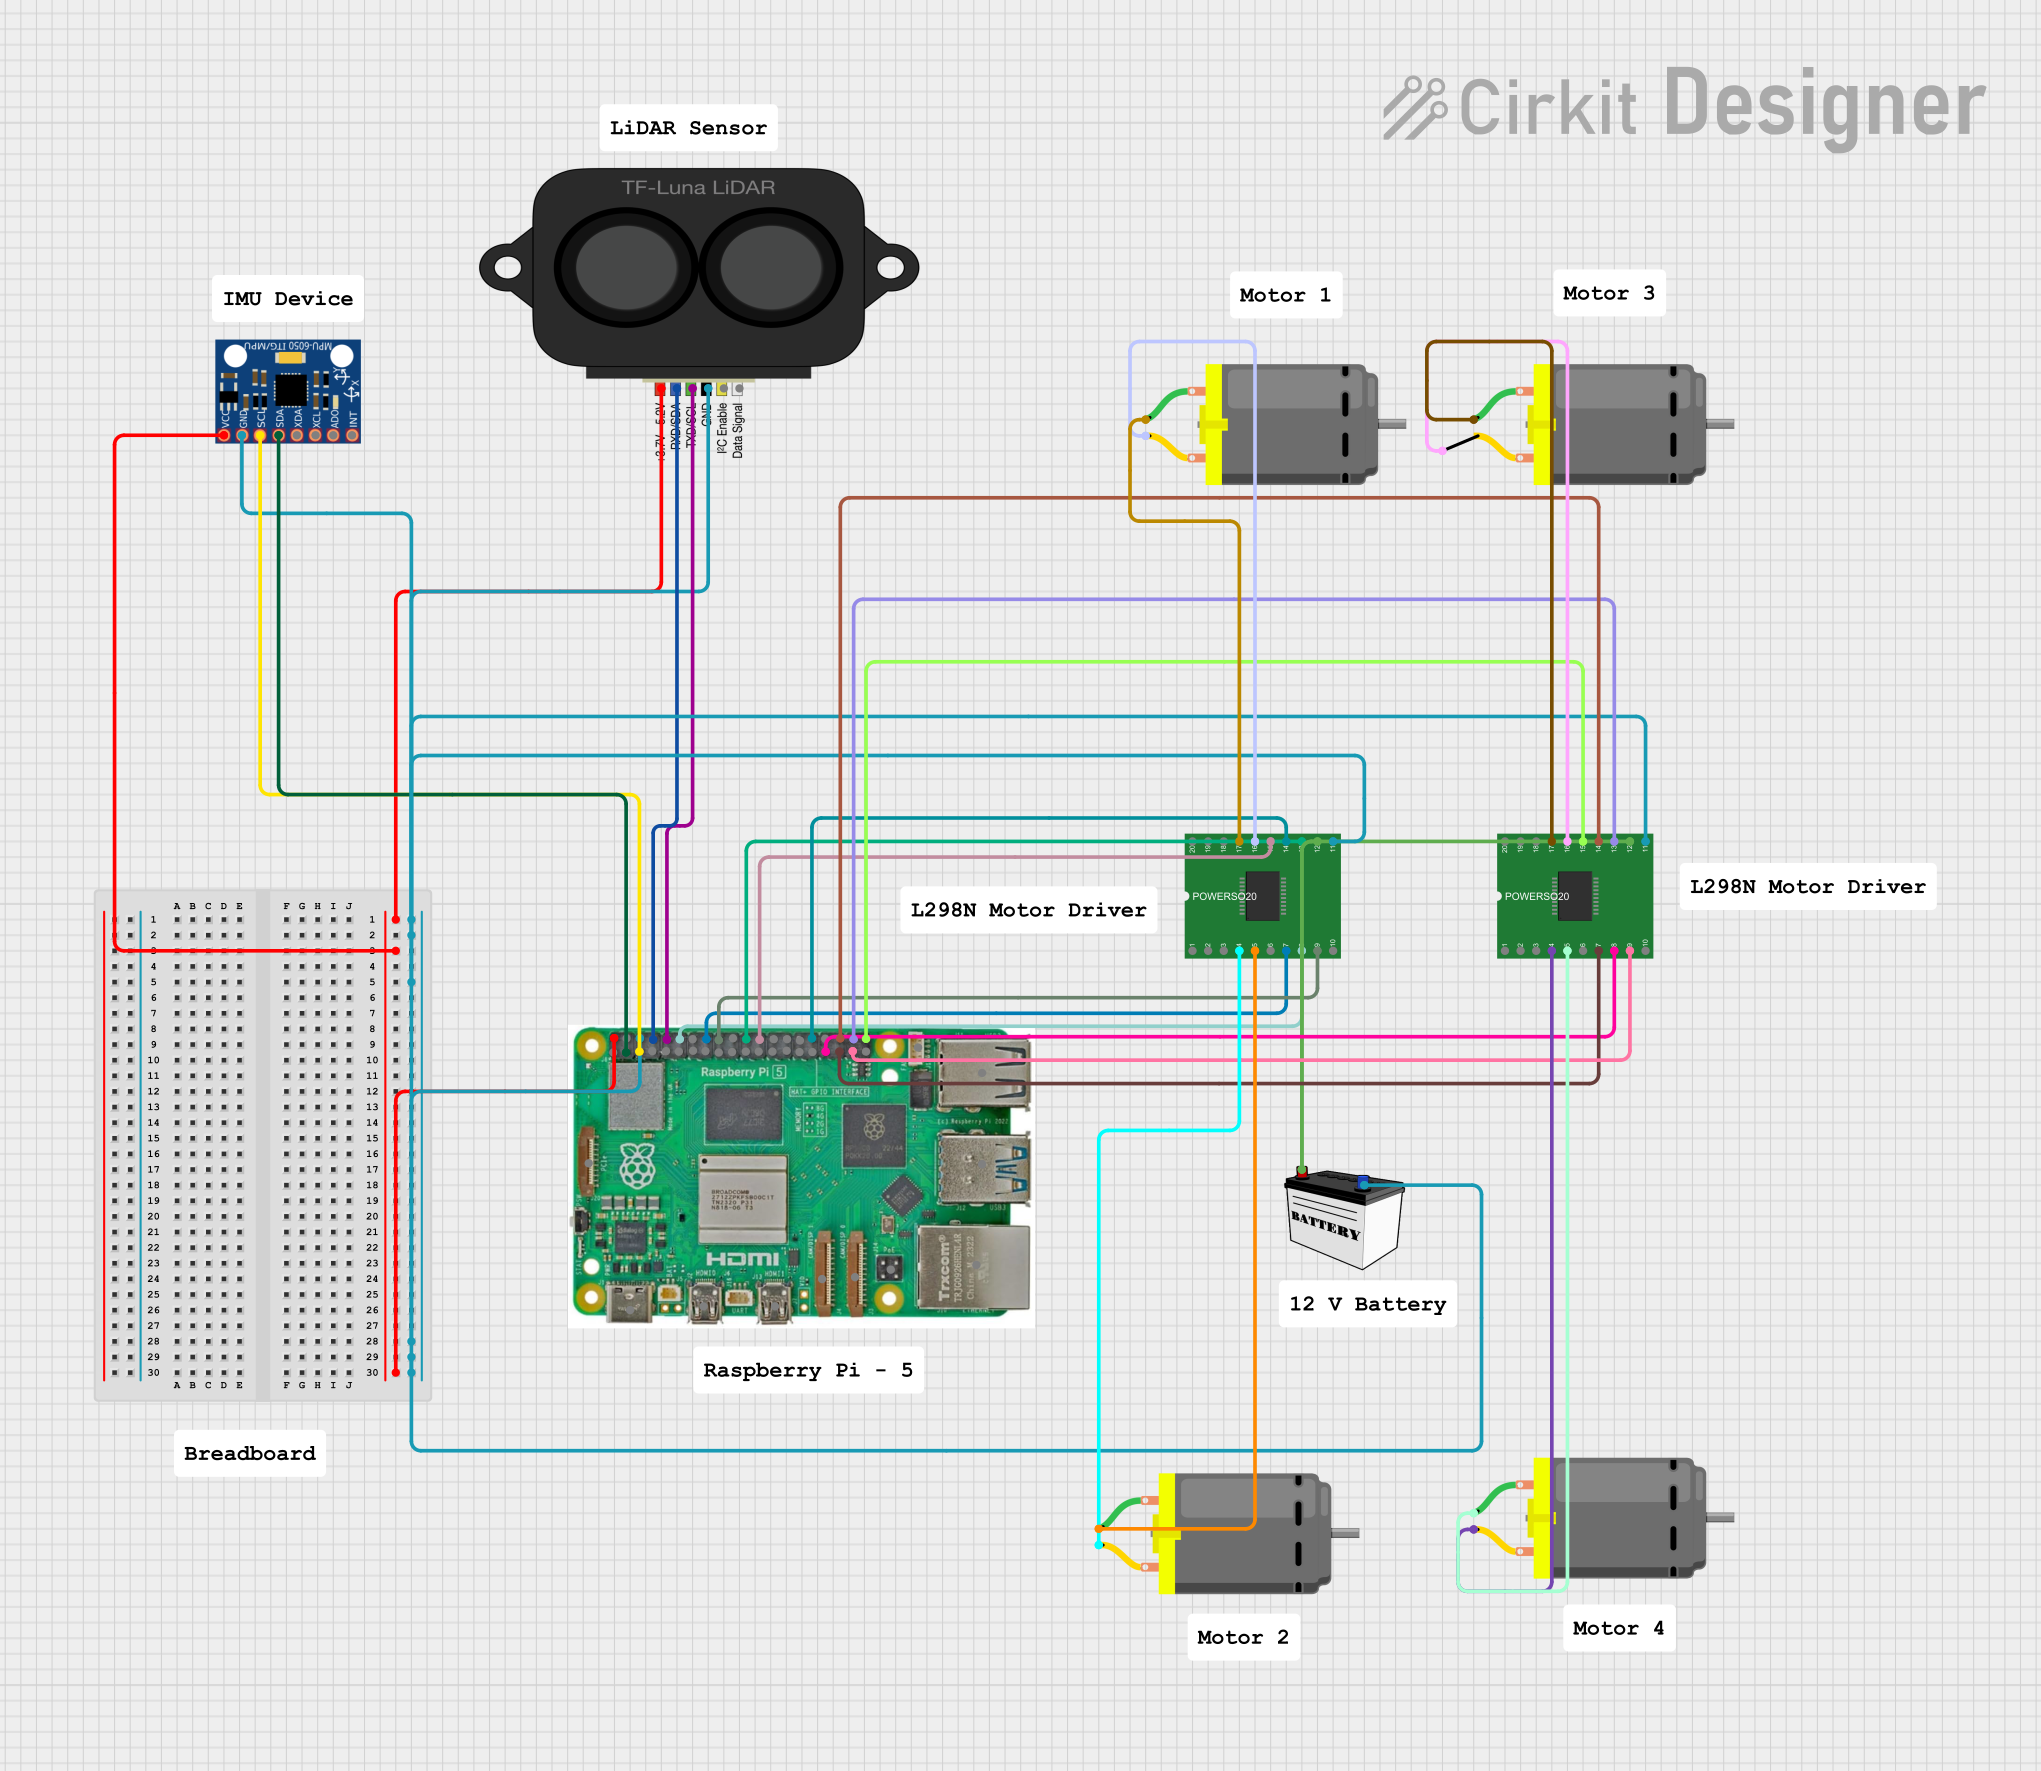
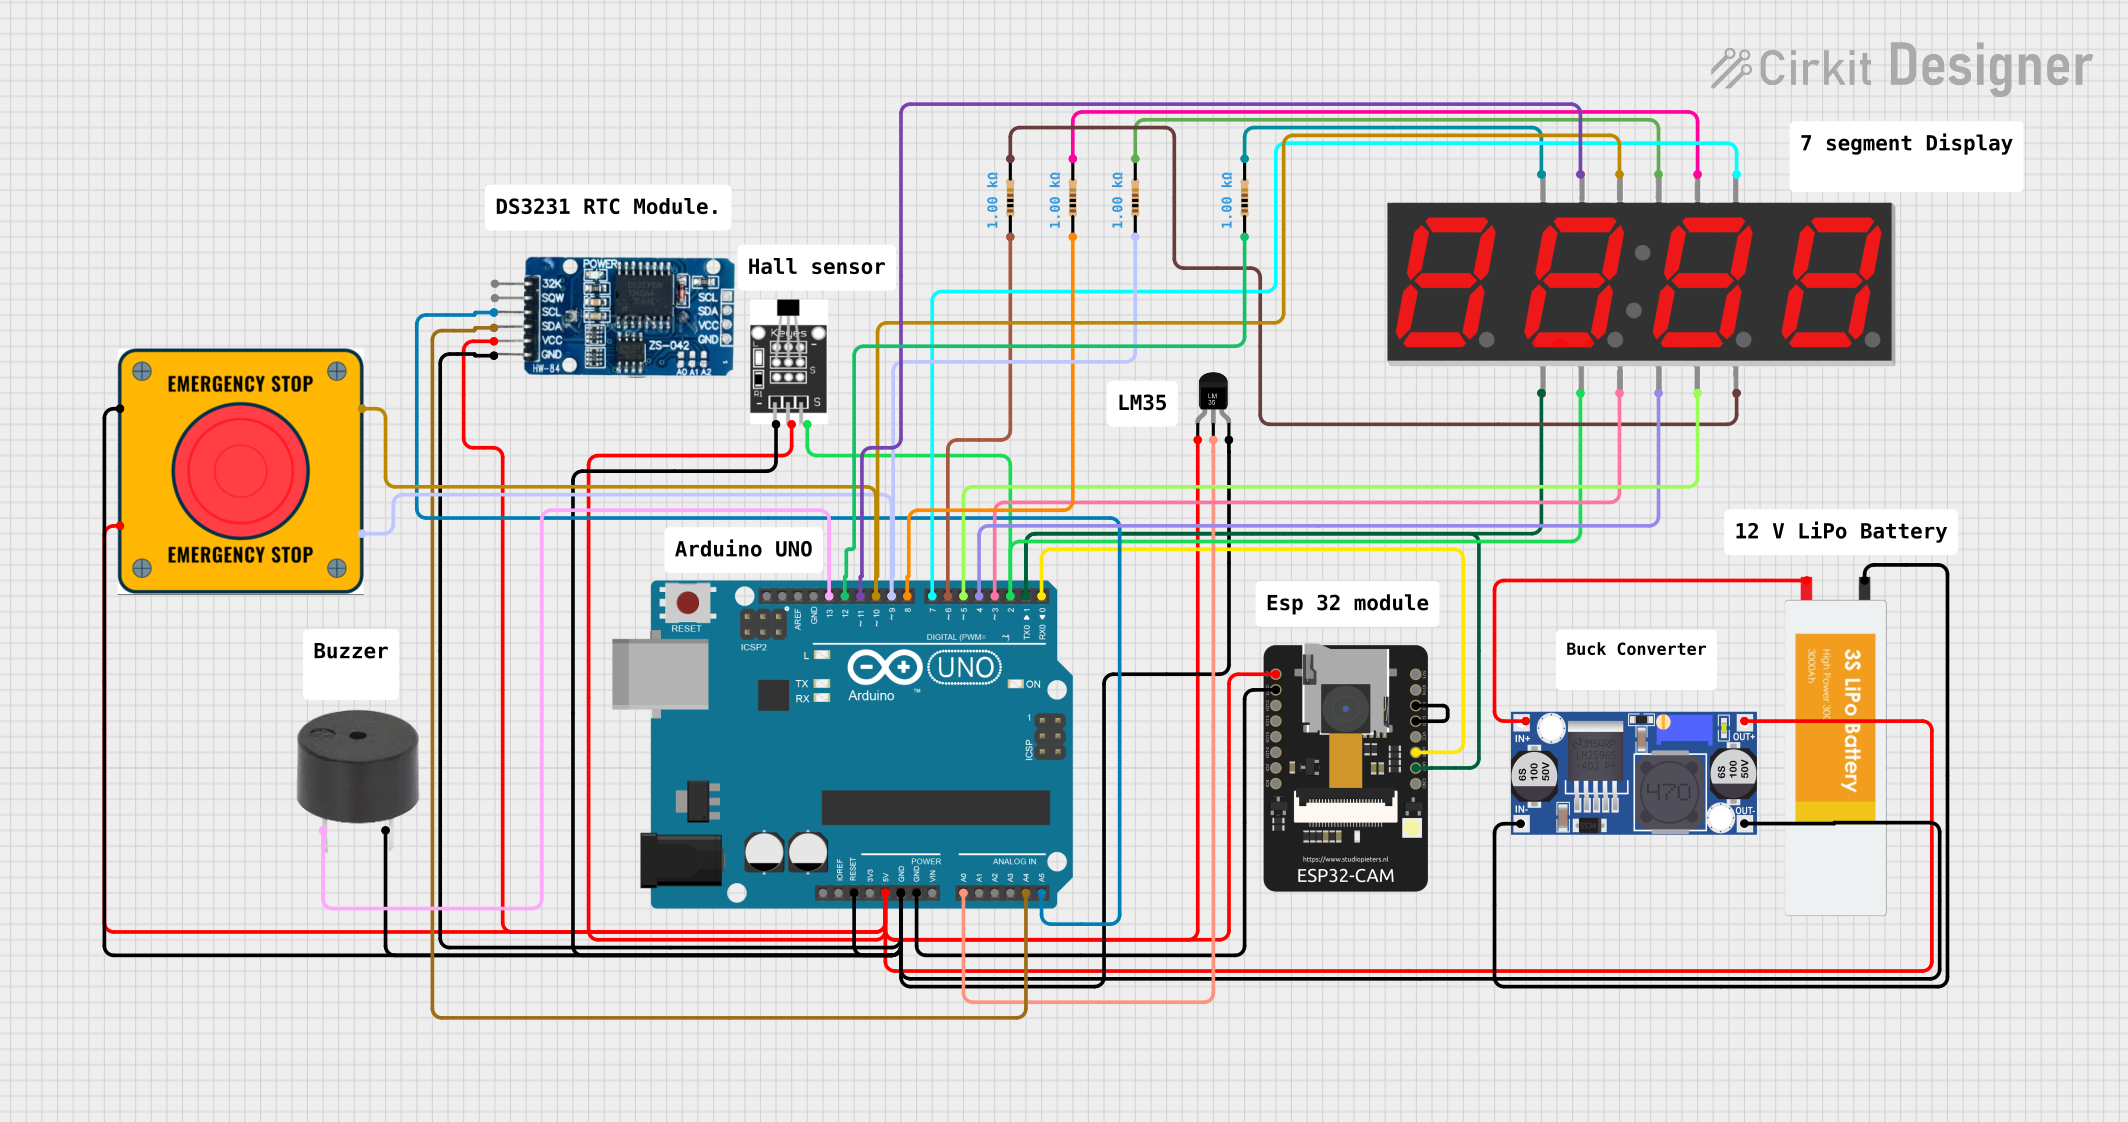
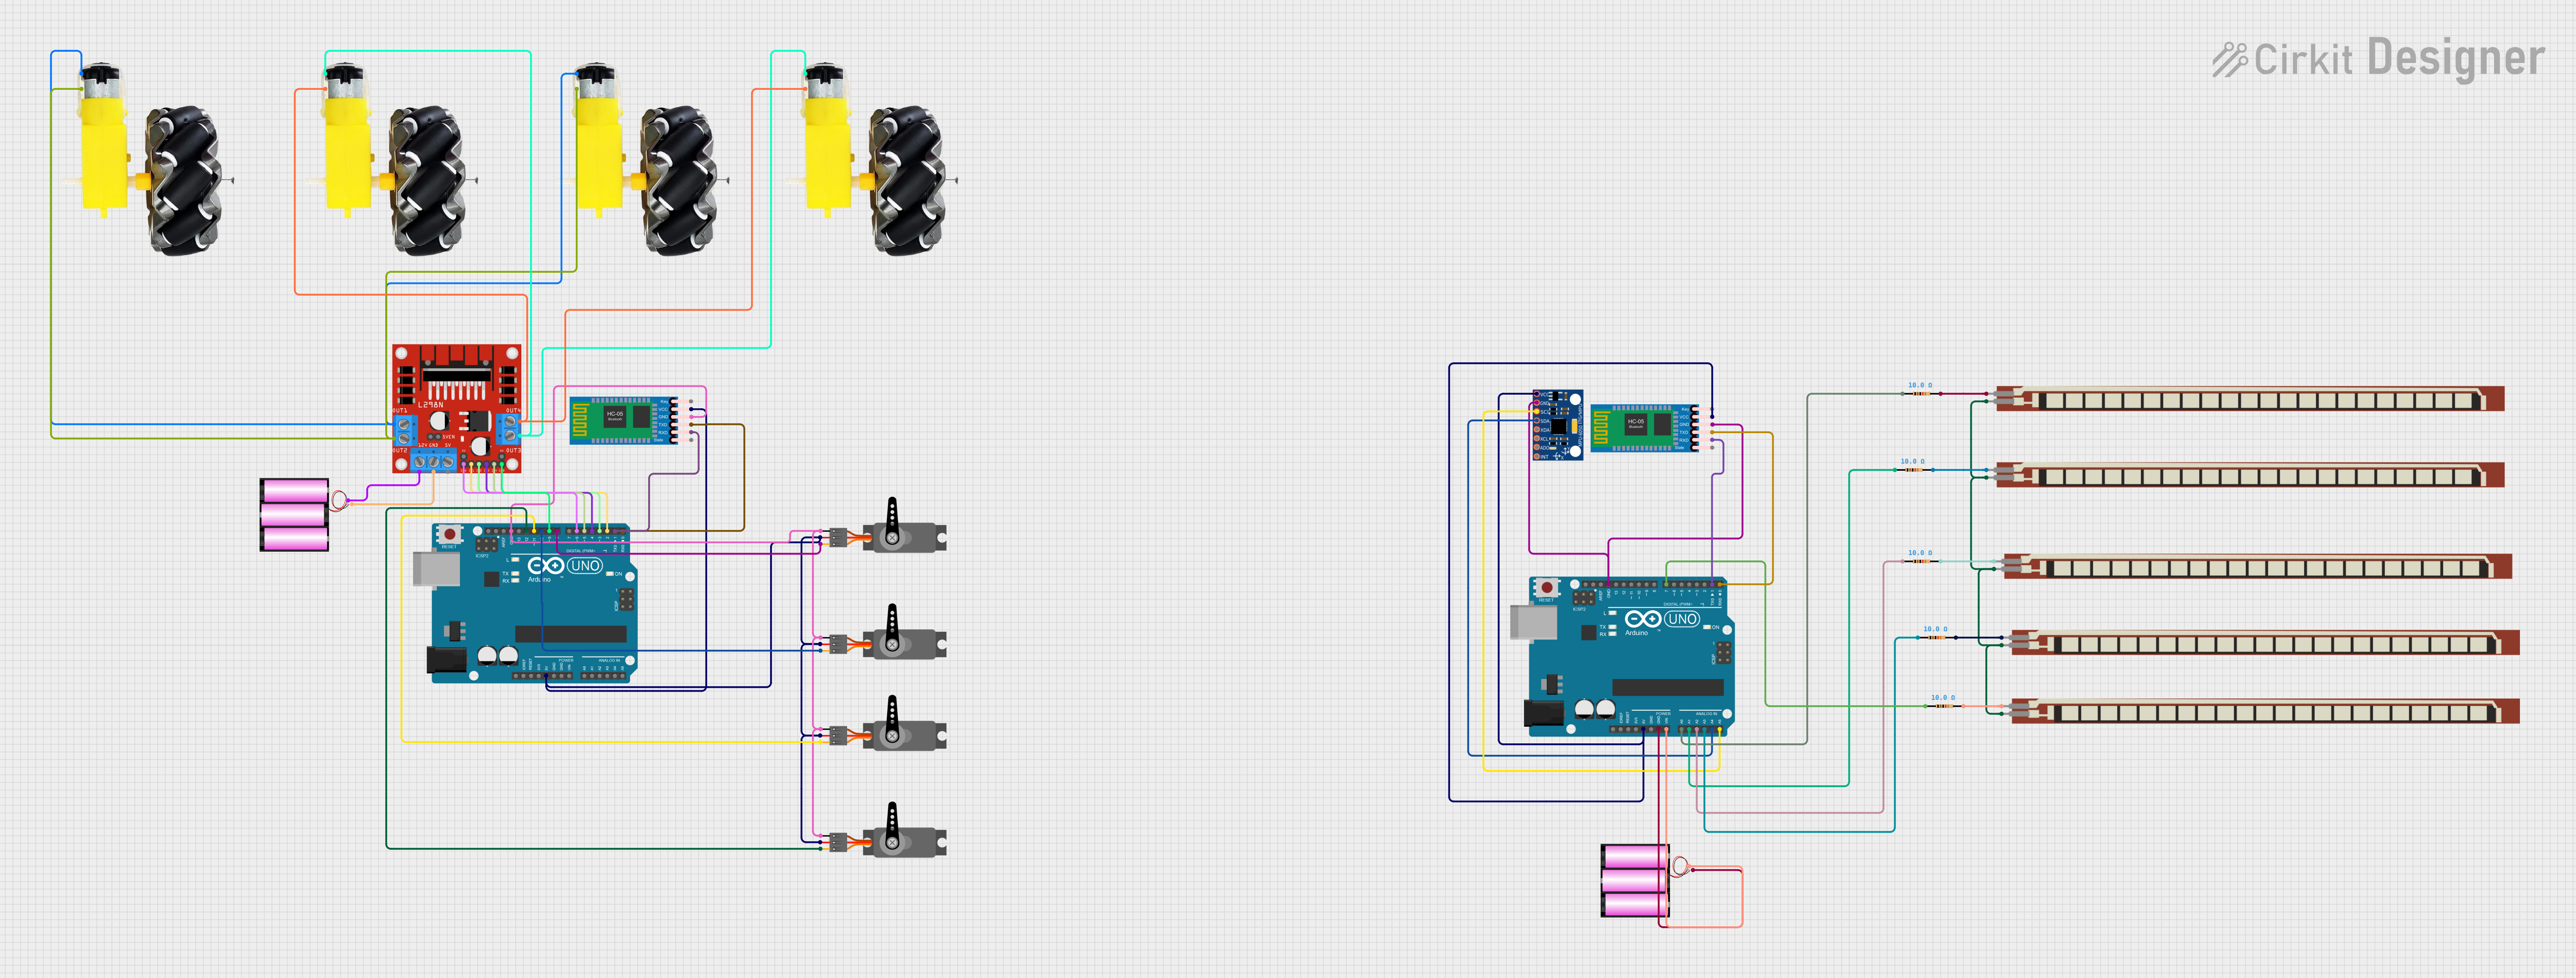
Explore Projects Built with Lattepanda V1
Common Applications and Use Cases
- Robotics and automation systems
- Internet of Things (IoT) devices
- Embedded system development
- Prototyping and rapid development
- Media centers and digital signage
- Educational tools for learning programming and electronics
Technical Specifications
Key Technical Details
| Specification | Details |
|---|---|
| Processor | Intel Atom x5-Z8350 Quad-Core, 1.44 GHz (up to 1.92 GHz burst frequency) |
| Co-Processor | Arduino Leonardo-compatible ATmega32U4 |
| RAM | 2GB or 4GB DDR3L (depending on model) |
| Storage | 32GB or 64GB eMMC (depending on model) |
| Operating System | Windows 10, Linux (Ubuntu, Debian, etc.) |
| Connectivity | Wi-Fi 802.11n, Bluetooth 4.0, Gigabit Ethernet |
| USB Ports | 3x USB 3.0, 1x USB Type-C |
| GPIO Pins | 20 GPIO pins (Arduino-compatible) |
| Power Supply | 5V/2A via USB Type-C or 5V/3A via DC jack |
| Dimensions | 88mm x 70mm |
| Weight | 55g |
Pin Configuration and Descriptions
Arduino-Compatible GPIO Pins
| Pin | Name | Description |
|---|---|---|
| D0-D13 | Digital Pins | General-purpose digital I/O pins |
| A0-A5 | Analog Pins | Analog input pins (10-bit resolution) |
| GND | Ground | Ground connection |
| 5V | 5V Output | Provides 5V output for external components |
| 3.3V | 3.3V Output | Provides 3.3V output for external components |
| VIN | Voltage Input | Input voltage for powering external components |
| SDA | I2C Data | I2C data line for communication with I2C devices |
| SCL | I2C Clock | I2C clock line for communication with I2C devices |
| TX/RX | UART Pins | Serial communication pins (TX for transmit, RX for receive) |
Power and Connectivity Ports
| Port | Description |
|---|---|
| USB 3.0 Ports | High-speed USB ports for peripherals and data transfer |
| USB Type-C | Power input and data transfer |
| HDMI | Video output for connecting to monitors or displays |
| Ethernet Port | Gigabit Ethernet for wired network connectivity |
| Wi-Fi/Bluetooth | Built-in wireless connectivity for IoT and networking applications |
Usage Instructions
How to Use the Lattepanda V1 in a Circuit
Powering the Board:
- Use a 5V/2A USB Type-C adapter or a 5V/3A DC power supply to power the board.
- Ensure the power supply is stable to avoid unexpected shutdowns.
Connecting Peripherals:
- Attach a monitor via the HDMI port for visual output.
- Connect a keyboard and mouse to the USB ports for input.
- Use the Ethernet port or Wi-Fi for network connectivity.
Using the Arduino Co-Processor:
- The Arduino Leonardo-compatible ATmega32U4 can be programmed using the Arduino IDE.
- Connect sensors, actuators, or other components to the GPIO pins.
- Use the USB Type-C port to upload Arduino sketches.
Installing an Operating System:
- The Lattepanda V1 comes pre-installed with Windows 10.
- For Linux, download a compatible image (e.g., Ubuntu) and flash it to a USB drive.
- Boot from the USB drive to install the OS.
Important Considerations and Best Practices
- Cooling: The Intel processor may generate heat during intensive tasks. Use a heatsink or fan for proper cooling.
- Power Supply: Always use a reliable power source to prevent damage to the board.
- Static Protection: Handle the board with care to avoid static discharge, which can damage components.
- Arduino Programming: Ensure the correct COM port is selected in the Arduino IDE when uploading sketches.
Example: Blinking an LED with the Arduino Co-Processor
// This example demonstrates how to blink an LED connected to pin 13
// on the Arduino co-processor of the Lattepanda V1.

// Define the pin number for the LED
const int ledPin = 13;

void setup() {
  // Set the LED pin as an output
  pinMode(ledPin, OUTPUT);
}

void loop() {
  // Turn the LED on
  digitalWrite(ledPin, HIGH);
  delay(1000); // Wait for 1 second

  // Turn the LED off
  digitalWrite(ledPin, LOW);
  delay(1000); // Wait for 1 second
}
Troubleshooting and FAQs
Common Issues and Solutions
The board does not power on:
- Ensure the power supply meets the required specifications (5V/2A or 5V/3A).
- Check the USB Type-C or DC jack connection for proper contact.
No display output on the monitor:
- Verify the HDMI cable is securely connected.
- Ensure the monitor is set to the correct input source.
- Check if the operating system is properly installed.
Arduino sketches fail to upload:
- Confirm the correct COM port is selected in the Arduino IDE.
- Ensure no other application is using the serial port.
- Press the reset button on the board and try uploading again.
Wi-Fi or Bluetooth not working:
- Check if the drivers are installed correctly (for Windows).
- Ensure the antennas are properly connected to the board.
FAQs
Can I use the Lattepanda V1 without a monitor?
Yes, you can access the board remotely using SSH or Remote Desktop.What is the maximum current output of the GPIO pins?
Each GPIO pin can source or sink up to 20mA. Avoid exceeding this limit to prevent damage.Can I run both Windows and Linux on the Lattepanda V1?
Yes, you can set up a dual-boot configuration or use virtualization software.Is the Lattepanda V1 compatible with Arduino shields?
Yes, the Arduino-compatible GPIO pins support most standard Arduino shields.
This concludes the documentation for the Lattepanda V1. For further assistance, refer to the official DF Robot support resources.