How to Use Adafruit OLED Monochrome 128x32 I2C: Examples, Pinouts, and Specs
Introduction
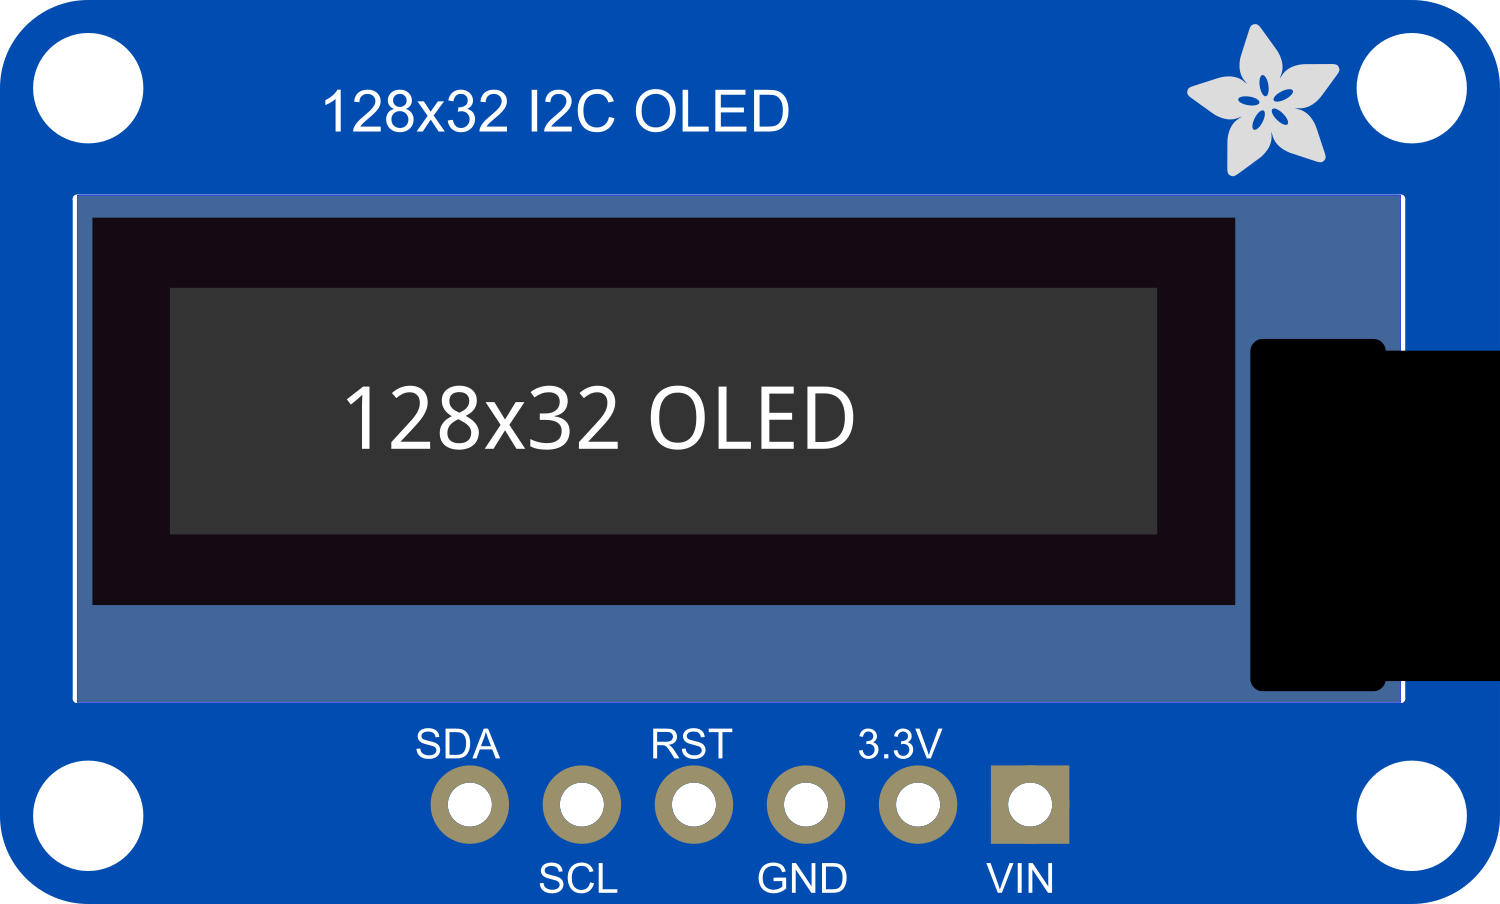
The Adafruit OLED Monochrome 128x32 I2C display module is a compact and versatile display unit capable of displaying text and graphics with high contrast and clarity. Utilizing Organic Light Emitting Diode (OLED) technology, this module offers excellent viewing angles and performance in various lighting conditions. It is controlled via the I2C communication protocol, which simplifies connectivity with a wide range of microcontrollers, including popular platforms like Arduino UNO.
Explore Projects Built with Adafruit OLED Monochrome 128x32 I2C


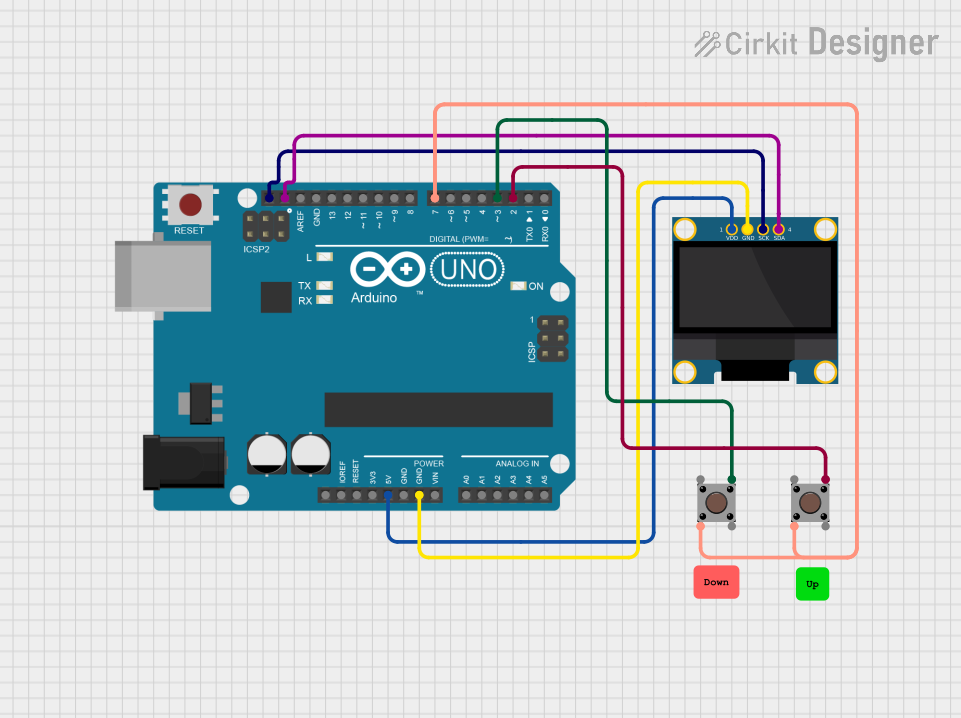
Explore Projects Built with Adafruit OLED Monochrome 128x32 I2C
Common Applications and Use Cases
- User interfaces for small devices
- Real-time data display (e.g., sensor readings)
- Wearable electronics
- Prototyping and hobbyist projects
- Portable instruments
Technical Specifications
Key Technical Details
- Display Type: Monochrome OLED
- Resolution: 128x32 pixels
- Communication: I2C (Inter-Integrated Circuit)
- Operating Voltage: 3.3V to 5V
- Maximum Current: 500mA (when all pixels are on)
- Operating Temperature: -30°C to 70°C
Pin Configuration and Descriptions
| Pin Number | Name | Description |
|---|---|---|
| 1 | GND | Ground connection |
| 2 | VCC | Power supply (3.3V to 5V) |
| 3 | SCL | I2C clock line |
| 4 | SDA | I2C data line |
Usage Instructions
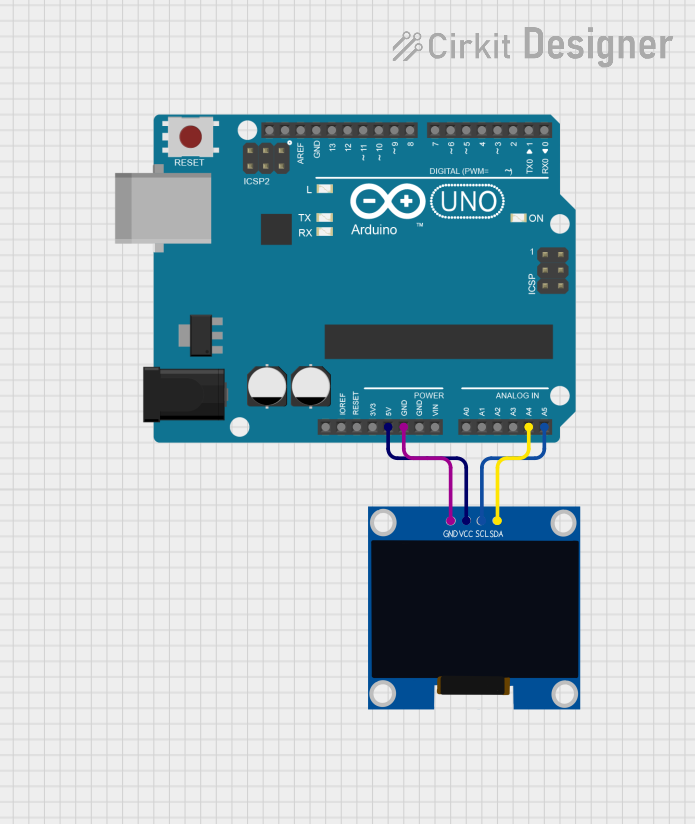
Integrating with a Circuit
- Connect the GND pin to the ground of your microcontroller.
- Connect the VCC pin to a 3.3V or 5V power output from your microcontroller.
- Connect the SCL pin to the I2C clock pin on your microcontroller (A5 on Arduino UNO).
- Connect the SDA pin to the I2C data pin on your microcontroller (A4 on Arduino UNO).
Important Considerations and Best Practices
- Ensure that the power supply voltage matches the module's requirements.
- Use pull-up resistors on the SCL and SDA lines if they are not built into the microcontroller.
- Avoid exposing the display to direct sunlight for extended periods to prevent damage.
- When handling the display, take precautions against electrostatic discharge.
Example Code for Arduino UNO
#include <Wire.h>
#include <Adafruit_GFX.h>
#include <Adafruit_SSD1306.h>

// Declaration for an SSD1306 display connected to I2C (SCL, SDA pins)
#define OLED_RESET     -1 // Reset pin # (or -1 if sharing Arduino reset pin)
Adafruit_SSD1306 display(128, 32, &Wire, OLED_RESET);

void setup() {
  // Initialize with the I2C addr 0x3C (for the 128x32)
  if(!display.begin(SSD1306_SWITCHCAPVCC, 0x3C)) {
    Serial.println(F("SSD1306 allocation failed"));
    for(;;); // Don't proceed, loop forever
  }
  display.display();
  delay(2000); // Pause for 2 seconds

  // Clear the buffer
  display.clearDisplay();

  // Draw a single pixel in white
  display.drawPixel(10, 10, WHITE);

  // Display the drawing
  display.display();
}

void loop() {
  // Code to update the display continuously in a loop
}
Code Comments
#includestatements include the necessary libraries for OLED operation.OLED_RESETis defined as -1 since the OLED does not have a separate reset pin.Adafruit_SSD1306 display(128, 32, &Wire, OLED_RESET);initializes the display size and I2C parameters.display.begin(SSD1306_SWITCHCAPVCC, 0x3C)initializes the display with the I2C address.display.display()sends the buffer to the display for visualization.display.clearDisplay()clears the current buffer.display.drawPixel(10, 10, WHITE)draws a pixel at position (10, 10).- The
loop()function is where you would add code to update the display continuously.
Troubleshooting and FAQs
Common Issues
- Display not powering on: Check connections and ensure the power supply is within the specified voltage range.
- Garbled or no display: Verify that the I2C address used in the code matches the address of the display module.
- Dim display: Ensure that the display's current draw does not exceed the power supply's capabilities.
Solutions and Tips for Troubleshooting
- Double-check wiring, especially the I2C lines and power connections.
- Use a multimeter to verify that the correct voltage is reaching the display.
- Check for loose connections or solder joints that may be causing intermittent issues.
- Consult the microcontroller's documentation to ensure that the I2C lines are correctly configured.
FAQs
Q: Can the display be used with 5V systems? A: Yes, the display can be powered with 3.3V to 5V, making it compatible with both 3.3V and 5V systems.
Q: How do I change the I2C address of the display? A: The I2C address is determined by the hardware and typically cannot be changed for this display module.
Q: What library should I use for this display? A: The Adafruit_SSD1306 library is recommended for this OLED display module.
Q: Can I display images on the OLED? A: Yes, you can display images by converting them into a bitmap array and using the appropriate library functions to draw them.
For further assistance, refer to the Adafruit forums or the community around the specific microcontroller you are using.