
How to Use PIC 16F877A: Examples, Pinouts, and Specs

 Design with PIC 16F877A in Cirkit Designer
Introduction
The PIC16F877A is an 8-bit microcontroller manufactured by Microchip Technology. It is part of the PIC16 series and is known for its versatility, ease of programming, and robust feature set. With 40 pins, 368 bytes of RAM, 256 bytes of EEPROM, and a 14-bit instruction set, the PIC16F877A is widely used in embedded systems and applications requiring reliable and efficient control.
Explore Projects Built with PIC 16F877A
 Open Project in Cirkit Designer
 Open Project in Cirkit Designer
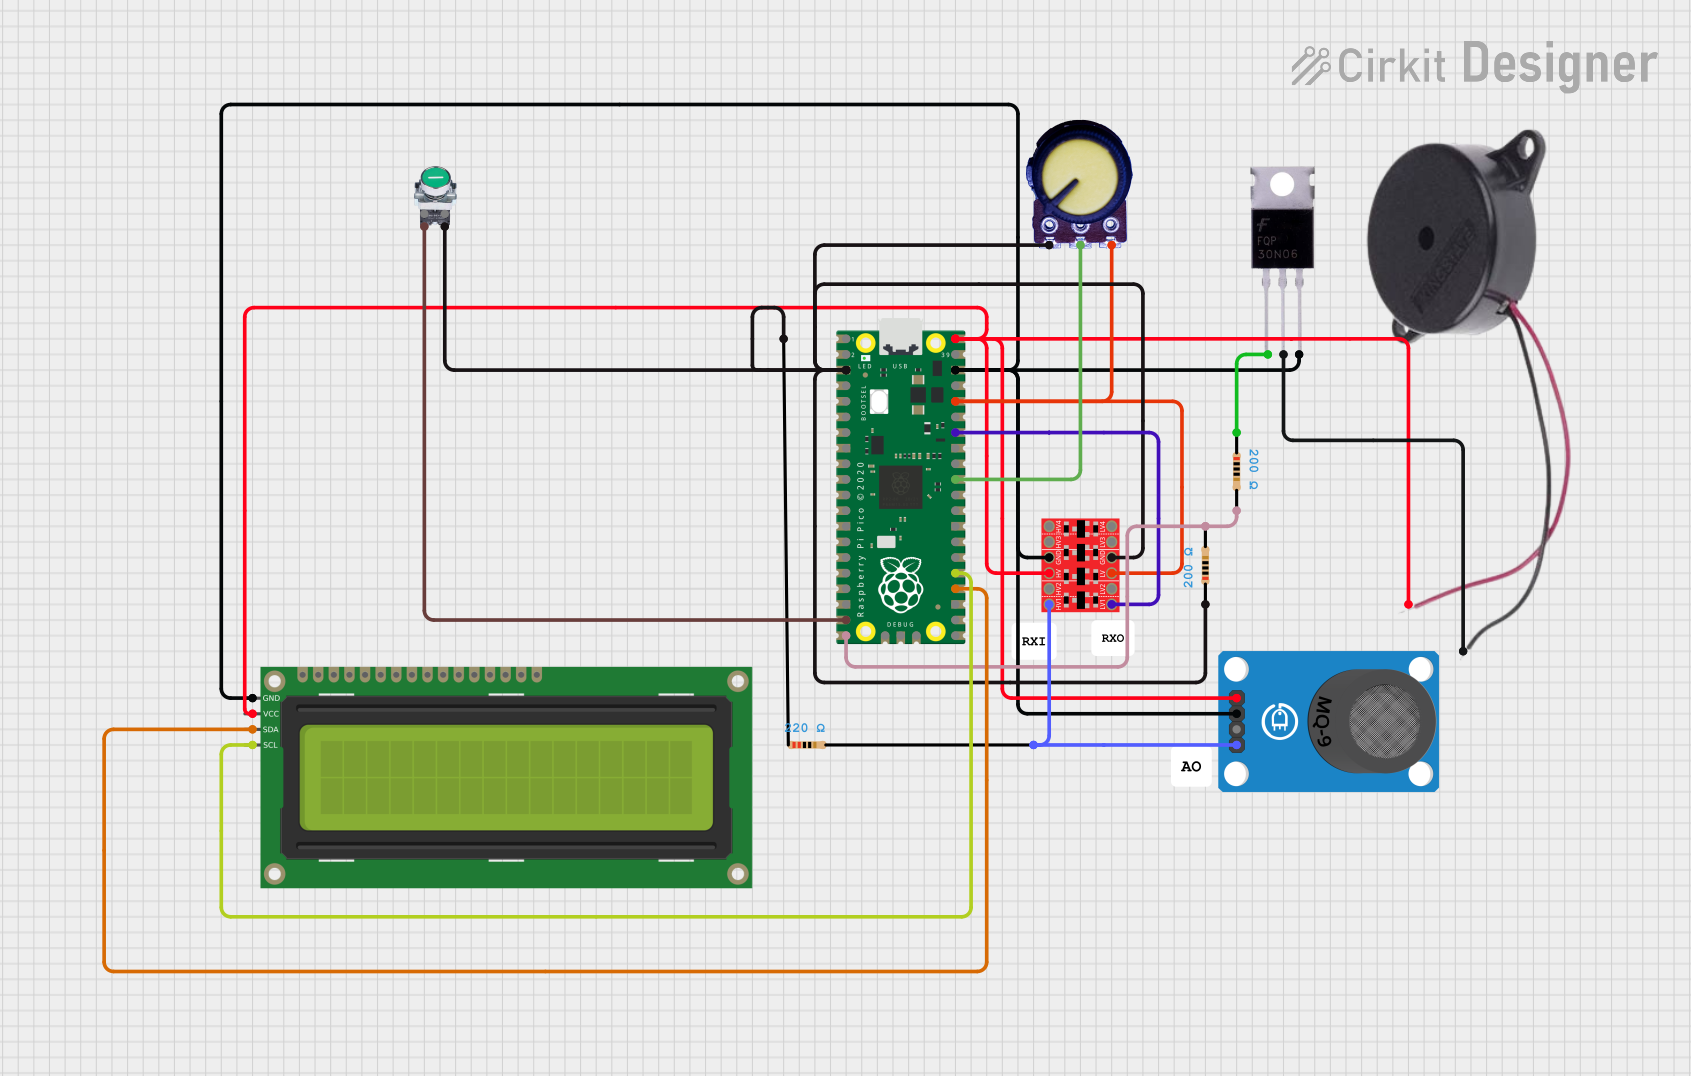 Open Project in Cirkit Designer
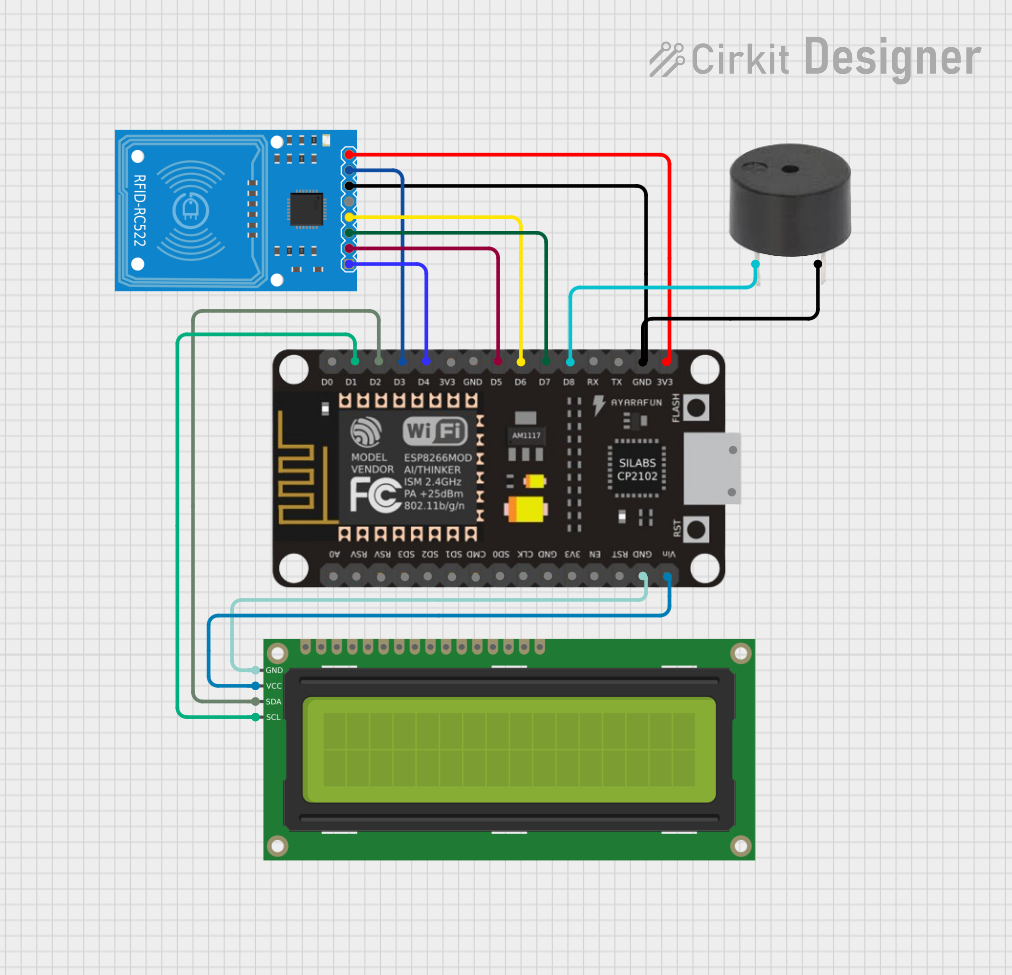 Open Project in Cirkit Designer
Explore Projects Built with PIC 16F877A
Open Project in Cirkit DesignerOpen Project in Cirkit DesignerOpen Project in Cirkit DesignerOpen Project in Cirkit DesignerCommon Applications and Use Cases
- Home automation systems
- Industrial control systems
- Robotics and motor control
- Data acquisition systems
- Educational projects and prototyping
- IoT (Internet of Things) devices
Technical Specifications
Below are the key technical details of the PIC16F877A microcontroller:
| Parameter | Value |
|---|---|
| Manufacturer | Microchip Technology |
| Part Number | PIC16F877A |
| Architecture | 8-bit |
| Instruction Set | 14-bit |
| Operating Voltage | 2.0V to 5.5V |
| Flash Program Memory | 14 KB (8,192 words) |
| RAM | 368 bytes |
| EEPROM | 256 bytes |
| I/O Pins | 33 |
| Timers | 3 (Timer0, Timer1, Timer2) |
| ADC Channels | 8 (10-bit resolution) |
| Communication Interfaces | USART, SPI, I2C |
| Oscillator Frequency | Up to 20 MHz |
| Package Types | DIP-40, PLCC-44, TQFP-44 |
Pin Configuration and Descriptions
The PIC16F877A has 40 pins, with the following pin configuration:
| Pin Number | Pin Name | Description |
|---|---|---|
| 1 | MCLR/VPP | Master Clear (Reset) / Programming Voltage |
| 2-7 | RA0-RA5 | Port A: Analog/Digital I/O |
| 8 | VSS | Ground |
| 9-10 | OSC1/OSC2 | Oscillator Input/Output |
| 11-18 | RB0-RB7 | Port B: Digital I/O |
| 19 | VDD | Positive Supply Voltage |
| 20-27 | RC0-RC7 | Port C: Digital I/O |
| 28-33 | RD0-RD7 | Port D: Digital I/O |
| 34-40 | RE0-RE2, VSS, VDD | Port E: Analog/Digital I/O, Power Pins |
Usage Instructions
How to Use the PIC16F877A in a Circuit
- Power Supply: Connect the VDD pin to a 5V power source and the VSS pin to ground.
- Oscillator Setup: Connect an external crystal oscillator (e.g., 4 MHz) between OSC1 and OSC2 pins, along with two capacitors (typically 22 pF) to stabilize the clock signal.
- Reset Circuit: Connect a pull-up resistor (10 kΩ) to the MCLR pin for proper reset functionality.
- I/O Configuration: Configure the I/O pins (RA, RB, RC, RD, RE) as input or output in the software, depending on your application.
- Programming: Use an ICSP (In-Circuit Serial Programming) tool or a PIC programmer to upload your code to the microcontroller.
Important Considerations and Best Practices
- Ensure the operating voltage is within the specified range (2.0V to 5.5V).
- Use decoupling capacitors (0.1 µF) near the power pins to reduce noise and stabilize the power supply.
- Avoid leaving unused pins floating; connect them to ground or configure them as outputs.
- Use proper pull-up or pull-down resistors for input pins to avoid erratic behavior.
- Follow the manufacturer's guidelines for programming and debugging.
Example Code for Arduino UNO Integration
The PIC16F877A can communicate with an Arduino UNO via UART. Below is an example of how to send data from the Arduino to the PIC16F877A:
// Arduino UNO Code: Sending data to PIC16F877A via UART
void setup() {
  Serial.begin(9600); // Initialize UART communication at 9600 baud rate
}

void loop() {
  Serial.println("Hello, PIC16F877A!"); // Send a message to the PIC
  delay(1000); // Wait for 1 second before sending the next message
}
On the PIC16F877A side, configure the USART module to receive the data and process it accordingly.
Troubleshooting and FAQs
Common Issues and Solutions
Microcontroller Not Responding
- Cause: Incorrect power supply or oscillator configuration.
- Solution: Verify the power connections and ensure the oscillator circuit is properly set up.
Programming Errors
- Cause: Faulty programmer or incorrect ICSP connections.
- Solution: Check the programmer connections and ensure the correct programming voltage is applied to the MCLR pin.
Unstable Operation
- Cause: Noise in the power supply or floating input pins.
- Solution: Use decoupling capacitors and pull-up/pull-down resistors as needed.
Communication Failure with Arduino
- Cause: Baud rate mismatch or incorrect wiring.
- Solution: Ensure both devices are configured with the same baud rate and verify the TX/RX connections.
FAQs
Q: Can the PIC16F877A operate without an external oscillator?
A: Yes, it has an internal RC oscillator, but using an external crystal oscillator provides better accuracy and stability.
Q: How do I store data permanently on the PIC16F877A?
A: Use the built-in EEPROM to store data that needs to persist after a power cycle.
Q: What is the maximum clock speed of the PIC16F877A?
A: The maximum clock speed is 20 MHz when using an external oscillator.
Q: Can I use the PIC16F877A for analog signal processing?
A: Yes, it has an 8-channel 10-bit ADC module for analog-to-digital conversion.
By following this documentation, users can effectively utilize the PIC16F877A microcontroller in their projects and troubleshoot common issues with ease.