The 3x Slot Battery Holder 18650 (Seri) is a compact and durable component designed to securely hold three 18650 lithium-ion batteries in series. This configuration allows the holder to combine the voltage of all three batteries, making it ideal for powering high-voltage electronic circuits. The holder is equipped with sturdy terminals for reliable electrical connections and is commonly used in DIY electronics, robotics, portable devices, and renewable energy projects.
Explore Projects Built with 3x Slot Battery Holder 18650 (Seri)
Use Cirkit Designer to design, explore, and prototype these projects online. Some projects support real-time simulation. Click "Open Project" to start designing instantly!
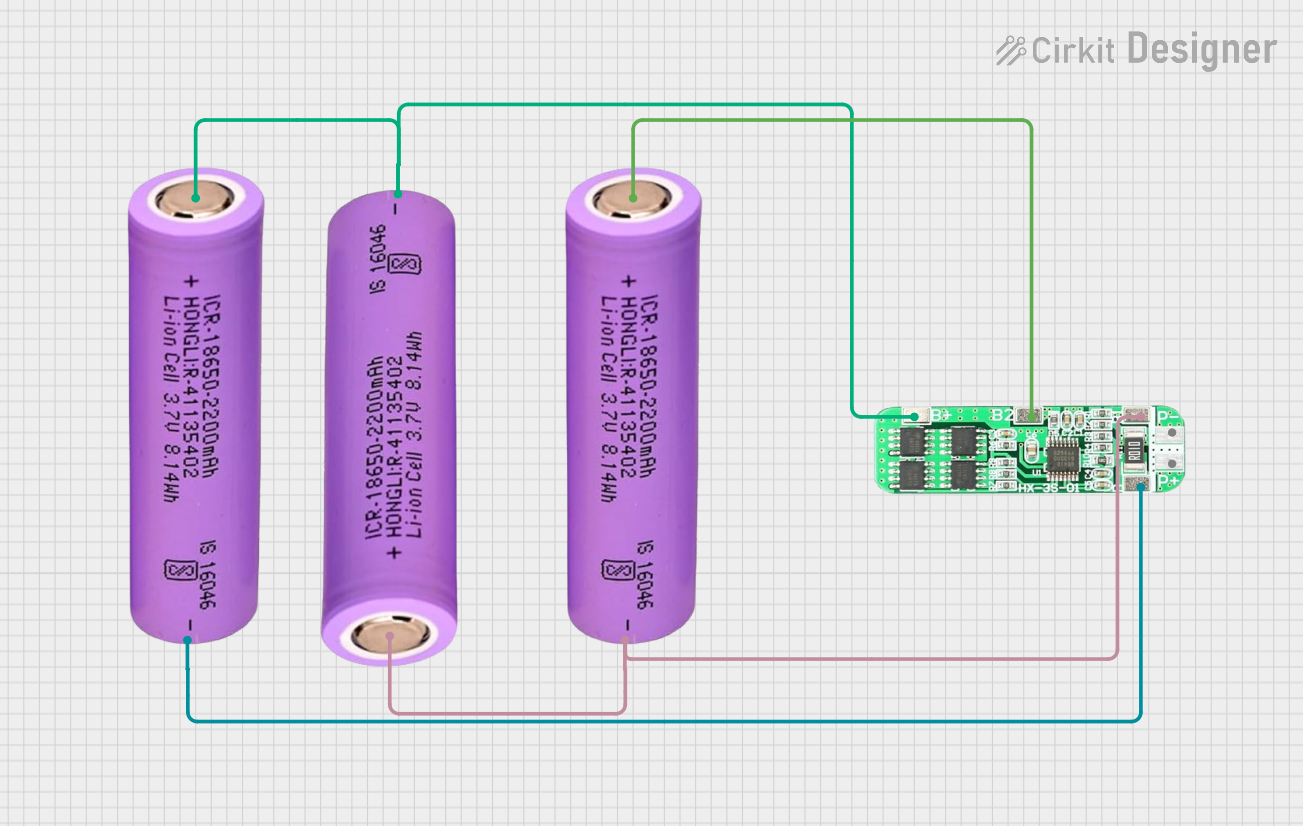
This circuit consists of three 18650 batteries connected in series to a 3S 10A Li-ion 18650 Charger Protection Board Module. The protection board manages the charging and discharging of the battery pack, ensuring safe operation by balancing the cells and providing overcharge, over-discharge, and short-circuit protection.
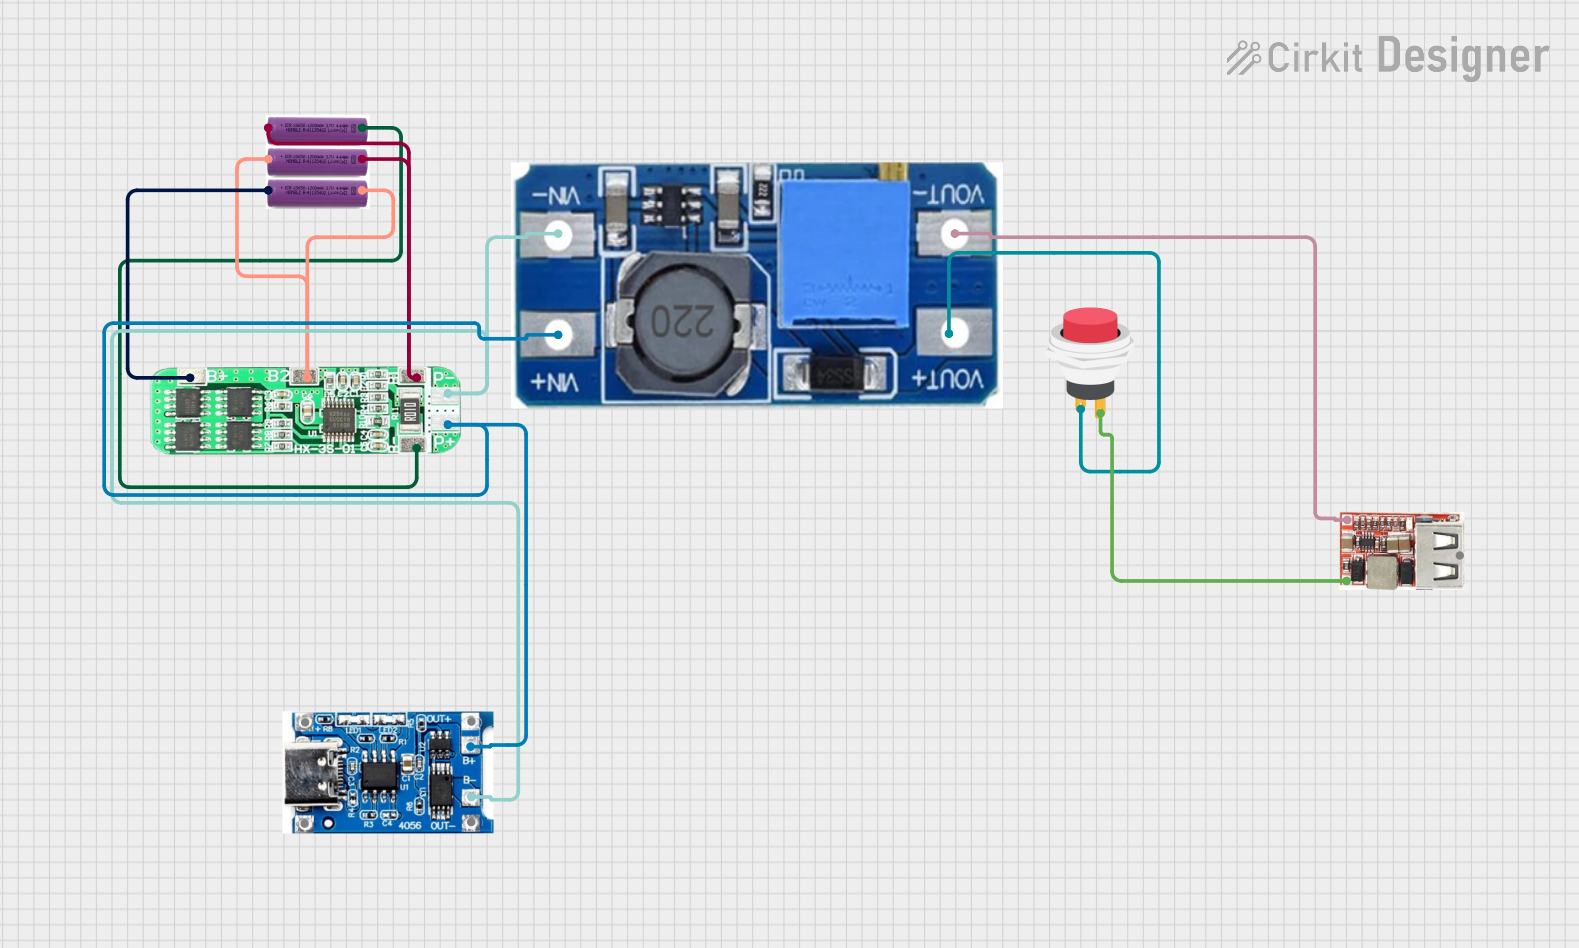
This circuit is a battery management and power supply system that uses three 3.7V batteries connected to a 3S 10A Li-ion 18650 Charger Protection Board Module for balanced charging and protection. The system includes a TP4056 Battery Charging Protection Module for additional charging safety, a Step Up Boost Power Converter to regulate and boost the voltage, and a USB regulator to provide a stable 5V output, controlled by a push switch.
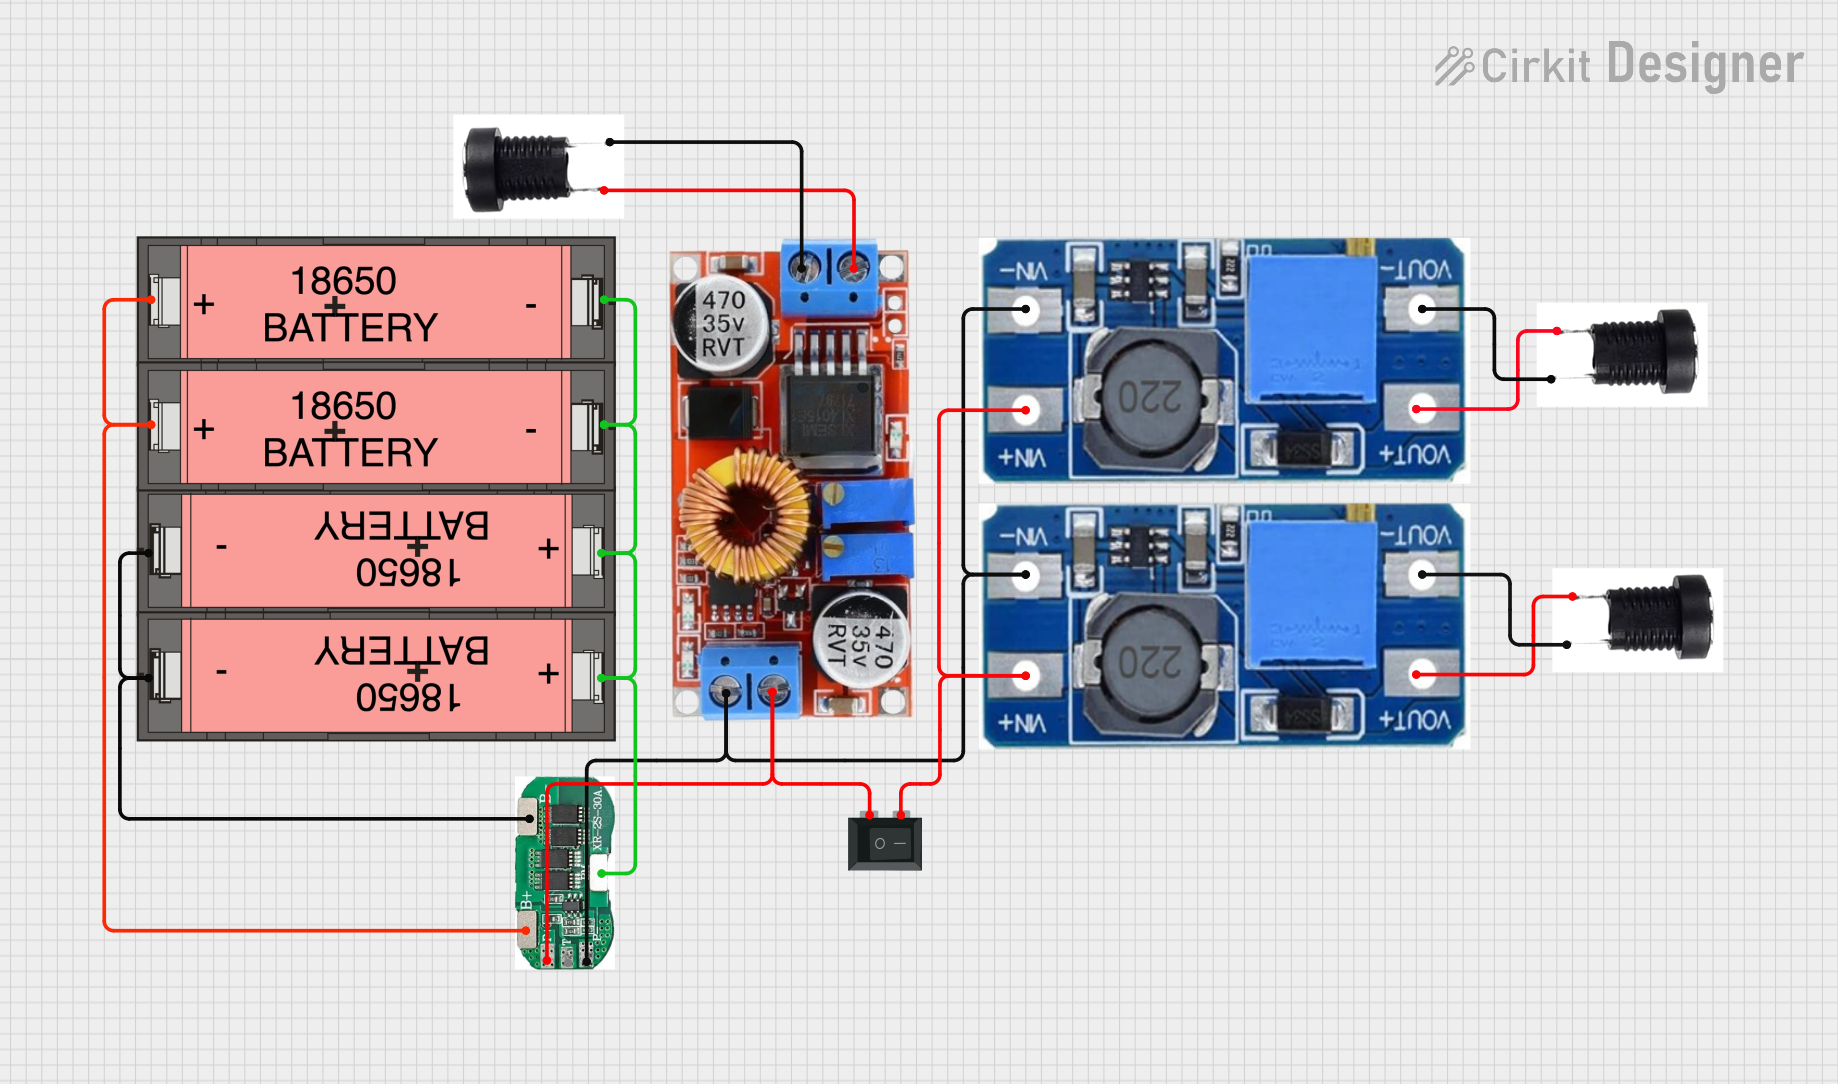
This circuit is a power management system that uses four Li-ion 18650 batteries connected to a 2S 30A BMS for battery management and protection. The system includes step-up and step-down voltage regulators to provide adjustable output voltages, controlled by a rocker switch, and multiple DC jacks for power input and output.
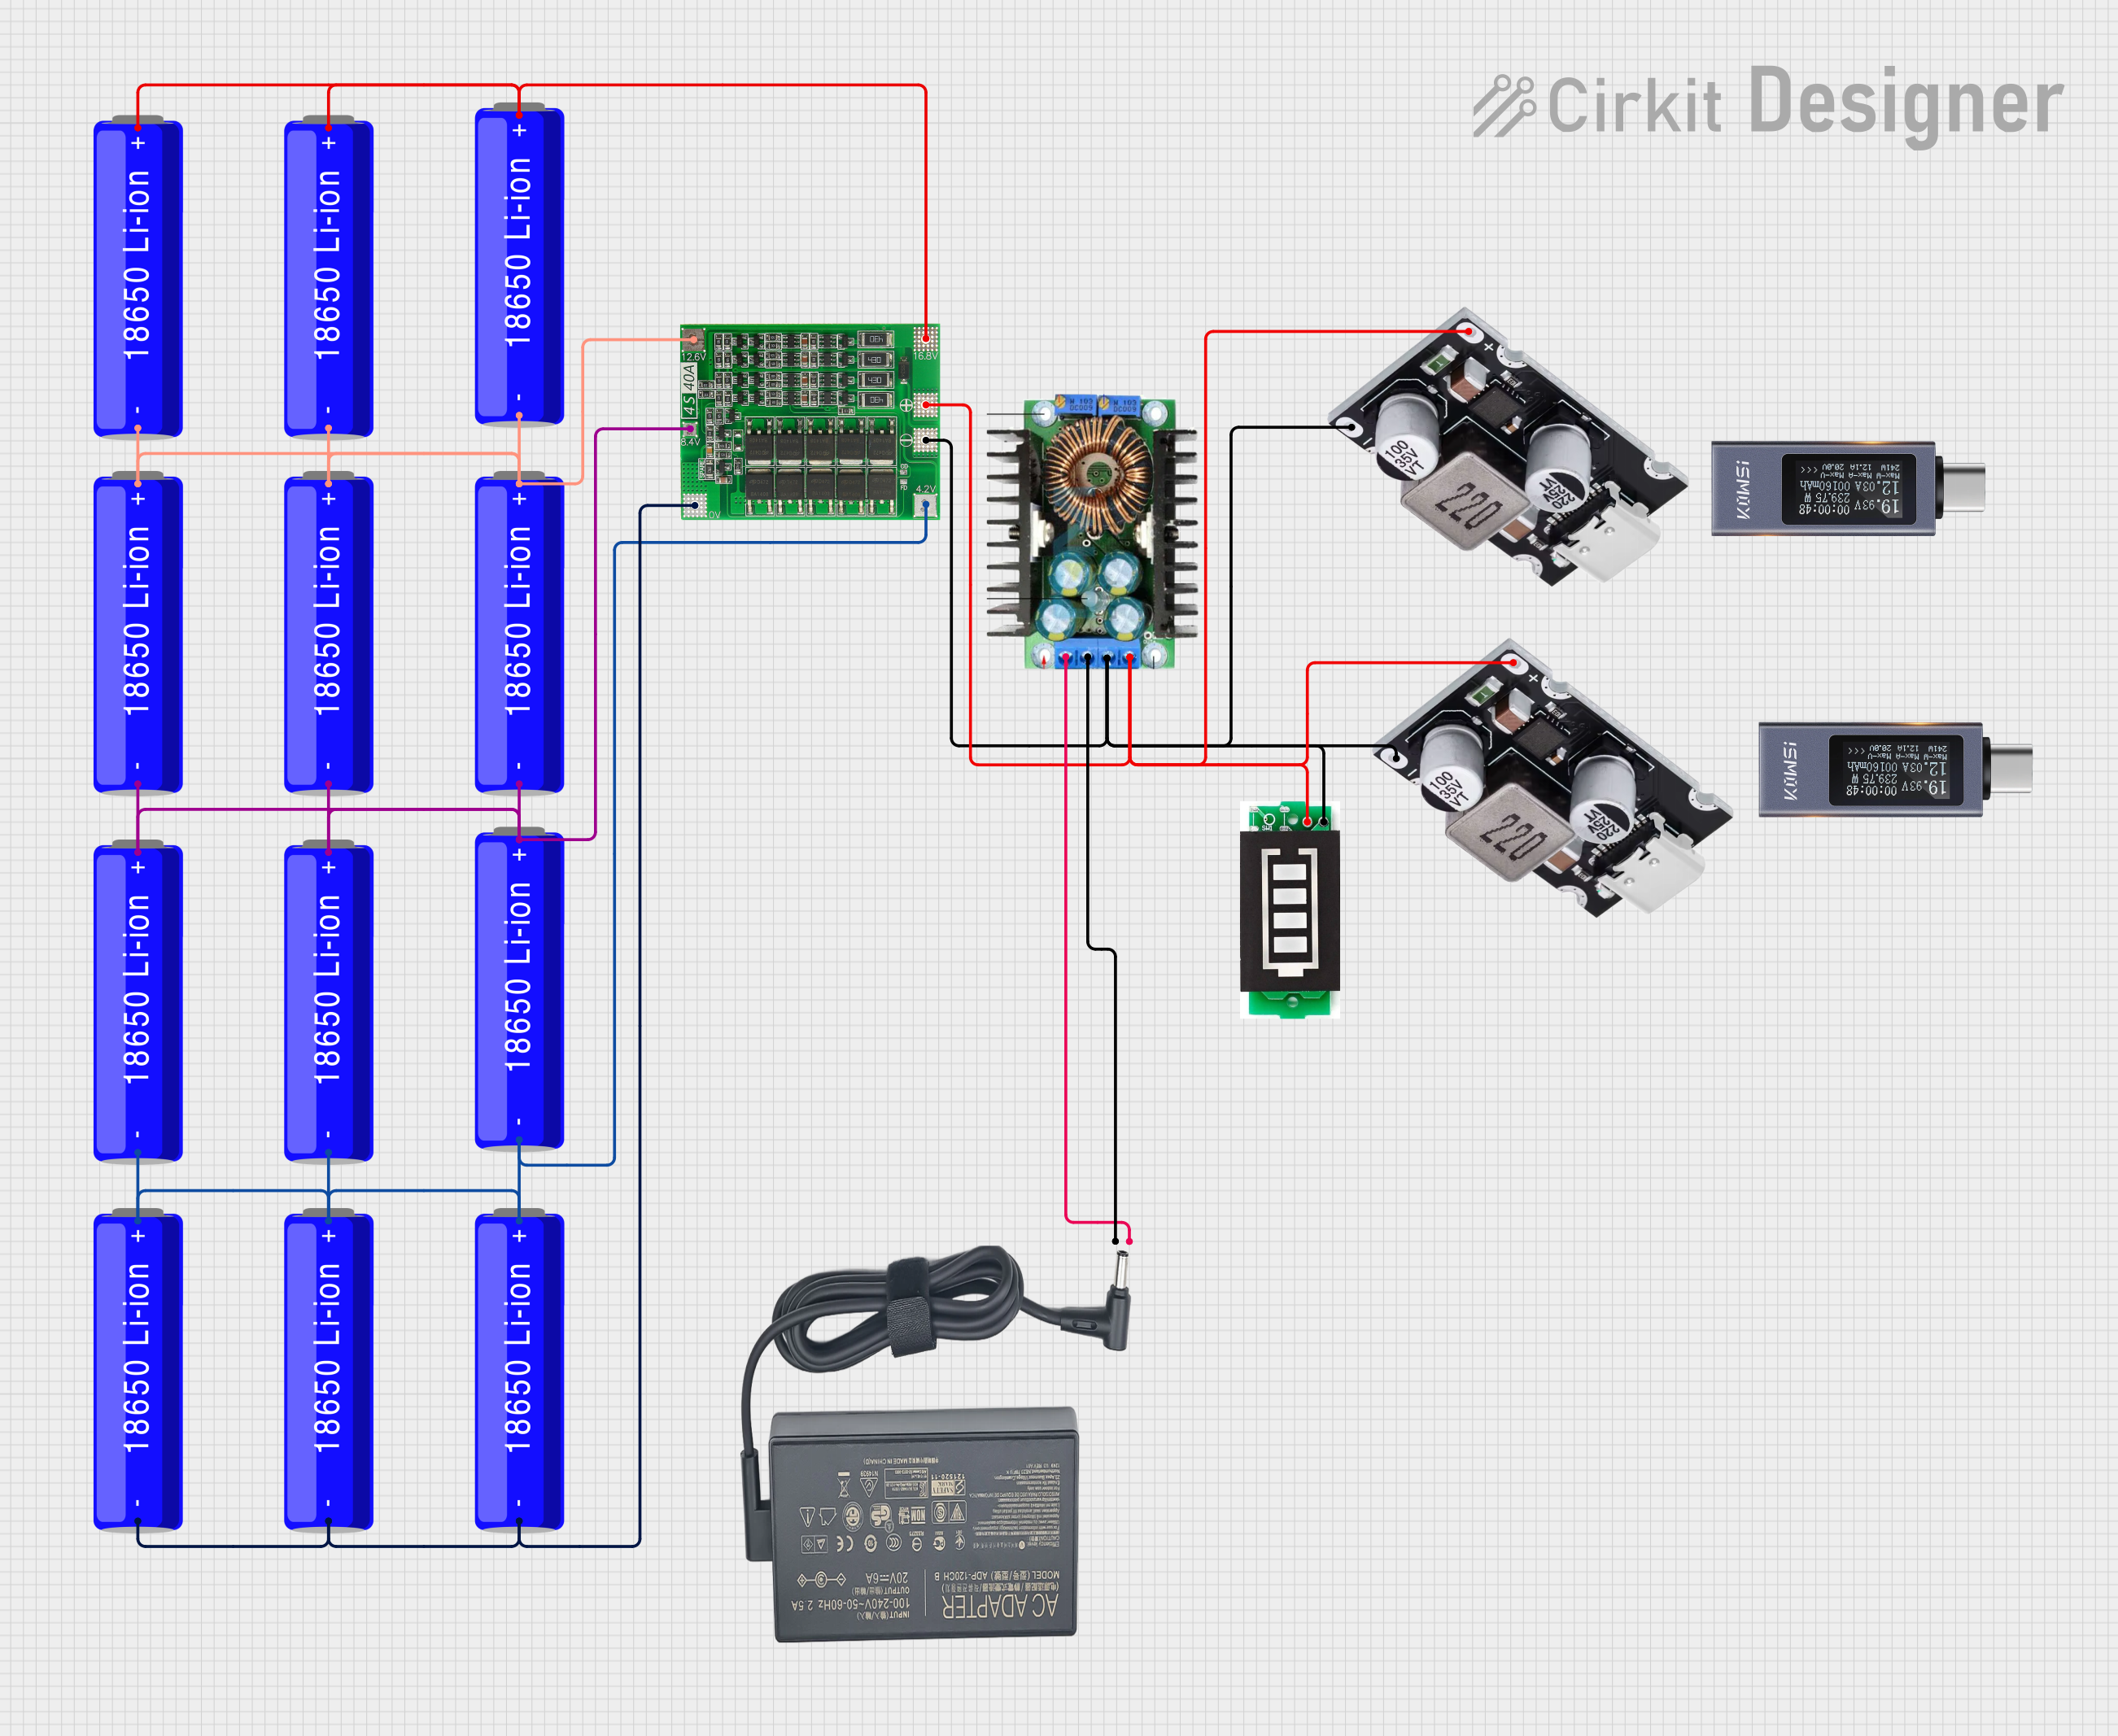
This circuit is a battery management and charging system for a 4S Li-ion battery pack. It includes multiple 18650 Li-ion batteries connected to a 4S40A BMS for balancing and protection, a battery indicator for monitoring charge status, and an XL4016 module for voltage regulation. The system is designed to be charged via a 20V input from a charger.
The 3x Slot Battery Holder has two main terminals for electrical connections:
Terminal
Description
Wire Color
Positive (+)
Positive output terminal (combined voltage)
Red
Negative (-)
Negative output terminal (ground)
Black
Usage Instructions
How to Use the Component in a Circuit
Insert Batteries: Place three 18650 lithium-ion batteries into the holder, ensuring correct polarity. The positive and negative ends of each battery should align with the markings on the holder.
Connect to Circuit: Use the pre-soldered wire leads to connect the holder to your circuit. The red wire is the positive terminal, and the black wire is the negative terminal.
Secure Connections: Ensure all connections are tight and insulated to prevent short circuits.
Power Your Circuit: Once connected, the holder will provide a combined voltage of approximately 11.1V (nominal) to your circuit.
Important Considerations and Best Practices
Battery Selection: Use only high-quality, protected 18650 batteries to ensure safety and performance.
Voltage Monitoring: Monitor the voltage of the batteries to avoid over-discharge, which can damage lithium-ion cells.
Heat Management: Avoid exposing the holder to excessive heat, as it may deform the plastic or damage the batteries.
Polarity Check: Double-check the polarity of the batteries and connections to prevent damage to your circuit.
Fuse Protection: Consider adding a fuse to the circuit for additional safety.
Example: Connecting to an Arduino UNO
The 3x Slot Battery Holder can be used to power an Arduino UNO via its VIN pin. Below is an example circuit and code:
Circuit Connection
Connect the red wire (positive terminal) of the battery holder to the VIN pin of the Arduino UNO.
Connect the black wire (negative terminal) of the battery holder to the GND pin of the Arduino UNO.
Sample Code
// Example code to blink an LED using an Arduino UNO powered by the 3x Slot Battery Holder
// Ensure the battery voltage is within the Arduino's acceptable range (7-12V).

const int ledPin = 13; // Built-in LED pin on Arduino UNO

void setup() {
  pinMode(ledPin, OUTPUT); // Set the LED pin as an output
}

void loop() {
  digitalWrite(ledPin, HIGH); // Turn the LED on
  delay(1000);                // Wait for 1 second
  digitalWrite(ledPin, LOW);  // Turn the LED off
  delay(1000);                // Wait for 1 second
}
Troubleshooting and FAQs
Common Issues Users Might Face
No Output Voltage:
Cause: Batteries are inserted incorrectly or are discharged.
Solution: Check the polarity of the batteries and ensure they are fully charged.
Overheating:
Cause: Excessive current draw or short circuit.
Solution: Verify the circuit's current requirements and check for short circuits.
Loose Connections:
Cause: Poor contact between the battery terminals and the holder.
Solution: Ensure the batteries are seated firmly and the wire connections are secure.
Voltage Drop:
Cause: High resistance in the wires or terminals.
Solution: Use thicker wires if necessary and clean the terminals to ensure good conductivity.
Solutions and Tips for Troubleshooting
Always use a multimeter to verify the output voltage before connecting the holder to your circuit.
If the holder is not functioning as expected, inspect the wire leads for damage or loose solder joints.
Avoid mixing old and new batteries, as this can lead to uneven discharge and reduced performance.
By following these guidelines and best practices, you can safely and effectively use the 3x Slot Battery Holder 18650 (Seri) in your electronic projects.


 Open Project in Cirkit Designer