How to Use terminalblock-04-01: Examples, Pinouts, and Specs
Introduction
The TerminalBlock-04-01 is a versatile and reliable terminal block designed for connecting multiple wires together in a secure and organized manner. It is commonly used in electrical and electronic systems to simplify wiring, ensure stable connections, and reduce clutter. This component is ideal for applications requiring frequent wire changes or where a durable and reusable connection point is needed.
Explore Projects Built with terminalblock-04-01


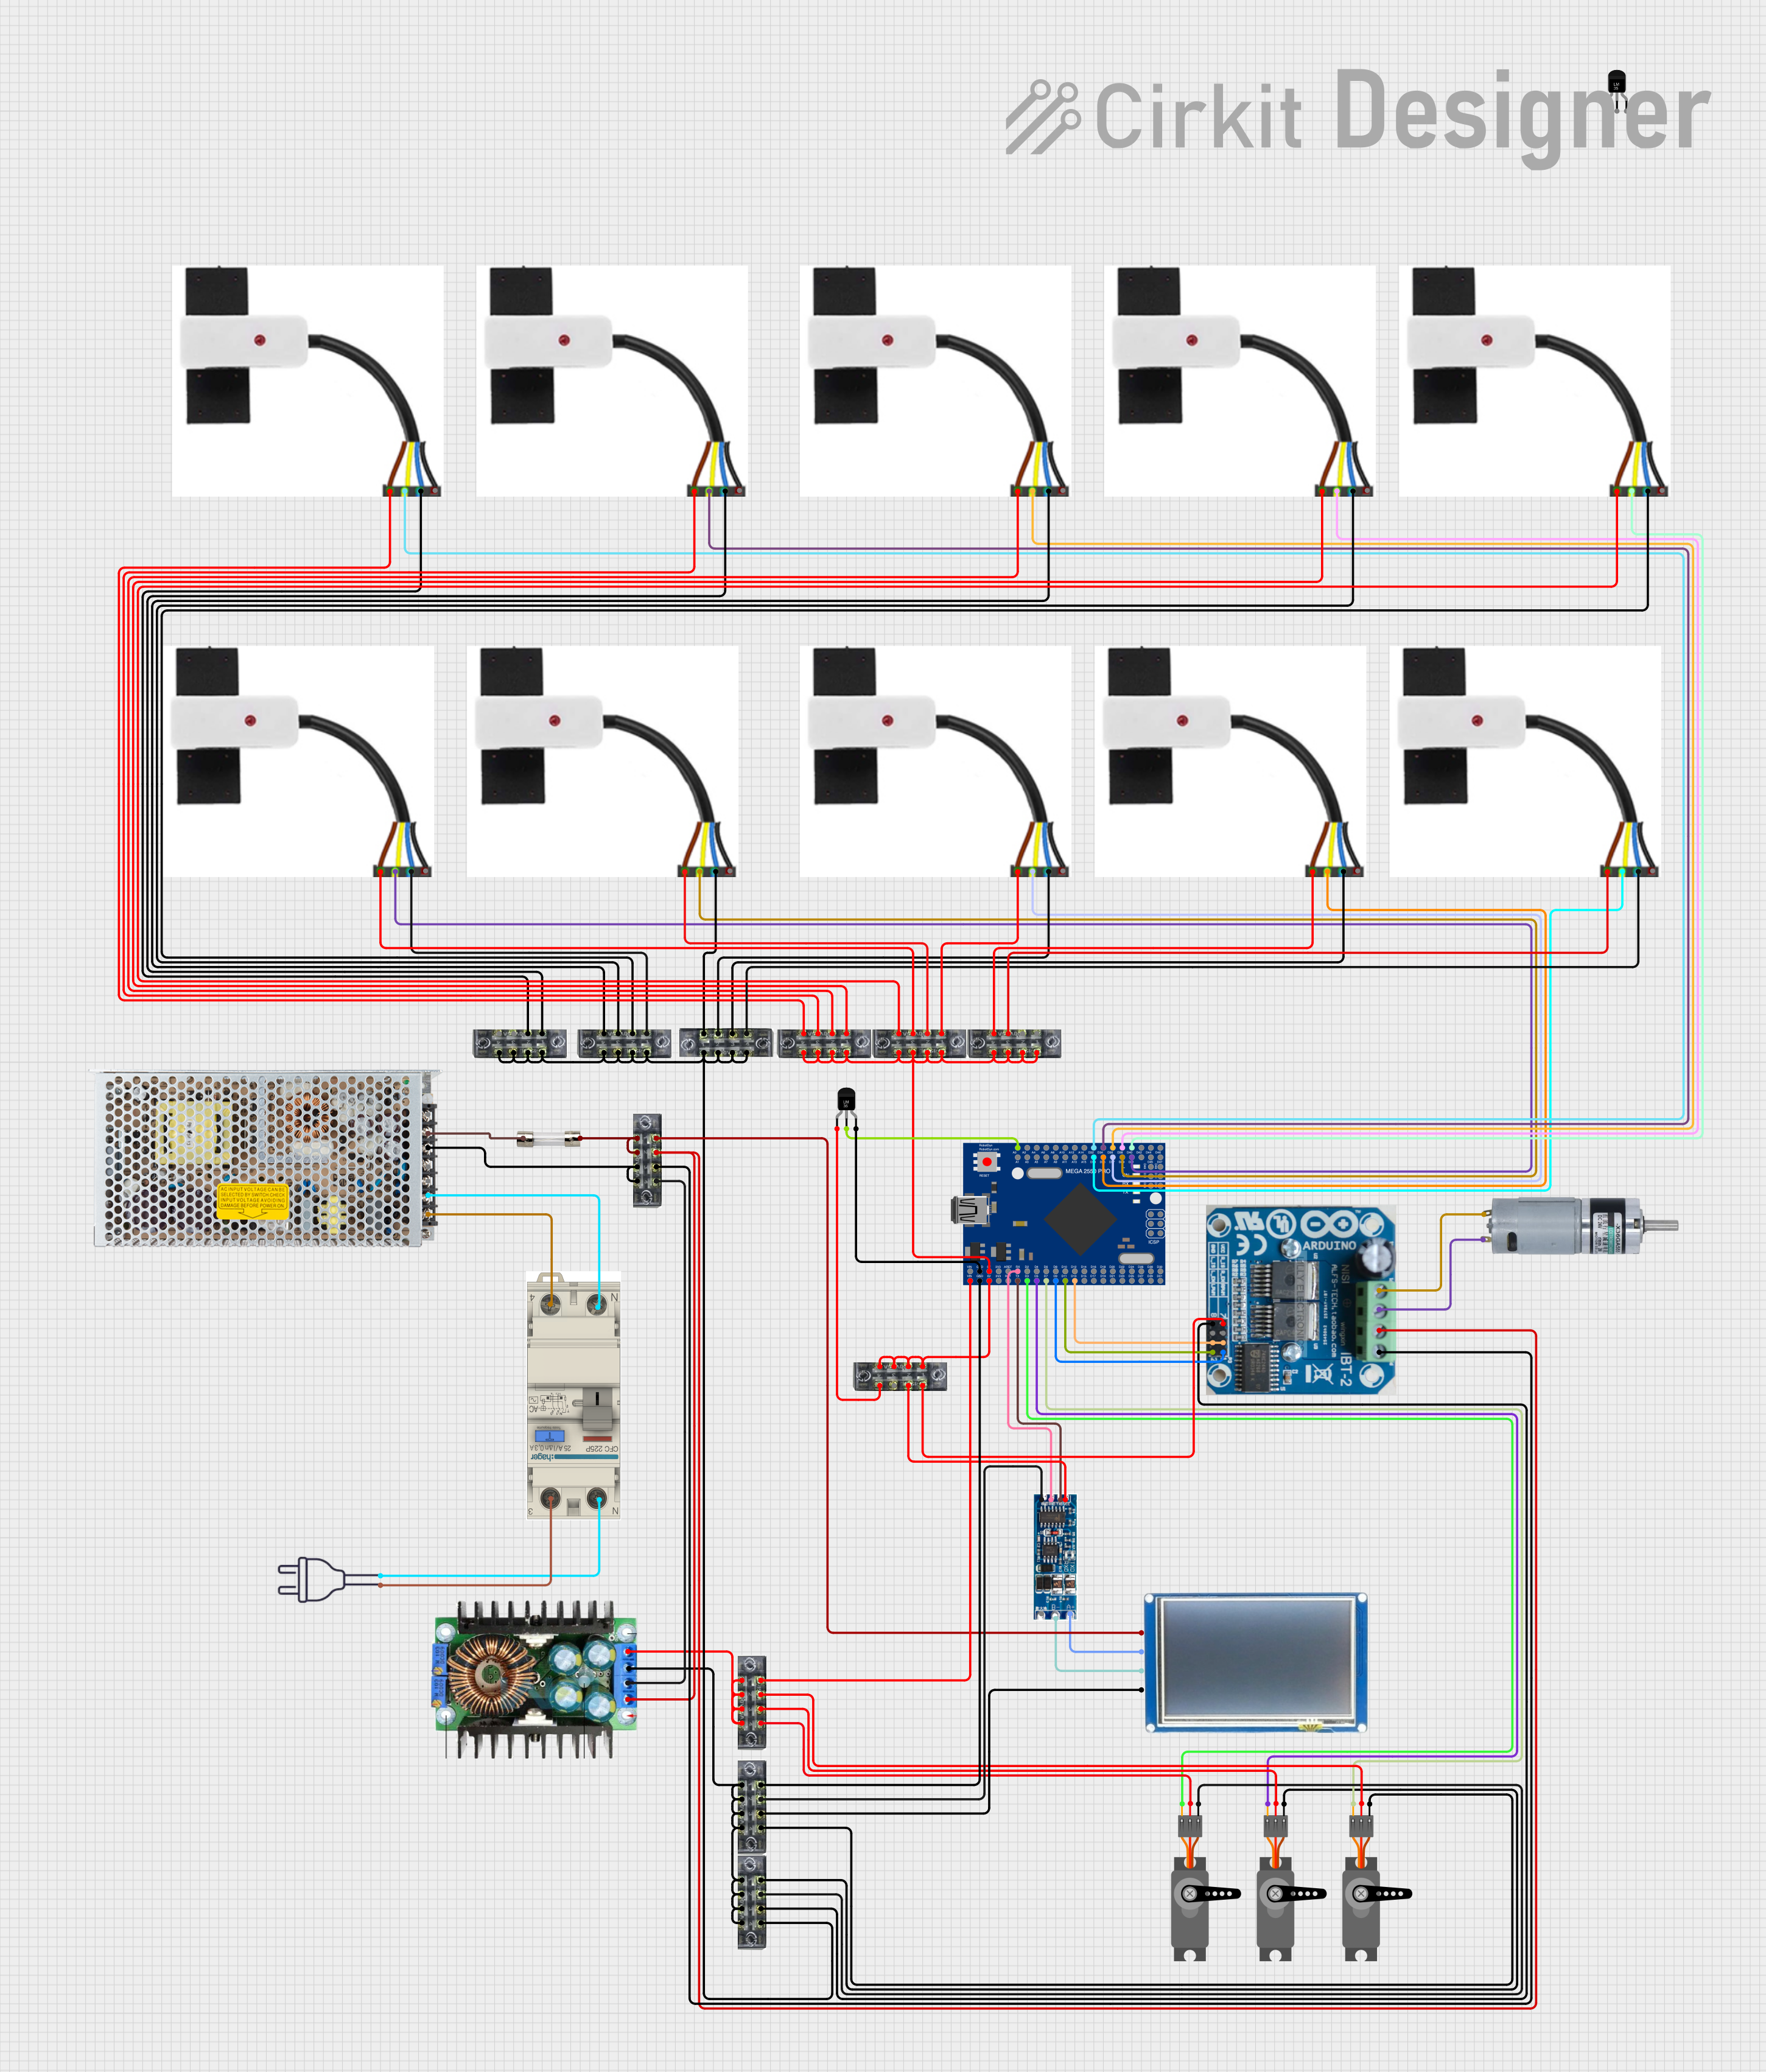
Explore Projects Built with terminalblock-04-01
Common Applications and Use Cases
- Industrial control panels and automation systems
- Power distribution in electrical circuits
- Prototyping and testing of electronic circuits
- Home and building electrical wiring
- Audio and speaker connections
Technical Specifications
The TerminalBlock-04-01 is designed to handle a wide range of electrical requirements. Below are its key technical details:
General Specifications
| Parameter | Value |
|---|---|
| Number of Terminals | 4 |
| Rated Voltage | 300V |
| Rated Current | 15A |
| Wire Size Compatibility | 22-12 AWG |
| Material | Flame-retardant thermoplastic |
| Mounting Type | Screw or DIN rail |
| Operating Temperature | -40°C to +105°C |
Pin Configuration and Descriptions
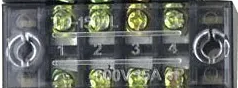
The TerminalBlock-04-01 has four terminals, each designed to connect a pair of wires. Below is the pin configuration:
| Terminal Number | Description |
|---|---|
| 1 | Input/Output wire connection point |
| 2 | Input/Output wire connection point |
| 3 | Input/Output wire connection point |
| 4 | Input/Output wire connection point |
Each terminal is equipped with a screw mechanism to securely fasten the wires in place.
Usage Instructions
How to Use the TerminalBlock-04-01 in a Circuit
- Prepare the Wires: Strip the insulation from the ends of the wires you want to connect. Ensure the exposed wire length matches the terminal block's specifications (typically 5-7 mm).
- Open the Terminal Screws: Use a screwdriver to loosen the screws on the terminal block.
- Insert the Wires: Insert the stripped end of each wire into the corresponding terminal slot.
- Tighten the Screws: Secure the wires by tightening the screws. Ensure the wires are firmly held in place without damaging the strands.
- Verify the Connection: Gently tug on the wires to confirm they are securely fastened.
Important Considerations and Best Practices
- Wire Compatibility: Ensure the wire gauge (22-12 AWG) matches the terminal block's specifications.
- Avoid Over-tightening: Over-tightening the screws can damage the wires or the terminal block.
- Check for Loose Connections: Periodically inspect the connections to ensure they remain secure, especially in high-vibration environments.
- Use Proper Tools: Use a screwdriver that fits the terminal screws to avoid stripping them.
- Label the Terminals: For complex circuits, label the terminals to simplify troubleshooting and maintenance.
Example: Connecting to an Arduino UNO
The TerminalBlock-04-01 can be used to connect external components, such as sensors or actuators, to an Arduino UNO. Below is an example of wiring a simple LED circuit:
- Connect the positive lead of the LED to Terminal 1 and the negative lead to Terminal 2.
- Use Terminal 3 and Terminal 4 to connect the wires to the Arduino UNO:
- Terminal 3: Connect to a digital output pin (e.g., Pin 13).
- Terminal 4: Connect to the Arduino GND pin.
Here is a sample Arduino code to control the LED:
// Define the pin connected to the LED
const int ledPin = 13;

void setup() {
  // Set the LED pin as an output
  pinMode(ledPin, OUTPUT);
}

void loop() {
  // Turn the LED on
  digitalWrite(ledPin, HIGH);
  delay(1000); // Wait for 1 second

  // Turn the LED off
  digitalWrite(ledPin, LOW);
  delay(1000); // Wait for 1 second
}
Troubleshooting and FAQs
Common Issues and Solutions
Loose Connections
- Issue: Wires are not securely fastened and may disconnect.
- Solution: Ensure the screws are tightened properly without over-tightening.
Overheating
- Issue: The terminal block becomes warm during operation.
- Solution: Verify that the current does not exceed the rated 15A. Use thicker wires if necessary.
Wire Slippage
- Issue: Wires slip out of the terminal slots.
- Solution: Check that the wire insulation is stripped to the correct length and the screws are tightened securely.
Corrosion or Damage
- Issue: Terminals show signs of corrosion or wear.
- Solution: Replace the terminal block if corrosion is severe. Use components in environments within the specified operating temperature range.
FAQs
Q: Can the TerminalBlock-04-01 be used for AC and DC circuits?
A: Yes, the terminal block is suitable for both AC and DC circuits, provided the voltage and current ratings are not exceeded.
Q: How do I mount the terminal block?
A: The TerminalBlock-04-01 can be mounted using screws or attached to a DIN rail, depending on your application.
Q: Can I connect more than one wire to a single terminal?
A: While it is possible, it is not recommended as it may compromise the connection's security and reliability. Use additional terminal blocks if needed.
Q: Is the terminal block flame-retardant?
A: Yes, the TerminalBlock-04-01 is made of flame-retardant thermoplastic material for enhanced safety.
By following this documentation, you can effectively use the TerminalBlock-04-01 in your projects and ensure reliable electrical connections.