The Battery 11.1V 450mAh is a rechargeable lithium polymer (LiPo) battery designed to deliver a nominal voltage of 11.1 volts and a capacity of 450 milliamp hours (mAh). This compact and lightweight power source is ideal for applications requiring a reliable and portable energy supply. Its high energy density and stable discharge characteristics make it suitable for powering drones, RC vehicles, portable electronics, and embedded systems.
Explore Projects Built with Battery 11.1V 450mAh
Use Cirkit Designer to design, explore, and prototype these projects online. Some projects support real-time simulation. Click "Open Project" to start designing instantly!
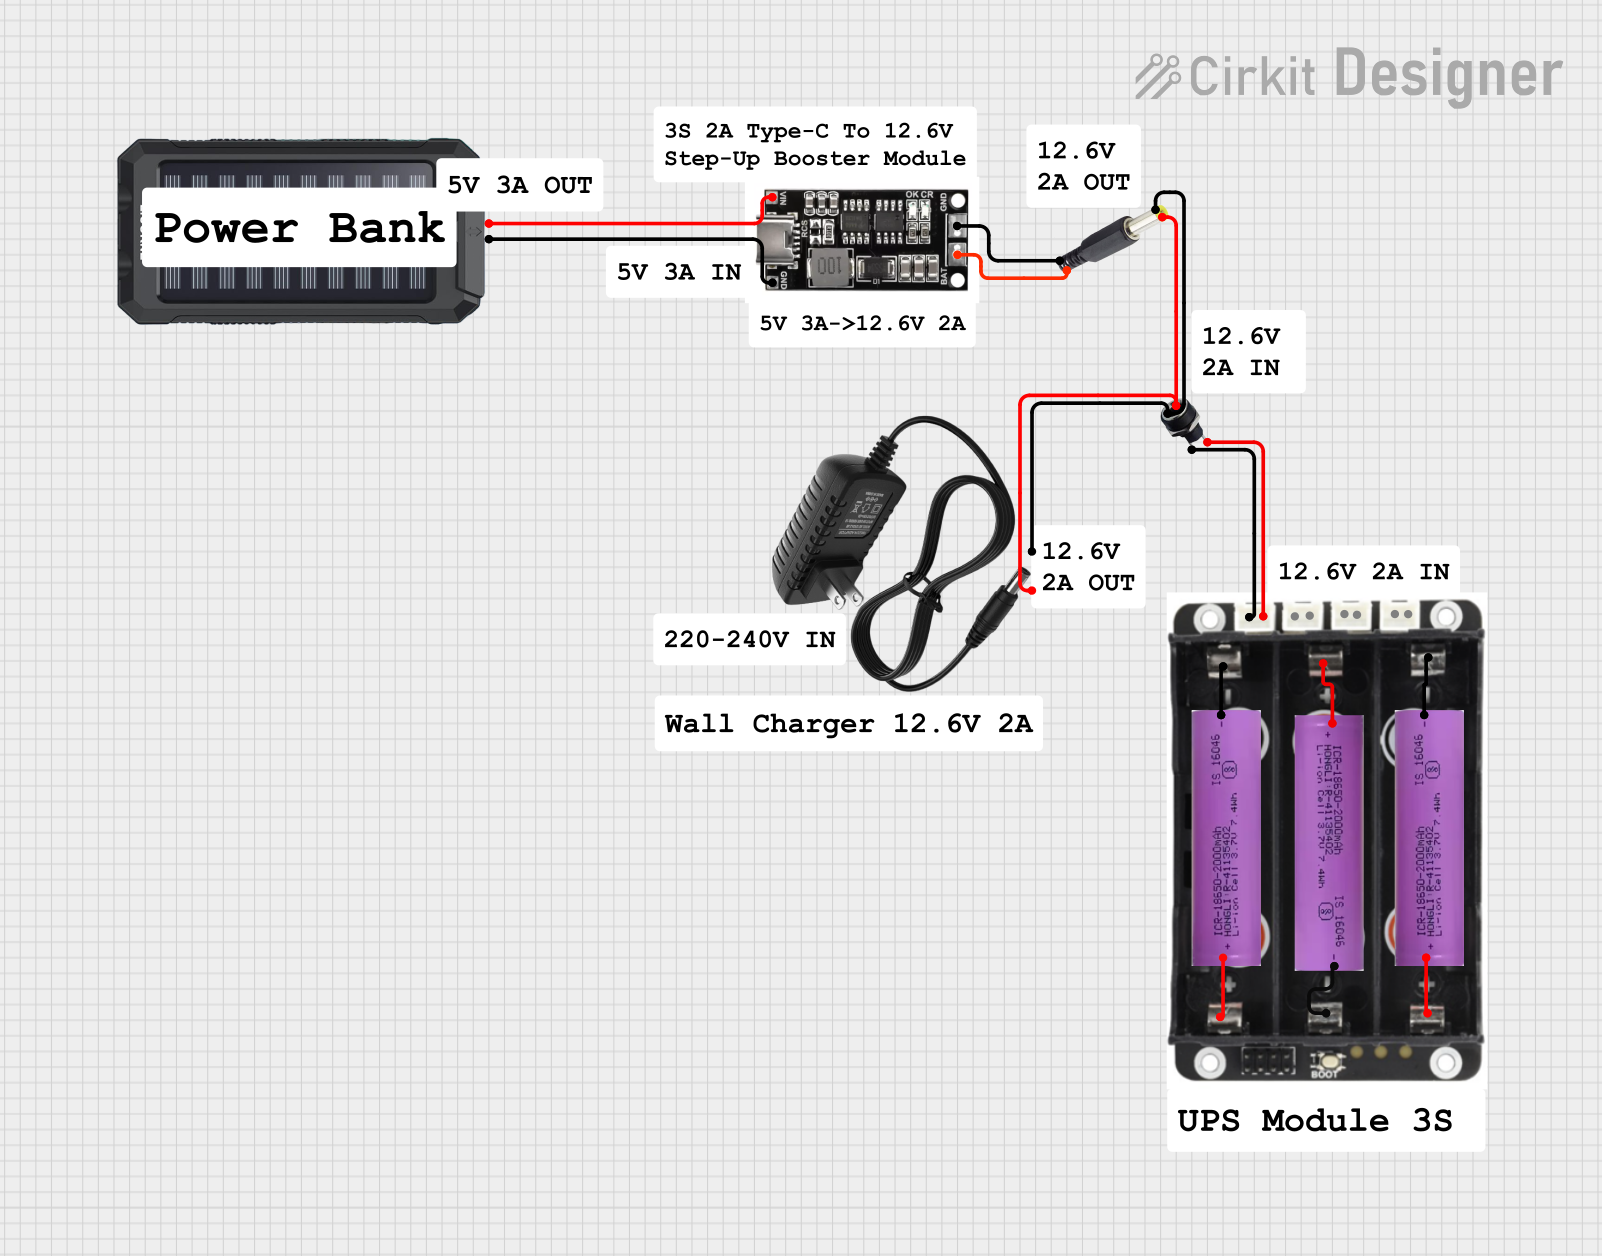
This circuit is a power management system that integrates a 12V power supply, a solar charger power bank, and multiple Li-ion batteries to provide a stable power output. The Waveshare UPS 3S manages the input from the power sources and batteries, ensuring continuous power delivery. The MRB045 module is used to interface the solar charger with the rest of the system.
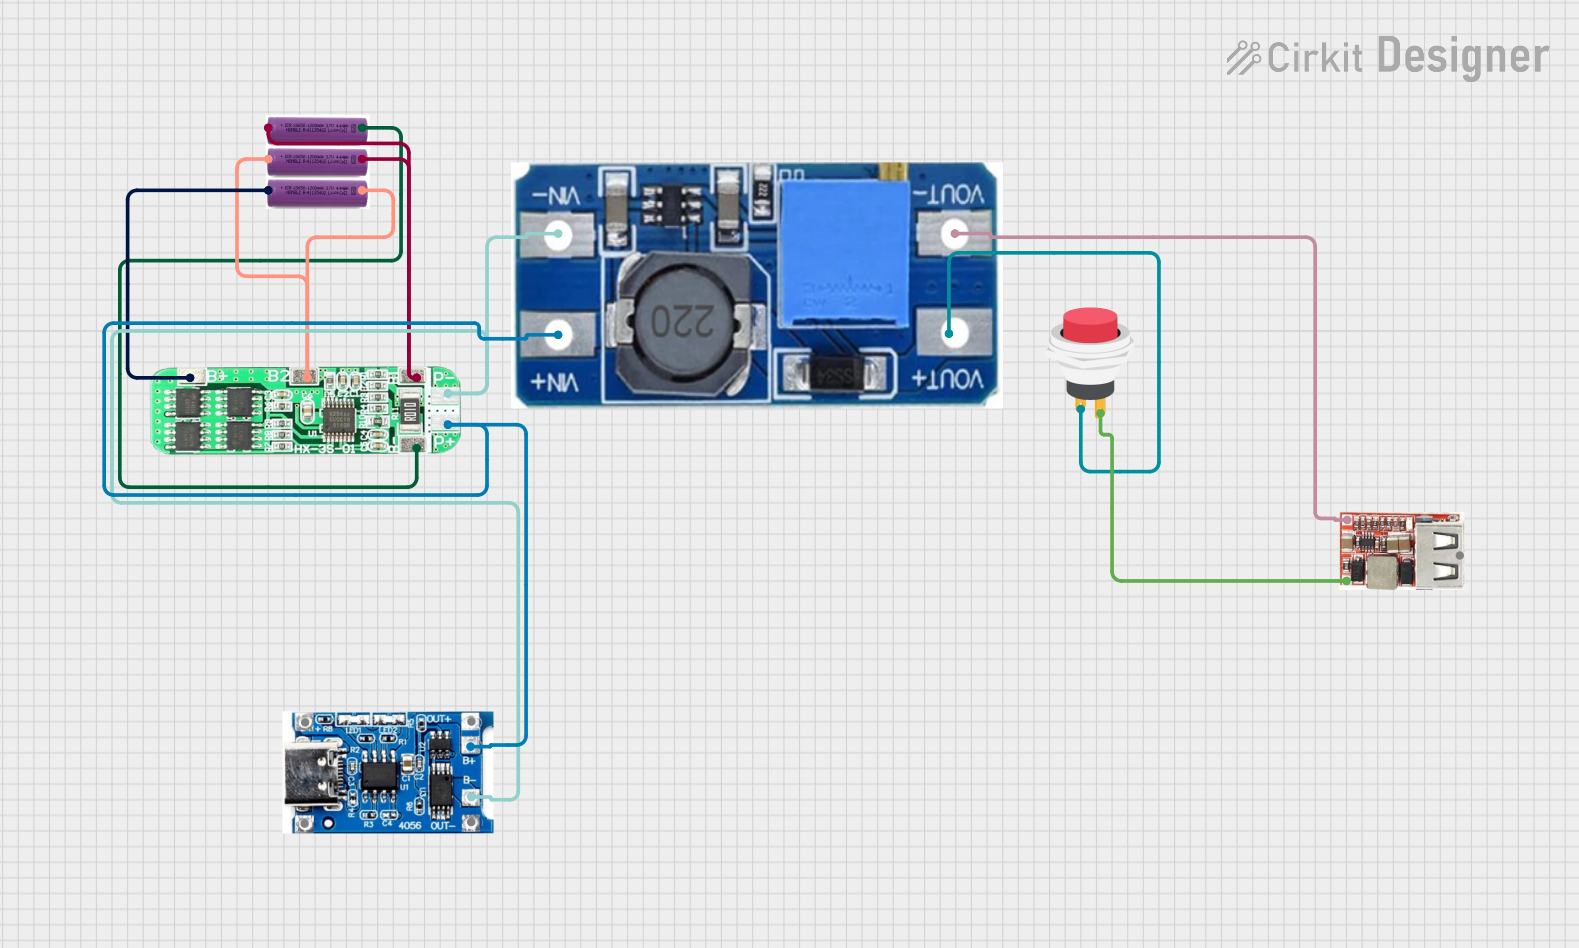
This circuit is a battery management and power supply system that uses three 3.7V batteries connected to a 3S 10A Li-ion 18650 Charger Protection Board Module for balanced charging and protection. The system includes a TP4056 Battery Charging Protection Module for additional charging safety, a Step Up Boost Power Converter to regulate and boost the voltage, and a USB regulator to provide a stable 5V output, controlled by a push switch.
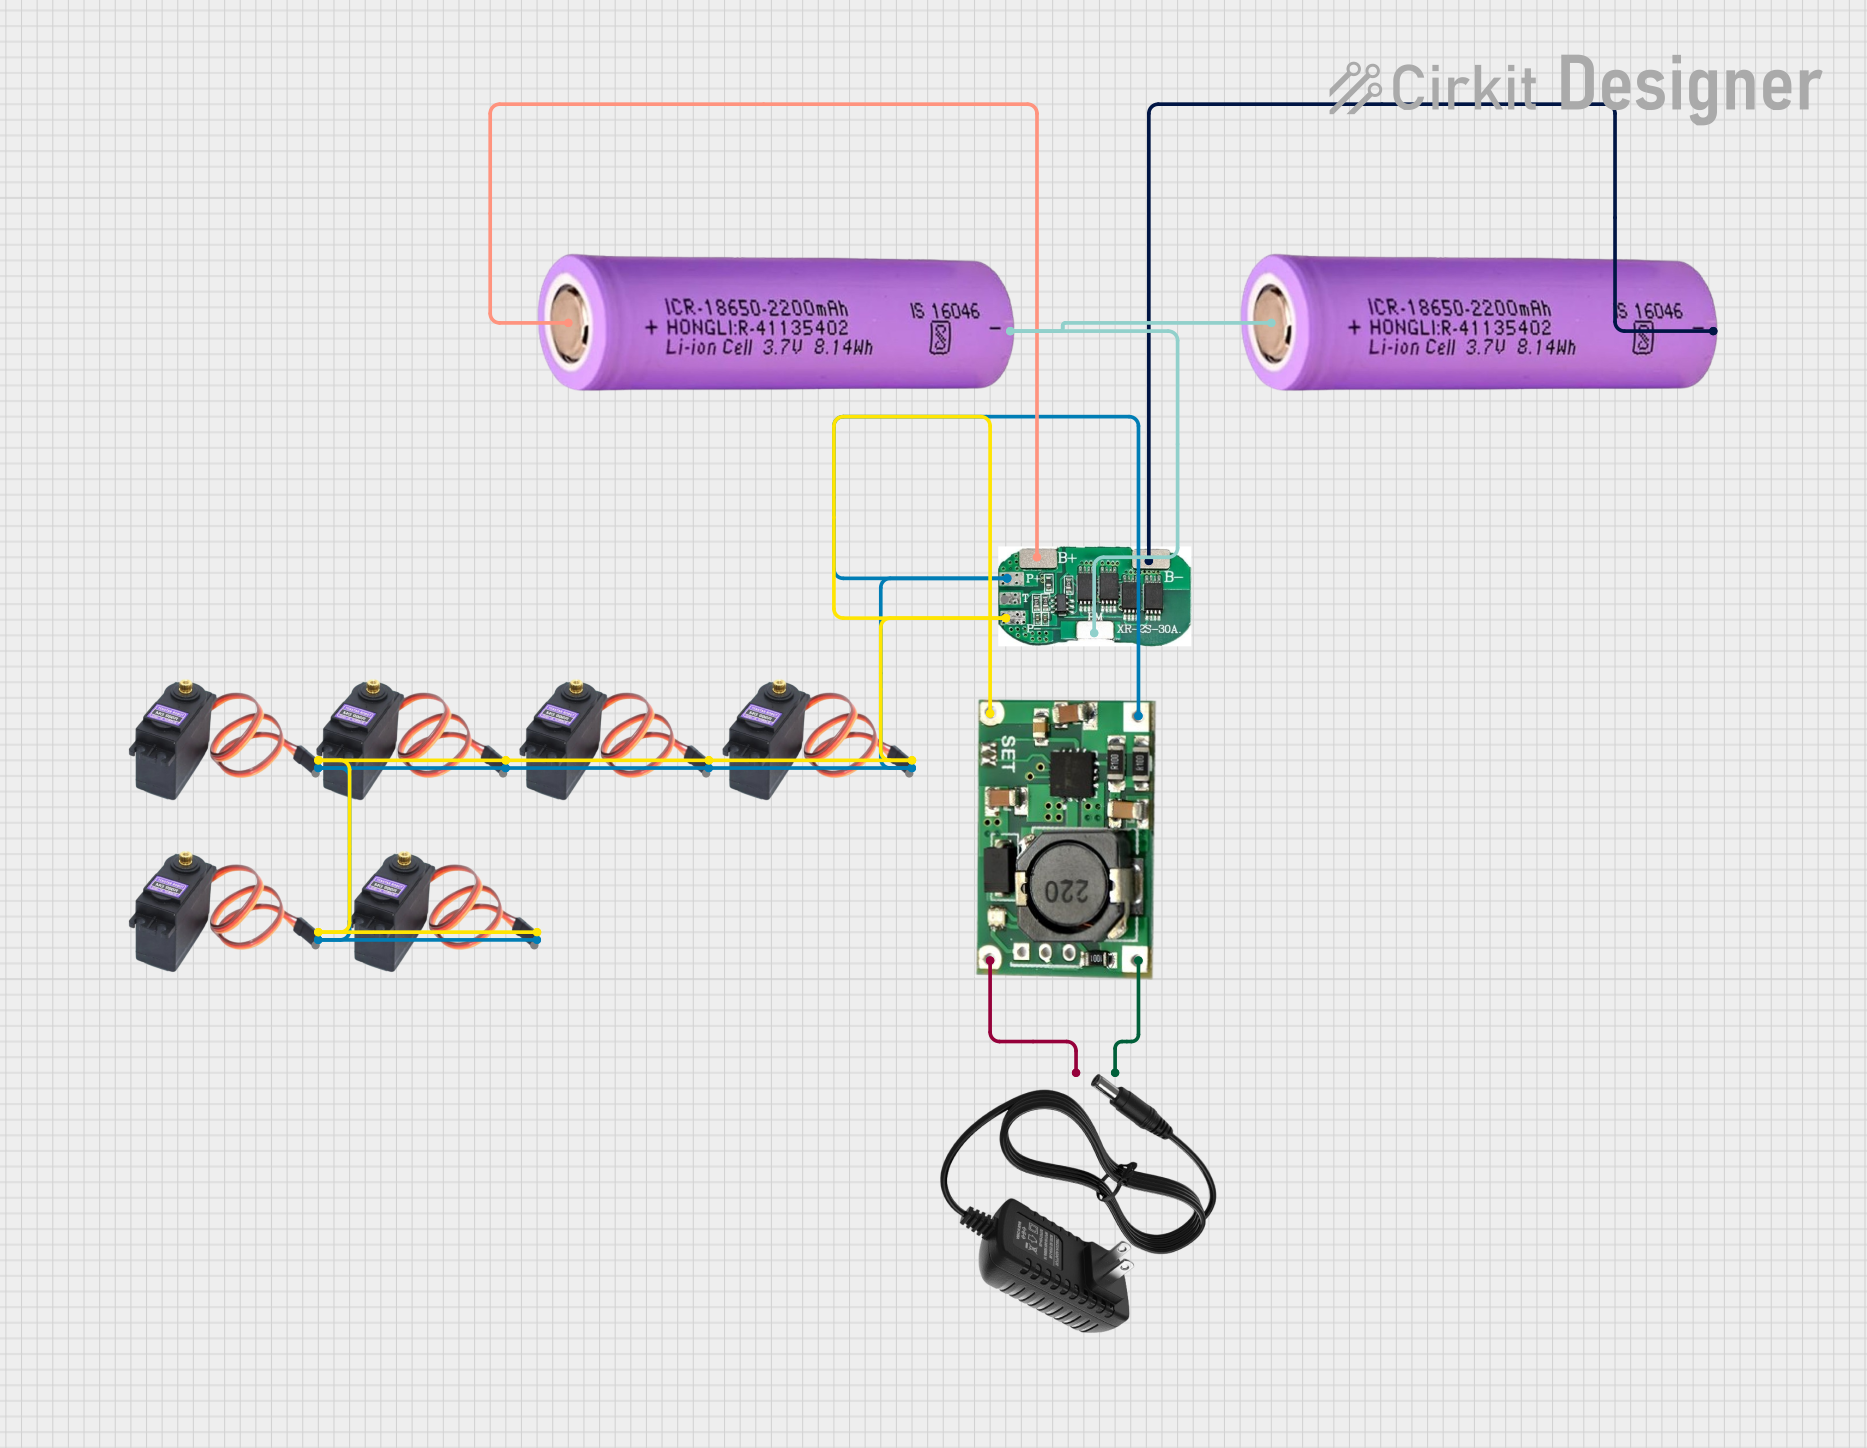
This circuit is a battery management and charging system for a 2S lithium-ion battery pack, which powers multiple MG996R servos. The TP5100 module charges the battery pack from a 12V power supply, while the 2S 30A BMS ensures safe operation and distribution of power to the servos.
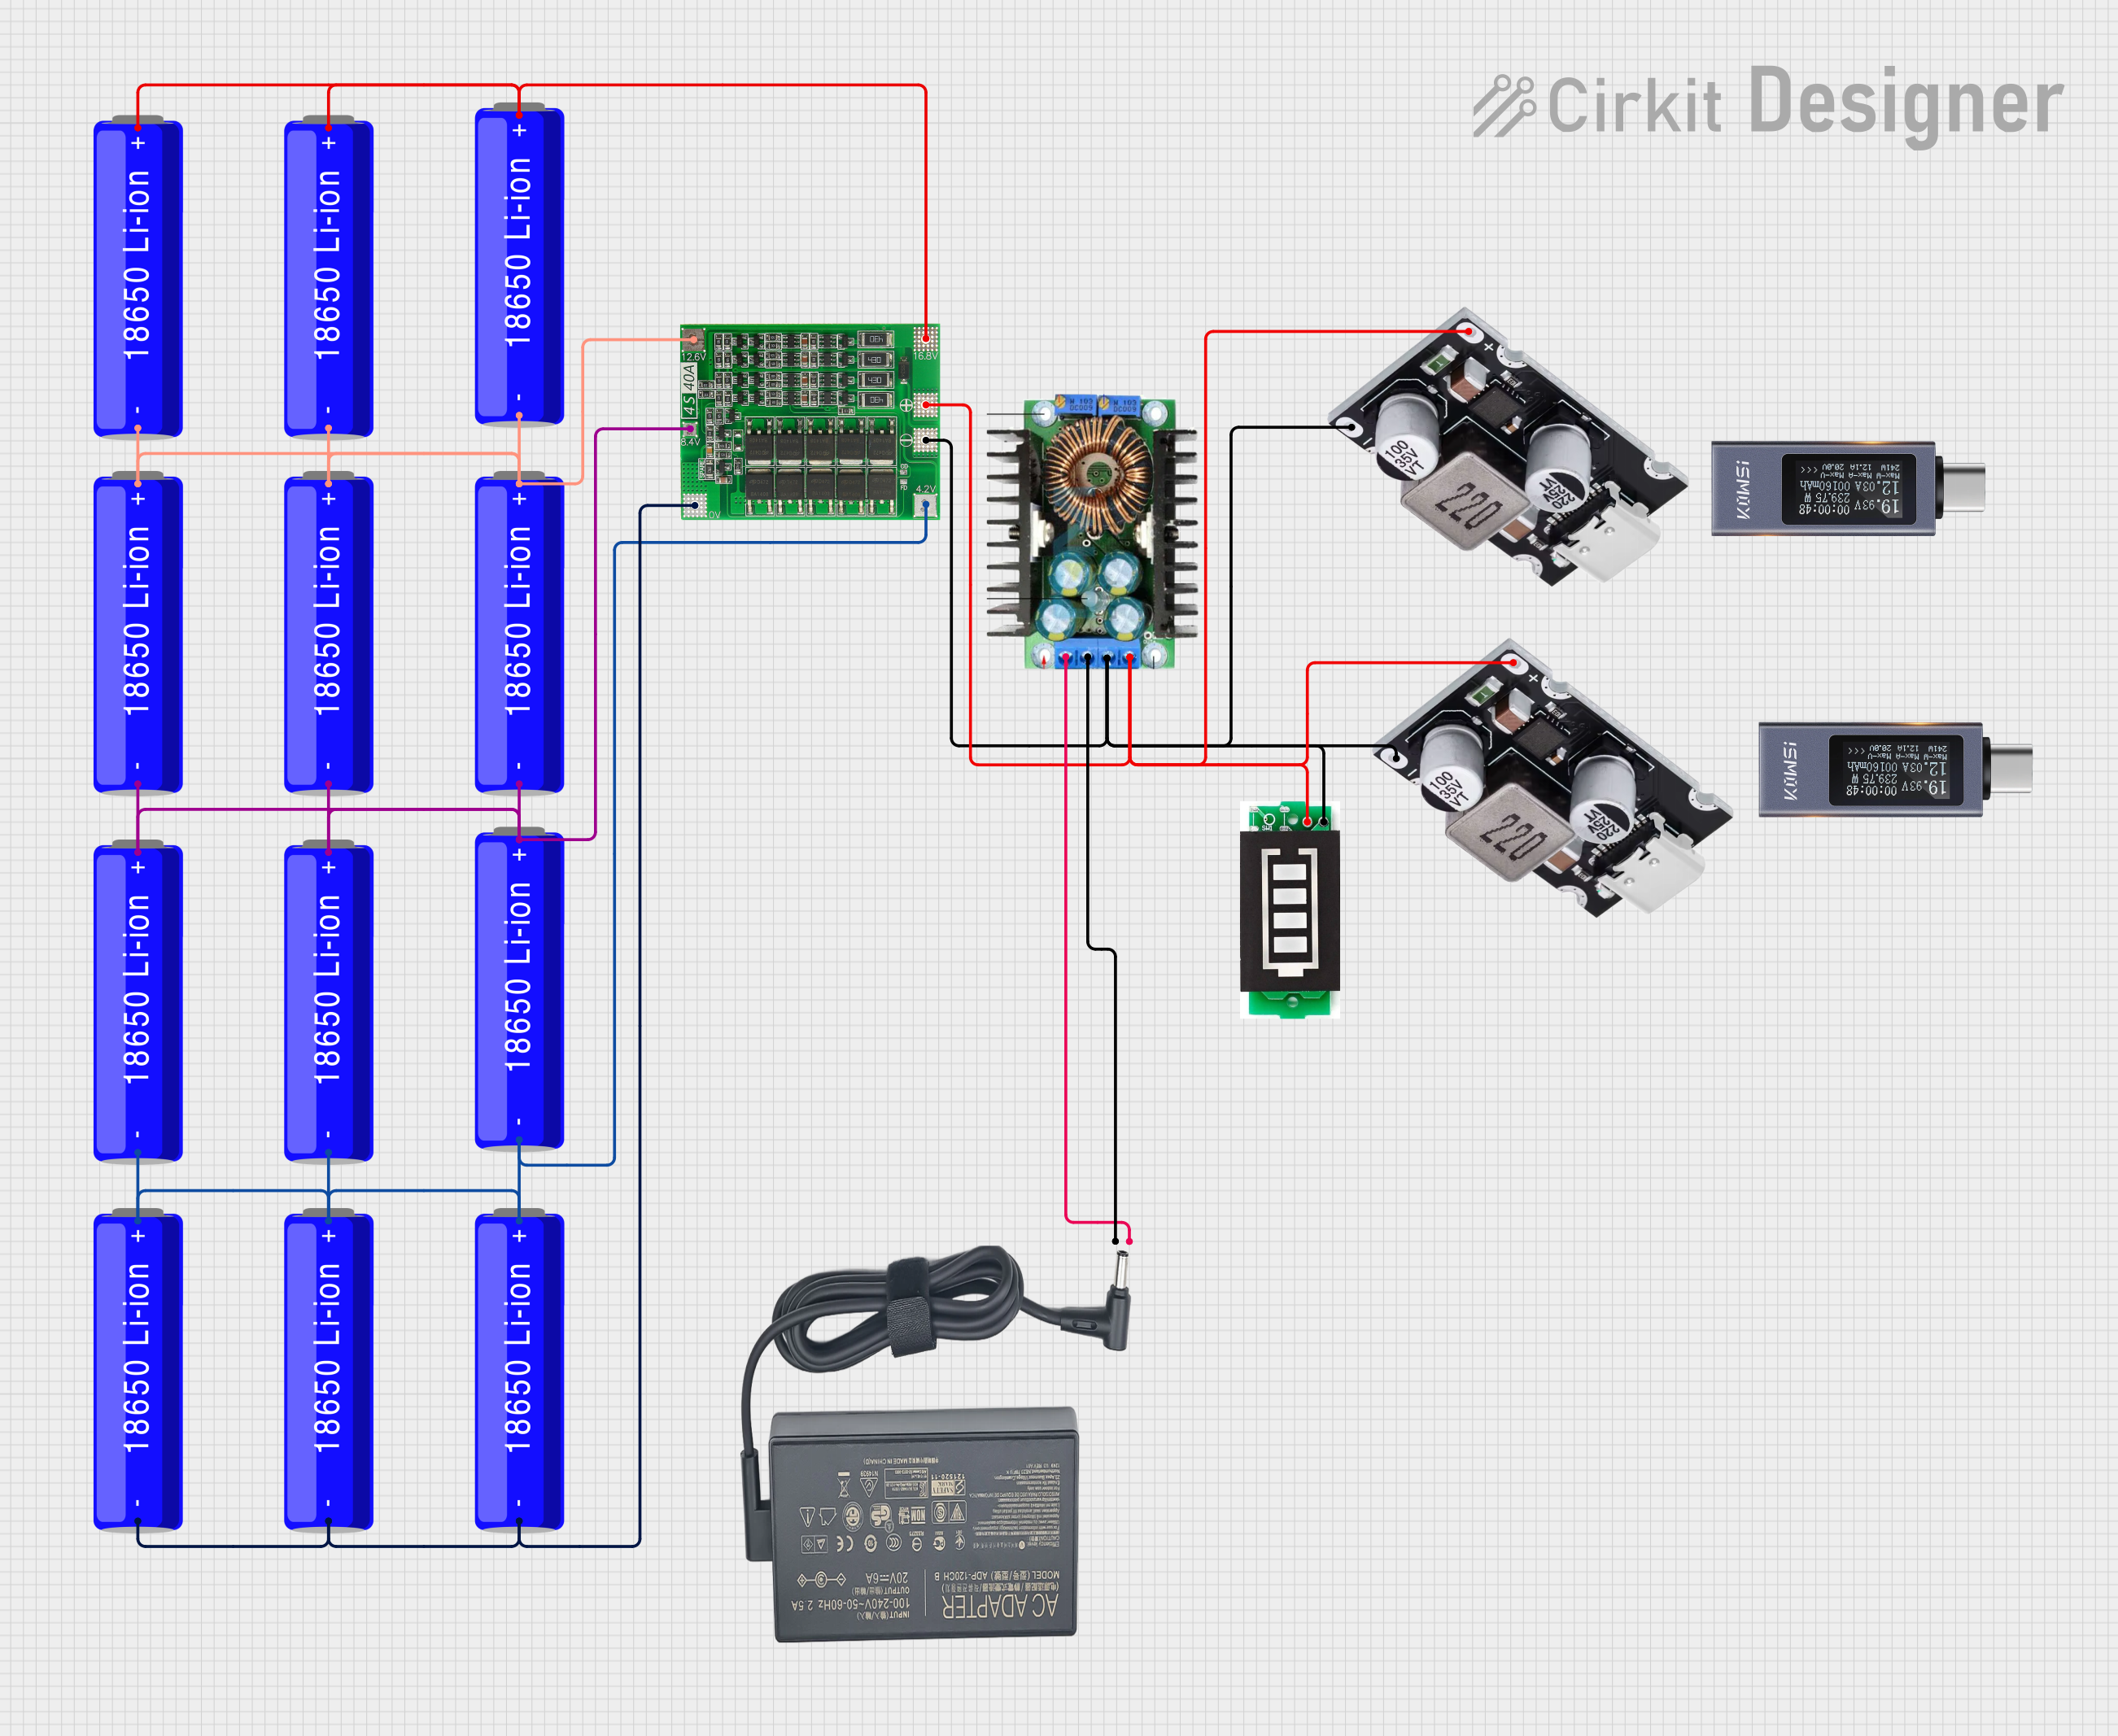
This circuit is a battery management and charging system for a 4S Li-ion battery pack. It includes multiple 18650 Li-ion batteries connected to a 4S40A BMS for balancing and protection, a battery indicator for monitoring charge status, and an XL4016 module for voltage regulation. The system is designed to be charged via a 20V input from a charger.
Remote-controlled (RC) vehicles, drones, and aircraft
Portable electronic devices and wearables
Robotics and embedded systems
Backup power for small IoT devices
Prototyping and DIY electronics projects
Technical Specifications
The following table outlines the key technical details of the Battery 11.1V 450mAh:
Parameter
Value
Nominal Voltage
11.1V
Capacity
450mAh
Chemistry
Lithium Polymer (LiPo)
Maximum Discharge Rate
25C (11.25A)
Charging Voltage
12.6V (max)
Charging Current
0.5A (recommended)
Dimensions
50mm x 30mm x 10mm (approx.)
Weight
~40g
Connector Type
JST or XT30 (varies by model)
Pin Configuration and Descriptions
The battery typically includes two types of connectors: a main power connector and a balance connector. The pin configuration is as follows:
Main Power Connector (e.g., JST or XT30)
Pin
Description
Red
Positive terminal (+)
Black
Negative terminal (-)
Balance Connector (3-pin JST-XH)
Pin
Description
Pin 1
Cell 1 positive (+)
Pin 2
Cell 2 positive (+)
Pin 3
Cell 3 positive (+)
Note: The balance connector is used for charging and monitoring individual cell voltages to ensure safe and balanced charging.
Usage Instructions
How to Use the Battery in a Circuit
Connect the Main Power Connector: Use the red (positive) and black (negative) wires to supply power to your circuit or device.
Monitor Voltage Levels: Ensure the battery voltage does not drop below 9.0V (3.0V per cell) to prevent over-discharge, which can damage the battery.
Use a Compatible Charger: Always charge the battery with a LiPo-compatible charger that supports 3S (3-cell) configurations. Set the charging voltage to 12.6V and the current to 0.5A for optimal safety and longevity.
Balance Charging: Connect the balance connector to the charger to ensure all cells are charged evenly.
Important Considerations and Best Practices
Avoid Overcharging: Never charge the battery above 12.6V to prevent overheating or damage.
Prevent Short Circuits: Ensure the terminals do not come into contact with conductive materials.
Storage: Store the battery at a voltage of approximately 11.4V (3.8V per cell) in a cool, dry place.
Discharge Rate: Do not exceed the maximum discharge rate of 25C (11.25A) to avoid overheating or damage.
Safety Precautions: Use a fireproof LiPo battery bag during charging and storage for added safety.
Example: Using the Battery with an Arduino UNO
To power an Arduino UNO with this battery, you can connect the battery's main power connector to a DC barrel jack adapter. Ensure the voltage regulator on the Arduino board can handle the 11.1V input.
// Example code for Arduino UNO powered by Battery 11.1V 450mAh
// This code blinks an LED connected to pin 13

void setup() {
  pinMode(13, OUTPUT); // Set pin 13 as an output for the LED
}

void loop() {
  digitalWrite(13, HIGH); // Turn the LED on
  delay(1000);            // Wait for 1 second
  digitalWrite(13, LOW);  // Turn the LED off
  delay(1000);            // Wait for 1 second
}
Note: Ensure the Arduino's voltage regulator can handle the input voltage. If needed, use a step-down voltage regulator to supply 5V to the Arduino.
Troubleshooting and FAQs
Common Issues and Solutions
Battery Not Charging
Cause: Charger not compatible or balance connector not connected.
Solution: Use a LiPo-compatible charger and ensure the balance connector is properly connected.
Battery Overheating During Use
Cause: Exceeding the maximum discharge rate.
Solution: Reduce the load on the battery or use a battery with a higher discharge rating.
Device Shuts Down Unexpectedly
Cause: Battery voltage dropped below the safe limit (9.0V).
Solution: Recharge the battery immediately and avoid over-discharging in the future.
Swollen or Damaged Battery
Cause: Overcharging, over-discharging, or physical damage.
Solution: Stop using the battery and dispose of it safely according to local regulations.
FAQs
Q: Can I use this battery for a 12V device?
A: Yes, but ensure the device can operate within the voltage range of 9.0V to 12.6V.
Q: How long will the battery last on a full charge?
A: The runtime depends on the load. For example, a device drawing 450mA will run for approximately 1 hour.
Q: Can I charge the battery without the balance connector?
A: It is not recommended. Balance charging ensures all cells are charged evenly, improving safety and battery life.
Q: Is it safe to leave the battery connected to a device when not in use?
A: No, disconnect the battery to prevent over-discharge or accidental short circuits.
By following these guidelines and best practices, you can safely and effectively use the Battery 11.1V 450mAh in your projects.


 Open Project in Cirkit Designer