
How to Use 태양광 다이오드 80V 50A: Examples, Pinouts, and Specs
 Design with 태양광 다이오드 80V 50A in Cirkit Designer
Introduction
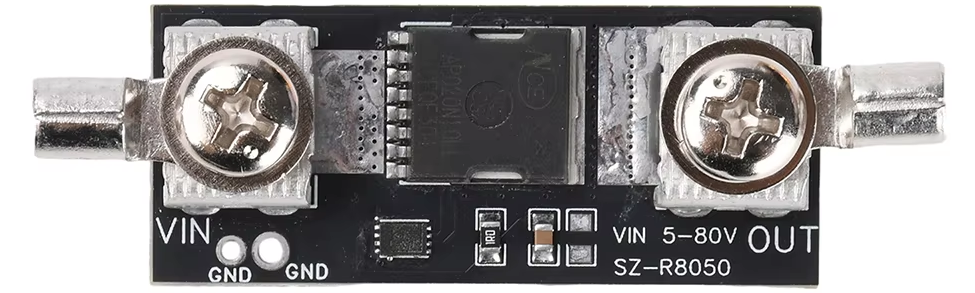
The 태양광 다이오드 80V 50A, manufactured by 알리익스프레스, is a high-performance diode specifically designed for solar power systems. It is capable of handling up to 80 volts and 50 amps, making it ideal for preventing reverse current flow in solar panel setups. This diode ensures efficient energy transfer from solar panels to batteries or inverters, protecting the system from potential damage caused by reverse current.
Explore Projects Built with 태양광 다이오드 80V 50A
 Open Project in Cirkit Designer
 Open Project in Cirkit Designer
 Open Project in Cirkit Designer
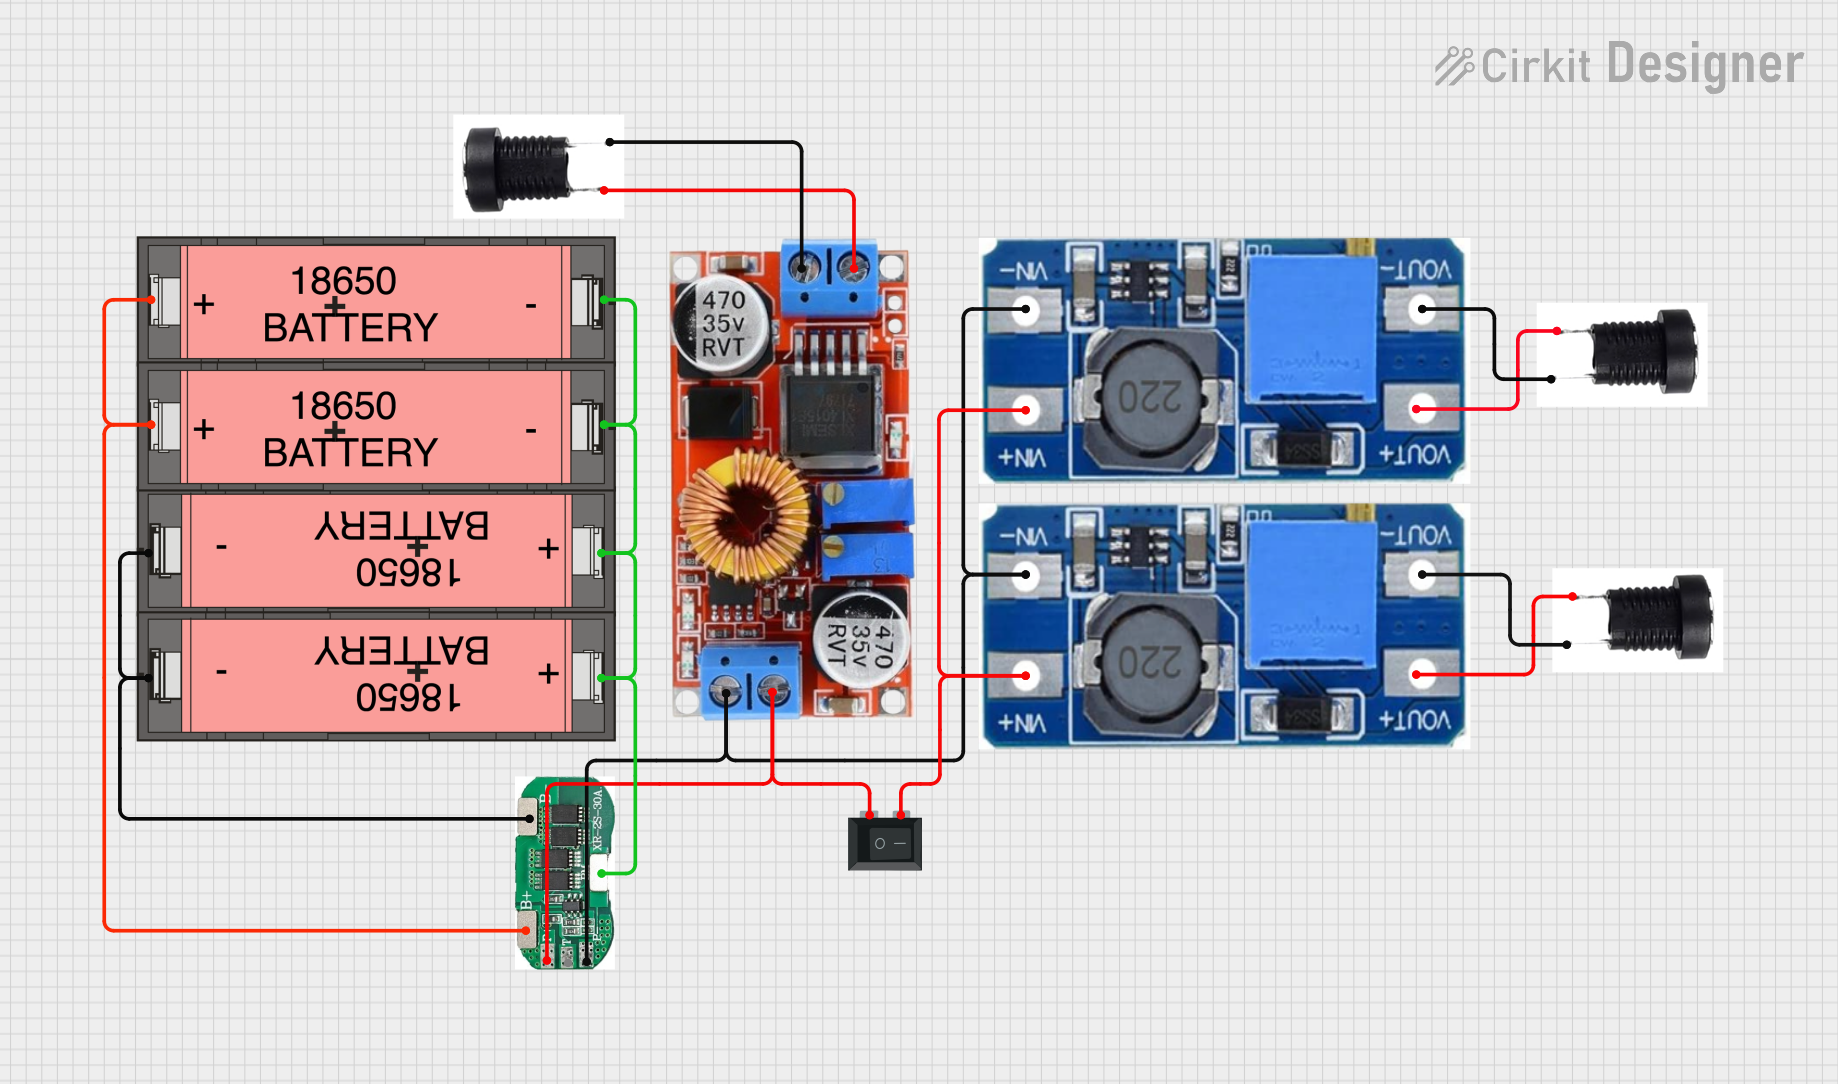 Open Project in Cirkit Designer
Explore Projects Built with 태양광 다이오드 80V 50A
Open Project in Cirkit DesignerOpen Project in Cirkit DesignerOpen Project in Cirkit DesignerOpen Project in Cirkit DesignerCommon Applications and Use Cases
- Solar panel arrays to prevent reverse current flow
- Battery charging systems in renewable energy setups
- DC power systems requiring high current and voltage handling
- Inverters and charge controllers for solar energy systems
Technical Specifications
The following table outlines the key technical specifications of the 태양광 다이오드 80V 50A:
| Parameter | Value |
|---|---|
| Manufacturer | 알리익스프레스 |
| Part ID | 태양광 다이오드 80V 50A |
| Maximum Voltage (V) | 80V |
| Maximum Current (A) | 50A |
| Reverse Recovery Time | Fast switching |
| Package Type | TO-247 or similar |
| Operating Temperature | -40°C to +150°C |
| Forward Voltage Drop | ~0.7V to 1.1V (typical) |
Pin Configuration and Descriptions
The 태양광 다이오드 80V 50A typically comes in a TO-247 package with the following pin configuration:
| Pin Number | Pin Name | Description |
|---|---|---|
| 1 | Anode | Positive terminal for current input |
| 2 | Cathode | Negative terminal for current output |
| 3 | Not Connected | May be unused or for mechanical support |
Usage Instructions
How to Use the Component in a Circuit
- Identify the Anode and Cathode: Ensure proper orientation of the diode in the circuit. The anode connects to the positive side of the circuit, and the cathode connects to the negative side.
- Connect to Solar Panels: Place the diode in series with the solar panel's positive output to prevent reverse current flow.
- Heat Dissipation: Use an appropriate heatsink if the diode is expected to handle high currents continuously, as it may generate heat.
- Voltage and Current Ratings: Ensure the system voltage does not exceed 80V and the current does not exceed 50A to avoid damage.
Important Considerations and Best Practices
- Reverse Polarity Protection: Double-check the polarity before connecting the diode to avoid damage.
- Heatsink Usage: For high-current applications, attach a heatsink to the diode to maintain safe operating temperatures.
- Parallel Connections: Avoid connecting diodes in parallel without proper current-sharing mechanisms, as uneven current distribution may damage the diodes.
- Testing: Use a multimeter in diode mode to verify the forward and reverse bias characteristics before installation.
Example: Using with an Arduino UNO
While the 태양광 다이오드 80V 50A is not directly interfaced with an Arduino UNO, it can be used in a solar-powered Arduino project to protect the power supply. Below is an example of a simple solar charging circuit with an Arduino UNO:
// Example: Solar-powered Arduino UNO with reverse current protection
// This setup uses the 태양광 다이오드 80V 50A to prevent reverse current flow
// from the battery to the solar panel.

const int solarPin = A0; // Analog pin to monitor solar panel voltage
const int batteryPin = A1; // Analog pin to monitor battery voltage

void setup() {
  Serial.begin(9600); // Initialize serial communication
  pinMode(solarPin, INPUT);
  pinMode(batteryPin, INPUT);
}

void loop() {
  // Read solar panel voltage
  int solarVoltage = analogRead(solarPin);
  // Convert to actual voltage (assuming a 10-bit ADC and voltage divider)
  float solarVoltageActual = (solarVoltage / 1023.0) * 5.0 * 2; // Adjust for divider

  // Read battery voltage
  int batteryVoltage = analogRead(batteryPin);
  float batteryVoltageActual = (batteryVoltage / 1023.0) * 5.0 * 2; // Adjust for divider

  // Print voltages to Serial Monitor
  Serial.print("Solar Voltage: ");
  Serial.print(solarVoltageActual);
  Serial.println(" V");

  Serial.print("Battery Voltage: ");
  Serial.print(batteryVoltageActual);
  Serial.println(" V");

  delay(1000); // Wait 1 second before next reading
}
Note: Ensure proper voltage dividers are used to scale down the solar panel and battery voltages to the Arduino's ADC input range (0-5V).
Troubleshooting and FAQs
Common Issues Users Might Face
Excessive Heat Generation:
- Cause: High current flow without proper heatsinking.
- Solution: Attach an appropriate heatsink to the diode and ensure adequate ventilation.
Reverse Current Flow:
- Cause: Incorrect orientation of the diode.
- Solution: Verify the anode and cathode connections before powering the circuit.
Voltage Drop Across the Diode:
- Cause: Forward voltage drop inherent to the diode.
- Solution: Account for the voltage drop (~0.7V to 1.1V) when designing the circuit.
Diode Failure:
- Cause: Exceeding voltage or current ratings.
- Solution: Ensure the system voltage does not exceed 80V and the current does not exceed 50A.
Solutions and Tips for Troubleshooting
- Use a multimeter to check the diode's forward and reverse bias characteristics.
- Inspect the diode for physical damage or discoloration, which may indicate overheating.
- Ensure all connections are secure and free from corrosion or loose wires.
- If the diode repeatedly fails, consider using a diode with higher voltage or current ratings for your application.
By following this documentation, users can effectively integrate the 태양광 다이오드 80V 50A into their solar power systems, ensuring reliable and efficient operation.