How to Use Moisture Sensor: Examples, Pinouts, and Specs
Introduction
A Moisture Sensor is an electronic device designed to detect and measure the level of moisture in its environment. This sensor is widely used in various applications, such as monitoring soil moisture levels in agriculture to optimize irrigation, detecting water presence in basements or bathrooms to prevent mold growth, and in automated plant watering systems. By providing real-time moisture data, these sensors can help in conserving water and ensuring optimal growth conditions for plants.
Explore Projects Built with Moisture Sensor
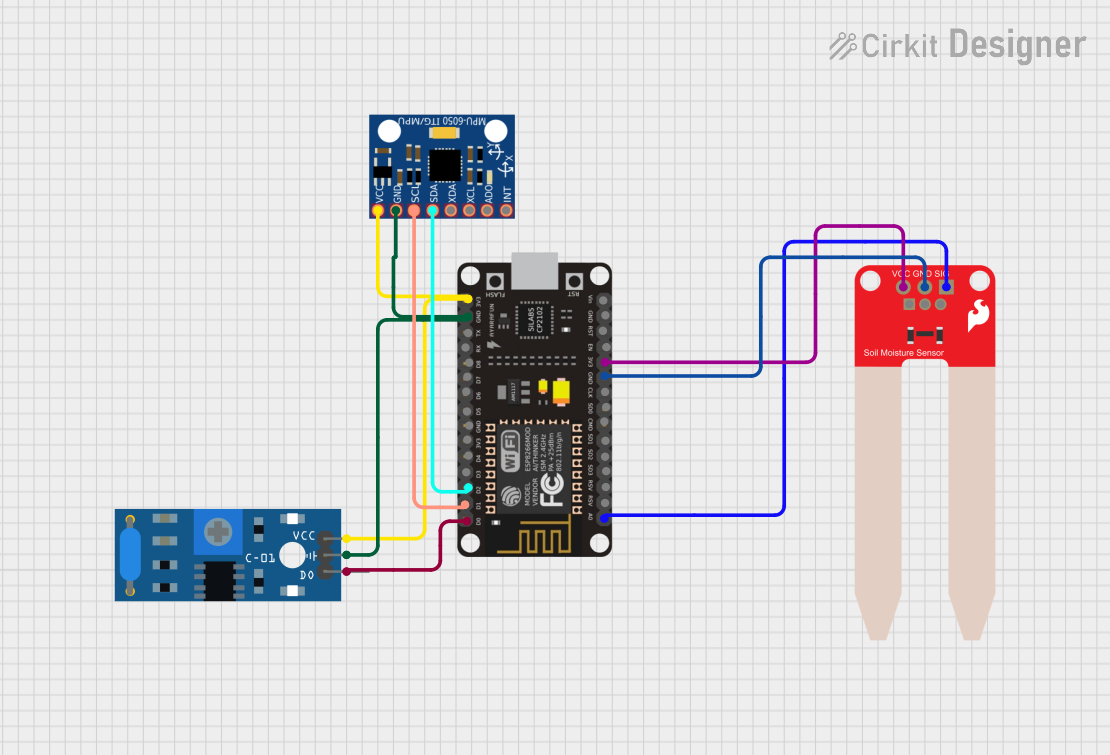
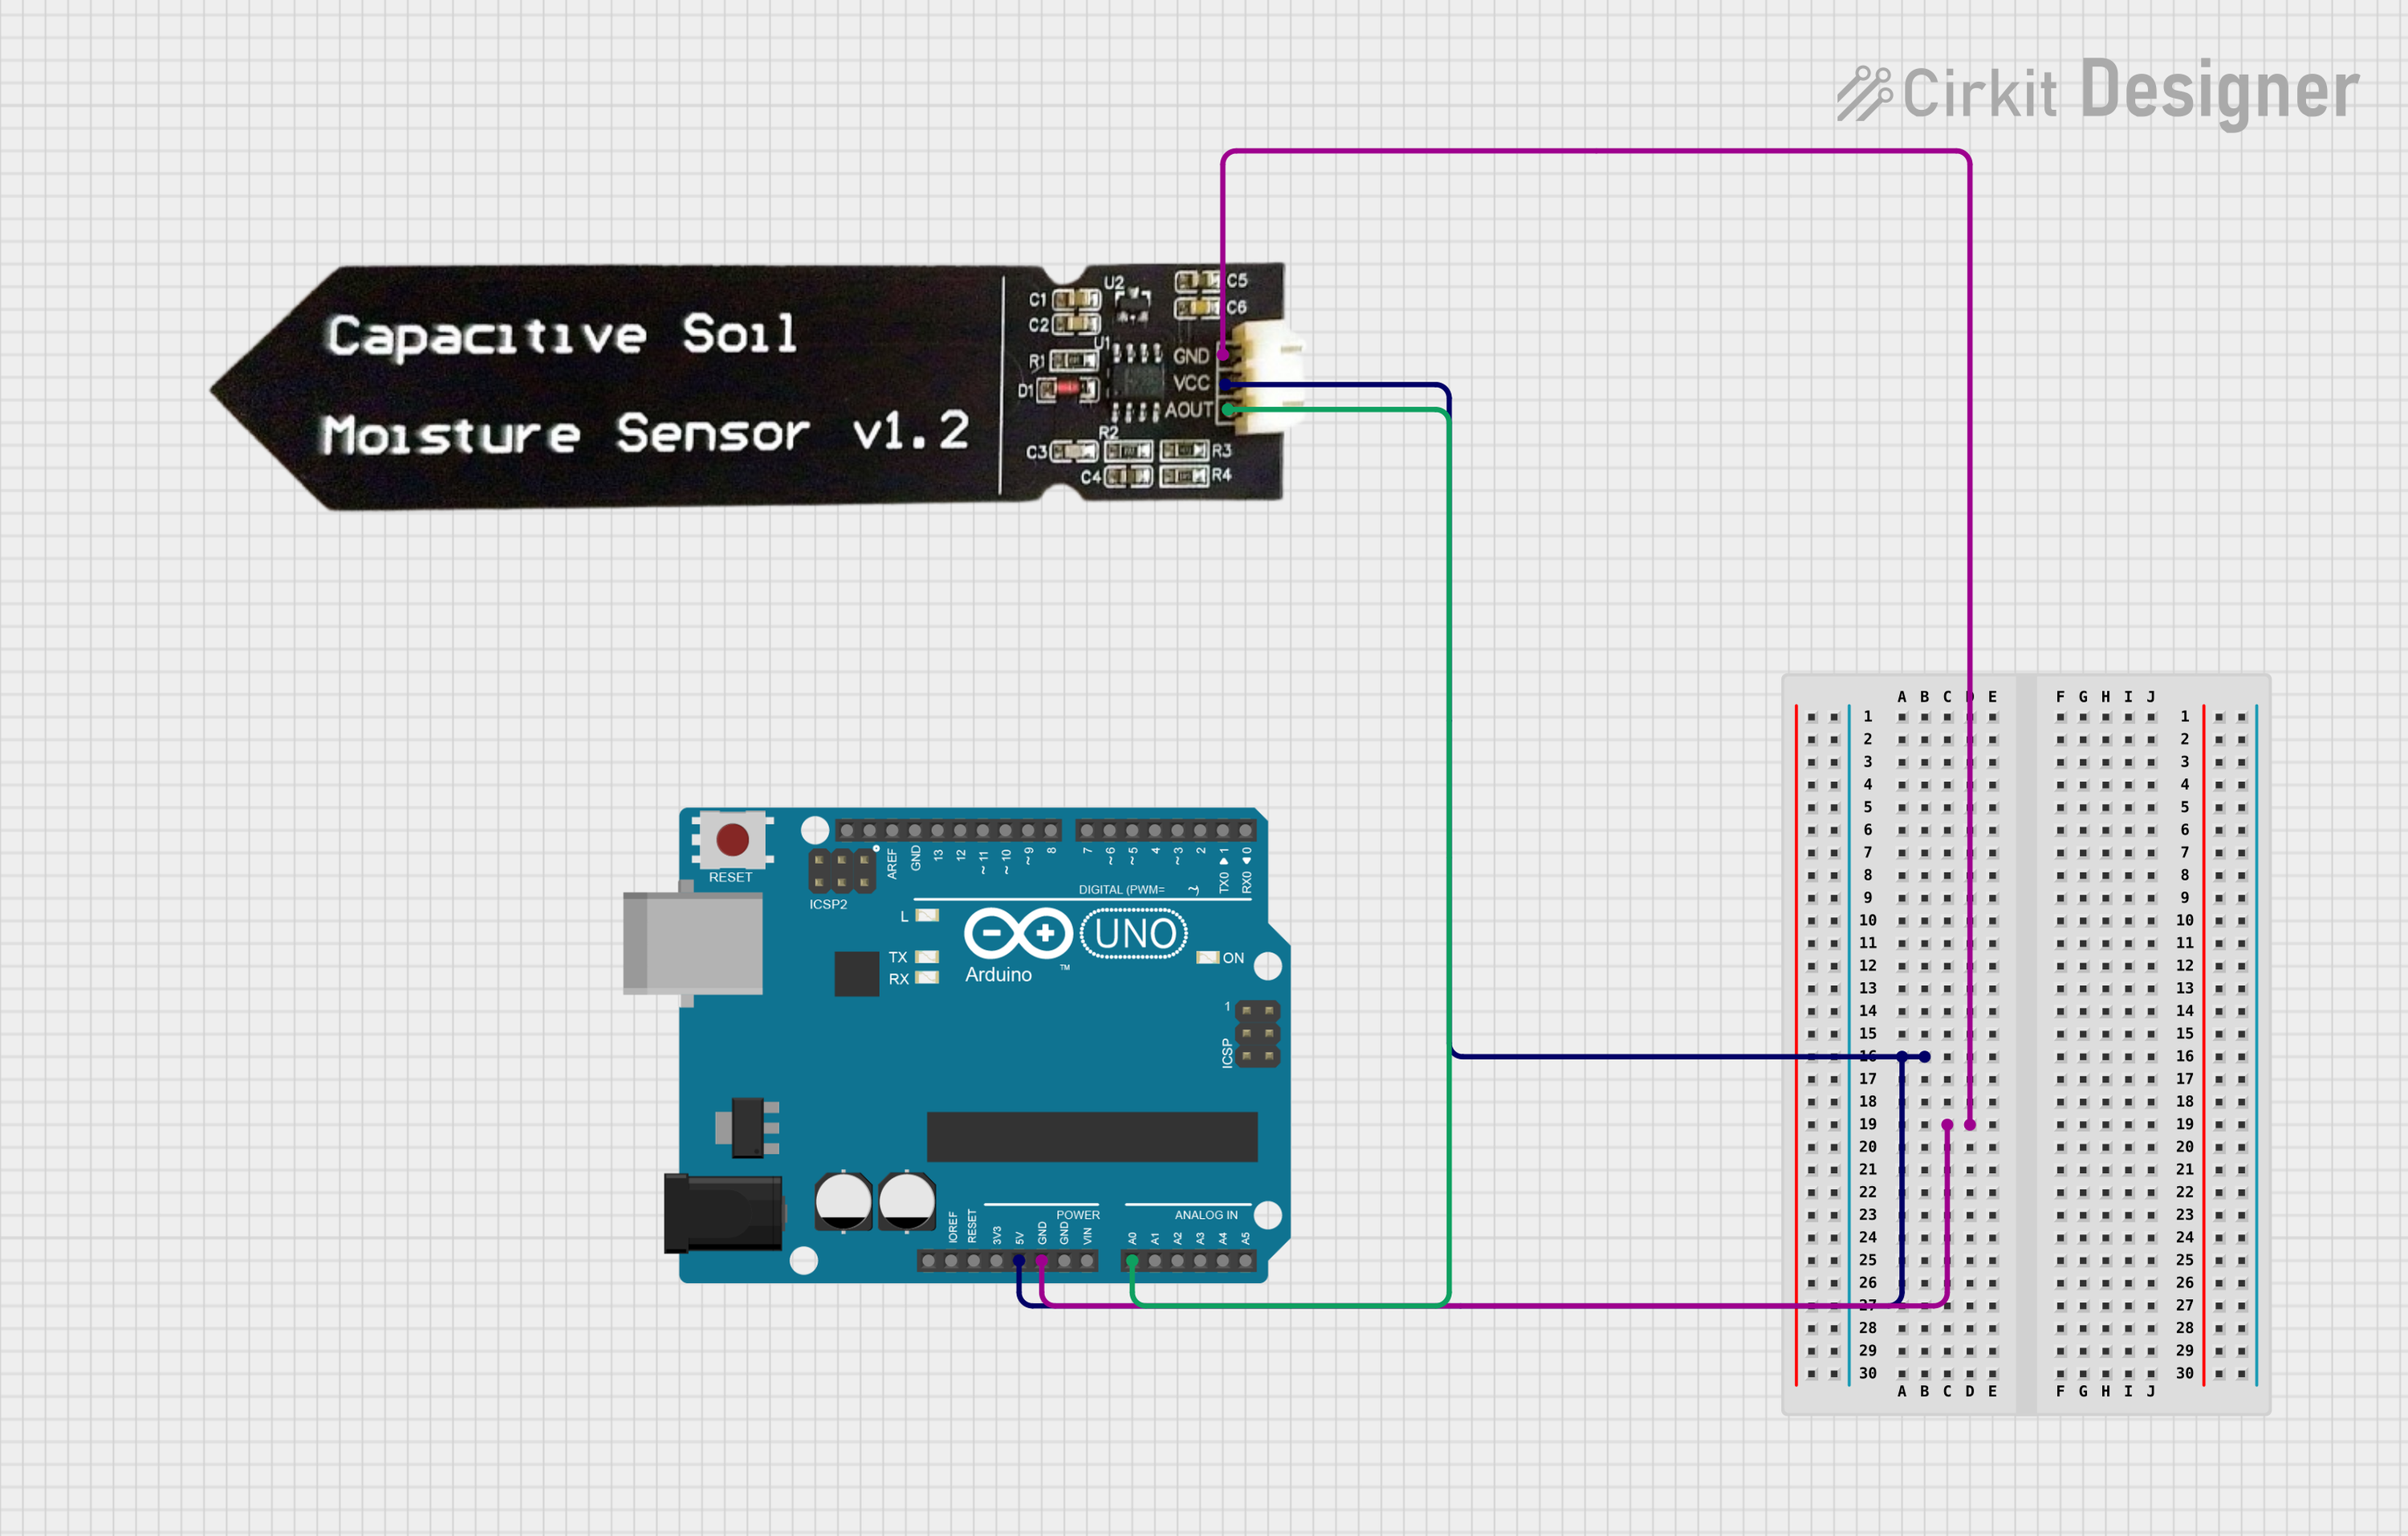
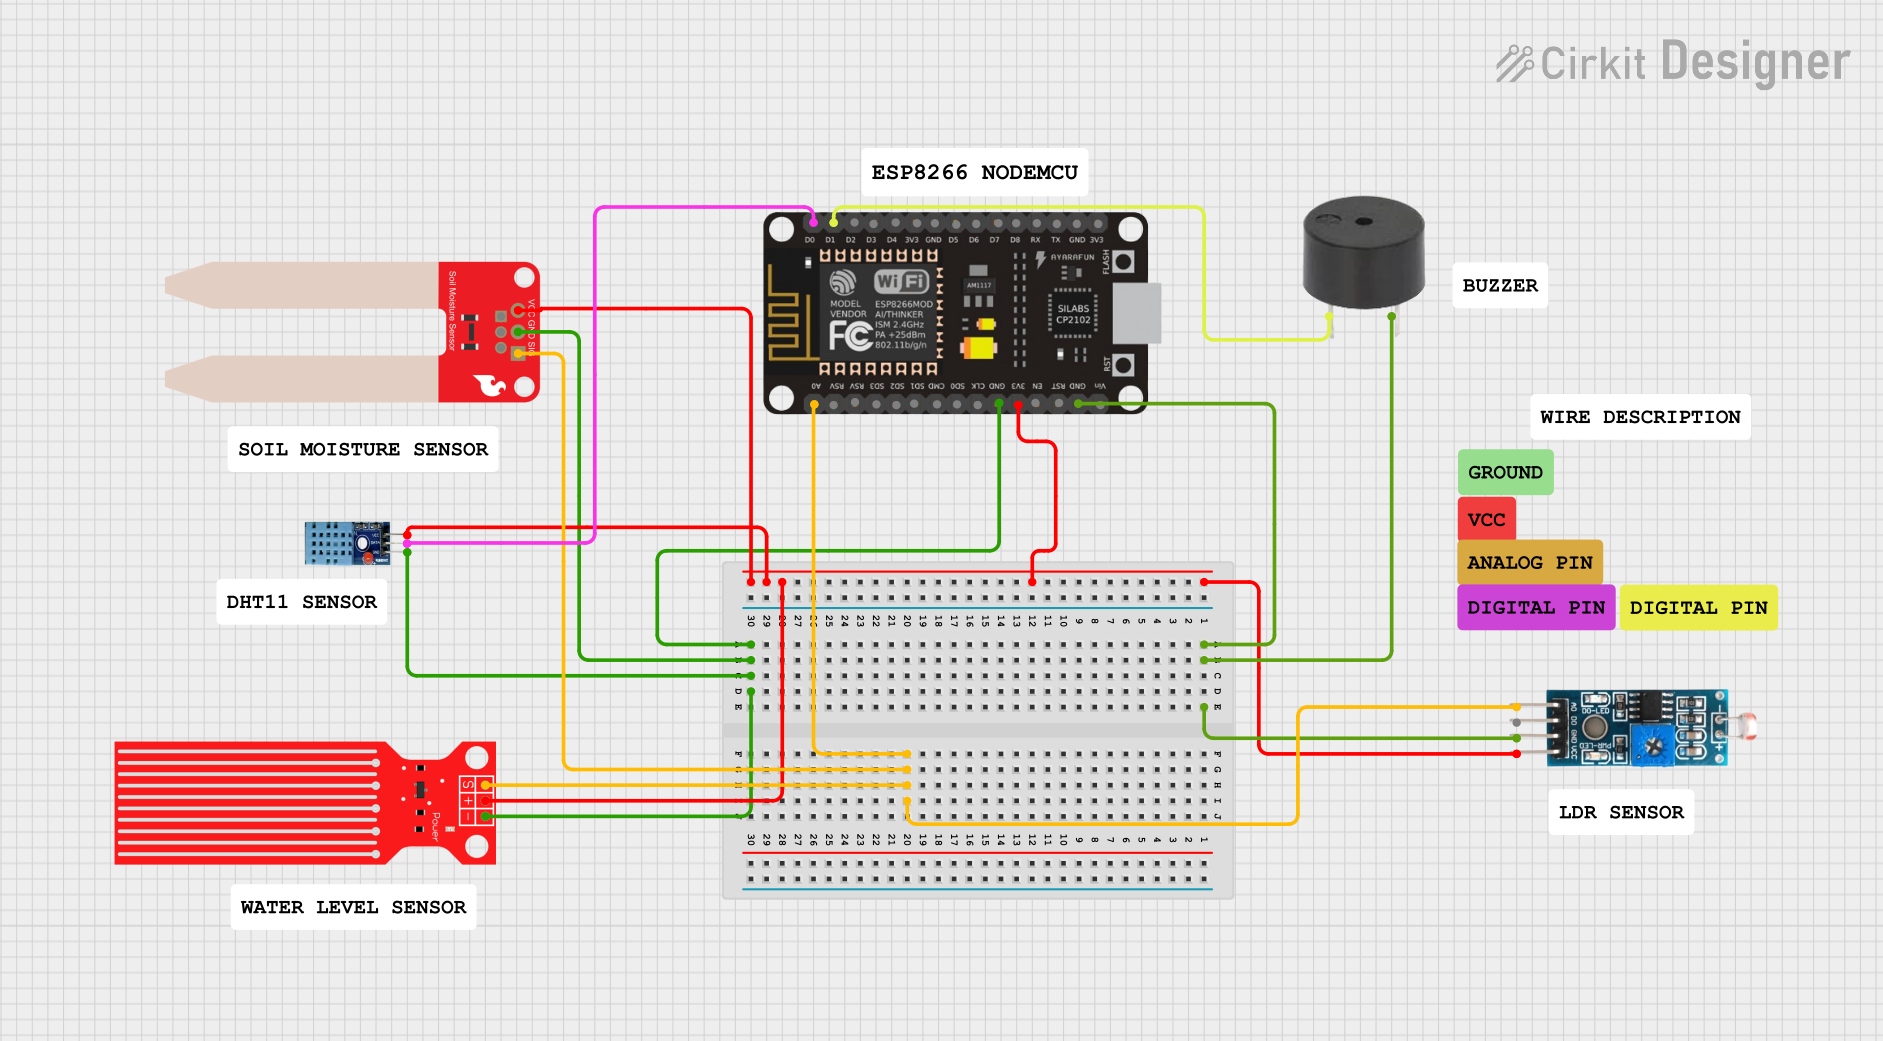
Explore Projects Built with Moisture Sensor
Technical Specifications
Key Technical Details
- Operating Voltage: Typically 3.3V to 5V
- Output Type: Analog (proportional to moisture level), Digital (threshold-based)
- Current Consumption: Varies with model, usually in the range of 10-20mA
- Sensing Area: Depends on probe design, often elongated for soil insertion
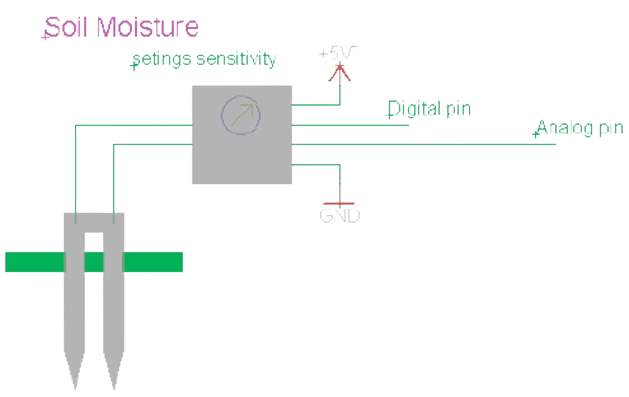
Pin Configuration and Descriptions
| Pin Number | Name | Description |
|---|---|---|
| 1 | VCC | Connect to 3.3V or 5V power supply |
| 2 | GND | Connect to ground |
| 3 | AOUT | Analog output, provides a voltage proportional to moisture level |
| 4 | DOUT | Digital output, goes high or low based on moisture threshold |
Usage Instructions
Integration with a Circuit
- Power Connection: Connect the VCC pin to a 3.3V or 5V power supply and the GND pin to the ground.
- Output Connection: For analog readings, connect the AOUT pin to an analog input on your microcontroller. For digital readings, connect the DOUT pin to a digital input.
- Adjust Sensitivity: If your sensor has a potentiometer, adjust it to set the threshold for the digital output.
Best Practices
- Avoid submerging the electronic components of the sensor to prevent damage.
- Clean the sensor probes after use to prevent corrosion and ensure accurate readings.
- Calibrate the sensor periodically by comparing its readings with a known moisture standard.
Example Code for Arduino UNO
// Define the sensor output pin
const int moistureSensorPin = A0; // Analog output connected to A0
const int sensorPowerPin = 7;     // Digital pin to power the sensor

void setup() {
  pinMode(sensorPowerPin, OUTPUT); // Set the sensor power pin as an output
  Serial.begin(9600);              // Start serial communication at 9600 baud
}

void loop() {
  digitalWrite(sensorPowerPin, HIGH); // Turn on the moisture sensor
  delay(10);                          // Wait 10 milliseconds for stabilization
  int sensorValue = analogRead(moistureSensorPin); // Read the analog value
  digitalWrite(sensorPowerPin, LOW);  // Turn off the moisture sensor to save power

  Serial.print("Moisture level: ");
  Serial.println(sensorValue);        // Print the moisture level to the serial monitor

  delay(1000);                        // Wait for a second before next reading
}
Note: The above code powers the moisture sensor only during the reading to prolong the sensor's life and prevent corrosion of the probes.
Troubleshooting and FAQs
Common Issues
- Inconsistent Readings: Ensure that the sensor probes are fully inserted into the soil and that there is no debris affecting the contact.
- Sensor Corrosion: Over time, the sensor probes may corrode due to prolonged exposure to moisture. Regular cleaning and intermittent operation can help mitigate this.
- No Readings: Check all connections and ensure that the sensor is powered correctly. Also, verify that the correct pins are used in the code.
FAQs
Q: Can the moisture sensor be used in water? A: The sensor can detect water, but the electronic components should not be submerged. Only the probe tips are water-resistant.
Q: How do I calibrate the moisture sensor? A: Calibration can be done by adjusting the potentiometer to set the digital output threshold or by comparing analog readings with a known moisture reference.
Q: Is the sensor suitable for all types of soil? A: Yes, but different soil types may affect the readings. Calibration for specific soil types is recommended for accurate measurements.
Q: How long can I leave the sensor in the soil? A: The sensor can be left in the soil for extended periods, but intermittent operation and regular cleaning are advised to prevent corrosion.
For further assistance, consult the manufacturer's datasheet or contact technical support.