How to Use Adafruit DRV2605L: Examples, Pinouts, and Specs

Introduction
The Adafruit DRV2605L is a versatile haptic motor controller designed to provide tactile feedback in electronic projects. This controller is capable of driving a wide range of haptic devices including Eccentric Rotating Mass (ERM) motors and Linear Resonant Actuators (LRAs). It is commonly used in wearable devices, gaming controllers, and touch-enabled devices to enhance the user experience through vibration feedback.
Explore Projects Built with Adafruit DRV2605L
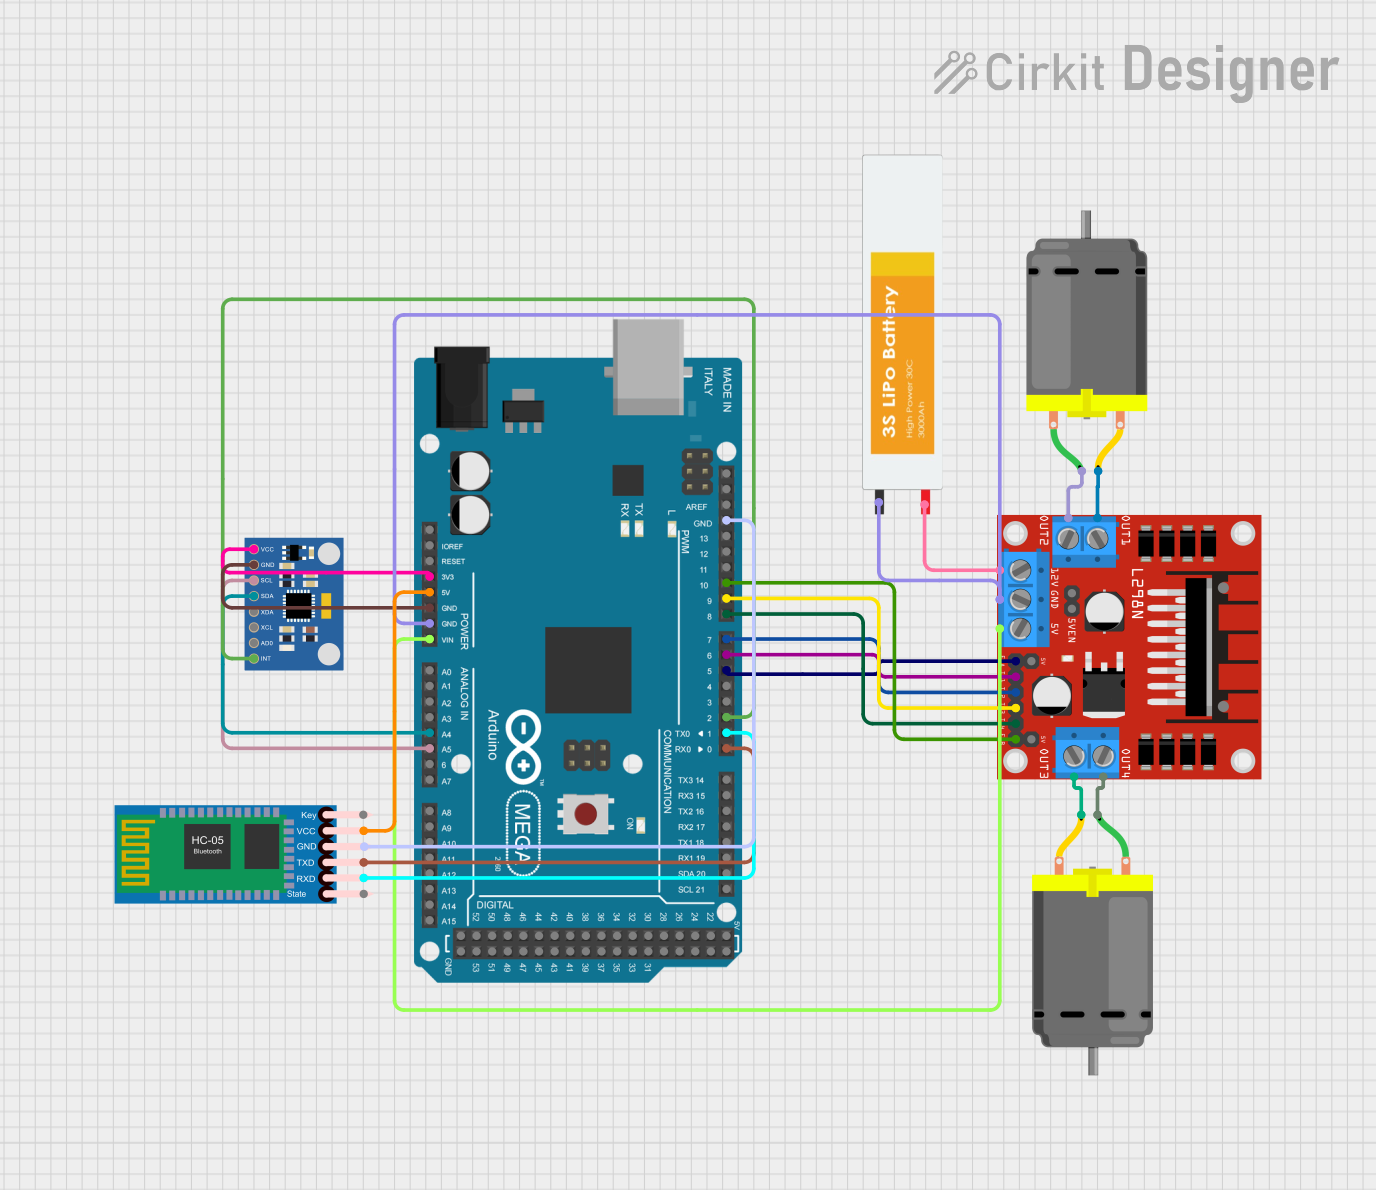
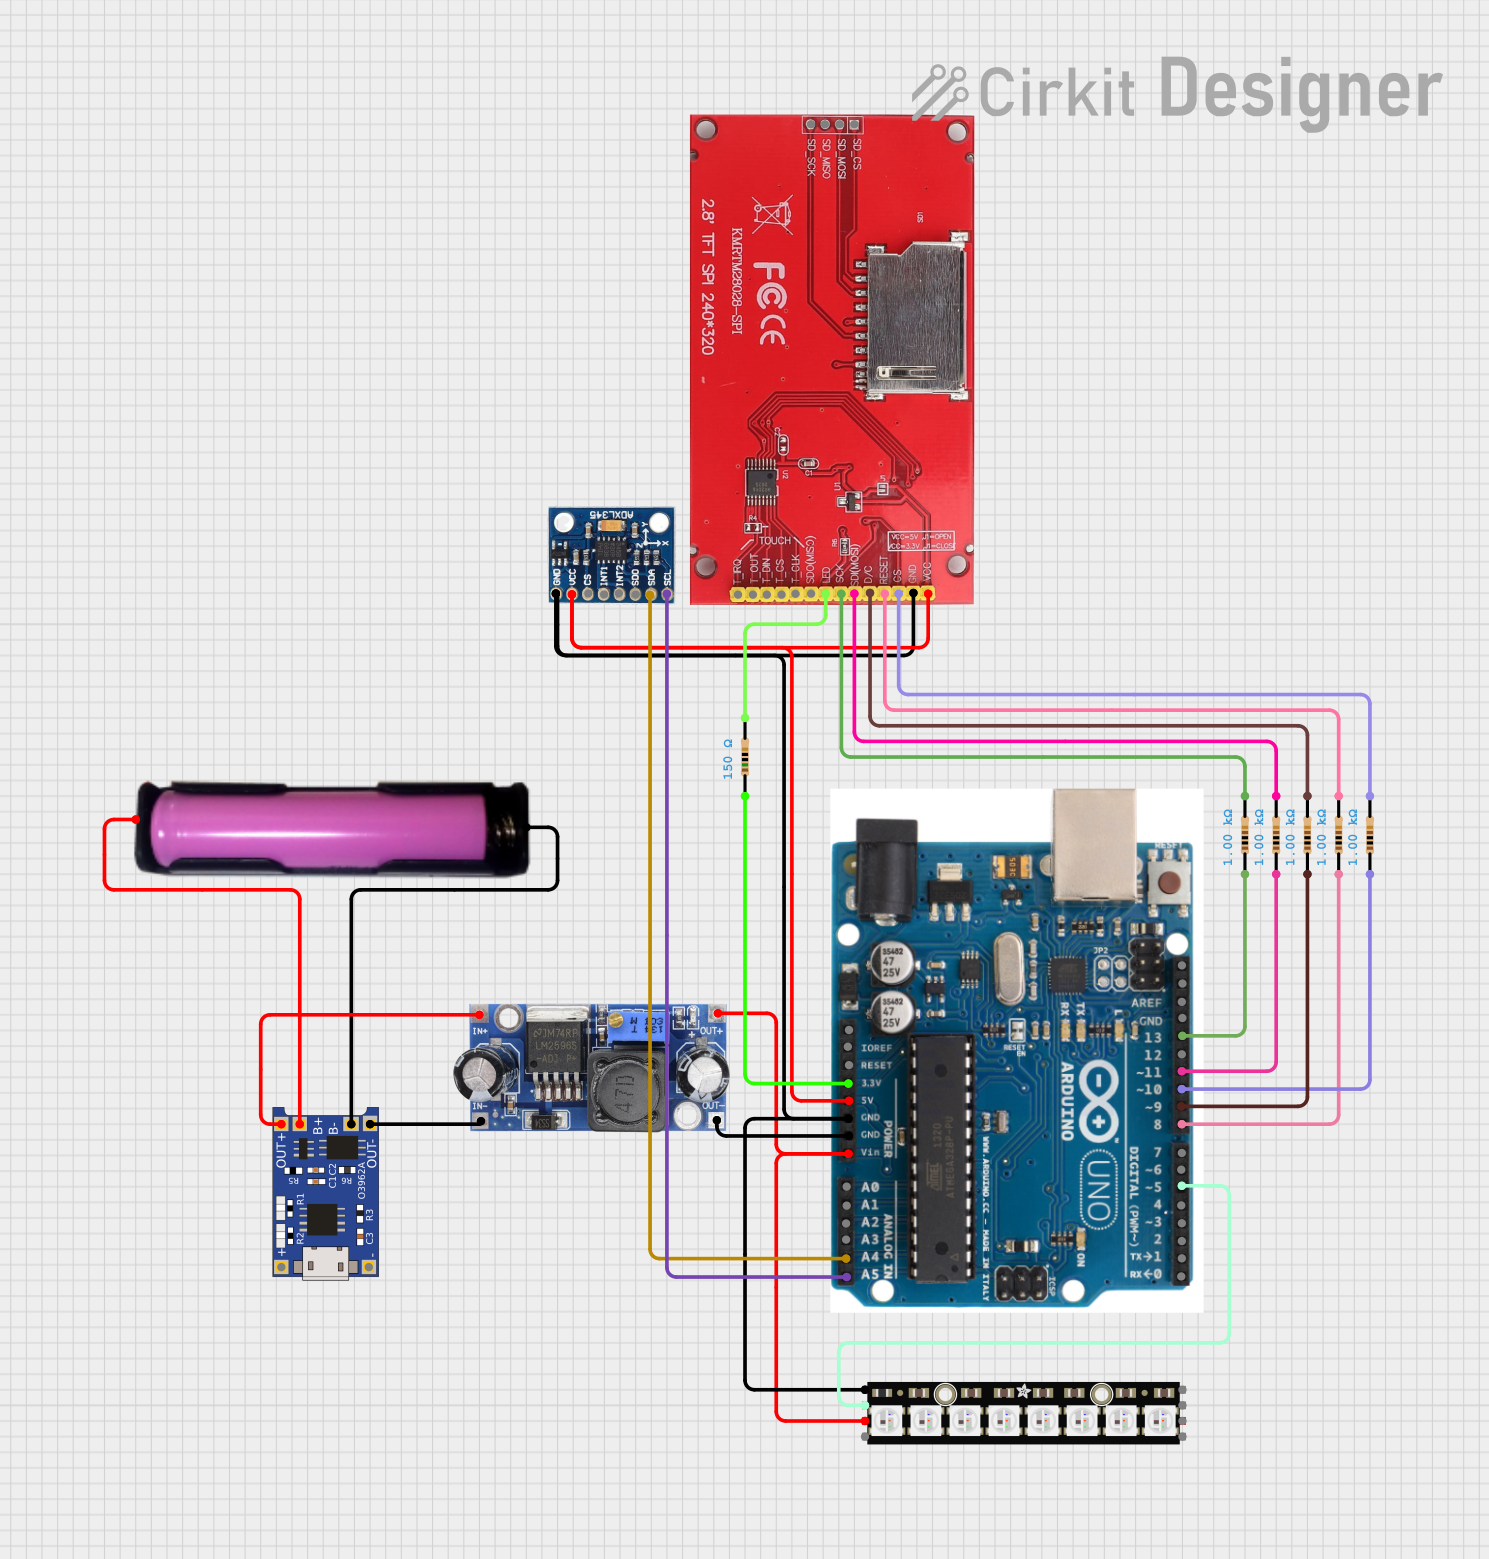
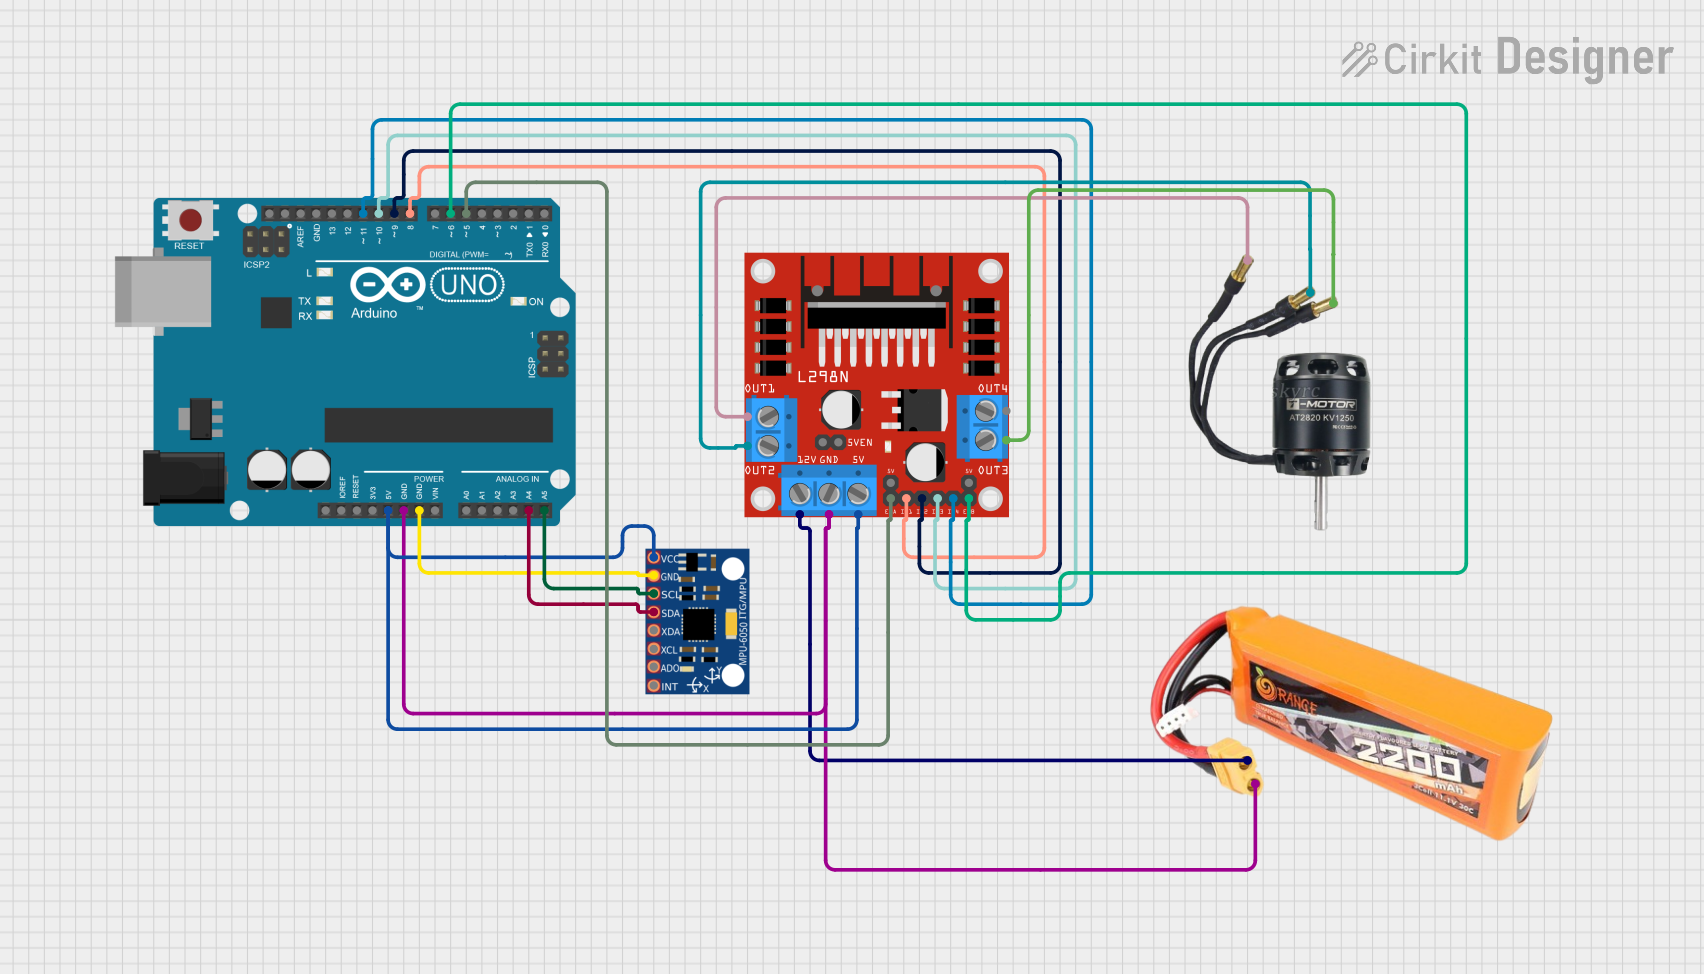
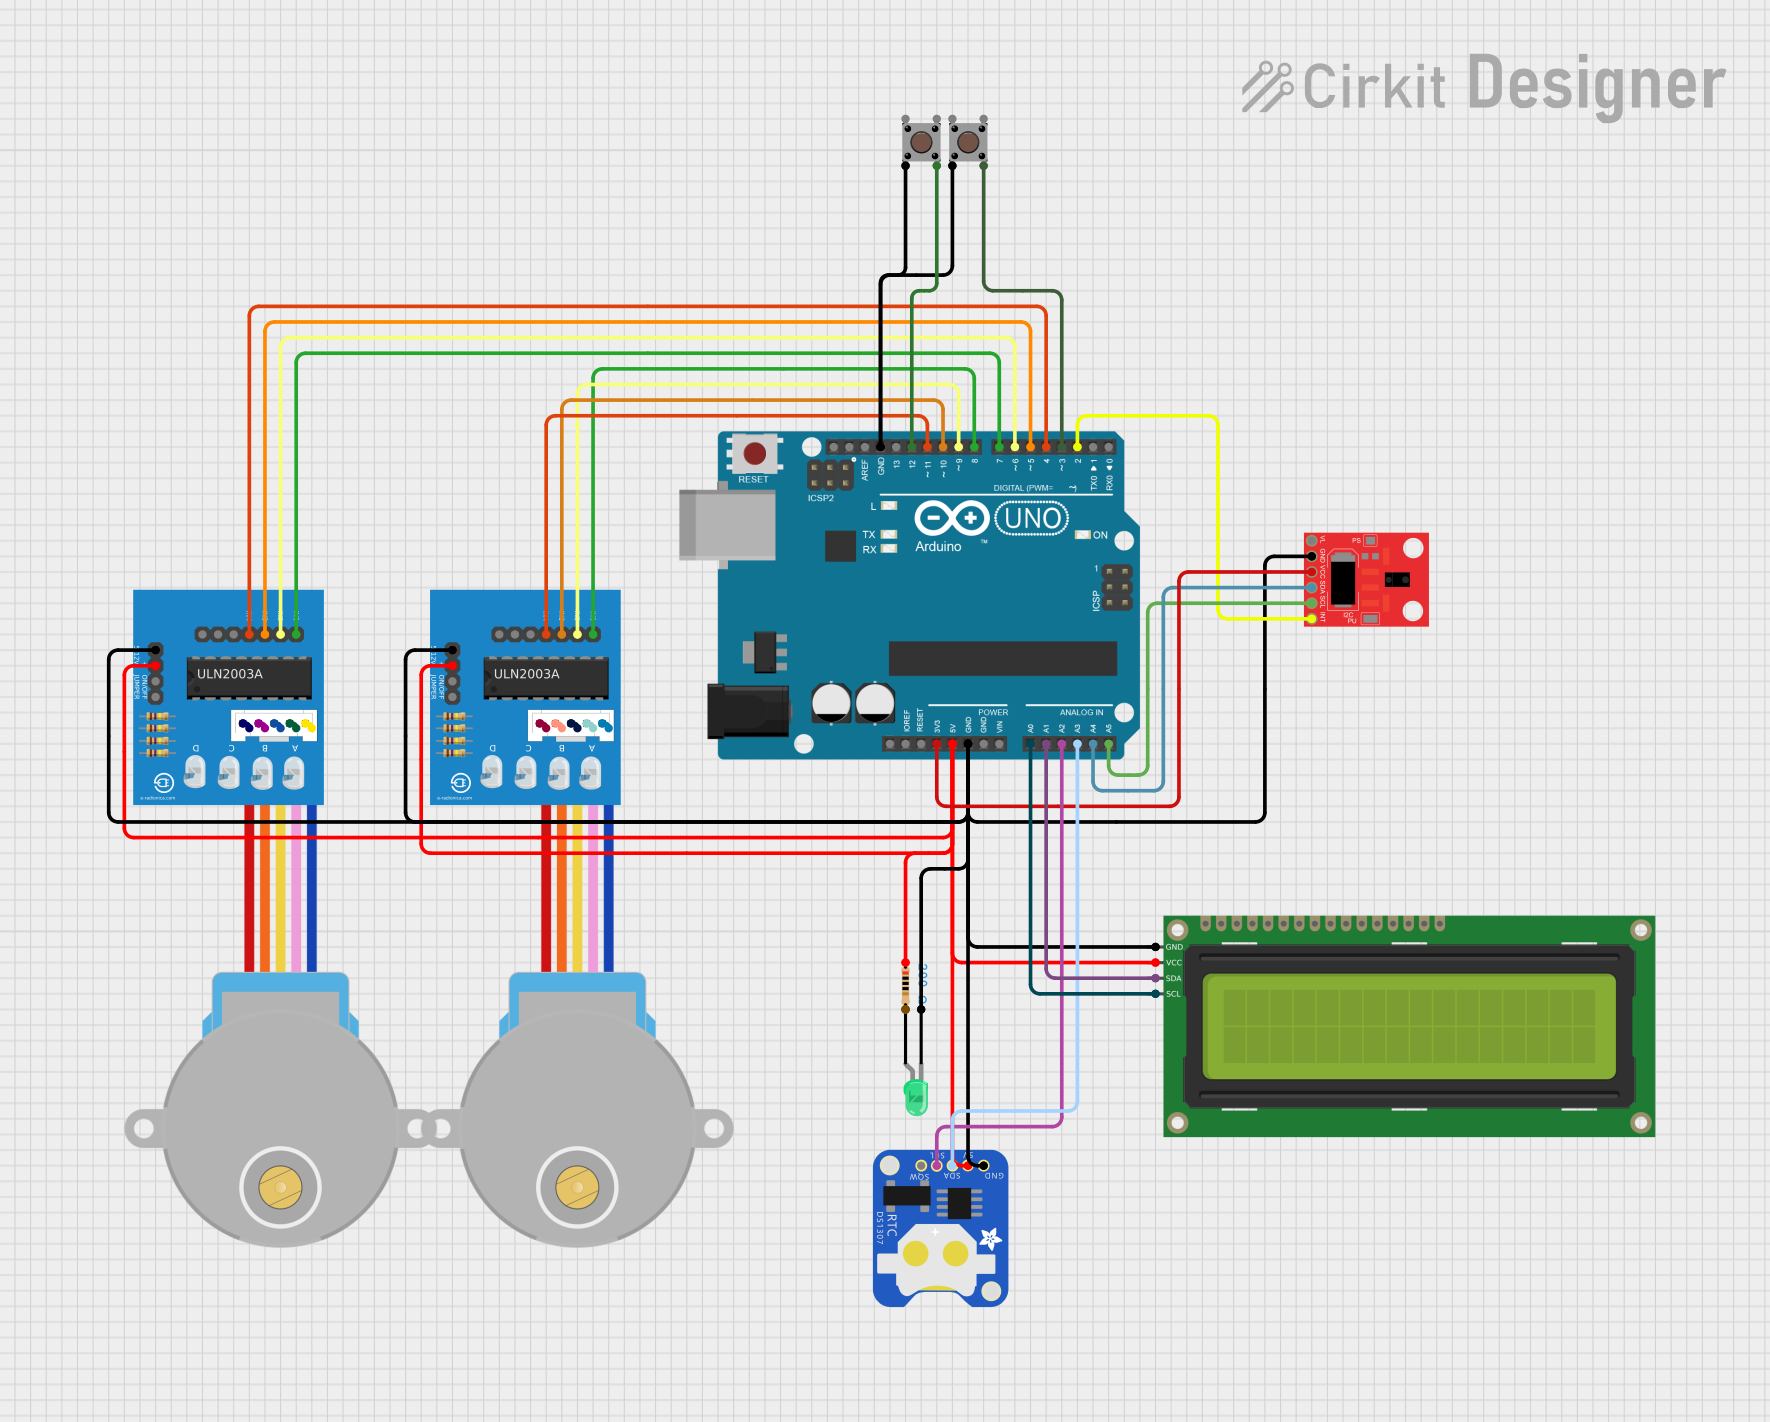
Explore Projects Built with Adafruit DRV2605L
Common Applications and Use Cases
- Wearable devices for notifications
- Gaming controllers for immersive feedback
- Touchscreen interfaces for virtual button presses
- Mobile phones and tablets for haptic feedback
- Robotics for sensory feedback mechanisms
Technical Specifications
Key Technical Details
- Operating Voltage: 2.0V - 5.2V
- Output Drive Capability: LRA and ERM
- I2C Address: 0x5A (default)
- Built-in waveform library with over 100 haptics effects
- Real-time playback mode via I2C for customized waveforms
Pin Configuration and Descriptions
| Pin Number | Name | Description |
|---|---|---|
| 1 | SCL | I2C clock line |
| 2 | SDA | I2C data line |
| 3 | GND | Ground connection |
| 4 | VDD | Power supply (2.0V - 5.2V) |
| 5 | LRA/ERM | Output to the haptic motor |
| 6 | IN/TRIG | Trigger input for activating pre-defined waveforms |
| 7 | EN | Enable pin for the driver (active high) |
Usage Instructions
How to Use the Component in a Circuit
- Connect the VDD pin to your power supply (2.0V - 5.2V).
- Connect the GND pin to the ground of your power supply.
- Connect the SCL and SDA pins to the I2C clock and data lines on your microcontroller.
- Connect the LRA/ERM pin to your haptic motor.
- Optionally, connect the IN/TRIG pin to a digital output on your microcontroller if you want to trigger waveforms externally.
- Optionally, connect the EN pin to a digital output on your microcontroller to enable or disable the driver.
Important Considerations and Best Practices
- Ensure that the power supply voltage is within the specified range to prevent damage.
- Use pull-up resistors on the I2C lines if they are not included in your microcontroller board.
- When using an LRA, calibrate the device for optimal performance.
- Avoid running the haptic motor continuously at high voltages to prevent overheating and potential damage.
Example Code for Arduino UNO
#include <Wire.h>
#include <Adafruit_DRV2605.h>

Adafruit_DRV2605 drv;

void setup() {
  Serial.begin(9600);
  Serial.println("DRV2605 test");

  drv.begin();

  drv.selectLibrary(1); // Select a haptic motor library.

  drv.setMode(DRV2605_MODE_INTTRIG); // Set mode to internal trigger.
}

void loop() {
  Serial.println("Playing effect #1");
  drv.setWaveform(0, 1); // Set waveform sequence.
  drv.setWaveform(1, 0); // End waveform sequence with a zero.

  drv.go(); // Play the effect!

  delay(1000); // Wait a bit between haptic feedback.
}
Troubleshooting and FAQs
Common Issues Users Might Face
- Motor not responding: Ensure all connections are secure and the motor is compatible with the DRV2605L.
- Weak or no vibration: Check the power supply and ensure it's within the specified voltage range.
- I2C communication errors: Verify the pull-up resistors are installed and the I2C address is correct.
Solutions and Tips for Troubleshooting
- Double-check wiring against the pin configuration table.
- Use a multimeter to verify the voltage at the VDD pin.
- Ensure the I2C lines are not shared with other devices that might cause conflicts.
- If using the IN/TRIG pin, ensure it's toggled correctly to trigger the waveform.
FAQs
Q: Can the DRV2605L drive multiple motors simultaneously? A: No, it is designed to drive a single haptic motor at a time.
Q: Is it necessary to use an external trigger? A: No, you can use the I2C interface to trigger waveforms internally.
Q: How do I change the I2C address? A: The I2C address is fixed and cannot be changed.
Q: Can the DRV2605L be used with motors that require a different voltage? A: The DRV2605L can only be used within its specified voltage range. Motors requiring voltages outside this range are not compatible.
For further assistance, consult the Adafruit DRV2605L datasheet and the Adafruit support forums.