How to Use SparkFun Ambient Light Sensor - VEML6030 (Qwiic): Examples, Pinouts, and Specs
Introduction
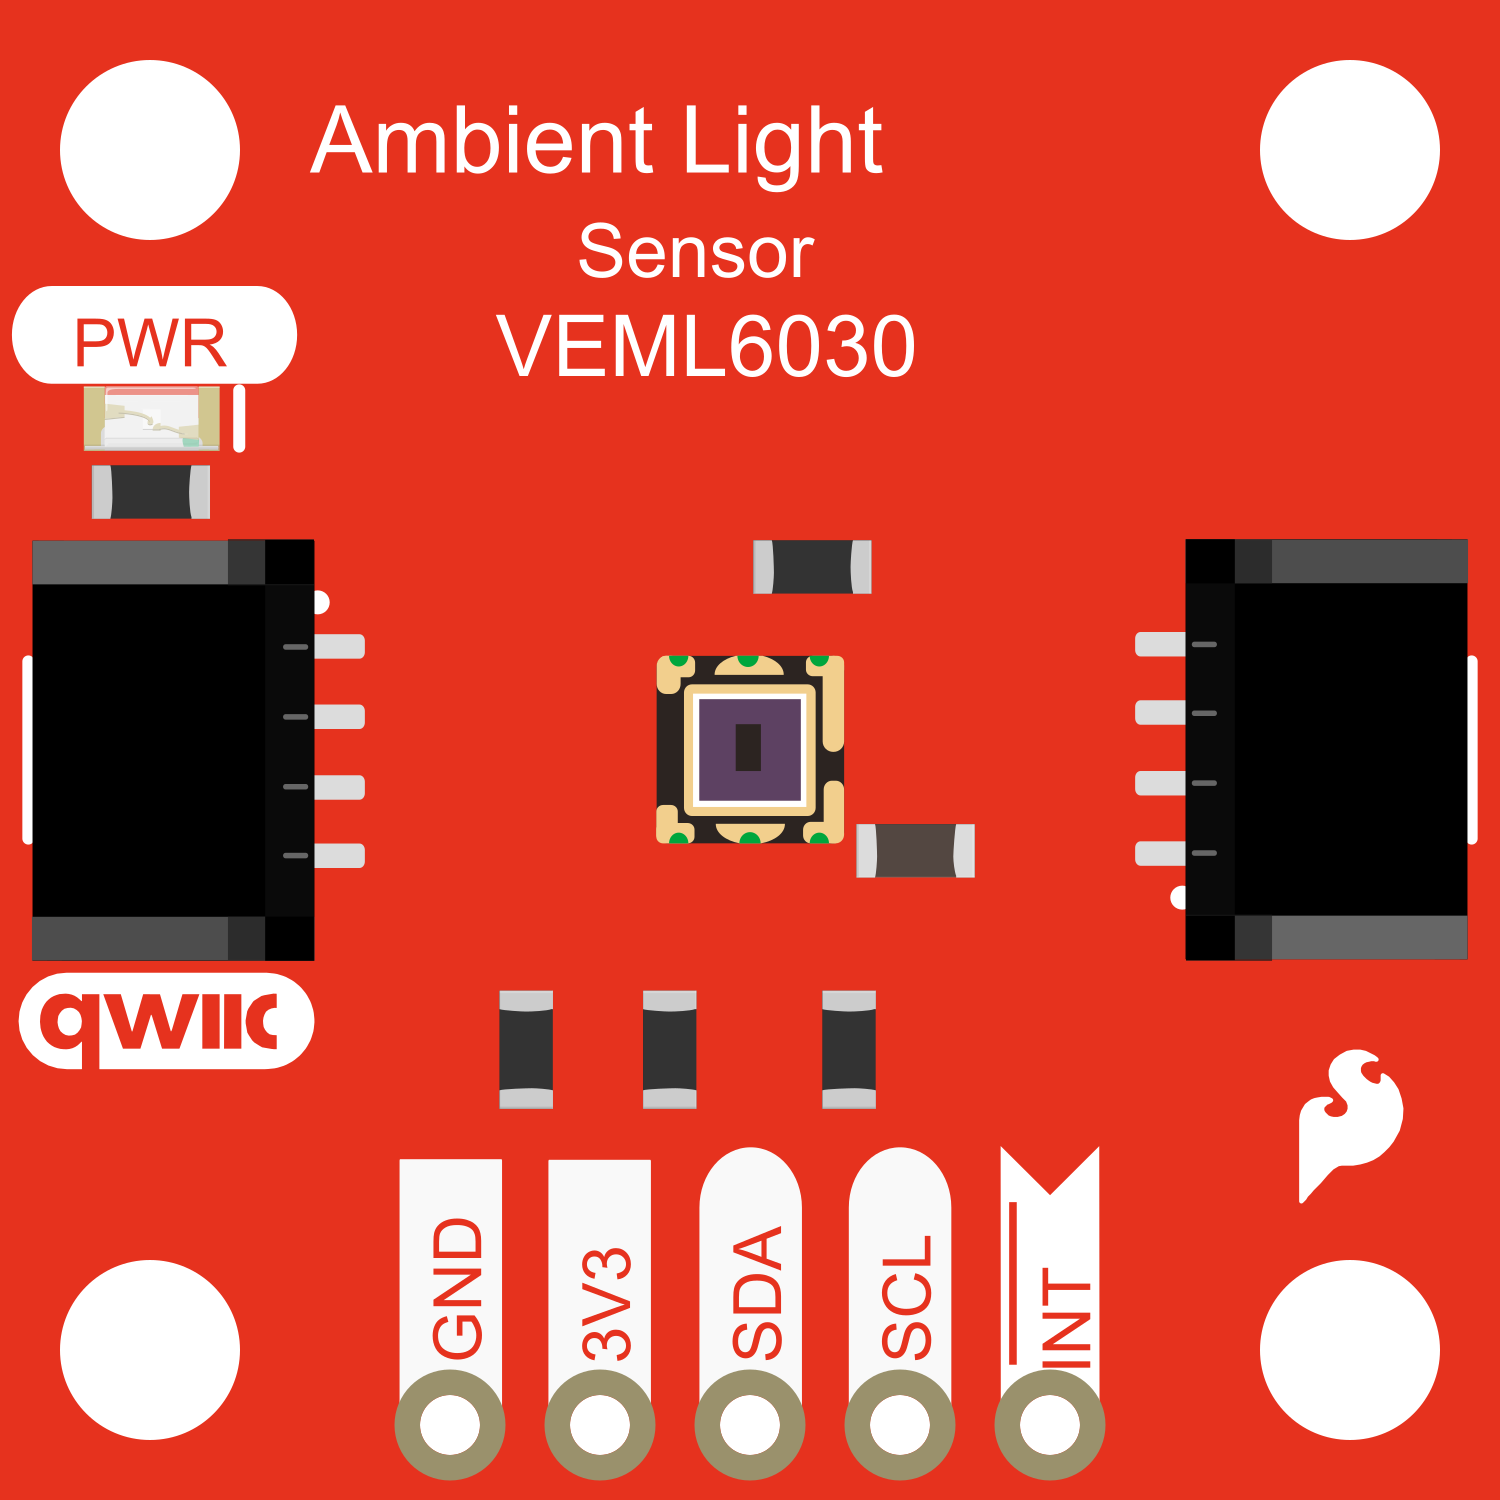
The SparkFun Ambient Light Sensor - VEML6030 (Qwiic) is a high-precision sensor that measures ambient light intensity. It is designed to mimic the human eye's response to light under varying lighting conditions. This sensor is ideal for applications such as adjusting screen brightness in mobile devices, controlling lighting in smart homes, or for environmental monitoring in IoT projects. Its Qwiic connector system enables easy daisy-chaining with other I2C devices without the need for soldering.
Explore Projects Built with SparkFun Ambient Light Sensor - VEML6030 (Qwiic)
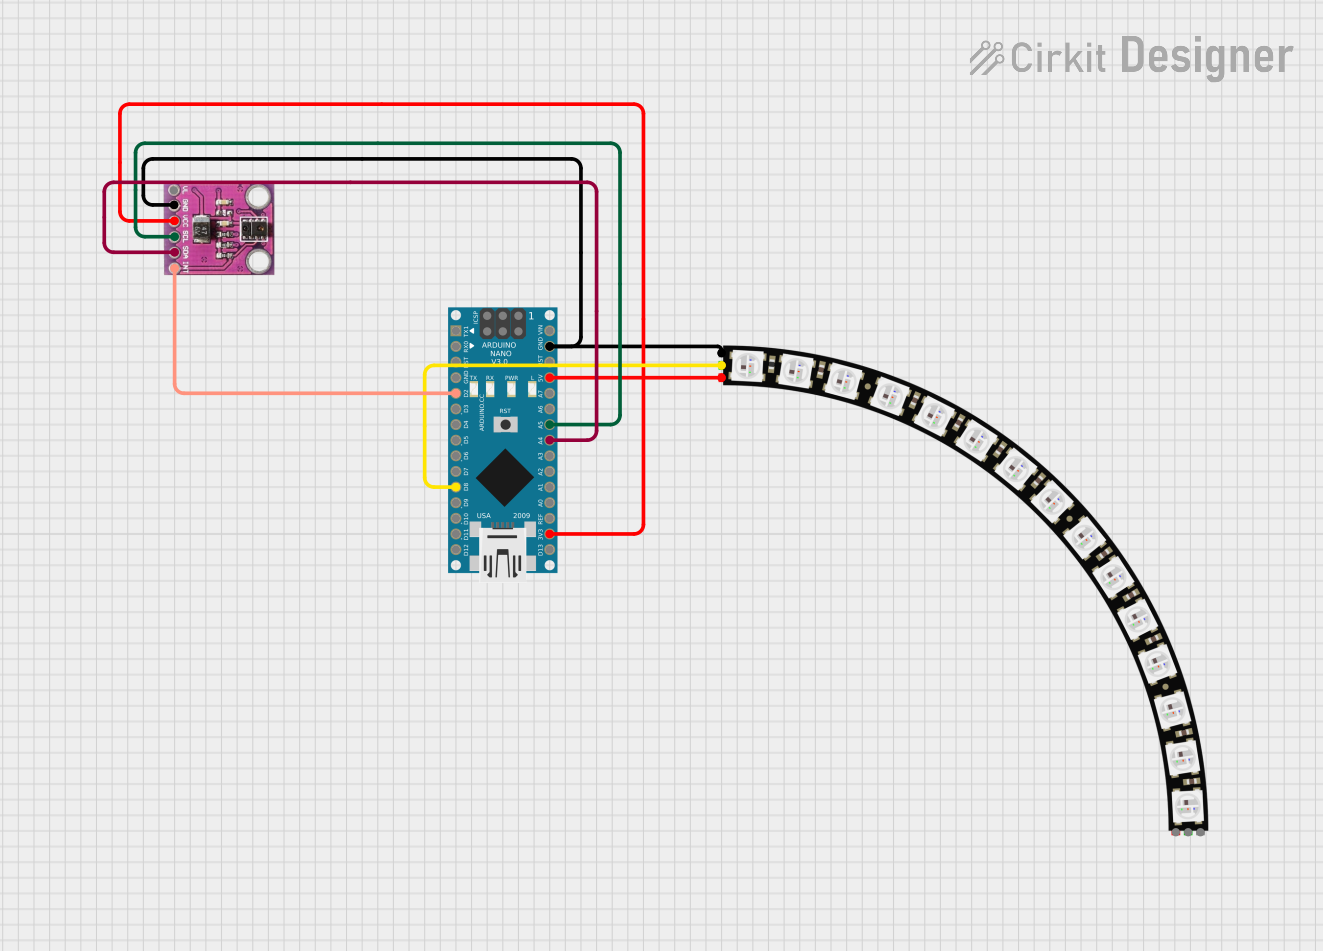
Explore Projects Built with SparkFun Ambient Light Sensor - VEML6030 (Qwiic)
Technical Specifications
Key Features
- Ambient light range: 0.004 to 167772 lux
- Resolution: 16-bit
- I2C interface, with a default I2C address of 0x48 (7-bit)
- Programmable interrupt function
- Supply voltage: 3.3V
- Low power consumption
Pin Configuration and Descriptions
| Pin Name | Description |
|---|---|
| 3.3V | Power supply (3.3V) |
| GND | Ground connection |
| SDA | I2C data line |
| SCL | I2C clock line |
| INT | Interrupt pin (active low) |
Usage Instructions
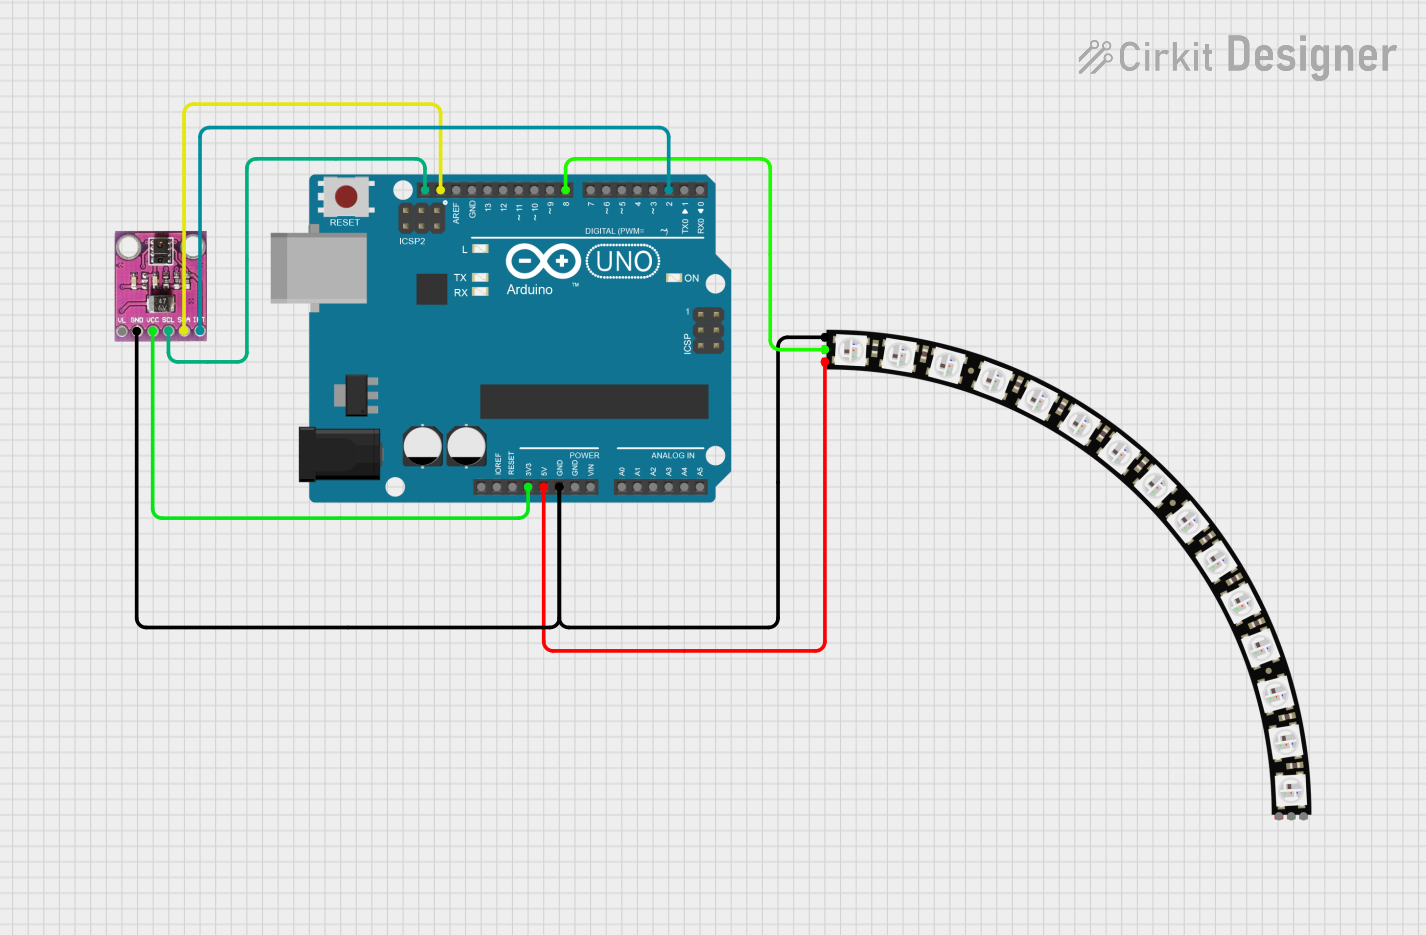
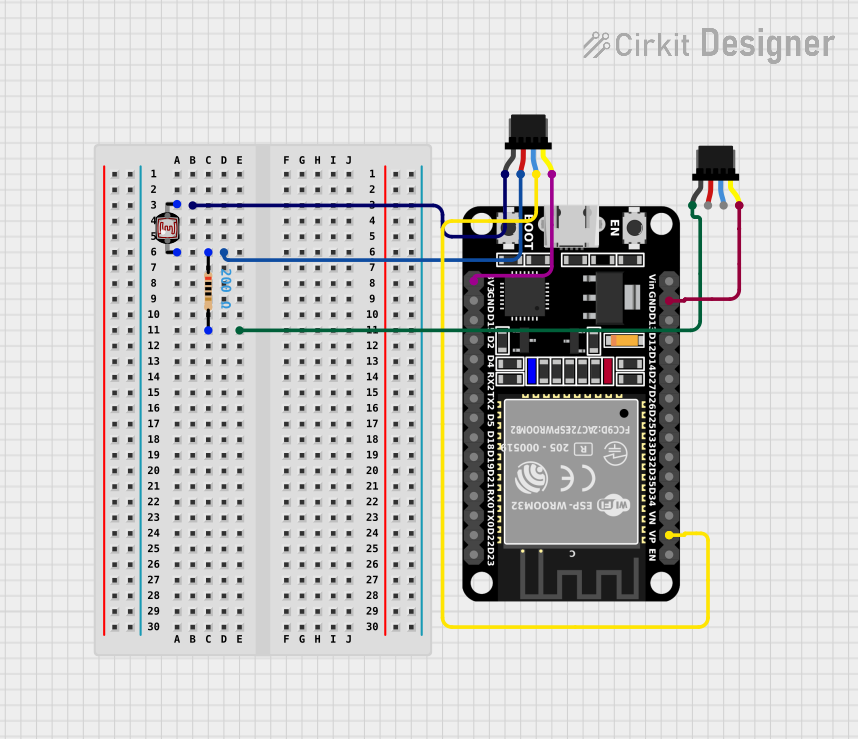
Integration with an Arduino UNO
Connecting the Sensor:
- Connect the
3.3Vpin on the Arduino to the3.3Vpin on the VEML6030. - Connect the
GNDpin on the Arduino to theGNDpin on the VEML6030. - Connect the
A4 (SDA)pin on the Arduino to theSDApin on the VEML6030. - Connect the
A5 (SCL)pin on the Arduino to theSCLpin on the VEML6030.
- Connect the
Arduino Library and Code:
- Install the SparkFun VEML6030 Arduino library from the Arduino Library Manager.
- Use the following example code to read the ambient light level:
#include <Wire.h>
#include <SparkFun_VEML6030_Ambient_Light_Sensor.h>

// Create an instance of the VEML6030 class
SparkFun_Ambient_Light veml6030;

void setup() {
  Wire.begin();
  Serial.begin(9600);

  // Initialize the sensor
  if (veml6030.begin() == false) {
    Serial.println("Sensor initialization failed. Please check your wiring.");
    while (1);
  }
}

void loop() {
  // Read the ambient light level in lux
  float lux = veml6030.readLight();
  Serial.print("Ambient Light: ");
  Serial.print(lux);
  Serial.println(" lux");

  delay(500); // Delay for half a second before reading again
}
Important Considerations and Best Practices
- Ensure that the sensor is not exposed to direct sunlight or strong artificial light sources, as this may damage the sensor or cause inaccurate readings.
- The VEML6030 operates at 3.3V. Do not connect it directly to 5V pins on an Arduino UNO, as this may damage the sensor.
- When integrating with a Qwiic system, ensure that all devices in the chain are compatible with the same logic level (3.3V).
Troubleshooting and FAQs
Common Issues
- Sensor Not Detected: Ensure that the I2C connections are correct and secure. Check that the library is correctly installed and that the sensor's I2C address is not conflicting with other devices on the bus.
- Inaccurate Readings: Verify that the sensor is not placed near strong light sources or in a position where it can be easily shaded by objects or people.
FAQs
Q: Can the VEML6030 sensor be used with a 5V system? A: The VEML6030 is a 3.3V device. A logic level converter should be used when interfacing with a 5V system.
Q: How can I change the I2C address of the sensor? A: The I2C address of the VEML6030 is fixed and cannot be changed.
Q: What is the maximum distance for the I2C connection? A: I2C is designed for short-distance communication. Keep the wires as short as possible, preferably less than 50cm, to ensure reliable communication.
Q: Can the sensor detect infrared light? A: No, the VEML6030 is designed to detect visible light and has an infrared rejection filter.
For further assistance, consult the SparkFun VEML6030 datasheet and the Qwiic system documentation.