
How to Use Arduino Esplora (Rev4): Examples, Pinouts, and Specs
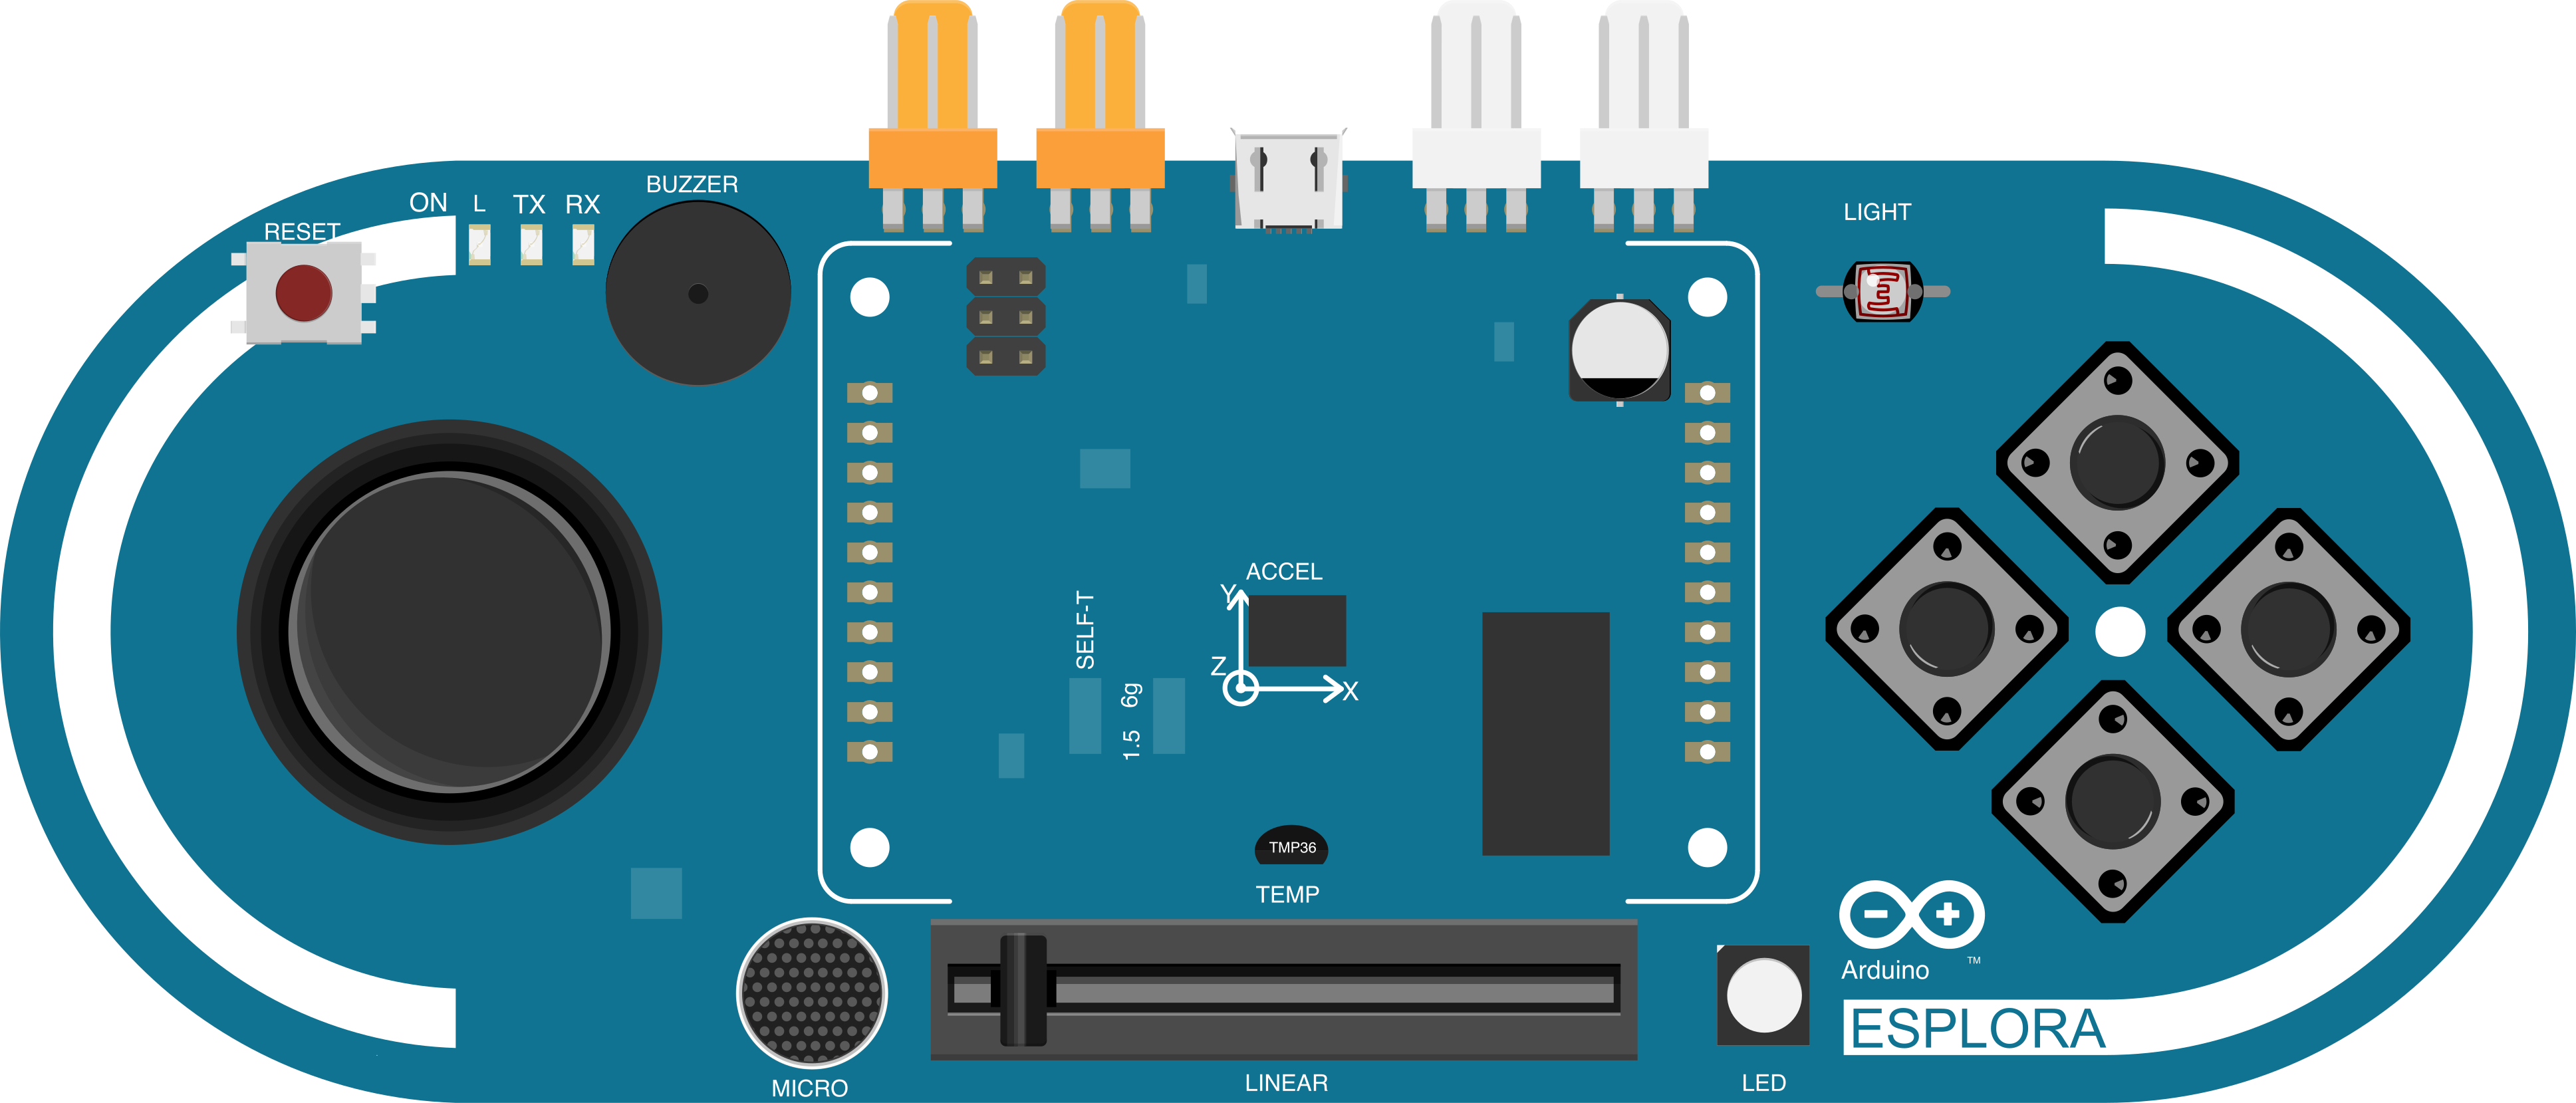
 Design with Arduino Esplora (Rev4) in Cirkit Designer
Introduction
The Arduino Esplora (Rev4) is a versatile microcontroller board designed by Arduino for interactive projects. Unlike traditional Arduino boards, the Esplora comes with a variety of built-in sensors and input/output options, making it an excellent choice for beginners, educators, and hobbyists. Its integrated joystick, light sensor, temperature sensor, and other features allow users to create interactive projects without requiring additional hardware.
Explore Projects Built with Arduino Esplora (Rev4)
 Open Project in Cirkit Designer
 Open Project in Cirkit Designer
 Open Project in Cirkit Designer
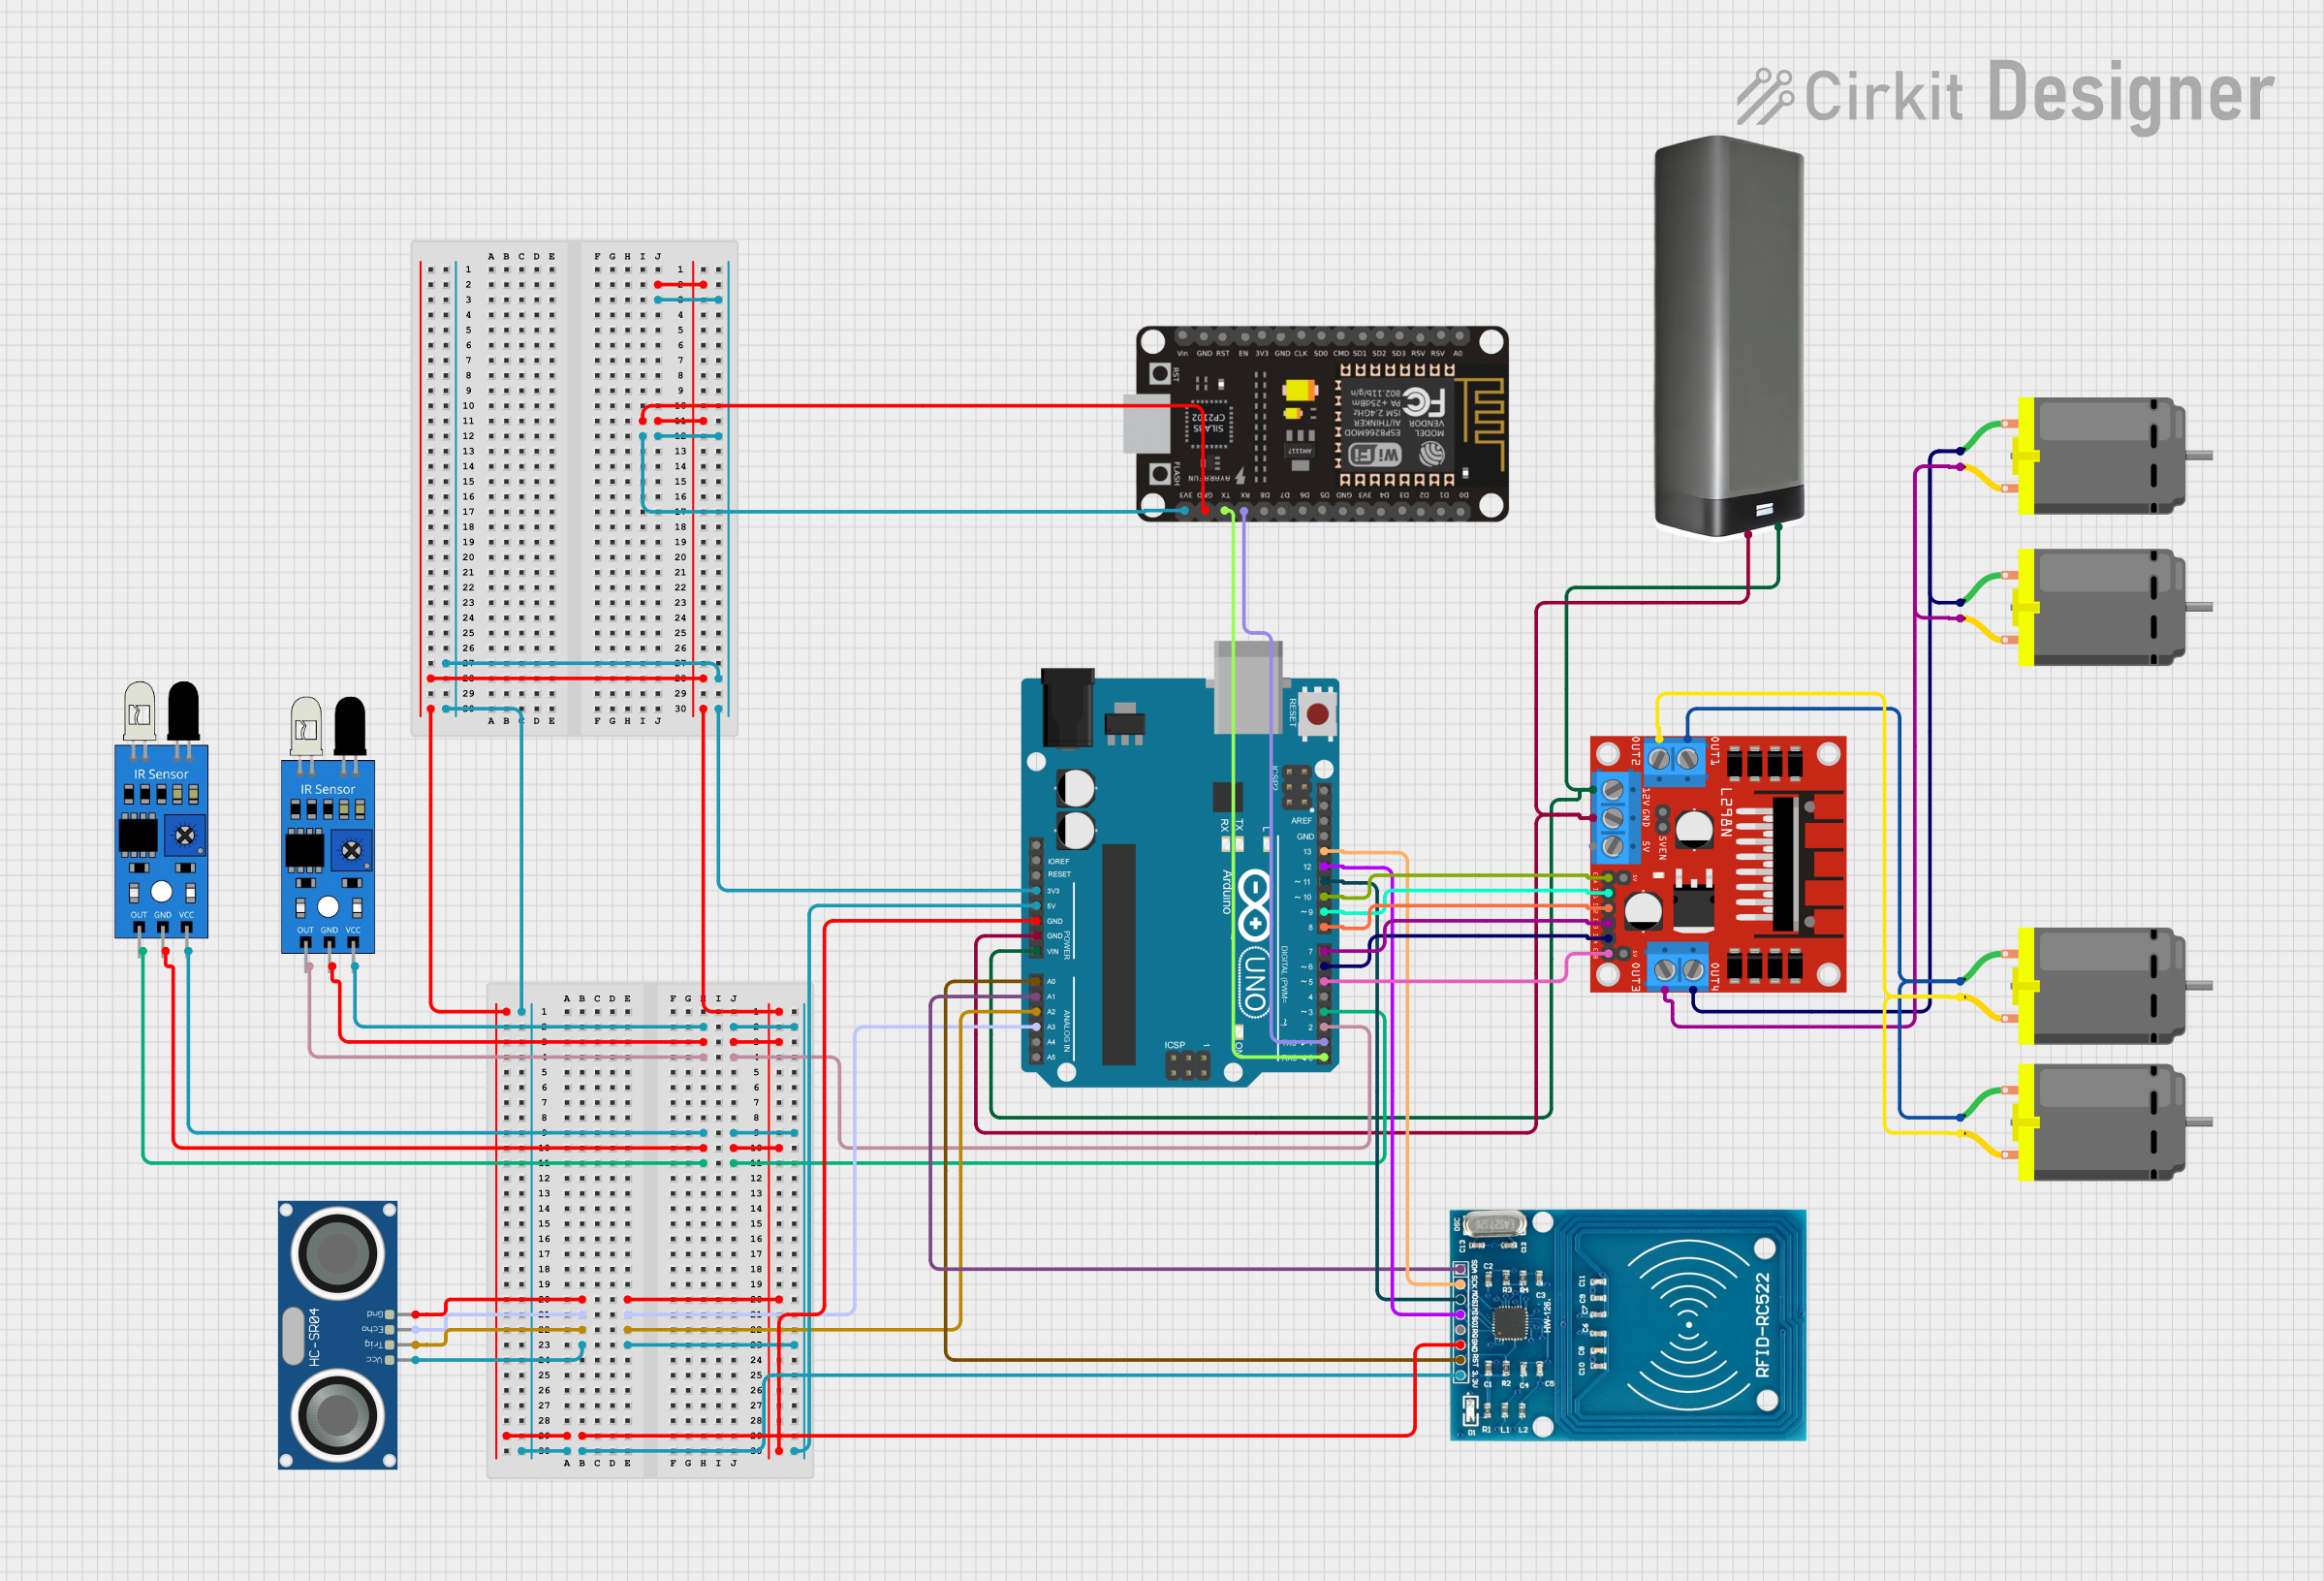 Open Project in Cirkit Designer
Explore Projects Built with Arduino Esplora (Rev4)
Open Project in Cirkit DesignerOpen Project in Cirkit DesignerOpen Project in Cirkit DesignerOpen Project in Cirkit DesignerCommon Applications and Use Cases
- Educational tools for learning programming and electronics
- Interactive gaming controllers
- Environmental monitoring projects
- Prototyping for human-machine interfaces
- Creative art and sound installations
Technical Specifications
The Arduino Esplora (Rev4) is based on the ATmega32U4 microcontroller and includes a wide range of built-in components for immediate use.
Key Technical Details
| Specification | Value |
|---|---|
| Microcontroller | ATmega32U4 |
| Operating Voltage | 5V |
| Input Voltage (USB) | 5V |
| Clock Speed | 16 MHz |
| Flash Memory | 32 KB (4 KB used by bootloader) |
| SRAM | 2.5 KB |
| EEPROM | 1 KB |
| Digital I/O Pins | 14 |
| PWM Channels | 6 |
| Analog Input Channels | 4 |
| Built-in Sensors | Joystick, light sensor, temperature sensor, microphone, accelerometer |
| Communication Interfaces | USB, SPI, I2C |
Pin Configuration and Descriptions
The Esplora does not have traditional pin headers like other Arduino boards. Instead, it features a fixed set of built-in components and connectors. Below is a description of its key components:
| Component | Description |
|---|---|
| Joystick | 2-axis joystick for directional input, with a push-button for selection. |
| Light Sensor | Measures ambient light intensity. |
| Temperature Sensor | Reads the ambient temperature. |
| Microphone | Captures sound levels. |
| Accelerometer | Detects motion and orientation in three axes. |
| TinkerKit Input/Output Pads | Connect external TinkerKit modules for additional functionality. |
| RGB LED | Multi-color LED for visual feedback. |
| Buzzer | Emits sound for audio feedback. |
| USB Connector | Used for programming and power supply. |
Usage Instructions
The Arduino Esplora (Rev4) is designed to be beginner-friendly and easy to use. Follow the steps below to get started:
Step 1: Setting Up the Arduino IDE
- Download and install the latest version of the Arduino IDE from the official Arduino website.
- Connect the Esplora to your computer using a USB cable.
- Open the Arduino IDE and select Tools > Board > Arduino Esplora.
- Select the correct Port under Tools > Port.
Step 2: Writing and Uploading Code
The Esplora library simplifies interaction with its built-in components. To use it:
- Include the Esplora library in your sketch:
#include <Esplora.h> - Write your code to interact with the sensors and outputs.
- Click the Upload button in the Arduino IDE to upload the code to the Esplora.
Example Code: Reading the Joystick and Controlling the RGB LED
#include <Esplora.h>

void setup() {
  // Initialize serial communication for debugging
  Serial.begin(9600);
}

void loop() {
  // Read joystick position
  int xValue = Esplora.readJoystickX(); // Horizontal axis (-512 to 512)
  int yValue = Esplora.readJoystickY(); // Vertical axis (-512 to 512)

  // Print joystick values to the Serial Monitor
  Serial.print("Joystick X: ");
  Serial.print(xValue);
  Serial.print(" | Joystick Y: ");
  Serial.println(yValue);

  // Control RGB LED based on joystick position
  if (xValue > 200) {
    Esplora.writeRGB(255, 0, 0); // Red for right movement
  } else if (xValue < -200) {
    Esplora.writeRGB(0, 255, 0); // Green for left movement
  } else if (yValue > 200) {
    Esplora.writeRGB(0, 0, 255); // Blue for upward movement
  } else if (yValue < -200) {
    Esplora.writeRGB(255, 255, 0); // Yellow for downward movement
  } else {
    Esplora.writeRGB(0, 0, 0); // Turn off LED when joystick is centered
  }

  delay(100); // Small delay for stability
}
Important Considerations and Best Practices
- Always use the Esplora library to interact with the built-in components for simplicity and reliability.
- Avoid connecting external components directly to the board without verifying compatibility.
- Use the Serial Monitor for debugging and monitoring sensor values.
- Handle the board carefully to avoid damaging the built-in sensors and components.
Troubleshooting and FAQs
Common Issues and Solutions
The board is not recognized by the computer.
- Ensure the USB cable is properly connected and functional.
- Check if the correct board and port are selected in the Arduino IDE.
- Try reinstalling the Arduino IDE or updating the USB drivers.
The code does not upload to the board.
- Verify that no other program is using the COM port.
- Press the reset button on the Esplora and try uploading again.
Sensors are not providing accurate readings.
- Ensure the board is not exposed to extreme environmental conditions.
- Use the Serial Monitor to verify raw sensor values and calibrate if necessary.
The RGB LED or buzzer is not responding.
- Check the code for errors in the
Esplora.writeRGB()orEsplora.tone()functions. - Ensure the board is powered correctly.
- Check the code for errors in the
FAQs
Q: Can I connect external sensors to the Esplora?
A: Yes, the Esplora has TinkerKit input/output pads for connecting external modules.
Q: Is the Esplora compatible with Arduino shields?
A: No, the Esplora does not have standard shield headers. However, it supports TinkerKit modules for expansion.
Q: Can I use the Esplora without programming?
A: The Esplora requires programming to define its behavior, but pre-written examples in the Arduino IDE make it easy to get started.
Q: How do I reset the Esplora?
A: Press the reset button located on the board to restart the microcontroller.
By following this documentation, you can unlock the full potential of the Arduino Esplora (Rev4) for your interactive projects!