How to Use WiiChuckAdapter: Examples, Pinouts, and Specs
Introduction
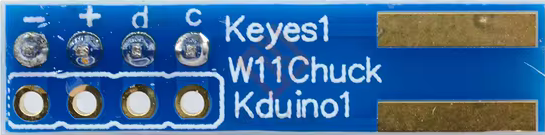
The WiiChuckAdapter by Keyes1 (Part ID: WiiChuckAdapter) is a compact and versatile device designed to interface Wii Nunchuk controllers with microcontrollers. It simplifies the process of connecting the Nunchuk's joystick, buttons, and accelerometer to your projects, making it an excellent choice for robotics, gaming, and motion-sensing applications. By providing a straightforward connection to microcontrollers like the Arduino UNO, the WiiChuckAdapter enables users to leverage the Nunchuk's features without complex wiring or additional components.
Explore Projects Built with WiiChuckAdapter


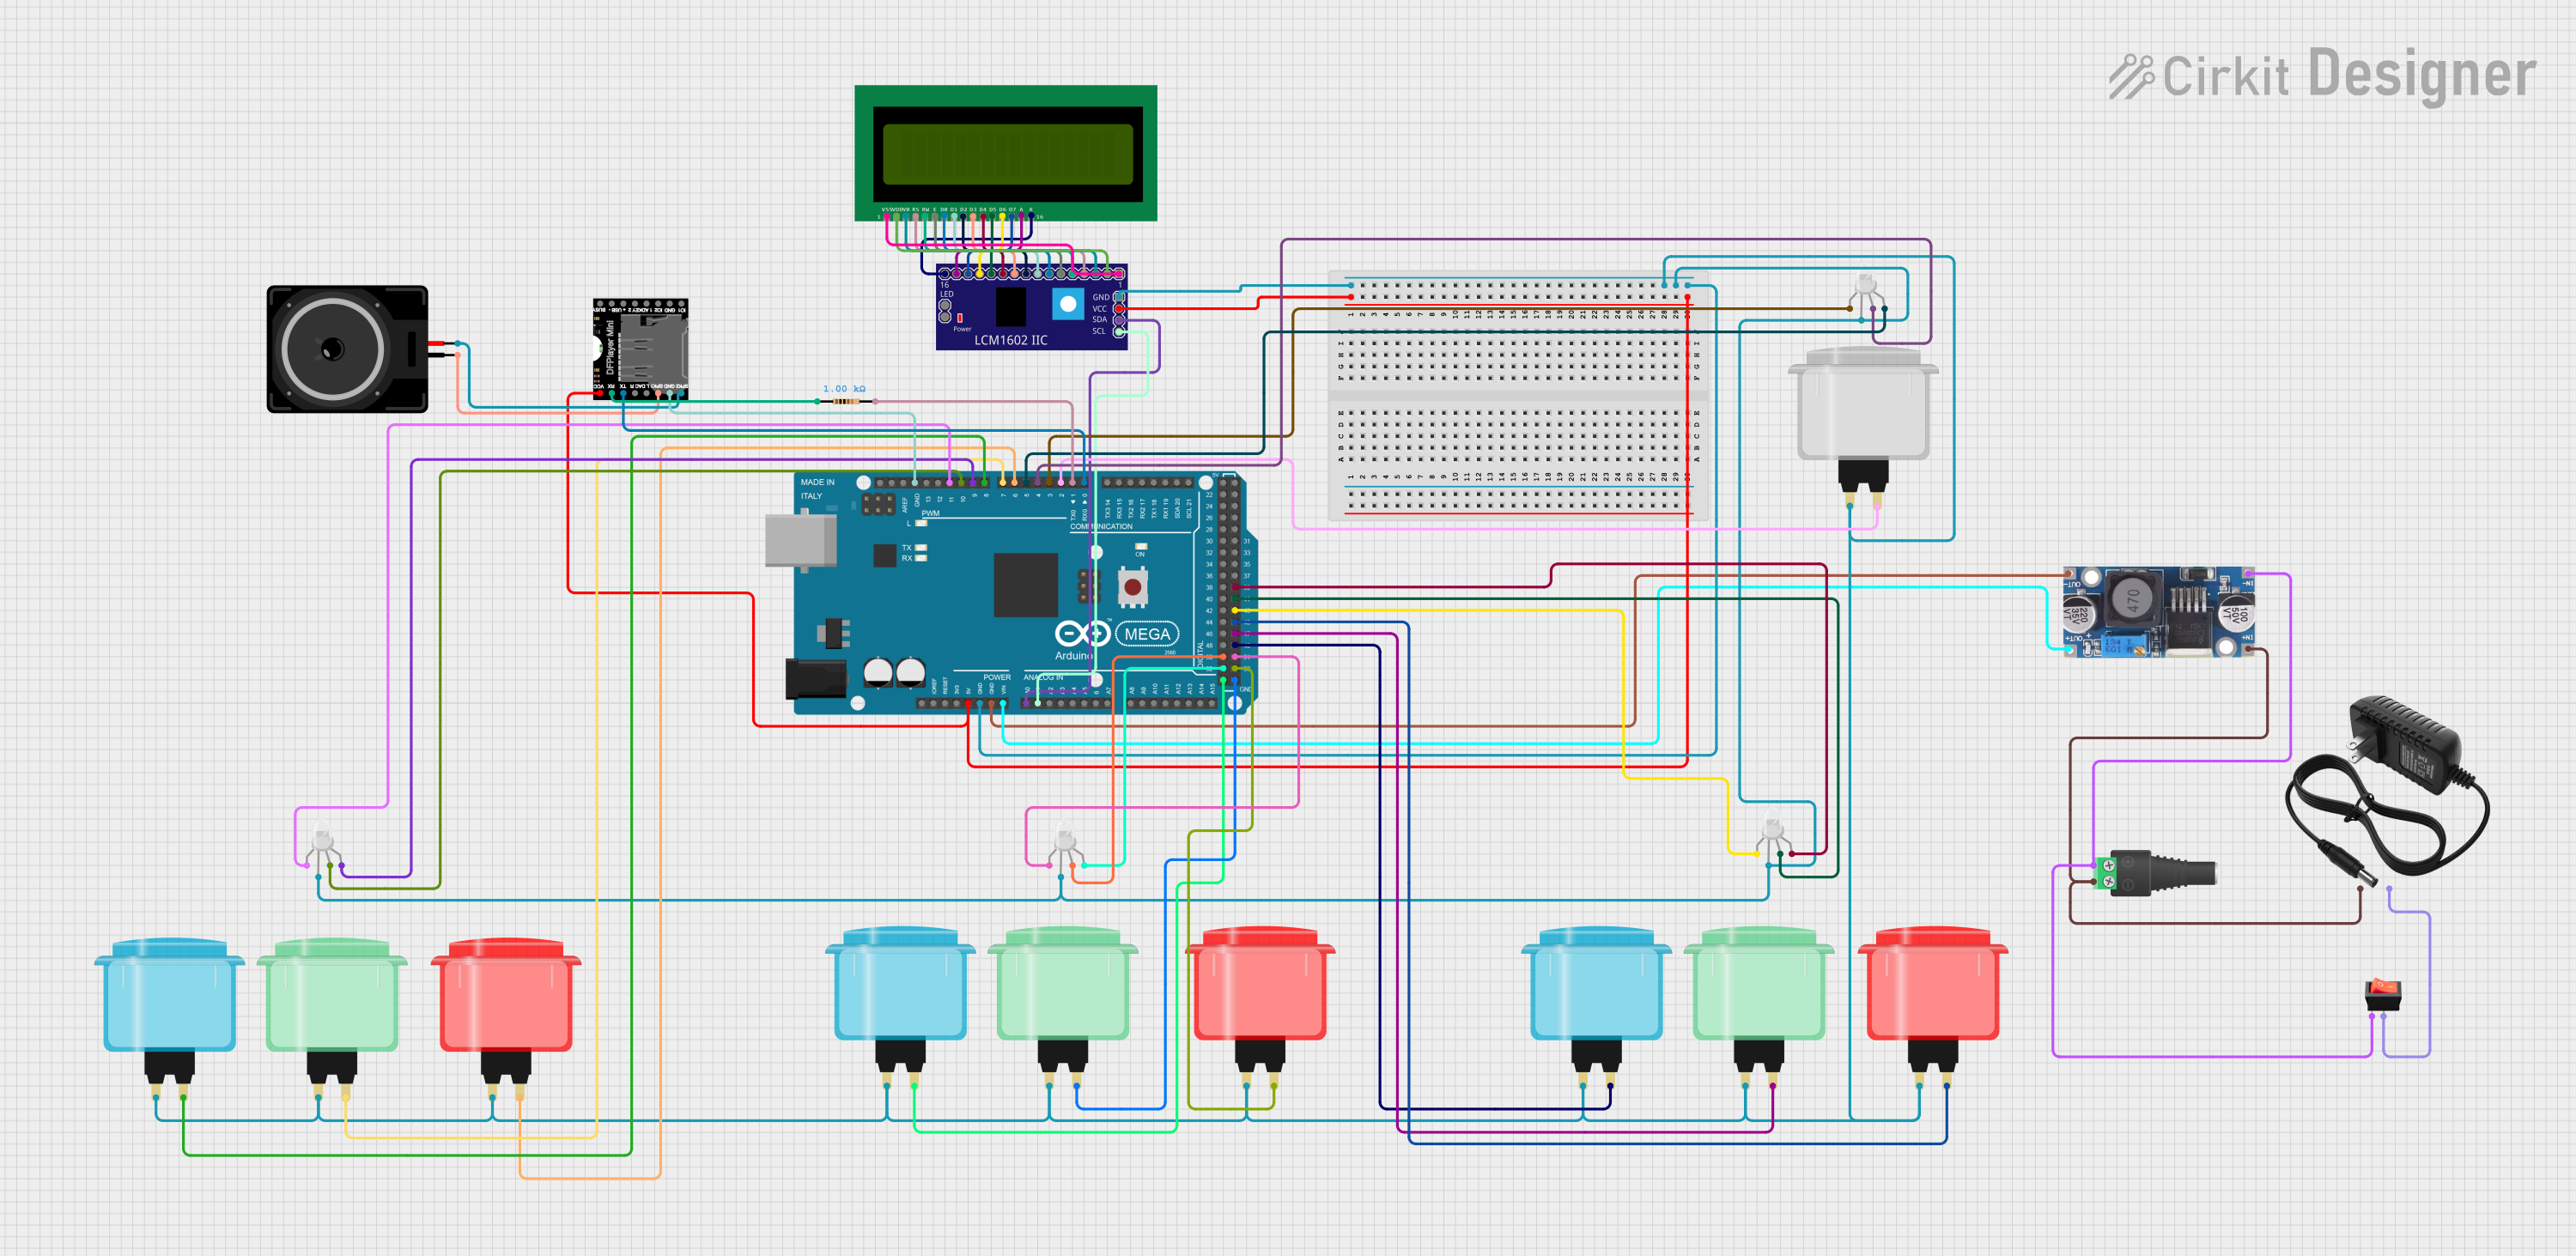
Explore Projects Built with WiiChuckAdapter
Common Applications
- Robotics: Use the joystick for directional control and buttons for triggering actions.
- Gaming: Create custom game controllers or retro gaming setups.
- Motion sensing: Utilize the Nunchuk's accelerometer for gesture-based controls.
- DIY projects: Integrate the Nunchuk's inputs into creative electronics projects.
Technical Specifications
The WiiChuckAdapter is designed to work seamlessly with the Wii Nunchuk and microcontrollers. Below are its key specifications:
| Specification | Details |
|---|---|
| Manufacturer | Keyes1 |
| Part ID | WiiChuckAdapter |
| Input Voltage | 3.3V to 5V |
| Communication Protocol | I2C (Inter-Integrated Circuit) |
| Connector Type | 4-pin JST connector for Nunchuk |
| Pin Compatibility | Standard Arduino I2C pins (SDA, SCL) |
| Dimensions | 25mm x 15mm x 5mm |
Pin Configuration and Descriptions
The WiiChuckAdapter has a simple pinout for connecting to a microcontroller. Below is the pin configuration:
| Pin Name | Description |
|---|---|
| GND | Ground connection |
| VCC | Power supply (3.3V to 5V) |
| SDA | I2C data line (connect to Arduino A4 on UNO) |
| SCL | I2C clock line (connect to Arduino A5 on UNO) |
Usage Instructions
Connecting the WiiChuckAdapter
Hardware Setup:
- Plug the Wii Nunchuk into the 4-pin JST connector on the WiiChuckAdapter.
- Connect the WiiChuckAdapter's pins to your microcontroller:
- GND to the microcontroller's ground.
- VCC to a 3.3V or 5V power source.
- SDA to the I2C data pin (A4 on Arduino UNO).
- SCL to the I2C clock pin (A5 on Arduino UNO).
Software Setup:
- Install the necessary Arduino library for the Wii Nunchuk. A popular choice is the
Wirelibrary, which is included with the Arduino IDE. - Use the example code below to read data from the Nunchuk.
- Install the necessary Arduino library for the Wii Nunchuk. A popular choice is the
Example Code for Arduino UNO
#include <Wire.h>

// Initialize Nunchuk I2C address
#define NUNCHUK_ADDRESS 0x52

void setup() {
  Wire.begin(); // Start I2C communication
  Serial.begin(9600); // Start serial communication for debugging

  // Initialize the Nunchuk
  Wire.beginTransmission(NUNCHUK_ADDRESS);
  Wire.write(0xF0); // Send initialization command
  Wire.write(0x55); // Send initialization data
  Wire.endTransmission();

  Wire.beginTransmission(NUNCHUK_ADDRESS);
  Wire.write(0xFB); // Send second initialization command
  Wire.write(0x00); // Send initialization data
  Wire.endTransmission();

  Serial.println("Wii Nunchuk initialized.");
}

void loop() {
  Wire.requestFrom(NUNCHUK_ADDRESS, 6); // Request 6 bytes of data

  if (Wire.available() == 6) {
    // Read joystick and button data
    int joyX = Wire.read(); // Joystick X-axis
    int joyY = Wire.read(); // Joystick Y-axis
    int accelX = Wire.read(); // Accelerometer X-axis
    int accelY = Wire.read(); // Accelerometer Y-axis
    int accelZ = Wire.read(); // Accelerometer Z-axis
    int buttons = Wire.read(); // Button states

    // Print data to the serial monitor
    Serial.print("Joystick: X=");
    Serial.print(joyX);
    Serial.print(", Y=");
    Serial.print(joyY);
    Serial.print(" | Buttons: ");
    Serial.println(buttons, BIN); // Print button states in binary
  }

  delay(100); // Delay for readability
}
Important Considerations
- Ensure the Wii Nunchuk is securely connected to the adapter to avoid communication errors.
- Use pull-up resistors (4.7kΩ to 10kΩ) on the SDA and SCL lines if your microcontroller does not have internal pull-ups enabled.
- The Nunchuk operates at 3.3V logic levels, but the WiiChuckAdapter is designed to work with 5V microcontrollers like the Arduino UNO.
Troubleshooting and FAQs
Common Issues
No data from the Nunchuk:
- Verify all connections are secure and correctly wired.
- Ensure the Nunchuk is properly plugged into the adapter.
- Check that the microcontroller's I2C pins (SDA and SCL) are correctly assigned.
Erratic or incorrect readings:
- Ensure pull-up resistors are present on the SDA and SCL lines.
- Verify the power supply voltage is within the specified range (3.3V to 5V).
Nunchuk not initializing:
- Double-check the initialization commands in the code.
- Ensure the Nunchuk is compatible with the adapter (official Wii Nunchuks are recommended).
FAQs
Q: Can I use the WiiChuckAdapter with microcontrollers other than Arduino?
A: Yes, the WiiChuckAdapter works with any microcontroller that supports I2C communication, such as ESP32, Raspberry Pi, or STM32.
Q: Do I need additional components to use the WiiChuckAdapter?
A: No, the adapter is designed to work out of the box. However, pull-up resistors on the I2C lines may be required if your microcontroller does not have internal pull-ups.
Q: Can I use multiple Wii Nunchuks with one microcontroller?
A: The Wii Nunchuk uses a fixed I2C address (0x52), so using multiple Nunchuks on the same I2C bus requires additional hardware like an I2C multiplexer.
By following this documentation, you can easily integrate the WiiChuckAdapter into your projects and unlock the full potential of the Wii Nunchuk controller!