
How to Use SG5010 Servo: Examples, Pinouts, and Specs
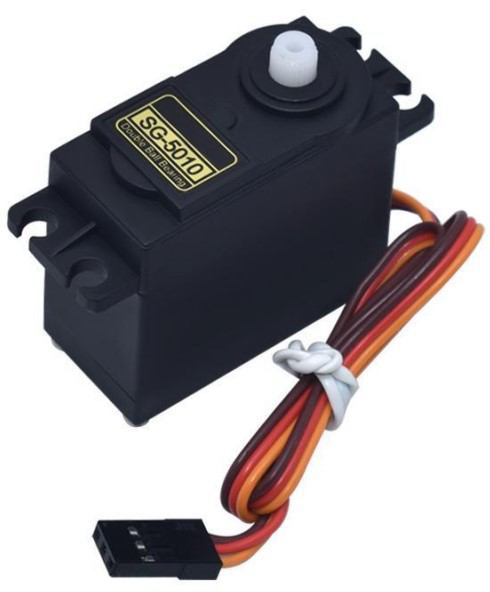
 Design with SG5010 Servo in Cirkit Designer
Introduction
The SG5010 Servo Motor is a standard servo motor widely used in robotics, remote-controlled (RC) applications, and various DIY projects. It provides precise control of angular position, making it ideal for tasks that require accurate movement and positioning. The SG5010 is known for its reliability, ease of use, and compatibility with popular microcontrollers like the Arduino UNO.
Explore Projects Built with SG5010 Servo
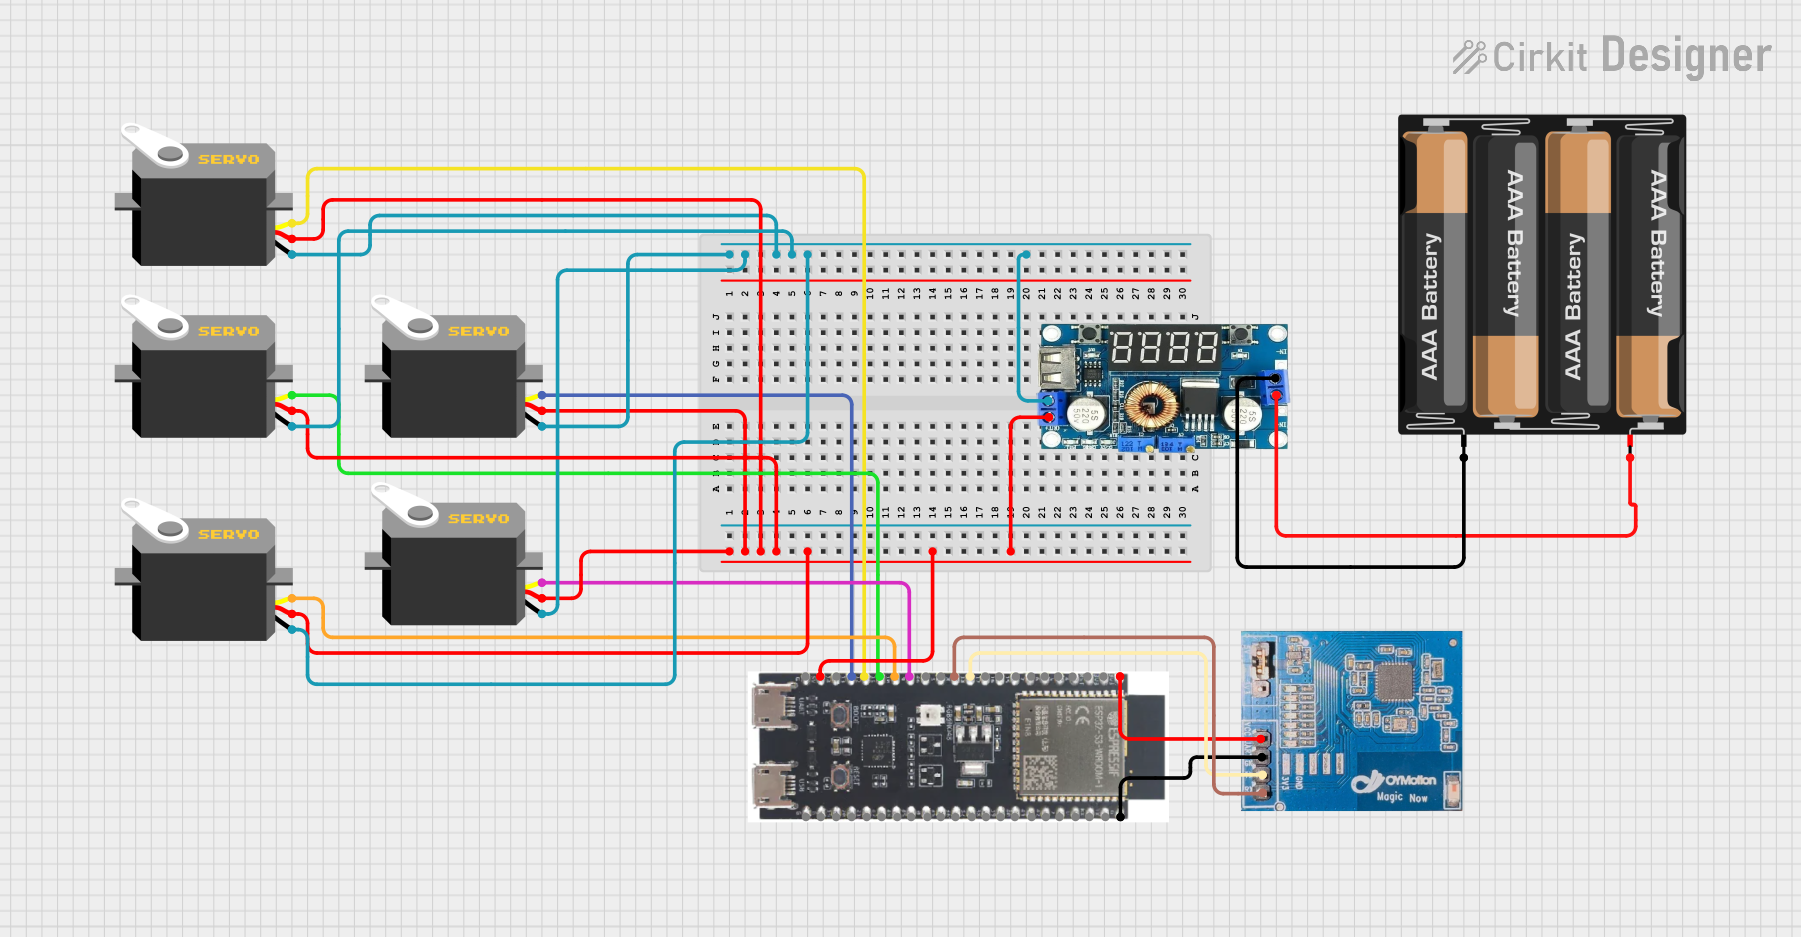
 Open Project in Cirkit Designer
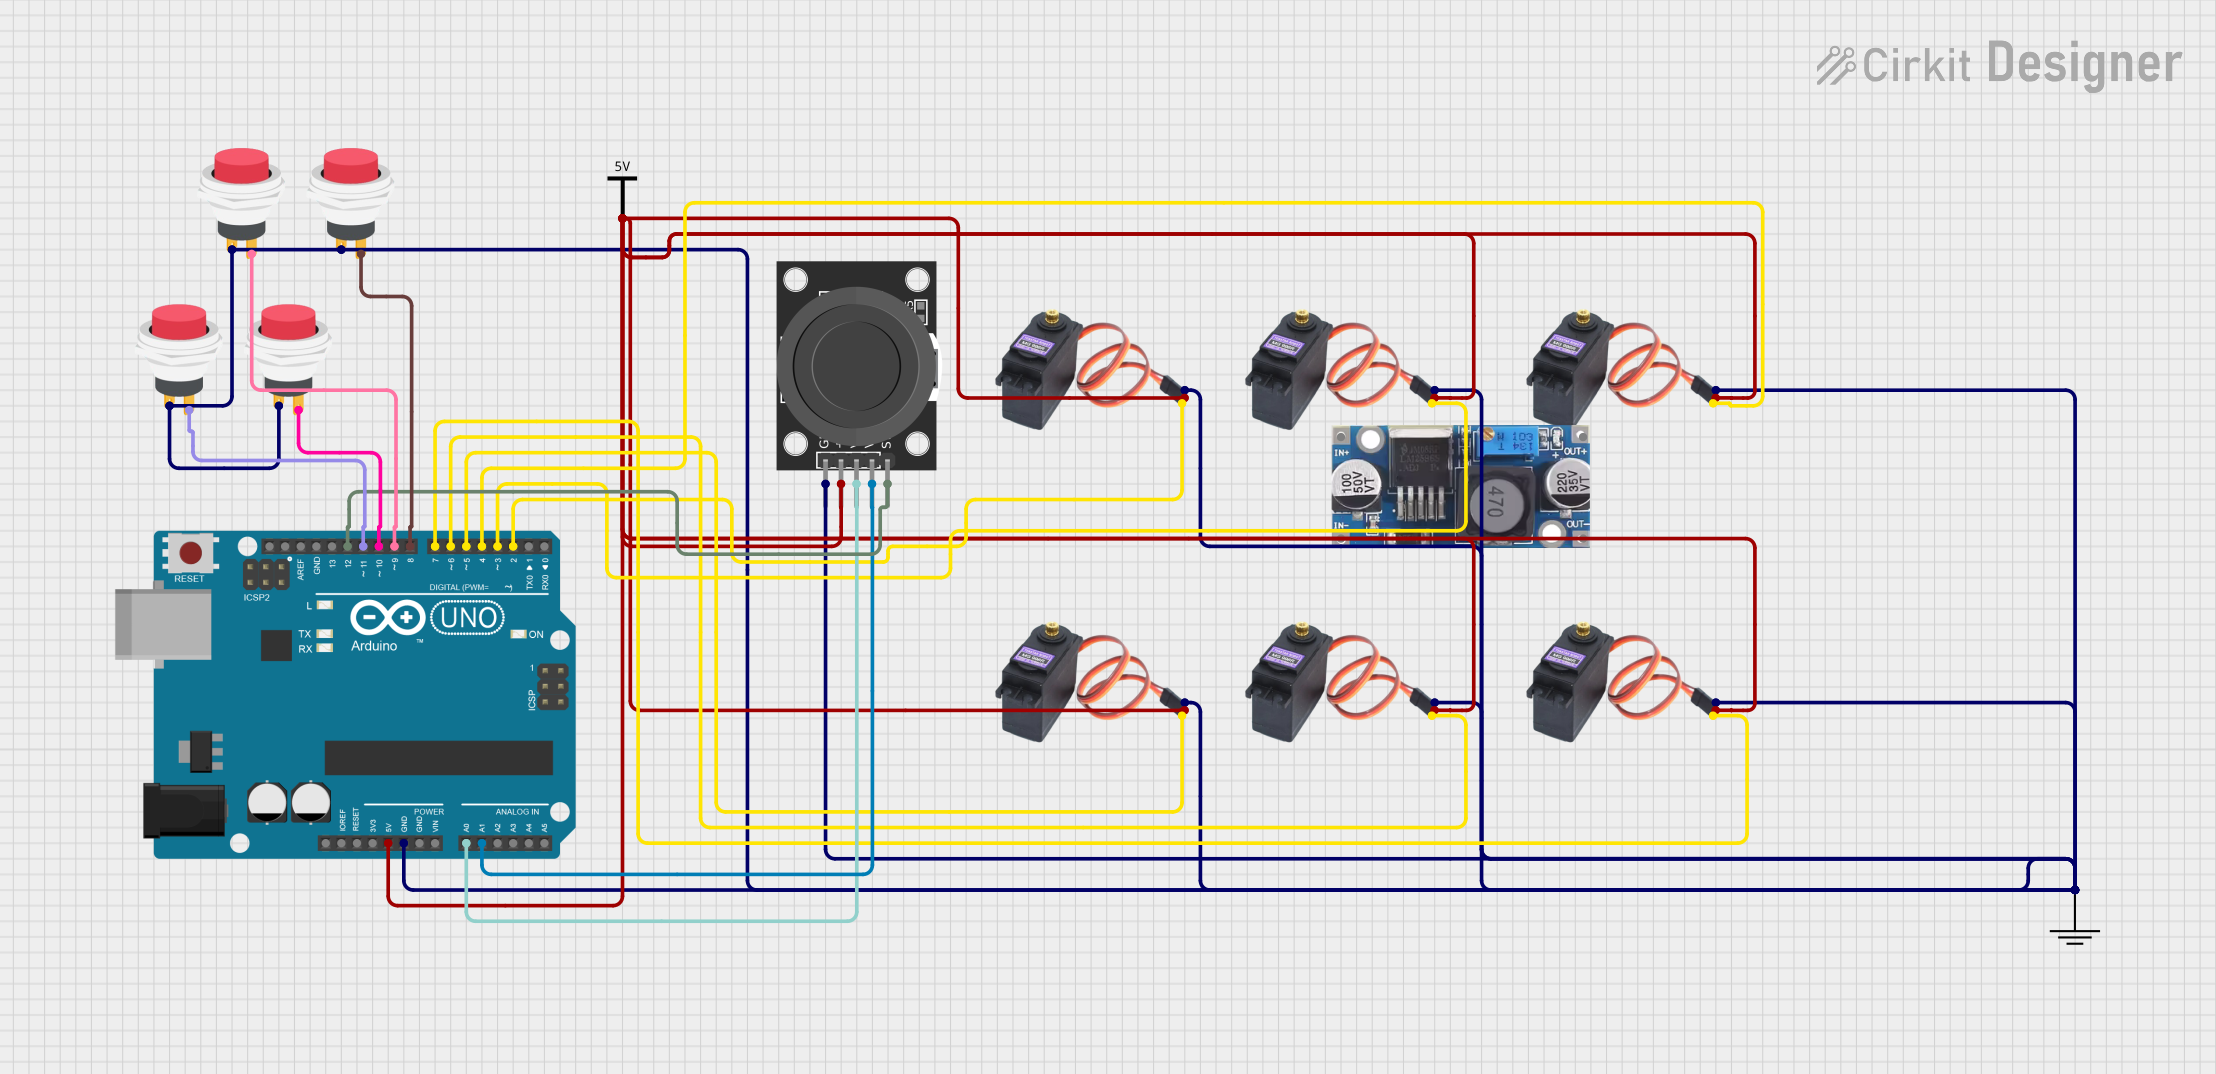
 Open Project in Cirkit Designer
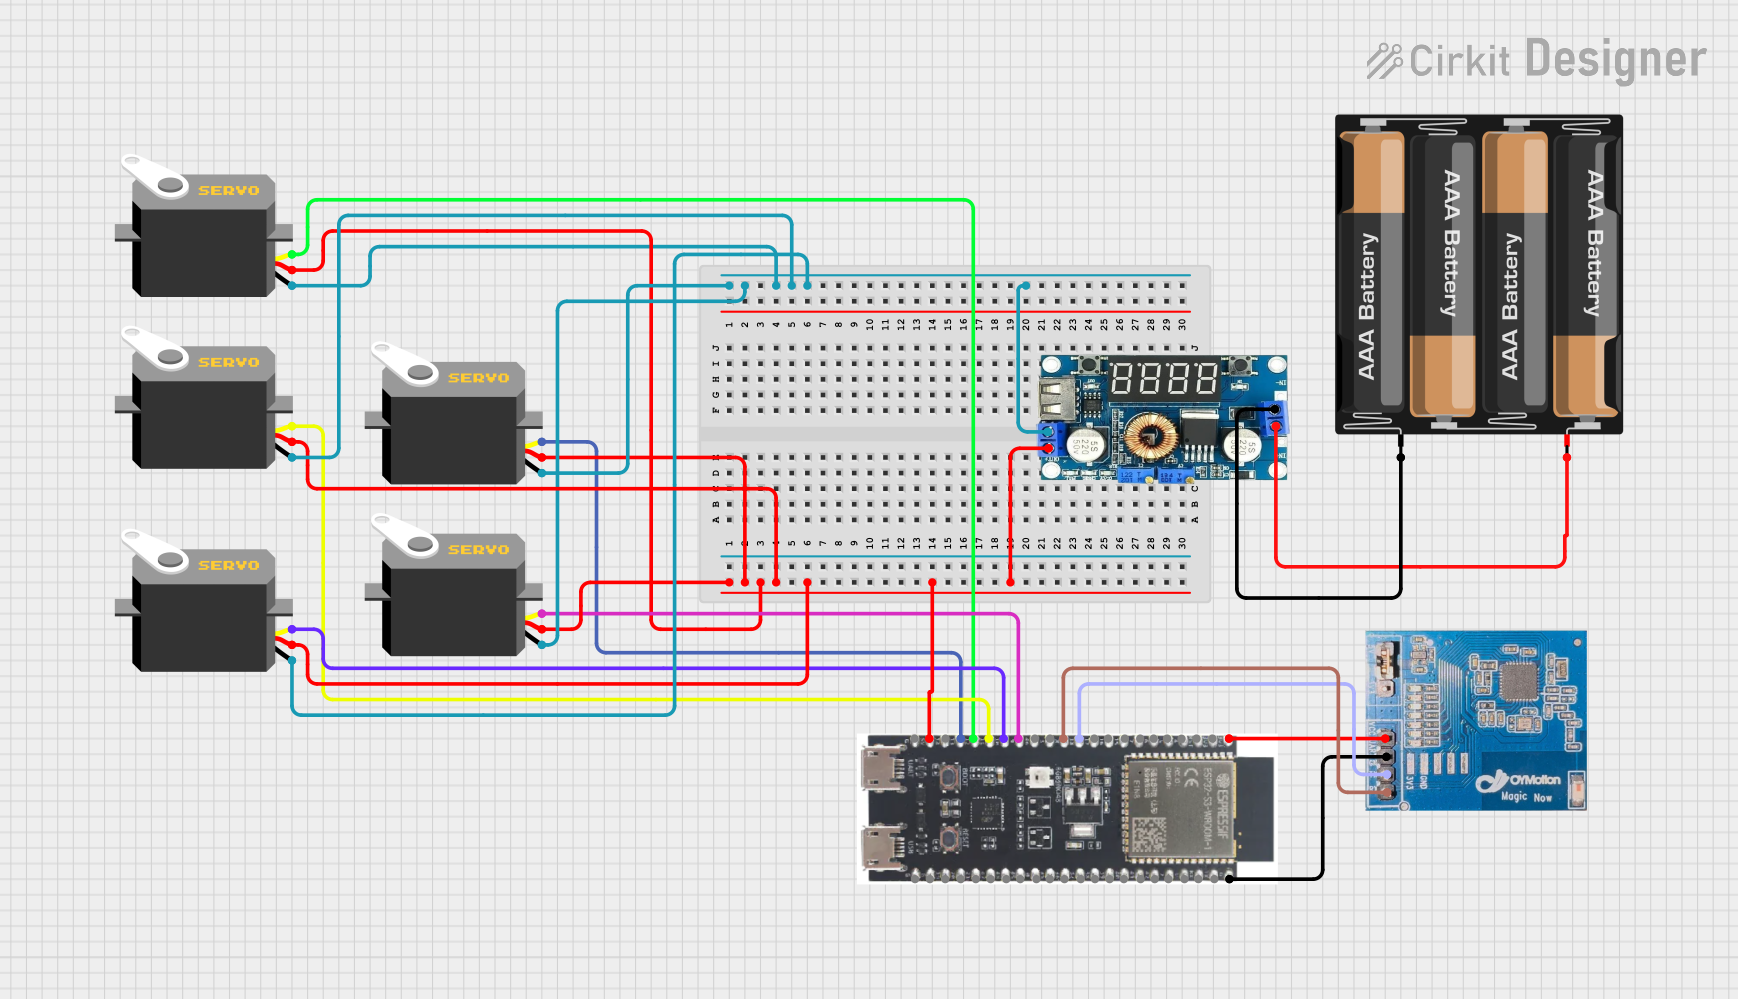
 Open Project in Cirkit Designer
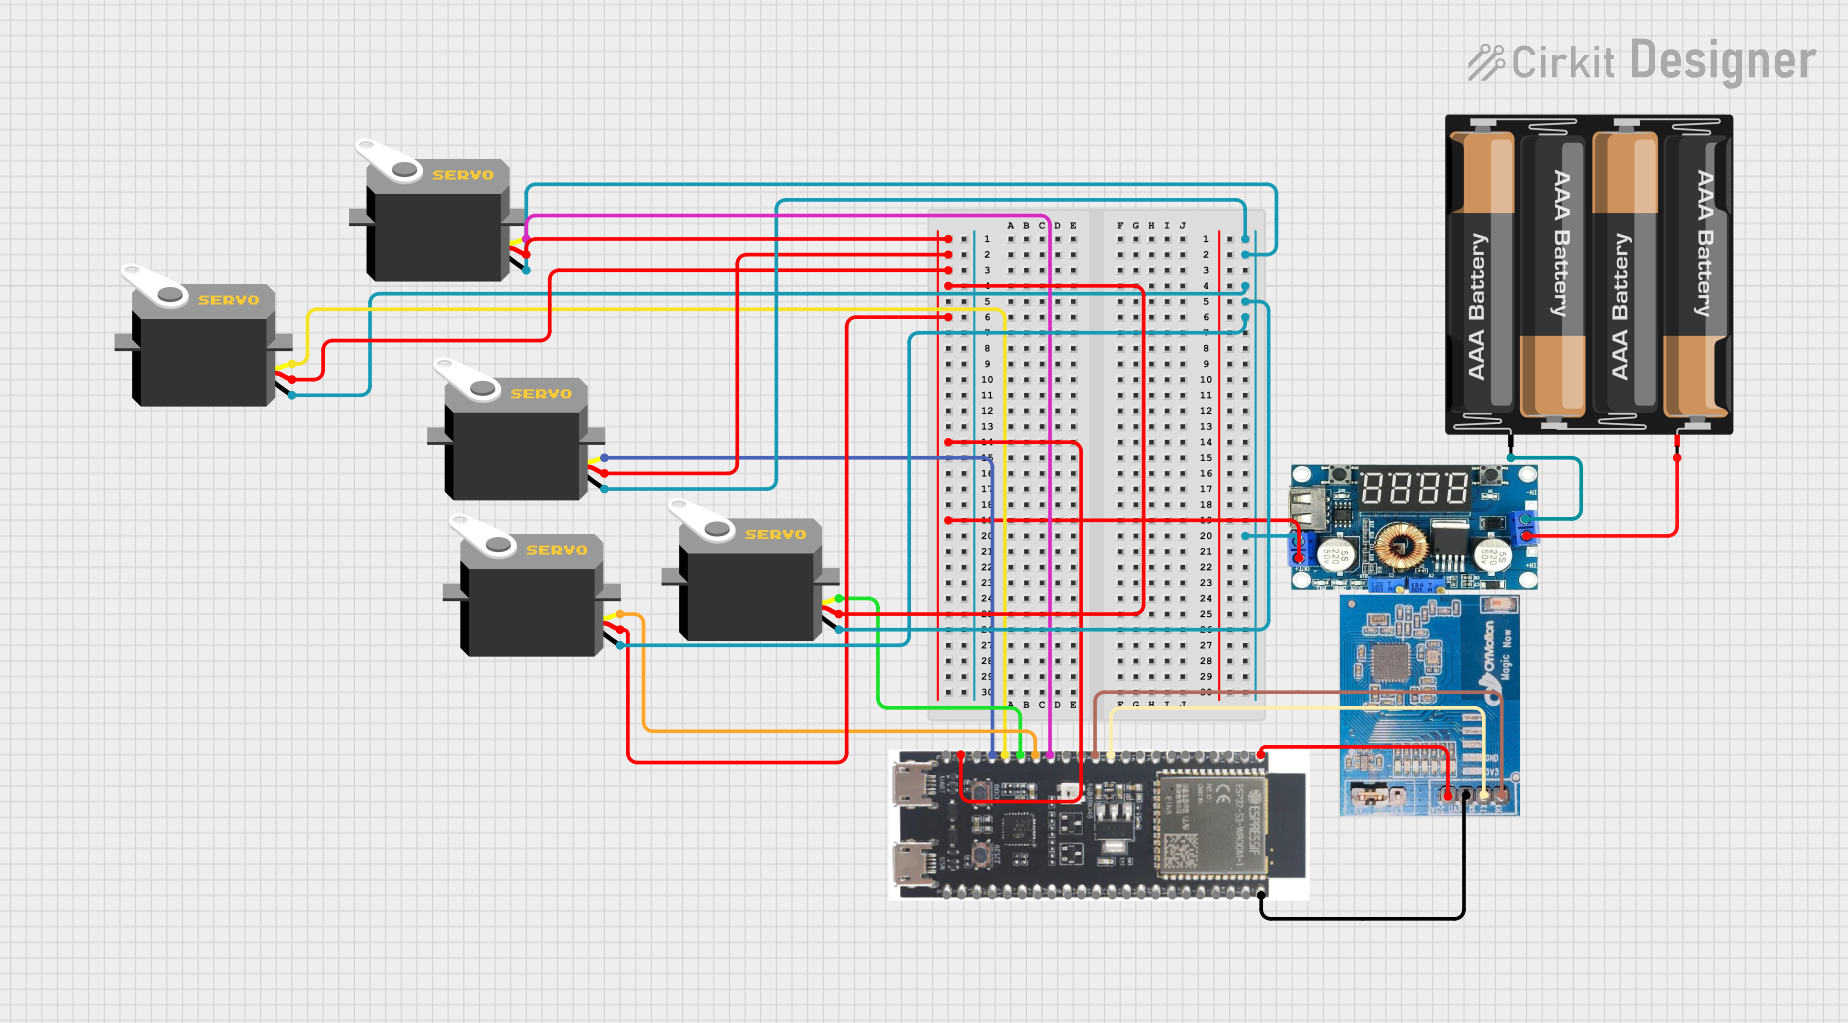
 Open Project in Cirkit Designer
Explore Projects Built with SG5010 Servo

 Open Project in Cirkit Designer
 Open Project in Cirkit Designer
 Open Project in Cirkit Designer
 Open Project in Cirkit Designer
Technical Specifications
Key Technical Details
| Parameter | Value |
|---|---|
| Operating Voltage | 4.8V to 6.0V |
| Stall Torque | 4.8V: 4.5 kg-cm, 6.0V: 5.5 kg-cm |
| Operating Speed | 4.8V: 0.20 sec/60°, 6.0V: 0.16 sec/60° |
| Control Signal | PWM (Pulse Width Modulation) |
| Angle Range | 0° to 180° |
| Dimensions | 40.7 x 19.7 x 42.9 mm |
| Weight | 38g |
Pin Configuration and Descriptions
| Pin Number | Pin Name | Description |
|---|---|---|
| 1 | Ground | Connect to the ground of the power supply |
| 2 | VCC | Connect to the positive terminal of the power supply (4.8V to 6.0V) |
| 3 | Signal | PWM signal input for controlling the servo position |
Usage Instructions
How to Use the SG5010 Servo Motor in a Circuit
- Power Supply: Connect the VCC pin to a 5V power supply and the Ground pin to the ground of the power supply.
- Signal Connection: Connect the Signal pin to a PWM-capable pin on your microcontroller (e.g., Arduino UNO pin 9).
- PWM Control: Use PWM signals to control the angular position of the servo. The pulse width determines the angle, typically ranging from 1ms (0°) to 2ms (180°).
Important Considerations and Best Practices
- Power Supply: Ensure that the power supply can provide sufficient current. The SG5010 can draw significant current, especially under load.
- PWM Signal: Use a PWM frequency of 50Hz (20ms period) for optimal performance.
- Mechanical Limits: Avoid forcing the servo beyond its mechanical limits (0° to 180°) to prevent damage.
- Heat Dissipation: Allow for adequate ventilation to prevent overheating during prolonged use.
Example Code for Arduino UNO
#include <Servo.h> // Include the Servo library

Servo myServo; // Create a Servo object

void setup() {
  myServo.attach(9); // Attach the servo to pin 9
}

void loop() {
  myServo.write(0); // Move to 0 degrees
  delay(1000); // Wait for 1 second
  myServo.write(90); // Move to 90 degrees
  delay(1000); // Wait for 1 second
  myServo.write(180); // Move to 180 degrees
  delay(1000); // Wait for 1 second
}
Troubleshooting and FAQs
Common Issues and Solutions
Servo Not Moving:
- Check Connections: Ensure all connections are secure and correct.
- Power Supply: Verify that the power supply provides adequate voltage and current.
- PWM Signal: Confirm that the PWM signal is being generated correctly.
Erratic Movement:
- Interference: Ensure that there is no electrical interference affecting the signal.
- Power Supply Stability: Use a stable power supply to avoid voltage fluctuations.
Overheating:
- Ventilation: Ensure proper ventilation and avoid prolonged use under heavy load.
- Current Draw: Check if the servo is drawing excessive current and adjust the load accordingly.
FAQs
Q: Can I use the SG5010 Servo Motor with a 3.3V microcontroller? A: The SG5010 requires a minimum operating voltage of 4.8V. You can use a level shifter to interface a 3.3V microcontroller with the servo.
Q: How do I increase the torque of the SG5010 Servo Motor? A: The torque is determined by the operating voltage. Using a 6.0V power supply will provide higher torque compared to 4.8V.
Q: Can I control multiple SG5010 servos with a single Arduino UNO? A: Yes, you can control multiple servos using different PWM-capable pins on the Arduino UNO. Ensure that your power supply can handle the combined current draw of all servos.
This documentation provides a comprehensive guide to using the SG5010 Servo Motor, covering its technical specifications, usage instructions, and troubleshooting tips. Whether you are a beginner or an experienced user, this guide will help you effectively integrate the SG5010 into your projects.