How to Use FireHouseEmergencyLights: Examples, Pinouts, and Specs
Introduction
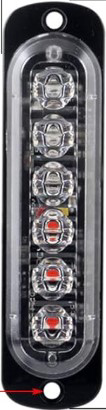
The FireHouseEmergencyLights is a specialized electronic component designed to enhance visibility and alertness in firehouses during emergency situations. These lights utilize high-intensity LEDs to ensure maximum brightness and feature various flashing patterns to grab attention effectively. They are robust, energy-efficient, and suitable for both indoor and outdoor use.
Explore Projects Built with FireHouseEmergencyLights
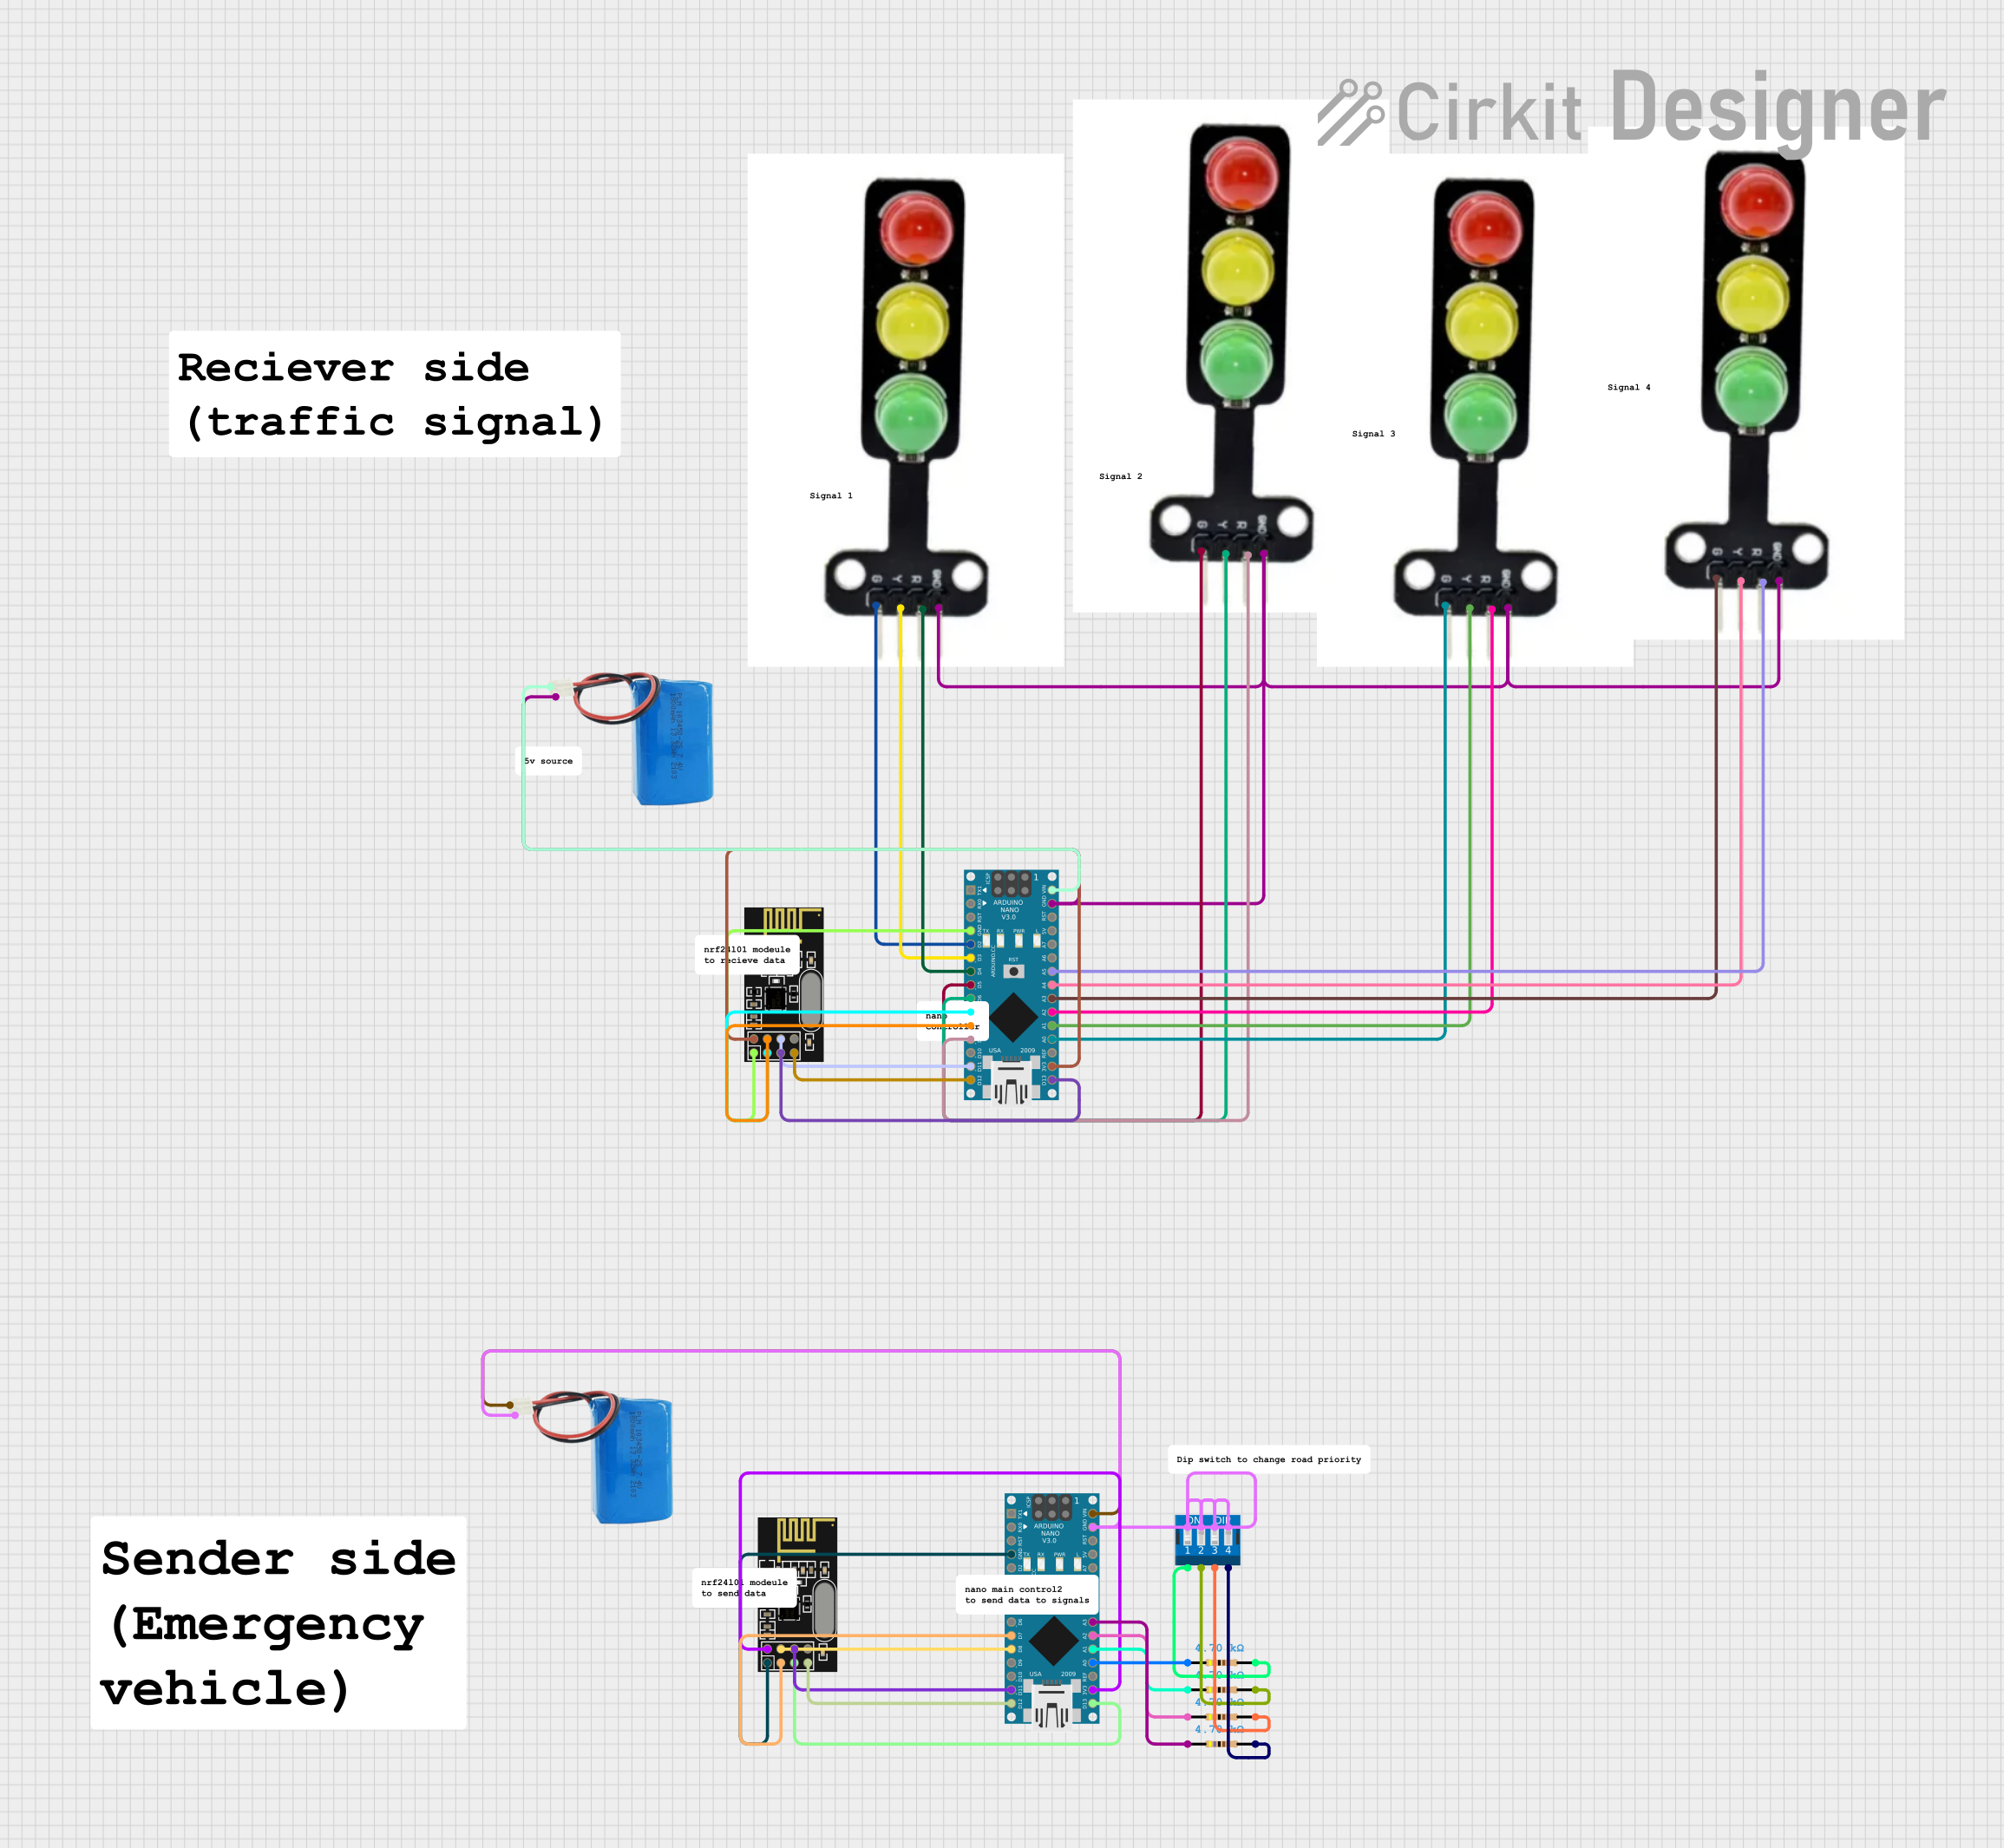
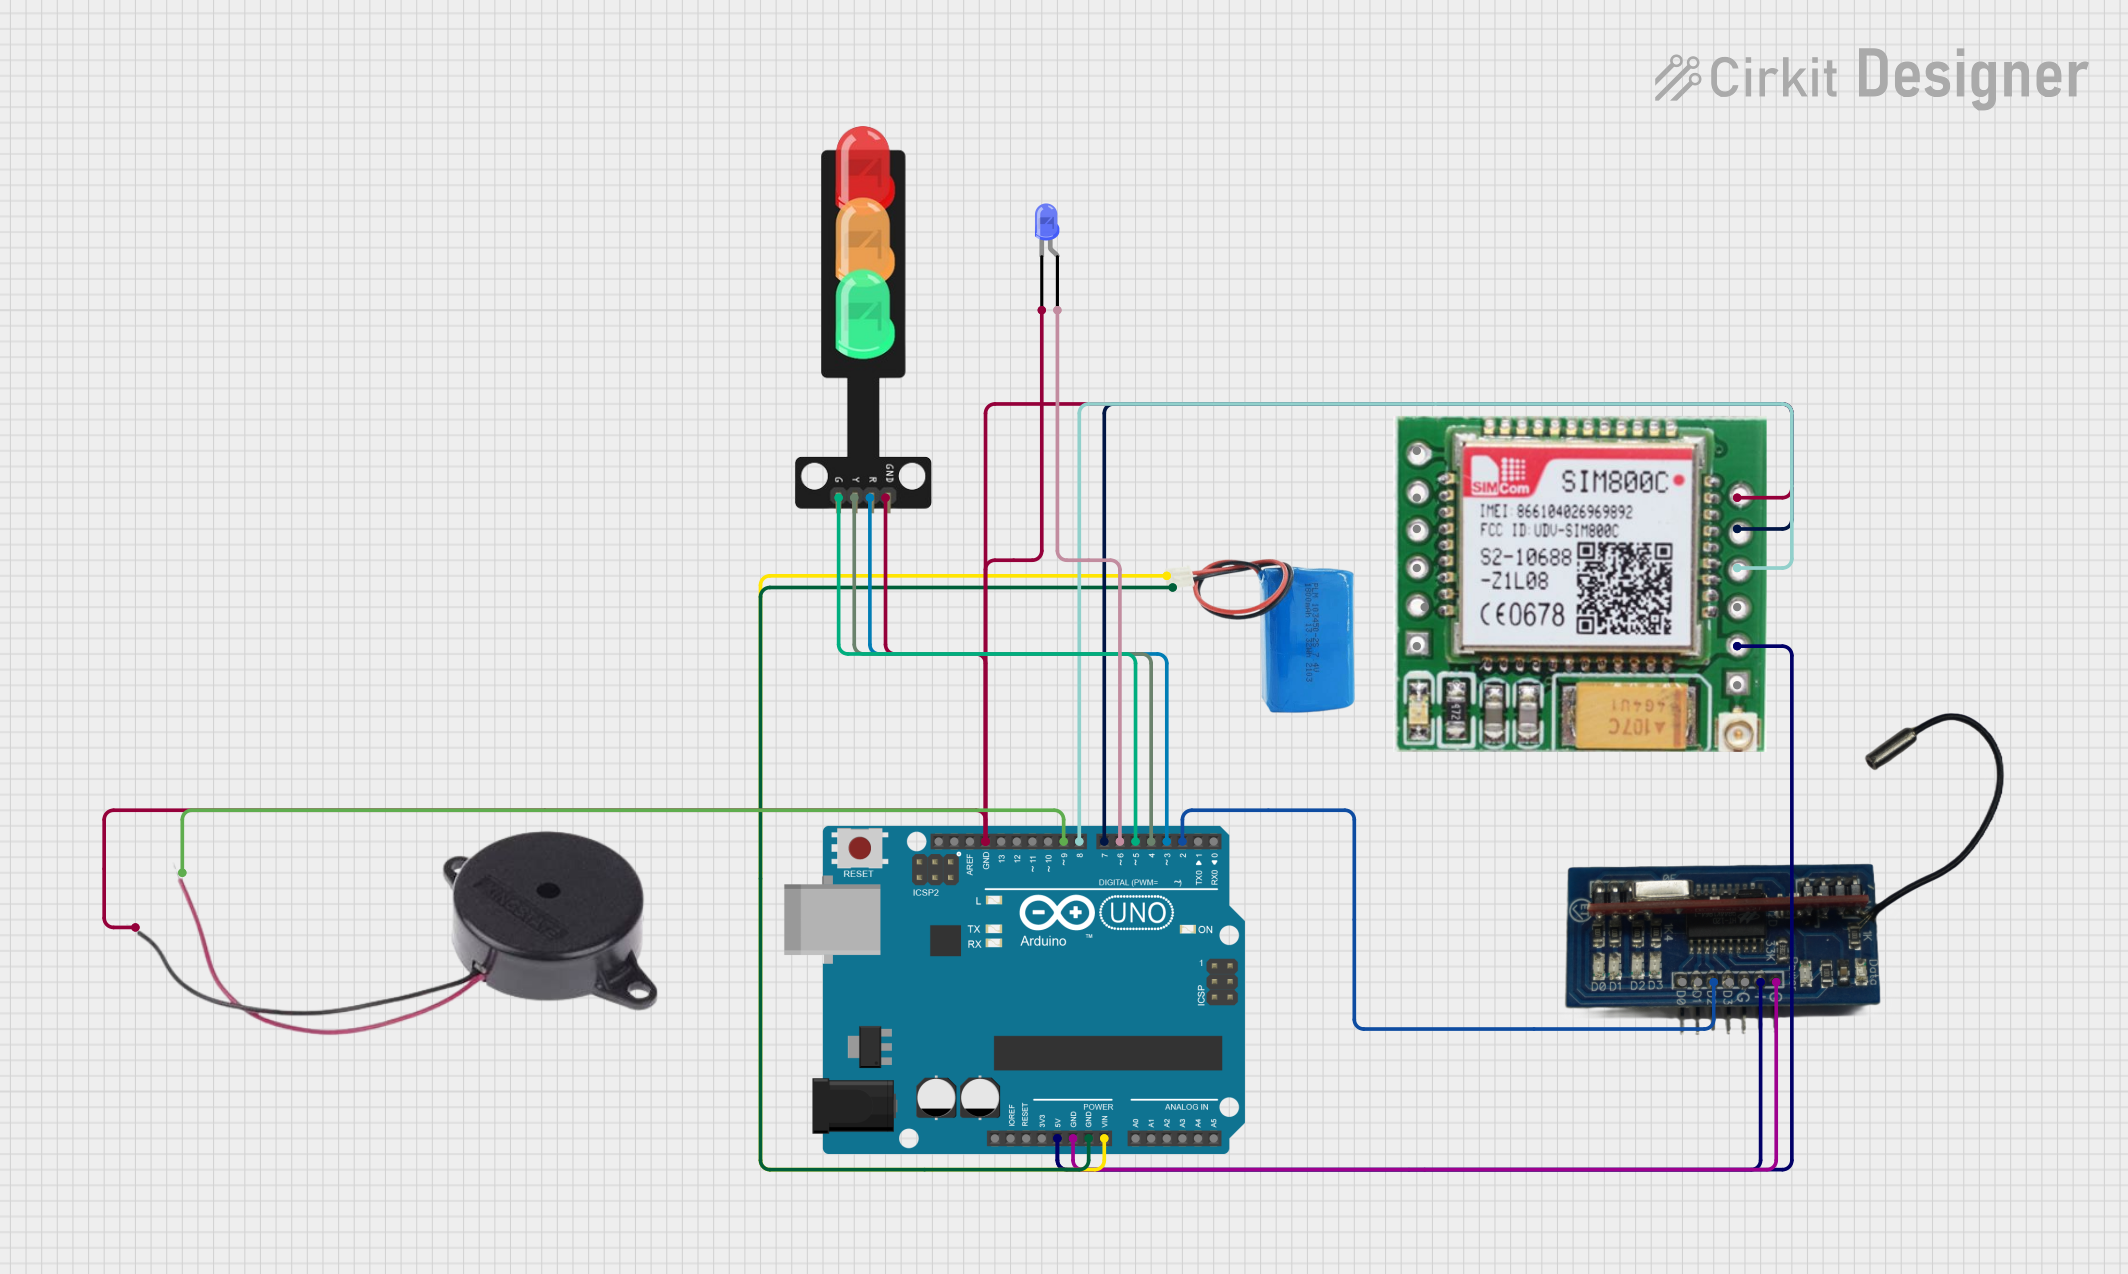
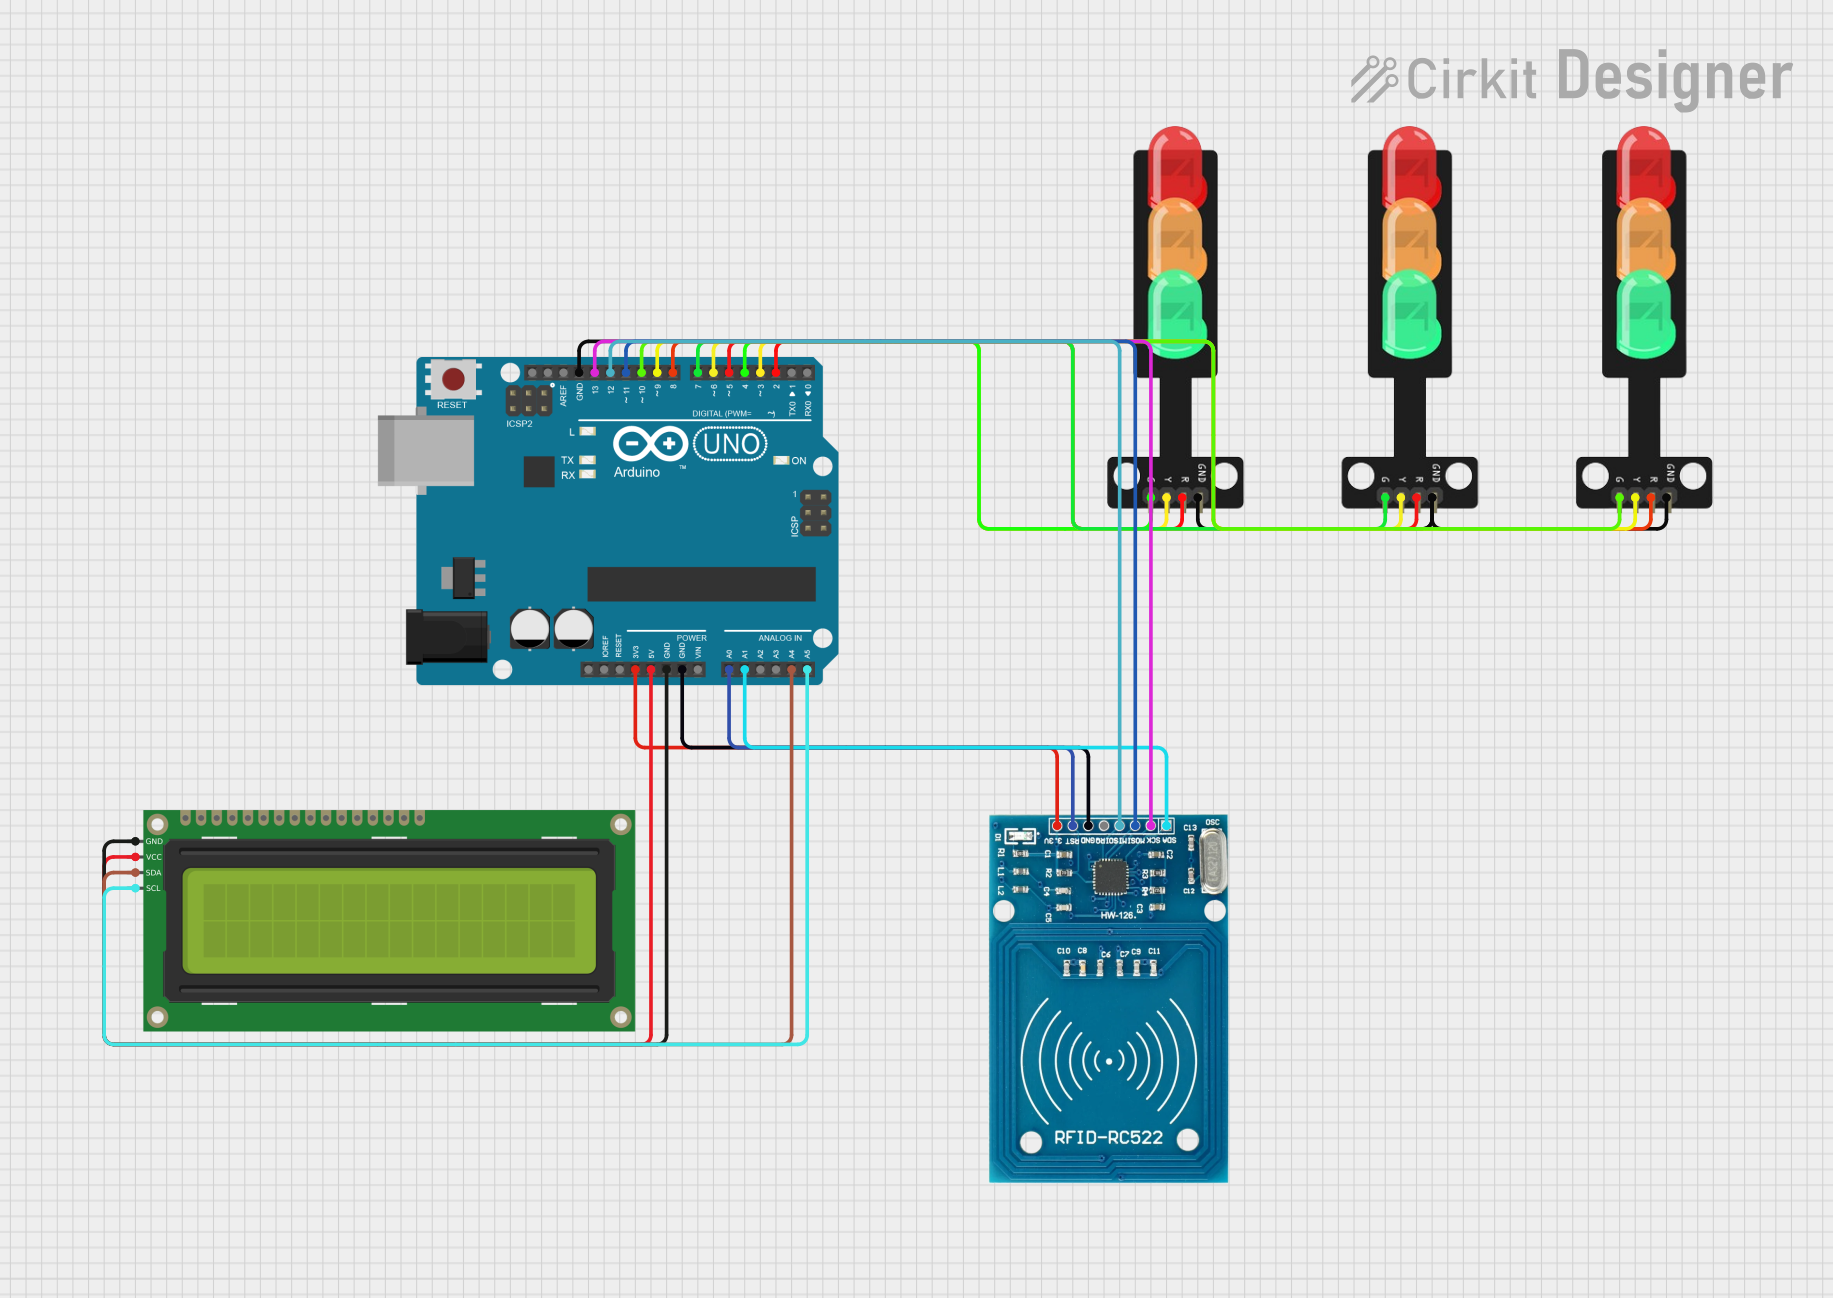
Explore Projects Built with FireHouseEmergencyLights
Common Applications and Use Cases
- Emergency lighting in firehouses and rescue stations.
- Mounted on emergency vehicles for signaling.
- Used in industrial or hazardous environments requiring high-visibility alerts.
- Integrated into alarm systems for visual notifications.
Technical Specifications
Key Technical Details
| Parameter | Value |
|---|---|
| Operating Voltage | 12V DC |
| Current Consumption | 1.5A (max) |
| Power Rating | 18W |
| LED Type | High-Intensity SMD LEDs |
| Flashing Patterns | 5 Pre-programmed Modes |
| Operating Temperature | -20°C to 60°C |
| Waterproof Rating | IP65 |
| Dimensions | 150mm x 50mm x 30mm |
| Weight | 200g |
Pin Configuration and Descriptions
| Pin Number | Pin Name | Description |
|---|---|---|
| 1 | VCC | Positive power supply input (12V DC). |
| 2 | GND | Ground connection. |
| 3 | MODE | Selects the flashing pattern. Connect to GND to cycle modes. |
| 4 | SYNC | Synchronization pin for multiple units. |
Usage Instructions
How to Use the Component in a Circuit
- Power Connection: Connect the
VCCpin to a 12V DC power source and theGNDpin to the ground of the power supply. - Mode Selection: Use the
MODEpin to select the desired flashing pattern. Briefly connect theMODEpin toGNDto cycle through the available modes. - Synchronization: If using multiple units, connect the
SYNCpins of all units together to ensure synchronized flashing patterns. - Mounting: Secure the lights using screws or adhesive mounts. Ensure proper ventilation to avoid overheating.
Important Considerations and Best Practices
- Power Supply: Use a stable 12V DC power source to prevent damage to the LEDs.
- Heat Management: Avoid enclosing the lights in tight spaces to allow heat dissipation.
- Waterproofing: Ensure the IP65-rated casing is intact for outdoor installations.
- Wiring: Use appropriate gauge wires to handle the current (1.5A max) without voltage drops.
Arduino UNO Example Code
The FireHouseEmergencyLights can be controlled using an Arduino UNO to automate flashing patterns. Below is an example code:
// FireHouseEmergencyLights Control Example
// This code cycles through flashing patterns using the MODE pin.

const int modePin = 7; // Connect MODE pin of the light to Arduino pin 7
const int cycleDelay = 1000; // Delay between mode changes (in milliseconds)

void setup() {
  pinMode(modePin, OUTPUT); // Set modePin as an output
  digitalWrite(modePin, HIGH); // Ensure the pin is initially HIGH
}

void loop() {
  // Trigger a mode change by briefly pulling the MODE pin LOW
  digitalWrite(modePin, LOW);
  delay(100); // Keep the pin LOW for 100ms
  digitalWrite(modePin, HIGH);
  delay(cycleDelay); // Wait before changing to the next mode
}
Note: Ensure the GND of the Arduino is connected to the GND of the FireHouseEmergencyLights.
Troubleshooting and FAQs
Common Issues and Solutions
Lights Not Turning On:
- Cause: Incorrect power supply connection.
- Solution: Verify that the
VCCandGNDpins are connected to a 12V DC power source.
Flashing Patterns Not Changing:
- Cause: Improper use of the
MODEpin. - Solution: Ensure the
MODEpin is briefly connected toGNDto cycle patterns.
- Cause: Improper use of the
Synchronization Not Working:
- Cause:
SYNCpins not properly connected. - Solution: Check that all
SYNCpins are connected together and powered from the same source.
- Cause:
Overheating:
- Cause: Poor ventilation or excessive ambient temperature.
- Solution: Install the lights in a well-ventilated area and avoid prolonged use in extreme heat.
FAQs
Q: Can I use a power supply higher than 12V?
A: No, using a voltage higher than 12V may damage the LEDs and circuitry.Q: How many units can I synchronize together?
A: Up to 10 units can be synchronized using theSYNCpin.Q: Are the lights dimmable?
A: No, the brightness is fixed and cannot be adjusted.Q: Can I use these lights in wet conditions?
A: Yes, the IP65 rating ensures protection against water jets and rain, but avoid submersion.
By following this documentation, you can effectively integrate and operate the FireHouseEmergencyLights in your projects or installations.