Cirkit Designer Logo
Cirkit Designer
Your all-in-one circuit design IDE
Home / 
Component Documentation

How to Use MicroView with Programmer: Examples, Pinouts, and Specs

Image of MicroView with Programmer
Cirkit Designer LogoDesign with MicroView with Programmer in Cirkit Designer

Introduction

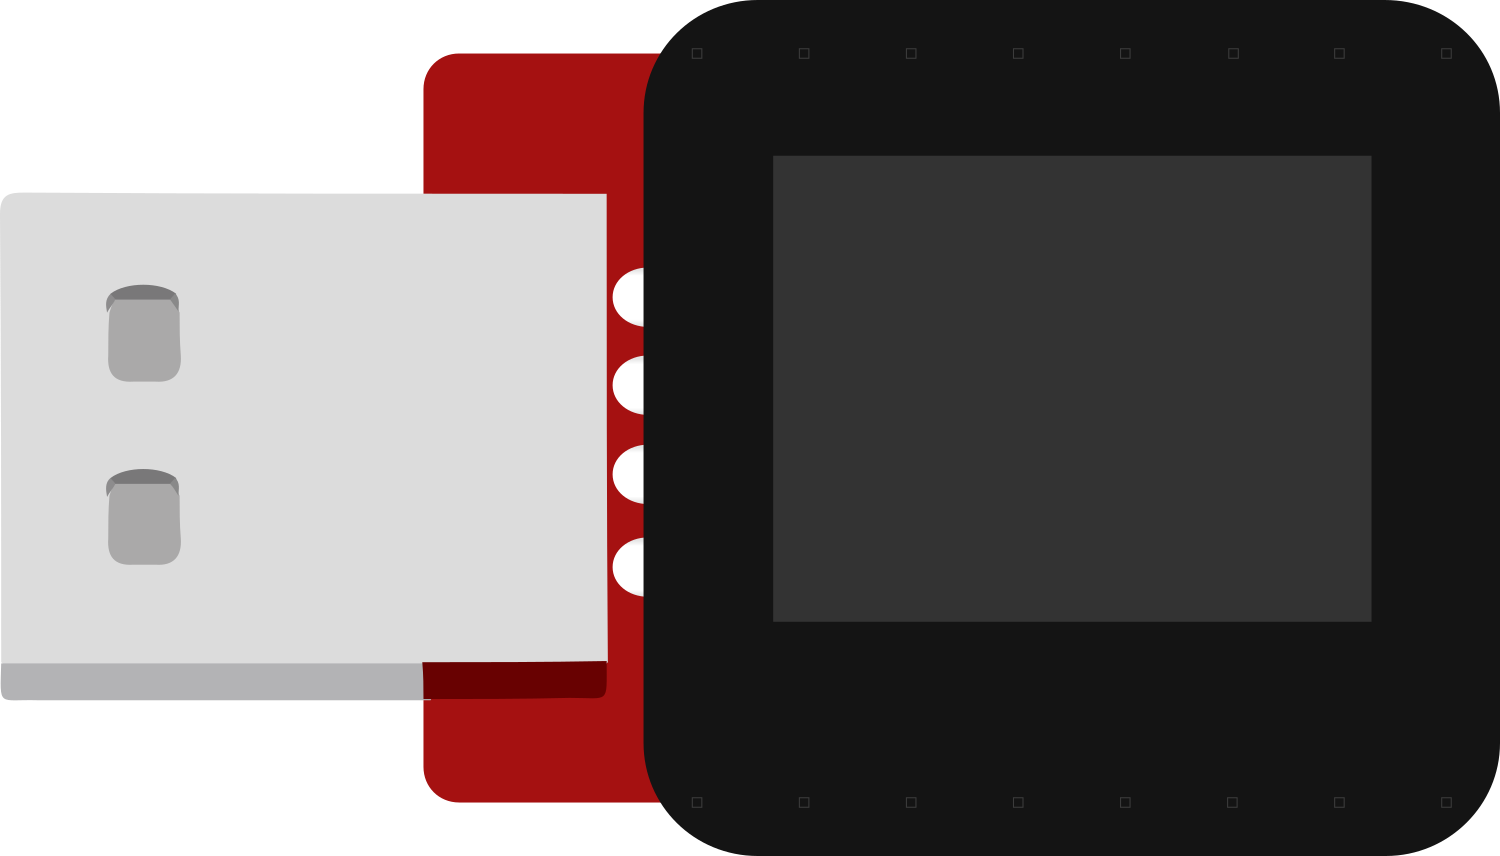
The MicroView is an innovative Arduino-compatible module that integrates a small OLED display with a microcontroller development board. This unique combination allows users to create projects with built-in visual feedback without the need for external display modules. Common applications include simple games, status displays for sensors, and educational tools for learning electronics and programming.

Explore Projects Built with MicroView with Programmer

Use Cirkit Designer to design, explore, and prototype these projects online. Some projects support real-time simulation. Click "Open Project" to start designing instantly!
ATMEGA328 Microcontroller Circuit with Serial Programming Interface
Image of breadboardArduino: A project utilizing MicroView with Programmer in a practical application
This circuit features an ATMEGA328 microcontroller configured with a crystal oscillator for precise timing, and a pushbutton for reset functionality. An FTDI Programmer is connected for serial communication, allowing for programming and data exchange with the microcontroller.
Cirkit Designer LogoOpen Project in Cirkit Designer
I2C-Controlled OLED Display with External EEPROM and Interactive Pushbuttons
Image of godmode: A project utilizing MicroView with Programmer in a practical application
This is a microcontroller-based interactive device featuring a Wemos D1 Mini, an OLED display, external EEPROM, and an I/O expander. It includes user input buttons and status LEDs, with potential MIDI interface capabilities.
Cirkit Designer LogoOpen Project in Cirkit Designer
ATMEGA328 Battery-Powered LED Blinker with FTDI Programming
Image of Homemade Arduino using ATmega328: A project utilizing MicroView with Programmer in a practical application
This circuit is a basic microcontroller setup using an ATMEGA328, powered by a 5V battery, and includes an FTDI programmer for serial communication. It features a pushbutton for reset functionality and two LEDs controlled by the microcontroller, with one LED blinking at a 1-second interval as programmed.
Cirkit Designer LogoOpen Project in Cirkit Designer
STM32 and Arduino Pro Mini Based Wireless Data Logger with OLED Display
Image of R8 Controller: A project utilizing MicroView with Programmer in a practical application
This circuit integrates multiple microcontrollers (Maple Mini STM32F1, nRF52840 ProMicro, and Arduino Pro Mini) to interface with various peripherals including an SSD1306 OLED display, an SD card module, and a Si4463 RF module. The circuit is designed for data acquisition, storage, and wireless communication, with power supplied through a USB Serial TTL module.
Cirkit Designer LogoOpen Project in Cirkit Designer

Explore Projects Built with MicroView with Programmer

Use Cirkit Designer to design, explore, and prototype these projects online. Some projects support real-time simulation. Click "Open Project" to start designing instantly!
Image of breadboardArduino: A project utilizing MicroView with Programmer in a practical application
ATMEGA328 Microcontroller Circuit with Serial Programming Interface
This circuit features an ATMEGA328 microcontroller configured with a crystal oscillator for precise timing, and a pushbutton for reset functionality. An FTDI Programmer is connected for serial communication, allowing for programming and data exchange with the microcontroller.
Cirkit Designer LogoOpen Project in Cirkit Designer
Image of godmode: A project utilizing MicroView with Programmer in a practical application
I2C-Controlled OLED Display with External EEPROM and Interactive Pushbuttons
This is a microcontroller-based interactive device featuring a Wemos D1 Mini, an OLED display, external EEPROM, and an I/O expander. It includes user input buttons and status LEDs, with potential MIDI interface capabilities.
Cirkit Designer LogoOpen Project in Cirkit Designer
Image of Homemade Arduino using ATmega328: A project utilizing MicroView with Programmer in a practical application
ATMEGA328 Battery-Powered LED Blinker with FTDI Programming
This circuit is a basic microcontroller setup using an ATMEGA328, powered by a 5V battery, and includes an FTDI programmer for serial communication. It features a pushbutton for reset functionality and two LEDs controlled by the microcontroller, with one LED blinking at a 1-second interval as programmed.
Cirkit Designer LogoOpen Project in Cirkit Designer
Image of R8 Controller: A project utilizing MicroView with Programmer in a practical application
STM32 and Arduino Pro Mini Based Wireless Data Logger with OLED Display
This circuit integrates multiple microcontrollers (Maple Mini STM32F1, nRF52840 ProMicro, and Arduino Pro Mini) to interface with various peripherals including an SSD1306 OLED display, an SD card module, and a Si4463 RF module. The circuit is designed for data acquisition, storage, and wireless communication, with power supplied through a USB Serial TTL module.
Cirkit Designer LogoOpen Project in Cirkit Designer

Technical Specifications

General Features

  • Microcontroller: ATmega328P
  • Operating Voltage: 5V
  • Input Voltage (recommended): 3.3-5V
  • Digital I/O Pins: 12 (of which 3 provide PWM output)
  • Analog Input Pins: 6
  • DC Current per I/O Pin: 40 mA
  • Flash Memory: 32 KB (ATmega328P) of which 0.5 KB used by bootloader
  • SRAM: 2 KB (ATmega328P)
  • EEPROM: 1 KB (ATmega328P)
  • Clock Speed: 16 MHz
  • OLED Display: 64x48 pixels monochrome

Pin Configuration

Pin Number Function Description
1 GND Ground
2 VIN Input voltage to MicroView
3 5V Regulated 5V output
4 GND Ground
5 D2 Digital I/O, Interrupt
6 D3/PWM Digital I/O, PWM output
7 D4 Digital I/O
8 D5/PWM Digital I/O, PWM output
9 D6/PWM Digital I/O, PWM output
10 D7 Digital I/O
11 D8 Digital I/O
12 D9/A3 Digital I/O, Analog Input
13 D10/A2 Digital I/O, Analog Input
14 D11/A1 Digital I/O, Analog Input
15 D12/A0 Digital I/O, Analog Input
16 D13/LED Digital I/O, Built-in LED
17 A4/SDA Analog Input, I2C Data Line
18 A5/SCL Analog Input, I2C Clock Line
19 RST Reset
20 3.3V Regulated 3.3V output

Usage Instructions

Integrating MicroView into a Circuit

  1. Powering the MicroView: Connect the VIN pin to a 3.3-5V power supply, or use the USB connection provided by the programmer.
  2. Programming the MicroView: Connect the MicroView to your computer using the included programmer. The programmer interfaces with the Arduino IDE for easy code uploading.
  3. Using the I/O Pins: Connect sensors, actuators, or other peripherals to the digital and analog pins as required by your project.

Best Practices

  • Always disconnect the MicroView from power sources before making or altering connections.
  • Use current-limiting resistors with LEDs and other sensitive components to prevent damage.
  • Avoid exposing the OLED display to direct sunlight for extended periods to prevent damage.

Example Code for Arduino UNO

#include <MicroView.h>

// Initialize the MicroView object
MicroView uView;

void setup() {
  uView.begin(); // Initialize the OLED display
  uView.clear(PAGE); // Clear the screen
  uView.print("Hello, World!"); // Print a message to the screen
  uView.display(); // Refresh the display to show the message
}

void loop() {
  // Main loop code goes here
}

Troubleshooting and FAQs

Common Issues

  • Display Not Working: Ensure that the MicroView is correctly seated in the programmer and that the programmer is properly connected to your computer.
  • Sketch Not Uploading: Check the Arduino IDE's selected board and port. Make sure drivers are installed if necessary.
  • Garbled Display: This can happen if the display is not properly initialized. Ensure that uView.begin(); is called in the setup() function.

FAQs

Q: Can I use the MicroView with a battery? A: Yes, the MicroView can be powered by a battery connected to the VIN pin, as long as the voltage is within the recommended range.

Q: Is the OLED display replaceable? A: The OLED display is not designed to be user-replaceable. Handle the display with care to avoid damage.

Q: How do I clear the display? A: Use uView.clear(PAGE); to clear the display. Remember to call uView.display(); to refresh the screen after clearing.

For further assistance, consult the MicroView community forums or contact technical support.