
How to Use Solenoid Hydraulic Valve 1 Coil: Examples, Pinouts, and Specs
 Design with Solenoid Hydraulic Valve 1 Coil in Cirkit Designer
Introduction
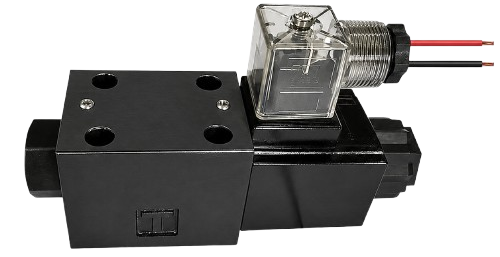
The Solenoid Hydraulic Valve 1 Coil is an electromagnetic device designed to control the flow of hydraulic fluid in a system. It operates by using an electric current to energize its coil, which in turn opens or closes the valve. This component is widely used in industrial automation, agricultural machinery, and hydraulic systems where precise fluid control is required.
Explore Projects Built with Solenoid Hydraulic Valve 1 Coil
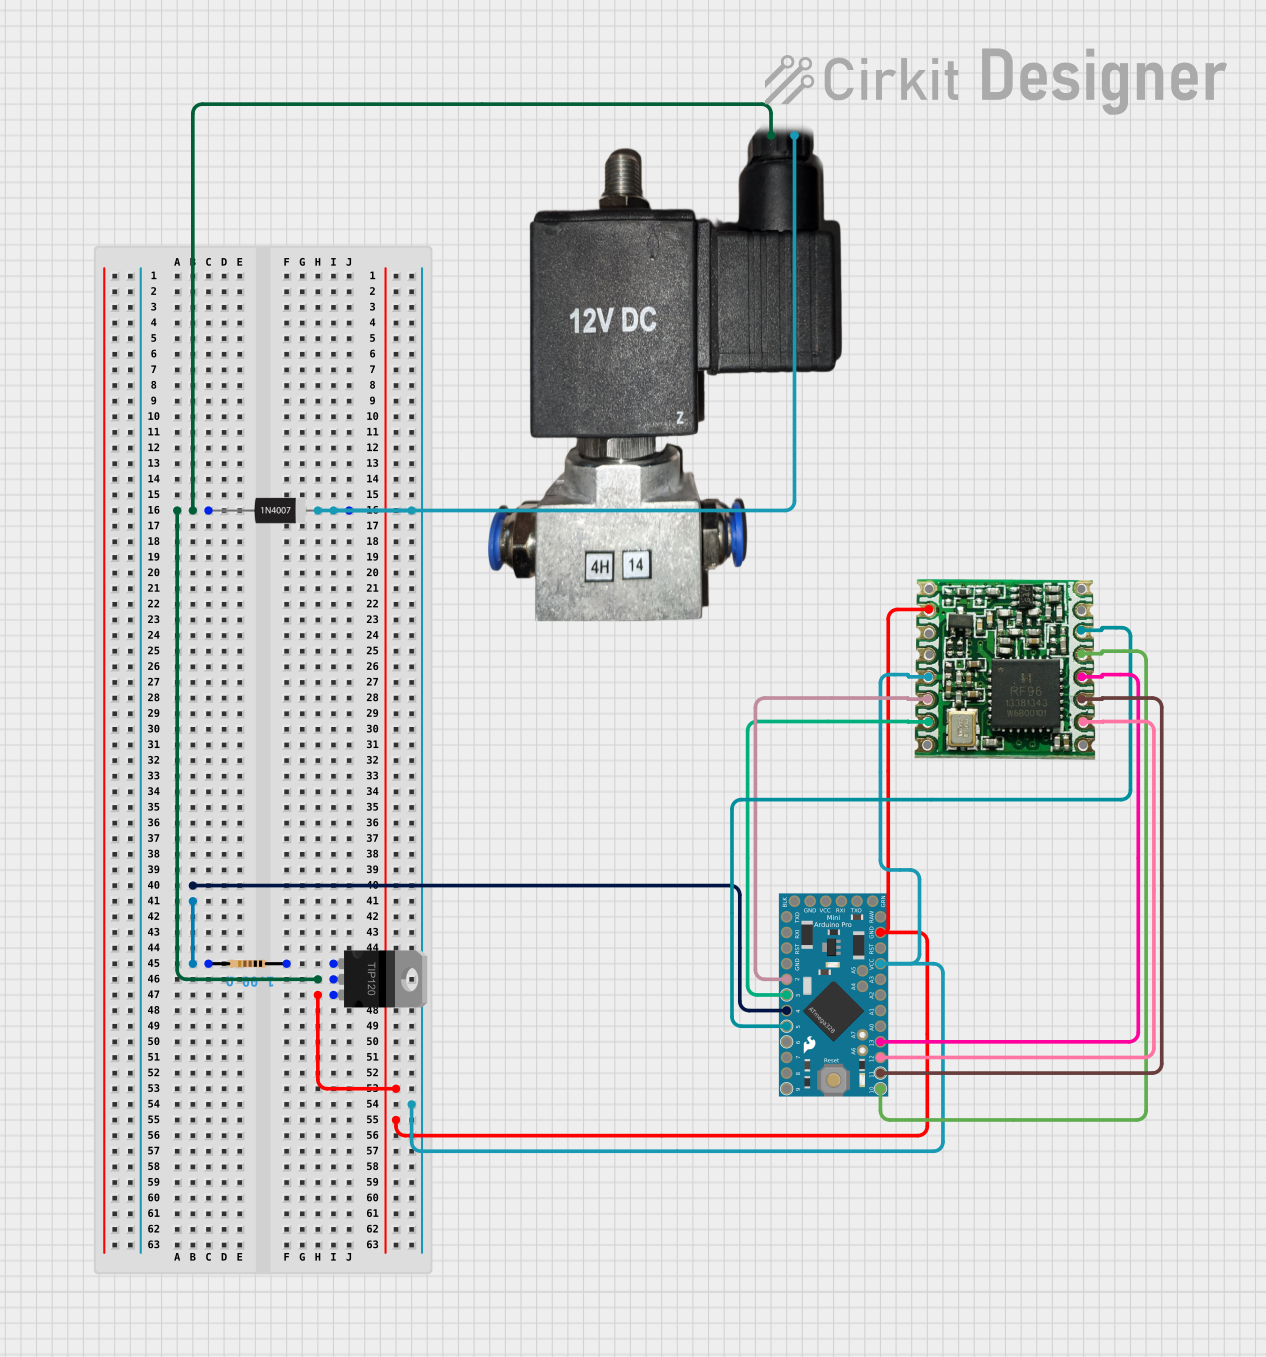 Open Project in Cirkit Designer
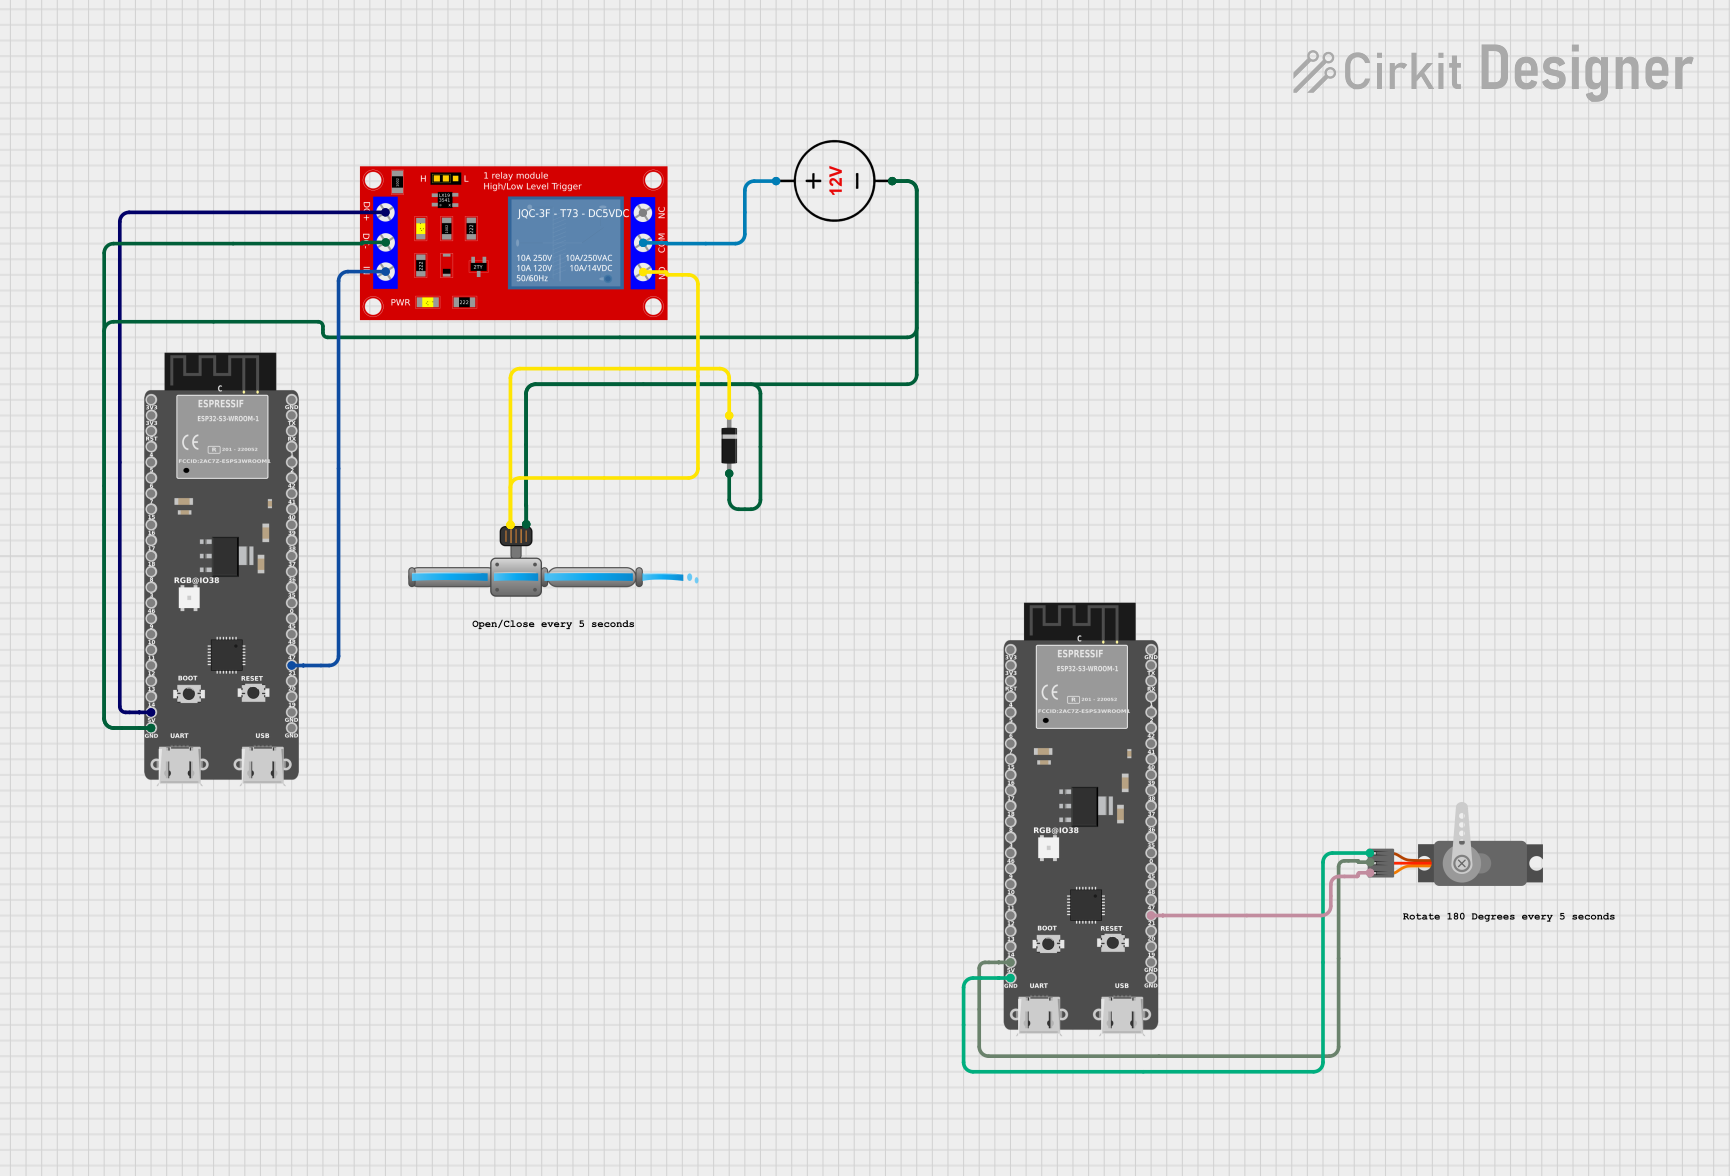 Open Project in Cirkit Designer
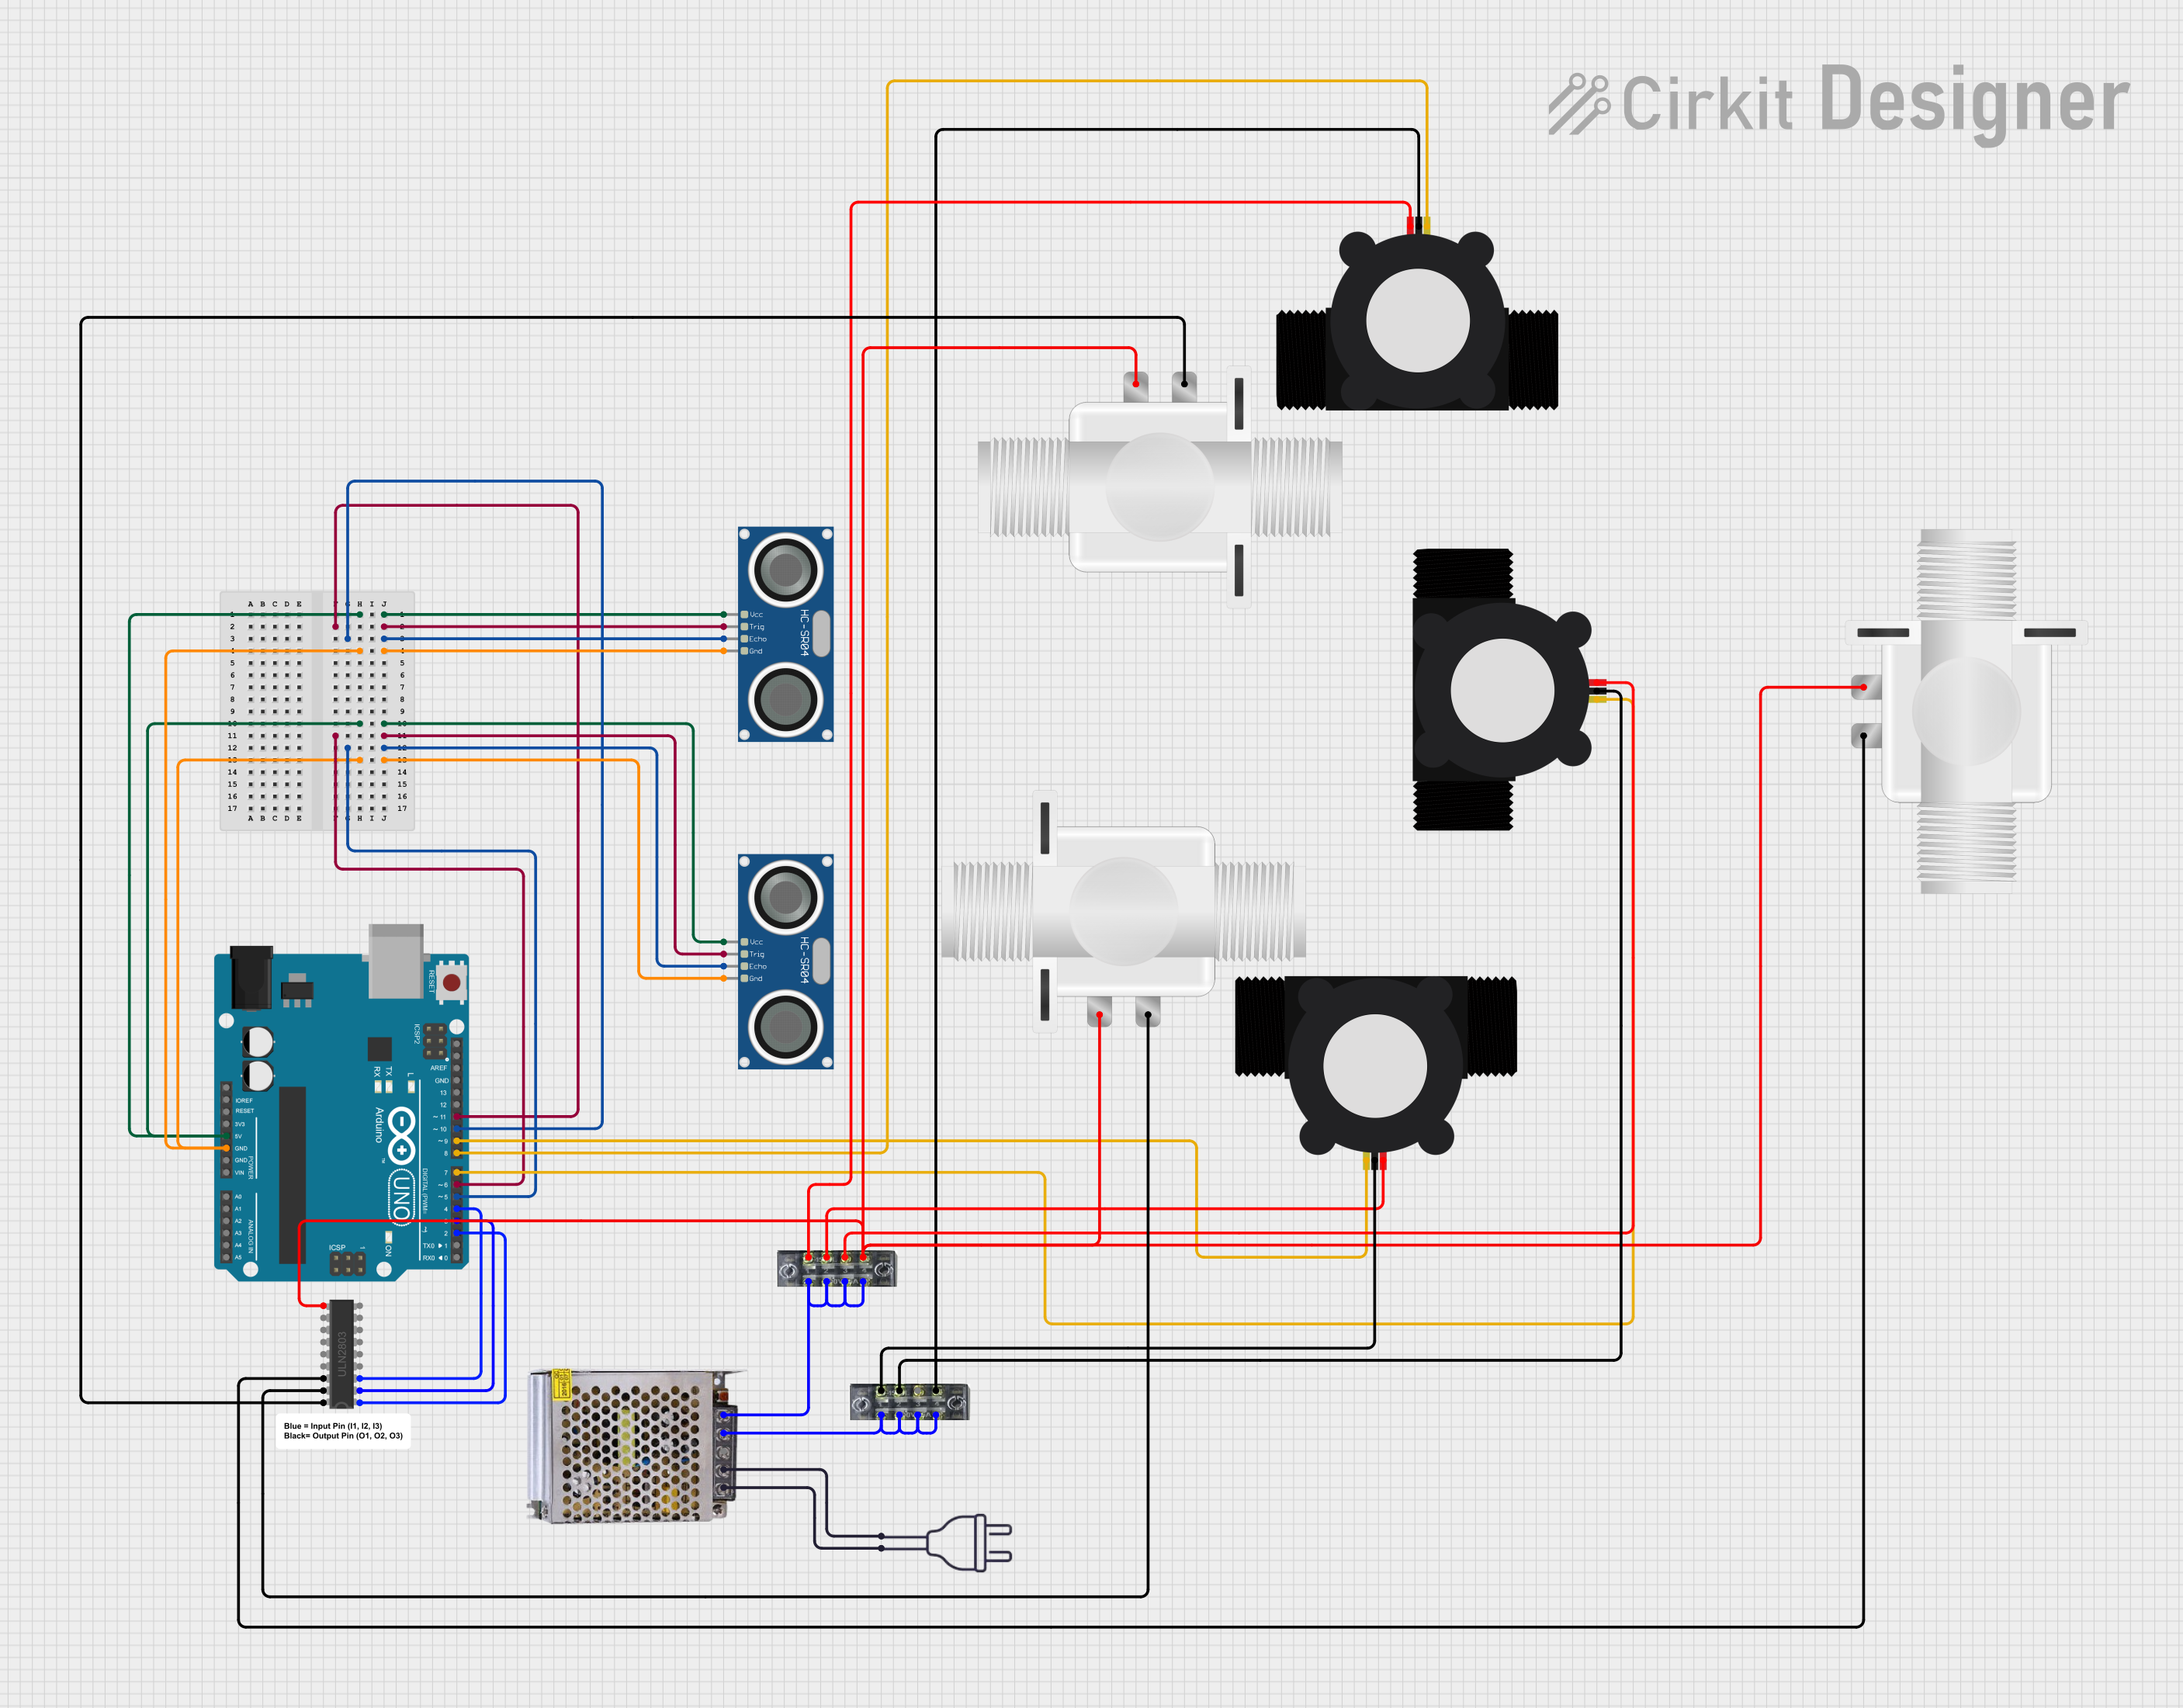 Open Project in Cirkit Designer
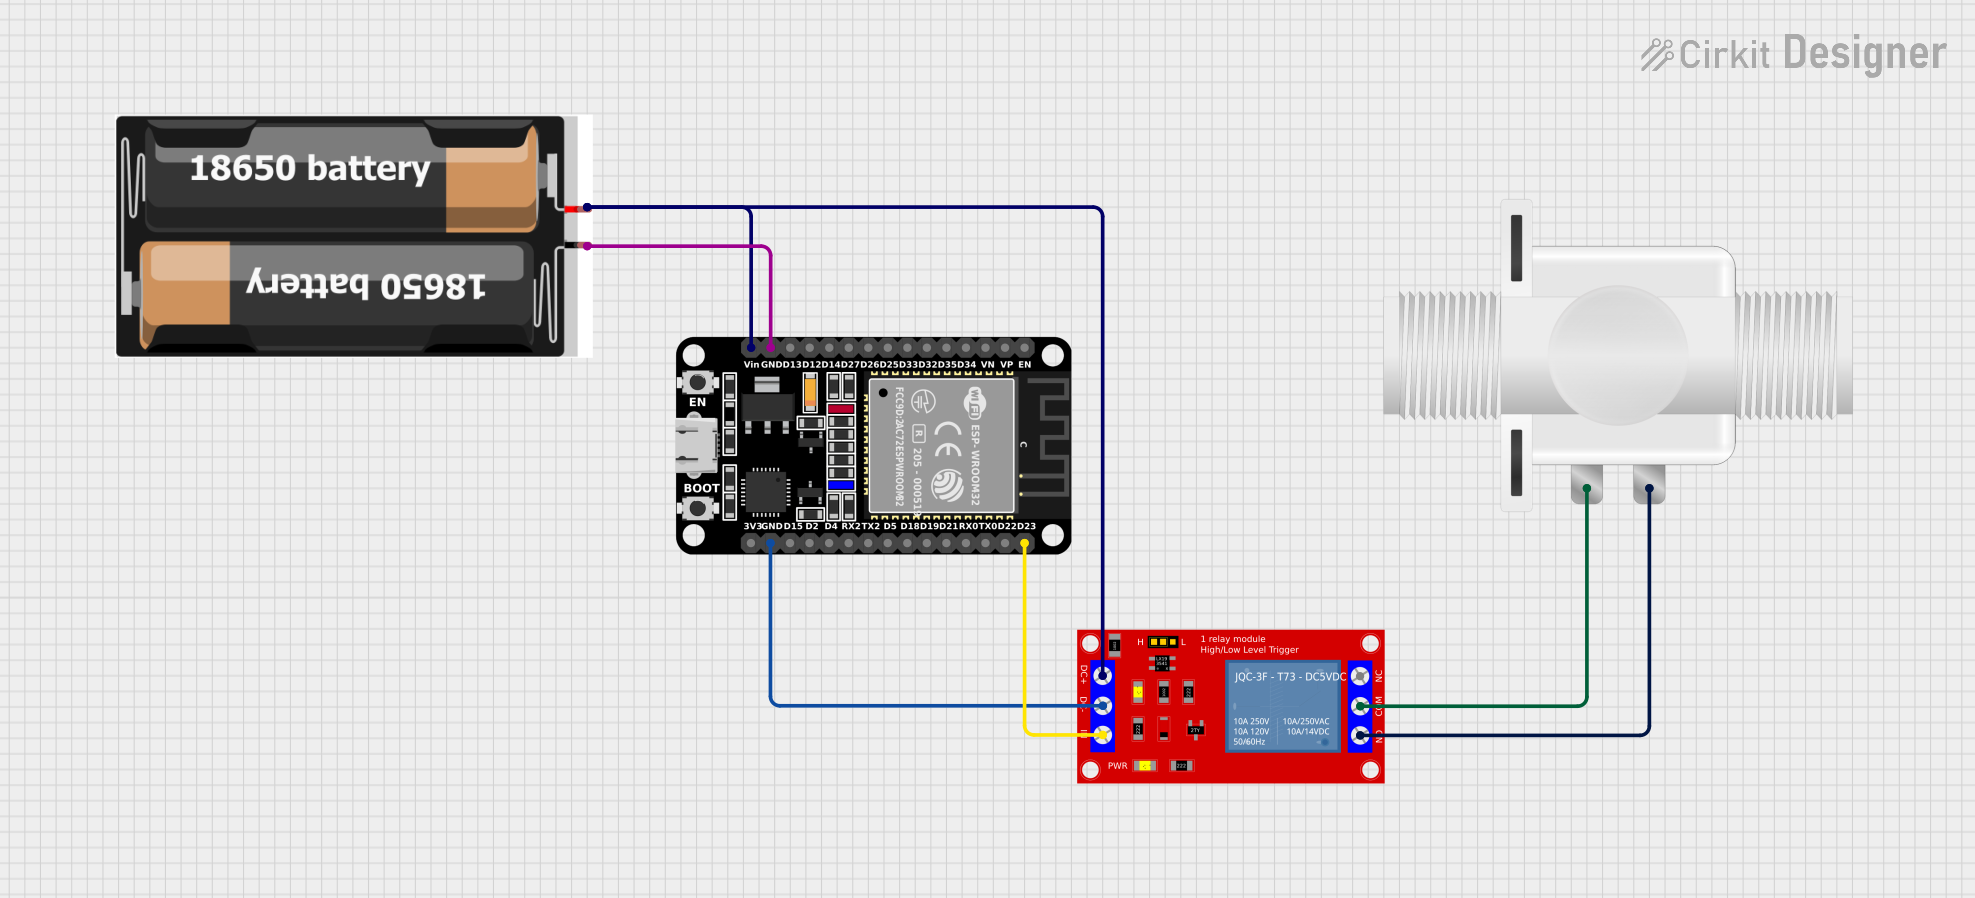 Open Project in Cirkit Designer
Explore Projects Built with Solenoid Hydraulic Valve 1 Coil
Open Project in Cirkit DesignerOpen Project in Cirkit DesignerOpen Project in Cirkit DesignerOpen Project in Cirkit DesignerCommon Applications and Use Cases
- Industrial machinery for controlling hydraulic actuators
- Automotive systems, such as automatic transmissions
- Agricultural equipment for fluid flow regulation
- Robotics and automation systems requiring hydraulic control
- Hydraulic presses and lifting systems
Technical Specifications
Key Technical Details
| Parameter | Value |
|---|---|
| Operating Voltage | 12V DC or 24V DC (model-dependent) |
| Coil Resistance | 10–50 Ohms (varies by model) |
| Power Consumption | 5–30 Watts |
| Operating Pressure | Up to 350 bar (model-dependent) |
| Response Time | 20–50 ms |
| Fluid Compatibility | Hydraulic oil (ISO VG 32/46) |
| Operating Temperature | -20°C to 80°C |
| Connector Type | DIN 43650 or lead wires |
Pin Configuration and Descriptions
For solenoid valves with a DIN 43650 connector, the pin configuration is as follows:
| Pin Number | Description |
|---|---|
| 1 | Positive terminal (+12V or +24V) |
| 2 | Negative terminal (Ground) |
| 3 | Protective Earth (optional) |
For solenoid valves with lead wires:
- Red Wire: Positive terminal (+12V or +24V)
- Black Wire: Negative terminal (Ground)
Usage Instructions
How to Use the Component in a Circuit
- Power Supply: Ensure the solenoid valve is connected to a power supply that matches its rated voltage (12V DC or 24V DC). Exceeding the rated voltage can damage the coil.
- Wiring: Connect the positive terminal of the power supply to the positive pin or red wire of the solenoid. Connect the negative terminal to the ground pin or black wire.
- Control Signal: Use a switch, relay, or microcontroller (e.g., Arduino) to control the flow of current to the solenoid. When current flows through the coil, the valve opens or closes depending on its design.
- Hydraulic Connections: Attach the hydraulic input and output lines to the valve ports. Ensure the connections are secure and leak-free.
- Testing: Apply power to the solenoid and verify that the valve operates as expected (opens or closes).
Important Considerations and Best Practices
- Voltage Matching: Always use a power supply that matches the solenoid's rated voltage.
- Heat Dissipation: Prolonged operation may cause the coil to heat up. Ensure adequate ventilation or cooling if necessary.
- Hydraulic Fluid: Use only compatible hydraulic fluids as specified in the technical details.
- Polarity: Ensure correct polarity when connecting the power supply to avoid damage.
- Debris Prevention: Keep the hydraulic system clean to prevent debris from clogging the valve.
Example: Controlling the Solenoid Valve with an Arduino UNO
Below is an example of how to control the Solenoid Hydraulic Valve 1 Coil using an Arduino UNO and a relay module.
// Example: Controlling a Solenoid Hydraulic Valve with Arduino UNO
// This code uses a relay module to control the solenoid valve.
// Ensure the relay module is connected to the Arduino and solenoid properly.

const int relayPin = 7; // Pin connected to the relay module

void setup() {
  pinMode(relayPin, OUTPUT); // Set the relay pin as an output
  digitalWrite(relayPin, LOW); // Ensure the relay is off initially
}

void loop() {
  // Turn the solenoid valve ON
  digitalWrite(relayPin, HIGH); // Activate the relay
  delay(5000); // Keep the valve open for 5 seconds

  // Turn the solenoid valve OFF
  digitalWrite(relayPin, LOW); // Deactivate the relay
  delay(5000); // Keep the valve closed for 5 seconds
}
Troubleshooting and FAQs
Common Issues and Solutions
Valve Does Not Operate:
- Cause: Incorrect wiring or insufficient power supply.
- Solution: Verify the wiring and ensure the power supply matches the solenoid's rated voltage.
Coil Overheating:
- Cause: Prolonged activation or excessive voltage.
- Solution: Use a timer or PWM control to limit activation time. Ensure the voltage is within the specified range.
Hydraulic Fluid Leakage:
- Cause: Loose or damaged hydraulic connections.
- Solution: Tighten the connections and inspect for damaged seals or fittings.
Slow Response Time:
- Cause: Contaminated hydraulic fluid or low system pressure.
- Solution: Replace the hydraulic fluid and check the system pressure.
FAQs
Q: Can I use this solenoid valve with AC power?
A: No, this solenoid valve is designed for DC power only. Using AC power may damage the coil.Q: How do I know if the valve is open or closed?
A: You can monitor the hydraulic system's flow or pressure to determine the valve's state. Some models may include a position indicator.Q: Can I control the valve directly with an Arduino?
A: No, the Arduino cannot supply enough current to drive the solenoid directly. Use a relay module or MOSFET circuit to control the solenoid.Q: What happens if I reverse the polarity?
A: Reversing the polarity may damage the solenoid coil. Always double-check the wiring before applying power.