Cirkit Designer Logo
Cirkit Designer
Your all-in-one circuit design IDE
Home / 
Component Documentation

How to Use Adafruit NeoKey FeatherWing: Examples, Pinouts, and Specs

Image of Adafruit NeoKey FeatherWing
Cirkit Designer LogoDesign with Adafruit NeoKey FeatherWing in Cirkit Designer

Introduction

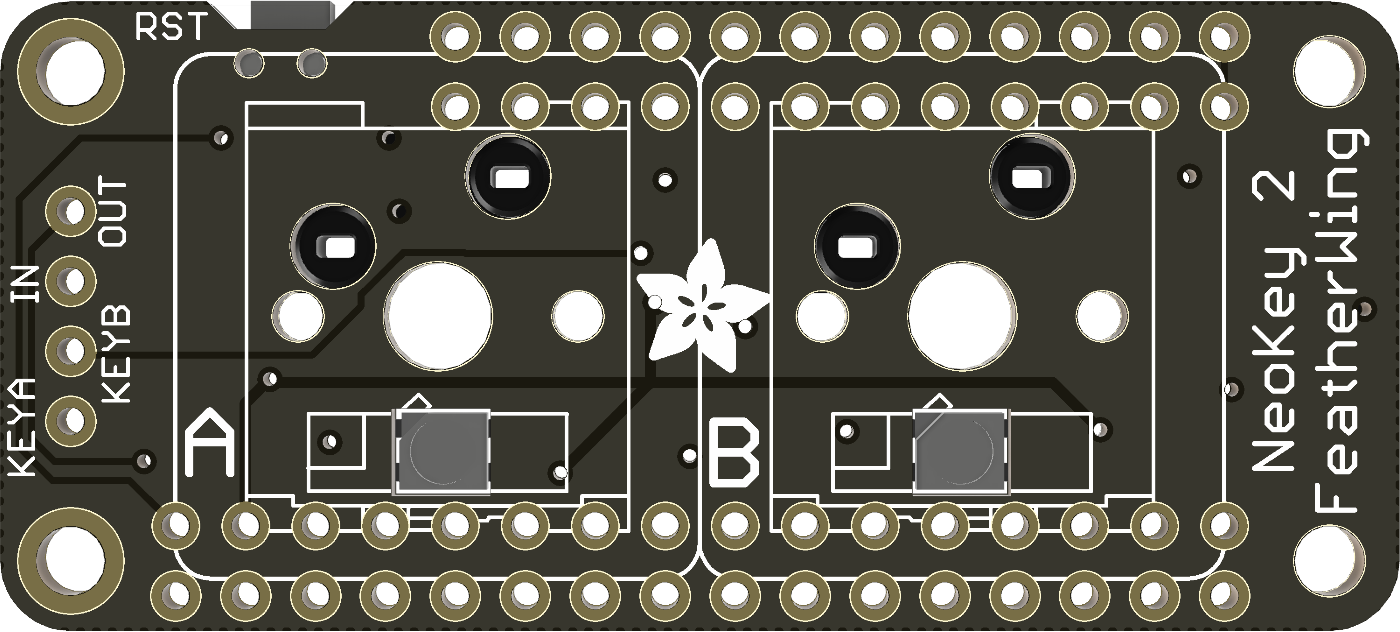
The Adafruit NeoKey FeatherWing (Part ID: 4979) is a versatile input device designed to integrate seamlessly with Adafruit Feather boards. It features two mechanical key switches with customizable RGB LED backlighting, making it ideal for creating compact keyboards, control interfaces, or interactive projects. The NeoKey FeatherWing simplifies the process of adding tactile input and vibrant lighting to your Feather-based designs.

Explore Projects Built with Adafruit NeoKey FeatherWing

Use Cirkit Designer to design, explore, and prototype these projects online. Some projects support real-time simulation. Click "Open Project" to start designing instantly!
Arduino UNO and OLED FeatherWing Display: Battery-Powered Hello World Project
Image of ARDUINO_SSD1306: A project utilizing Adafruit NeoKey FeatherWing in a practical application
This circuit consists of an Arduino UNO connected to an Adafruit OLED FeatherWing display via I2C communication (SDA and SCL lines). The Arduino is powered through a Vcc source and provides 3.3V and GND connections to the OLED display. The Arduino runs a program to display 'Hello, World!' on the OLED screen.
Cirkit Designer LogoOpen Project in Cirkit Designer
Biometric and RFID Security System with Dual Adafruit Feather nRF52840 Controllers
Image of Rfid access control: A project utilizing Adafruit NeoKey FeatherWing in a practical application
This circuit features two Adafruit Feather nRF52840 microcontrollers, each interfaced with an RFID-RC522 module for RFID communication and an AT24C256 external EEPROM for additional memory storage. One of the microcontrollers is also connected to an R307 Fingerprint Sensor for biometric input, and both microcontrollers are powered by a shared power supply and a coin cell breakout for backup or RTC power. The circuit is likely designed for secure access control or identification purposes, utilizing both RFID and fingerprint authentication, with data storage capabilities.
Cirkit Designer LogoOpen Project in Cirkit Designer
Solar-Powered Environmental Data Logger with Adafruit Feather M0 Express
Image of Lake Thoreau Monitoring Station: A project utilizing Adafruit NeoKey FeatherWing in a practical application
This circuit is designed for environmental data collection and logging, utilizing an Adafruit Feather M0 Express microcontroller as the central processing unit. It interfaces with a BME280 sensor for atmospheric temperature, humidity, and pressure measurements, an SGP30 sensor for monitoring air quality (eCO2 and TVOC), and a STEMMA soil sensor for detecting soil moisture and temperature. The system is powered by a solar panel and a 3.7v LiPo battery, managed by an Adafruit BQ24074 Solar-DC-USB Lipo Charger, and provides easy access to the microcontroller's connections through an Adafruit Terminal Breakout FeatherWing.
Cirkit Designer LogoOpen Project in Cirkit Designer
Touch-Sensitive Interface with Adafruit MPR121 and Feather 32u4 Bluefruit
Image of MPR121: A project utilizing Adafruit NeoKey FeatherWing in a practical application
This circuit integrates an Adafruit MPR121 capacitive touch sensor with an Adafruit Feather 32u4 Bluefruit microcontroller. The MPR121 is powered by the Feather and communicates via I2C (SCL and SDA) to detect touch inputs, which can be processed or transmitted wirelessly by the Feather.
Cirkit Designer LogoOpen Project in Cirkit Designer

Explore Projects Built with Adafruit NeoKey FeatherWing

Use Cirkit Designer to design, explore, and prototype these projects online. Some projects support real-time simulation. Click "Open Project" to start designing instantly!
Image of ARDUINO_SSD1306: A project utilizing Adafruit NeoKey FeatherWing in a practical application
Arduino UNO and OLED FeatherWing Display: Battery-Powered Hello World Project
This circuit consists of an Arduino UNO connected to an Adafruit OLED FeatherWing display via I2C communication (SDA and SCL lines). The Arduino is powered through a Vcc source and provides 3.3V and GND connections to the OLED display. The Arduino runs a program to display 'Hello, World!' on the OLED screen.
Cirkit Designer LogoOpen Project in Cirkit Designer
Image of Rfid access control: A project utilizing Adafruit NeoKey FeatherWing in a practical application
Biometric and RFID Security System with Dual Adafruit Feather nRF52840 Controllers
This circuit features two Adafruit Feather nRF52840 microcontrollers, each interfaced with an RFID-RC522 module for RFID communication and an AT24C256 external EEPROM for additional memory storage. One of the microcontrollers is also connected to an R307 Fingerprint Sensor for biometric input, and both microcontrollers are powered by a shared power supply and a coin cell breakout for backup or RTC power. The circuit is likely designed for secure access control or identification purposes, utilizing both RFID and fingerprint authentication, with data storage capabilities.
Cirkit Designer LogoOpen Project in Cirkit Designer
Image of Lake Thoreau Monitoring Station: A project utilizing Adafruit NeoKey FeatherWing in a practical application
Solar-Powered Environmental Data Logger with Adafruit Feather M0 Express
This circuit is designed for environmental data collection and logging, utilizing an Adafruit Feather M0 Express microcontroller as the central processing unit. It interfaces with a BME280 sensor for atmospheric temperature, humidity, and pressure measurements, an SGP30 sensor for monitoring air quality (eCO2 and TVOC), and a STEMMA soil sensor for detecting soil moisture and temperature. The system is powered by a solar panel and a 3.7v LiPo battery, managed by an Adafruit BQ24074 Solar-DC-USB Lipo Charger, and provides easy access to the microcontroller's connections through an Adafruit Terminal Breakout FeatherWing.
Cirkit Designer LogoOpen Project in Cirkit Designer
Image of MPR121: A project utilizing Adafruit NeoKey FeatherWing in a practical application
Touch-Sensitive Interface with Adafruit MPR121 and Feather 32u4 Bluefruit
This circuit integrates an Adafruit MPR121 capacitive touch sensor with an Adafruit Feather 32u4 Bluefruit microcontroller. The MPR121 is powered by the Feather and communicates via I2C (SCL and SDA) to detect touch inputs, which can be processed or transmitted wirelessly by the Feather.
Cirkit Designer LogoOpen Project in Cirkit Designer

Common Applications and Use Cases

  • Custom mechanical keyboards
  • MIDI controllers and music interfaces
  • Gaming keypads
  • Control panels for IoT devices
  • Interactive art installations

Technical Specifications

The Adafruit NeoKey FeatherWing is designed to be user-friendly and compatible with a wide range of Feather boards. Below are its key technical details:

Key Features

  • Number of Keys: 2 mechanical key switches (Kailh-compatible sockets)
  • LED Backlighting: Individually addressable RGB LEDs (NeoPixel-compatible)
  • Communication Protocol: I2C
  • Default I2C Address: 0x30 (configurable via solder jumpers)
  • Operating Voltage: 3.3V (logic level)
  • Dimensions: 51mm x 23mm x 8mm (excluding keycaps)

Pin Configuration and Descriptions

The NeoKey FeatherWing connects directly to Feather boards via its headers. Below is the pinout:

Pin Name Description
3V 3.3V Power Power input for the FeatherWing (3.3V logic level).
GND Ground Ground connection.
SCL I2C Clock Line Serial clock line for I2C communication.
SDA I2C Data Line Serial data line for I2C communication.
A0 Address Select Optional pin for configuring the I2C address (via solder jumper modification).

Usage Instructions

How to Use the NeoKey FeatherWing in a Circuit

  1. Attach the FeatherWing: Plug the NeoKey FeatherWing into the headers of your Feather board. Ensure proper alignment of the pins.
  2. Install Key Switches: Insert two mechanical key switches into the Kailh-compatible sockets. Add keycaps if desired.
  3. Connect Power: The Feather board will supply 3.3V power to the FeatherWing.
  4. I2C Communication: The FeatherWing communicates with the Feather board via the I2C protocol. Ensure no address conflicts with other I2C devices.
  5. Install Libraries: Use the Adafruit NeoPixel and Adafruit Seesaw libraries to control the RGB LEDs and read key presses.

Important Considerations and Best Practices

  • I2C Address Configuration: If you need to use multiple NeoKey FeatherWings, modify the I2C address by adjusting the solder jumpers on the back of the board.
  • Power Requirements: Ensure your Feather board can supply sufficient current for the RGB LEDs, especially if using multiple FeatherWings.
  • Key Switch Compatibility: The sockets are compatible with Kailh mechanical switches. Ensure the switches are properly seated to avoid poor connections.
  • Library Installation: Install the required libraries via the Arduino Library Manager for seamless integration.

Example Code for Arduino UNO-Compatible Feather Boards

Below is an example of how to use the NeoKey FeatherWing with an Adafruit Feather board:

#include <Wire.h>
#include "Adafruit_NeoPixel.h"
#include "Adafruit_seesaw.h"

// Create a seesaw object for the NeoKey FeatherWing
Adafruit_seesaw neokey;

// Define the NeoPixel pin and number of LEDs
#define NEOKEY_NEOPIXEL_PIN 3
#define NUMPIXELS 2

Adafruit_NeoPixel pixels(NUMPIXELS, NEOKEY_NEOPIXEL_PIN, NEO_GRB + NEO_KHZ800);

void setup() {
  Serial.begin(115200);
  while (!Serial) delay(10); // Wait for Serial Monitor to open

  // Initialize the NeoKey FeatherWing
  if (!neokey.begin(0x30)) { // Default I2C address is 0x30
    Serial.println("Failed to find NeoKey FeatherWing!");
    while (1) delay(10);
  }
  Serial.println("NeoKey FeatherWing initialized!");

  // Initialize the NeoPixel LEDs
  pixels.begin();
  pixels.setBrightness(50); // Adjust brightness (0-255)
  pixels.show(); // Turn off all LEDs initially
}

void loop() {
  // Check if a key is pressed
  uint8_t keyPressed = neokey.digitalReadBulk();
  if (keyPressed & 0x01) { // Check if key 1 is pressed
    Serial.println("Key 1 pressed!");
    pixels.setPixelColor(0, pixels.Color(255, 0, 0)); // Red for key 1
  } else {
    pixels.setPixelColor(0, 0); // Turn off LED for key 1
  }

  if (keyPressed & 0x02) { // Check if key 2 is pressed
    Serial.println("Key 2 pressed!");
    pixels.setPixelColor(1, pixels.Color(0, 0, 255)); // Blue for key 2
  } else {
    pixels.setPixelColor(1, 0); // Turn off LED for key 2
  }

  pixels.show(); // Update the LEDs
  delay(50); // Small delay for debounce
}

Troubleshooting and FAQs

Common Issues and Solutions

  1. NeoKey FeatherWing Not Detected:

    • Ensure the FeatherWing is properly seated on the Feather board.
    • Verify the I2C address matches the one in your code (0x30 by default).
    • Check solder jumpers if you modified the I2C address.
  2. RGB LEDs Not Lighting Up:

    • Confirm the NeoPixel library is installed and correctly initialized.
    • Check the power supply; insufficient current can cause LED issues.
    • Verify the brightness setting in your code.
  3. Key Presses Not Detected:

    • Ensure the mechanical switches are fully inserted into the sockets.
    • Test the switches with a multimeter to confirm functionality.
    • Check the digitalReadBulk() function for proper key state detection.

FAQs

  • Can I use more than one NeoKey FeatherWing? Yes, but you must configure unique I2C addresses for each FeatherWing by modifying the solder jumpers.

  • What key switches are compatible? The NeoKey FeatherWing supports Kailh-compatible mechanical switches.

  • How do I change the RGB LED colors? Use the setPixelColor() function from the NeoPixel library to customize the LED colors.

  • Is it compatible with non-Adafruit Feather boards? The NeoKey FeatherWing is designed for Adafruit Feather boards but may work with other boards that support 3.3V I2C communication.