How to Use 5v fan: Examples, Pinouts, and Specs
Introduction
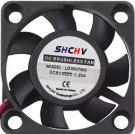
A 5V fan is a small electric fan designed to operate on a 5-volt DC power supply. It is commonly used for cooling electronic components, such as microcontrollers, processors, or power regulators, and for providing ventilation in enclosures to prevent overheating. Due to its compact size and low power consumption, the 5V fan is ideal for use in small electronic projects, computer cases, and embedded systems.
Explore Projects Built with 5v fan


Explore Projects Built with 5v fan
Common Applications
- Cooling microcontrollers, Raspberry Pi, or Arduino boards
- Ventilation in small enclosures or project boxes
- Heat dissipation for power regulators or MOSFETs
- Enhancing airflow in compact electronic devices
Technical Specifications
Below are the typical specifications for a standard 5V fan. Note that actual values may vary depending on the manufacturer and model.
| Parameter | Specification |
|---|---|
| Operating Voltage | 5V DC |
| Operating Current | 80mA to 200mA (varies by model) |
| Power Consumption | 0.4W to 1W |
| Fan Speed | 3000 to 8000 RPM (varies by model) |
| Airflow | 2 to 10 CFM (Cubic Feet per Minute) |
| Noise Level | 20 to 30 dBA |
| Dimensions | 30x30mm, 40x40mm, or 50x50mm |
| Connector Type | 2-pin or 3-pin JST/PH connector |
| Bearing Type | Sleeve or Ball Bearing |
Pin Configuration
The 5V fan typically comes with a 2-pin or 3-pin connector. Below is the pin configuration:
2-Pin Connector
| Pin | Description |
|---|---|
| Red | Positive (+5V) |
| Black | Ground (GND) |
3-Pin Connector
| Pin | Description |
|---|---|
| Red | Positive (+5V) |
| Black | Ground (GND) |
| Yellow | Tachometer (Speed Feedback) |
Usage Instructions
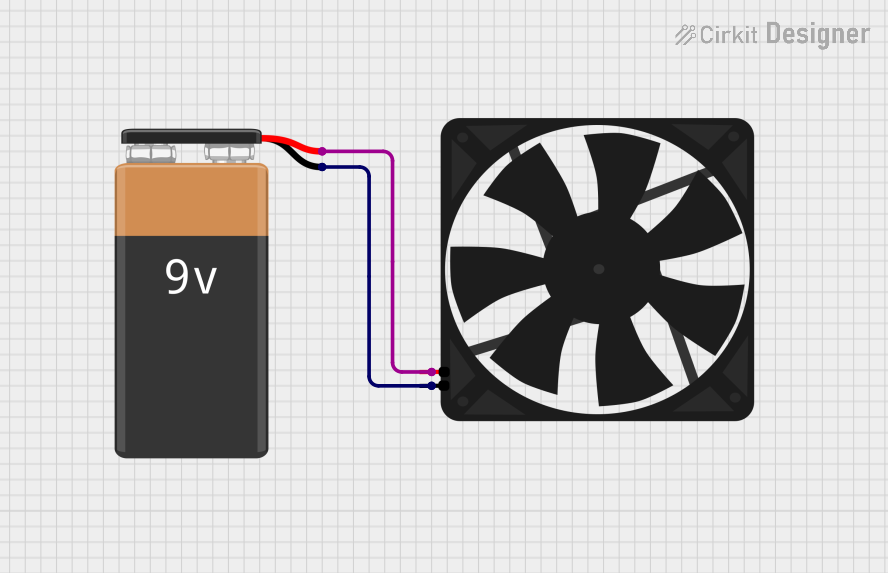
Connecting the 5V Fan
- Power Supply: Ensure the fan is connected to a stable 5V DC power source. This can be a power supply, a USB port, or a microcontroller's 5V pin.
- Polarity: Connect the red wire to the positive terminal (+5V) and the black wire to the ground (GND). For 3-pin fans, the yellow wire can be left unconnected if speed feedback is not required.
- Mounting: Secure the fan in place using screws or adhesive mounts. Ensure the airflow direction aligns with your cooling requirements (usually indicated by arrows on the fan housing).
Using with an Arduino UNO
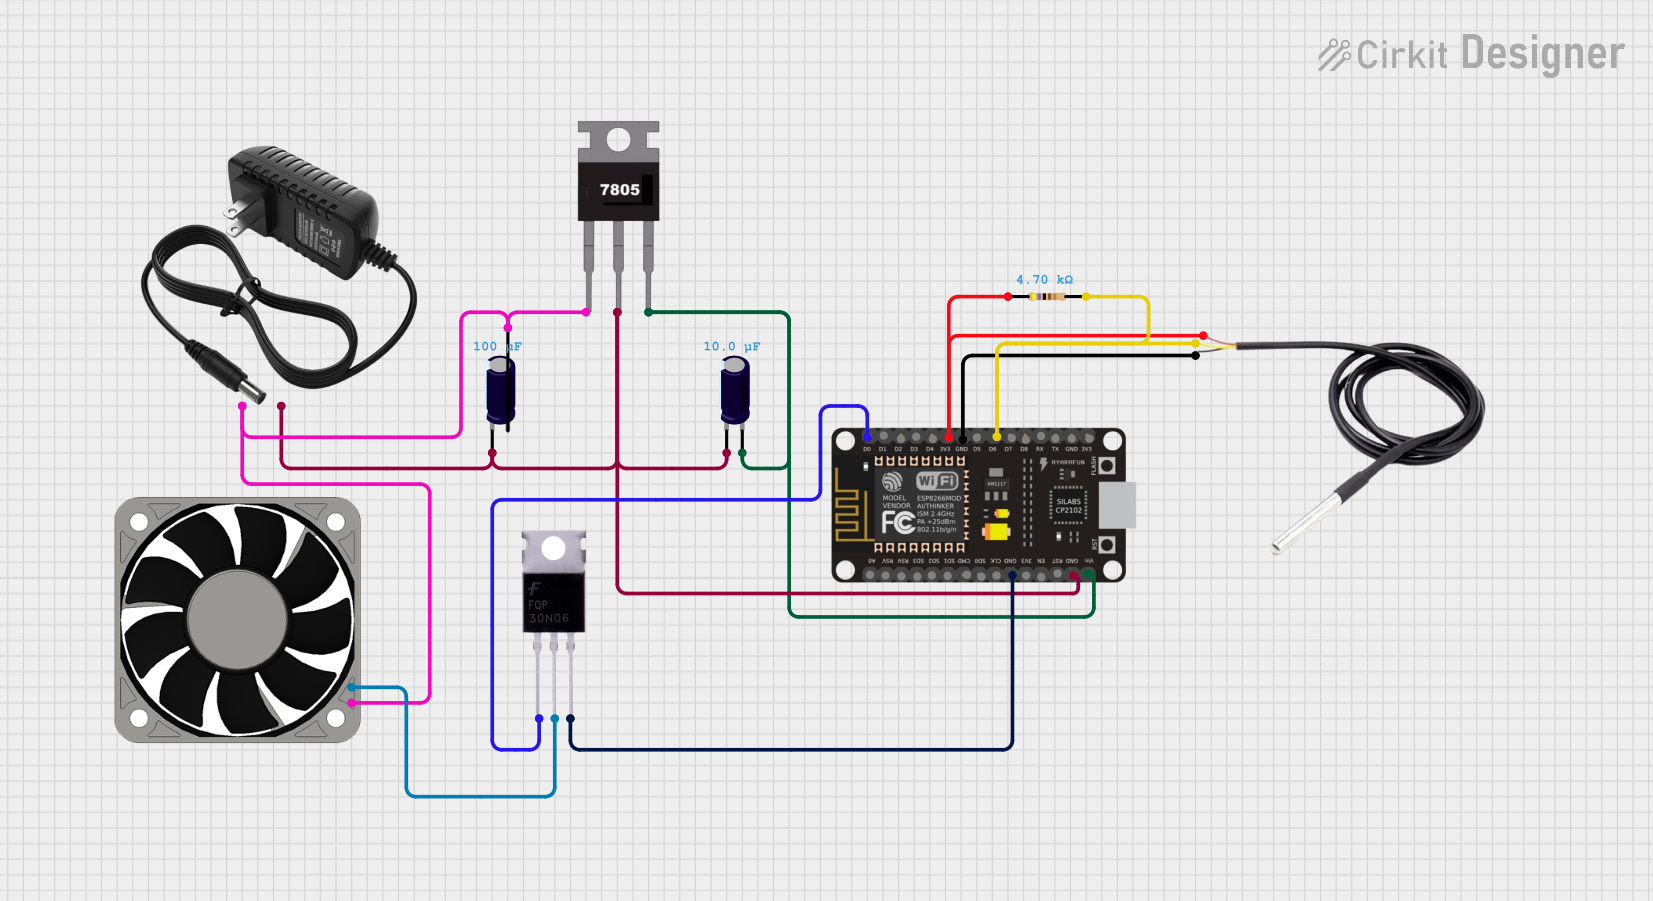
The 5V fan can be controlled using an Arduino UNO for applications requiring on/off control or speed regulation via PWM (Pulse Width Modulation). Below is an example of how to control a 5V fan using a transistor and PWM.
Circuit Diagram
- Connect the fan's red wire to the collector of an NPN transistor (e.g., 2N2222).
- Connect the fan's black wire to GND.
- Connect the emitter of the transistor to GND.
- Connect a 1kΩ resistor between the Arduino's PWM pin (e.g., pin 9) and the transistor's base.
- Connect the Arduino's GND to the fan's GND.
Arduino Code
// Example code to control a 5V fan using PWM on Arduino UNO
const int fanPin = 9; // PWM pin connected to the transistor's base

void setup() {
  pinMode(fanPin, OUTPUT); // Set the fan pin as an output
}

void loop() {
  analogWrite(fanPin, 128); // Set fan speed to 50% (128 out of 255)
  delay(5000); // Run the fan at 50% speed for 5 seconds

  analogWrite(fanPin, 255); // Set fan speed to 100% (255 out of 255)
  delay(5000); // Run the fan at full speed for 5 seconds

  analogWrite(fanPin, 0); // Turn off the fan
  delay(5000); // Wait for 5 seconds before repeating
}
Best Practices
- Voltage Regulation: Always ensure the fan receives a stable 5V supply to avoid damage.
- Airflow Direction: Check the airflow direction (usually marked on the fan) to ensure proper cooling.
- Noise Reduction: Use rubber mounts or grommets to reduce vibration and noise.
- Speed Control: Use PWM for efficient speed control instead of simple on/off switching.
Troubleshooting and FAQs
Common Issues
Fan Not Spinning
- Cause: Incorrect wiring or insufficient power supply.
- Solution: Verify the wiring connections and ensure the power supply provides 5V.
Fan Spins Slowly
- Cause: Insufficient current or high resistance in the circuit.
- Solution: Check the power supply's current rating and ensure proper connections.
Excessive Noise
- Cause: Dust accumulation or worn-out bearings.
- Solution: Clean the fan blades and consider replacing the fan if the bearings are damaged.
Fan Overheats
- Cause: Prolonged operation at high speeds or blocked airflow.
- Solution: Ensure proper ventilation and avoid running the fan at maximum speed continuously.
FAQs
Q1: Can I power a 5V fan directly from an Arduino UNO?
A1: Yes, but only if the fan's current draw is within the Arduino's 5V pin limit (typically 500mA). For higher currents, use an external power source and a transistor for control.
Q2: How do I reverse the airflow direction?
A2: You cannot reverse the airflow by changing the wiring. Instead, physically rotate the fan or use a fan designed for reversible airflow.
Q3: Can I use a 5V fan with a 12V power supply?
A3: No, applying 12V to a 5V fan will damage it. Use a voltage regulator or step-down converter to supply 5V.
Q4: How do I measure the fan's speed using the tachometer pin?
A4: Connect the tachometer pin to a microcontroller's input pin and use an interrupt-based program to count pulses. Each pulse corresponds to a specific number of fan rotations (check the fan's datasheet for details).