
How to Use Adafruit 7 Segment FeatherWing - Yellow: Examples, Pinouts, and Specs
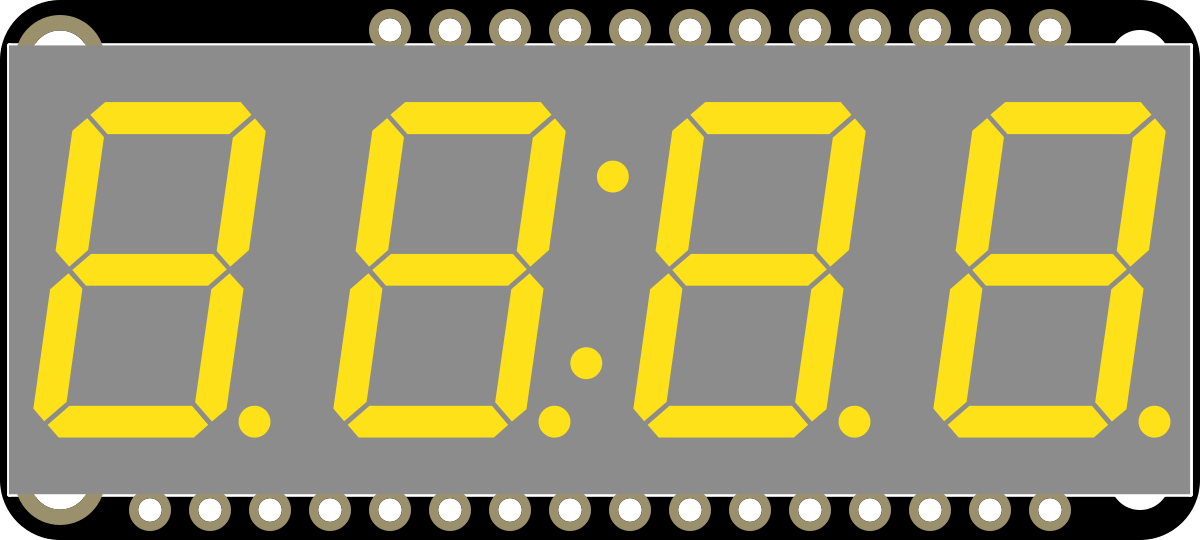
 Design with Adafruit 7 Segment FeatherWing - Yellow in Cirkit Designer
Introduction
The Adafruit 7 Segment FeatherWing - Yellow (Manufacturer Part ID: 3110) is a compact display module designed to work seamlessly with Adafruit Feather boards. It features a seven-segment display with bright yellow LEDs, capable of displaying numerical digits and some alphanumeric characters. This module is ideal for projects requiring a simple, easy-to-read numeric display, such as clocks, counters, or voltage meters.
Explore Projects Built with Adafruit 7 Segment FeatherWing - Yellow
 Open Project in Cirkit Designer
 Open Project in Cirkit Designer
 Open Project in Cirkit Designer
 Open Project in Cirkit Designer
Explore Projects Built with Adafruit 7 Segment FeatherWing - Yellow
Open Project in Cirkit DesignerOpen Project in Cirkit DesignerOpen Project in Cirkit DesignerOpen Project in Cirkit DesignerCommon Applications
- Digital clocks and timers
- Voltage or sensor value displays
- Scoreboards or counters
- Basic alphanumeric readouts for embedded systems
Technical Specifications
The following table outlines the key technical details of the Adafruit 7 Segment FeatherWing:
| Specification | Details |
|---|---|
| Manufacturer | Adafruit |
| Part ID | 3110 |
| Display Type | 7-segment LED |
| LED Color | Yellow |
| Interface | I2C |
| Operating Voltage | 3.3V or 5V (compatible with Feather) |
| Current Consumption | ~10mA per segment (typical) |
| Dimensions | 50mm x 23mm x 8mm |
| Weight | 5g |
Pin Configuration
The Adafruit 7 Segment FeatherWing uses the I2C interface for communication. Below is the pin configuration:
| Pin | Name | Description |
|---|---|---|
| 1 | SDA | I2C Data Line |
| 2 | SCL | I2C Clock Line |
| 3 | GND | Ground |
| 4 | VIN | Power Supply (3.3V or 5V) |
Usage Instructions
Connecting the FeatherWing
- Attach to Feather Board: The FeatherWing is designed to stack directly onto an Adafruit Feather board. Align the pins and press the module into place.
- Power Supply: Ensure the Feather board is powered via USB or a battery. The FeatherWing will draw power from the Feather board.
- I2C Address: The default I2C address for the FeatherWing is
0x70. If you are using multiple I2C devices, ensure there are no address conflicts.
Programming with Arduino
To use the Adafruit 7 Segment FeatherWing with an Arduino-compatible Feather board, follow these steps:
Install the Required Library:
- Open the Arduino IDE.
- Go to Sketch > Include Library > Manage Libraries.
- Search for
Adafruit LED Backpackand install it.
Example Code: Below is a sample Arduino sketch to display numbers on the FeatherWing:
// Include the Adafruit LED Backpack library
#include <Wire.h>
#include <Adafruit_GFX.h>
#include <Adafruit_LEDBackpack.h>

// Create an instance of the 7-segment display
Adafruit_7segment display = Adafruit_7segment();

void setup() {
  // Initialize the display
  display.begin(0x70); // Default I2C address is 0x70
}

void loop() {
  // Display a number (e.g., 1234)
  display.print(1234); // Print the number to the display
  display.writeDisplay(); // Update the display with the new value
  delay(1000); // Wait for 1 second

  // Display a floating-point number (e.g., 12.34)
  display.print(12.34, 2); // Print with 2 decimal places
  display.writeDisplay();
  delay(1000); // Wait for 1 second
}
Code Explanation:
- The
display.begin(0x70)initializes the FeatherWing at the default I2C address. - The
display.print()function is used to send numbers or floating-point values to the display. - The
display.writeDisplay()function updates the display with the new data.
- The
Best Practices
- Avoid Overloading: Do not exceed the current limits of the Feather board when powering multiple devices.
- Brightness Control: Use the library's brightness control functions to adjust LED intensity and reduce power consumption.
- I2C Addressing: If using multiple FeatherWings, configure unique I2C addresses using the solder jumpers on the back of the module.
Troubleshooting and FAQs
Common Issues
Display Not Lighting Up:
- Ensure the FeatherWing is properly seated on the Feather board.
- Verify that the Feather board is powered and functioning.
- Check the I2C connections (SDA and SCL).
Incorrect or No Output:
- Confirm the I2C address in your code matches the FeatherWing's address.
- Ensure the
Adafruit LED Backpacklibrary is installed and included in your sketch.
Dim or Flickering LEDs:
- Check the power supply voltage and current. Insufficient power can cause dim or unstable LEDs.
- Reduce the brightness setting in the code if necessary.
FAQs
Q: Can I use this FeatherWing with non-Adafruit boards?
A: Yes, as long as the board supports I2C communication and operates at 3.3V or 5V logic levels.
Q: How do I change the I2C address?
A: The I2C address can be changed by soldering the address jumpers on the back of the FeatherWing. Refer to the Adafruit guide for detailed instructions.
Q: Can I display letters on the 7-segment display?
A: While the display is primarily designed for numbers, some letters (e.g., A, b, C, d, E, F) can be displayed using the library's character functions.
By following this documentation, you can effectively integrate the Adafruit 7 Segment FeatherWing - Yellow into your projects and troubleshoot common issues with ease.