How to Use Mini Air Pump: Examples, Pinouts, and Specs
Introduction
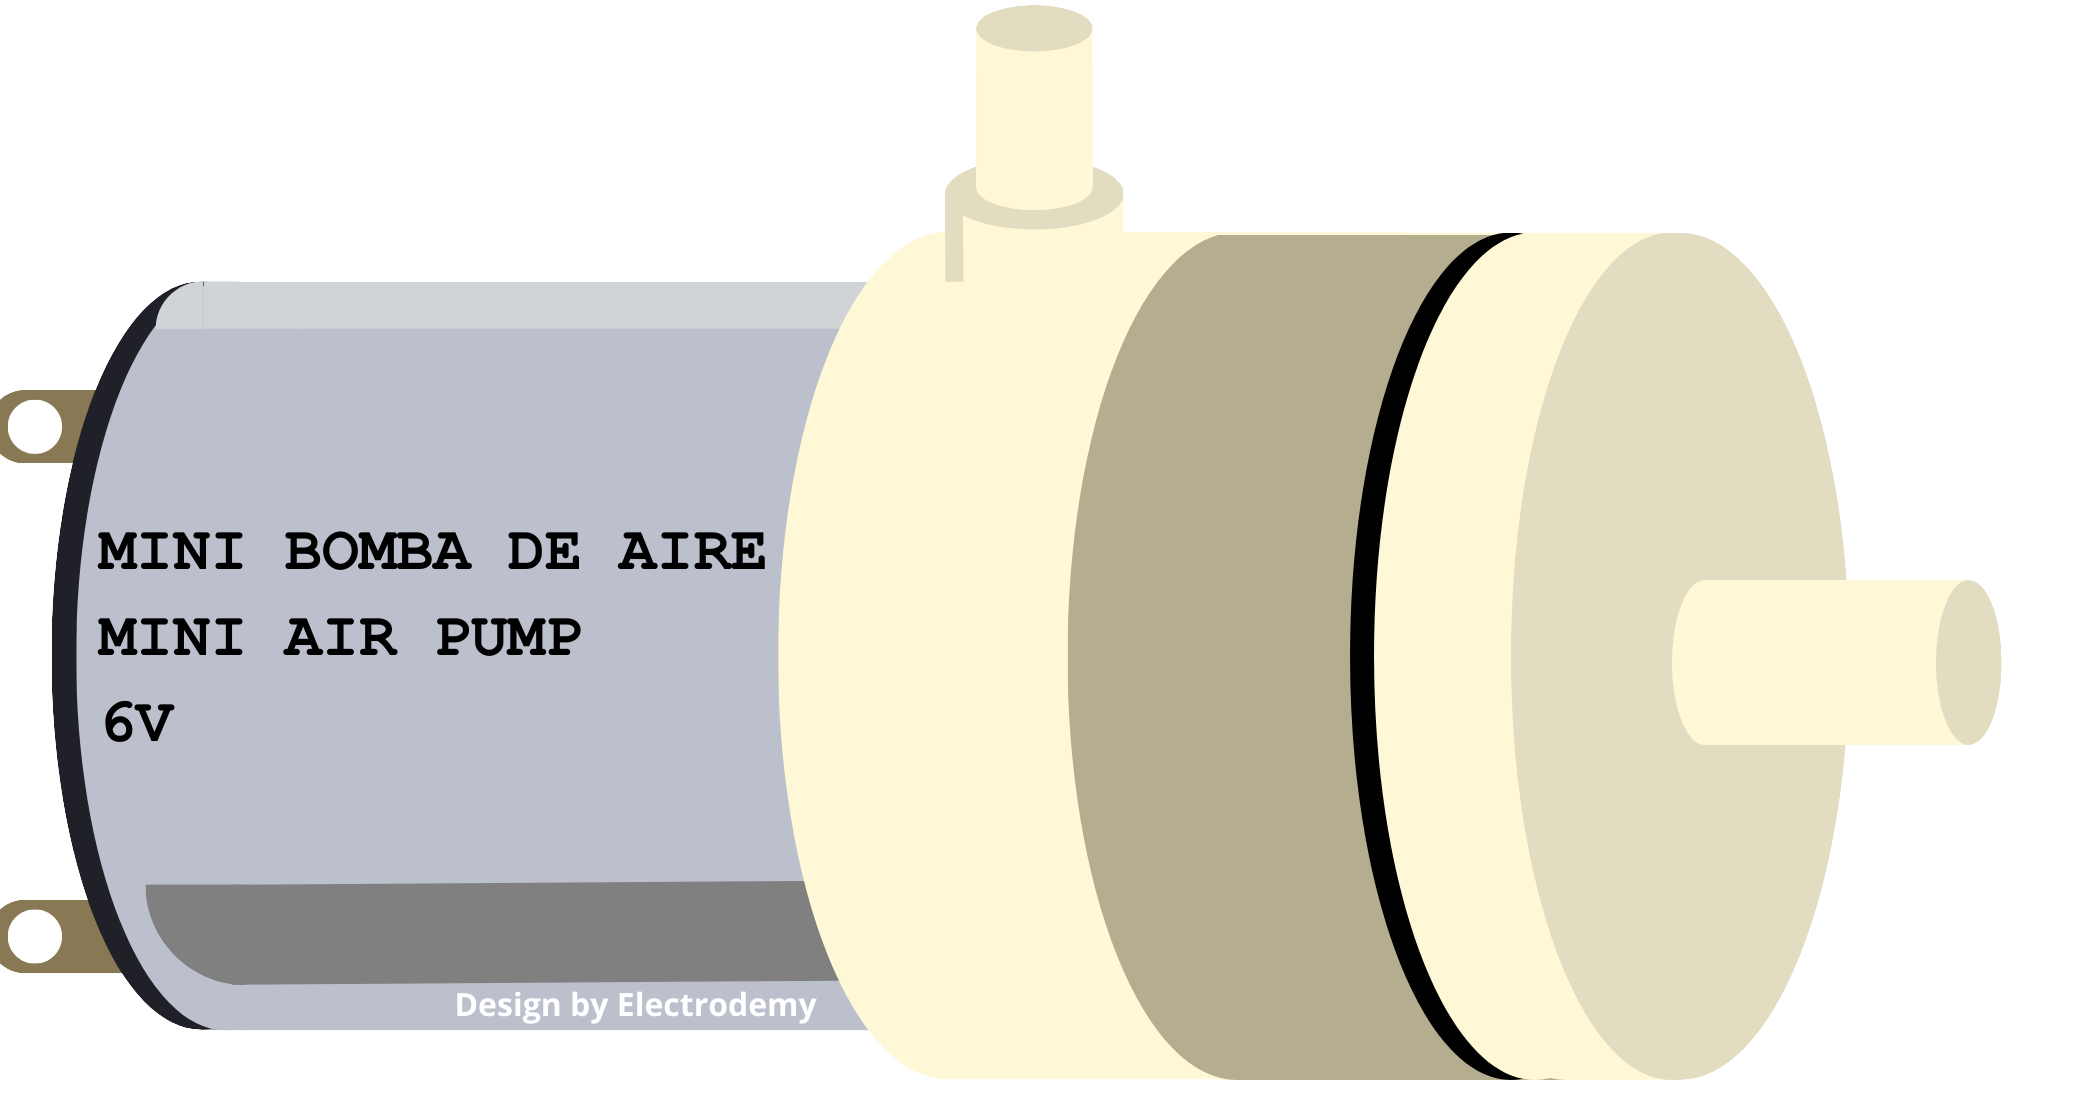
A Mini Air Pump is a compact device designed to move air into or out of a confined space. It operates by creating a differential pressure that causes air to flow. These pumps are widely used in various applications, including inflatable products (like air mattresses), small cooling systems, pneumatic systems, and medical devices.
Explore Projects Built with Mini Air Pump
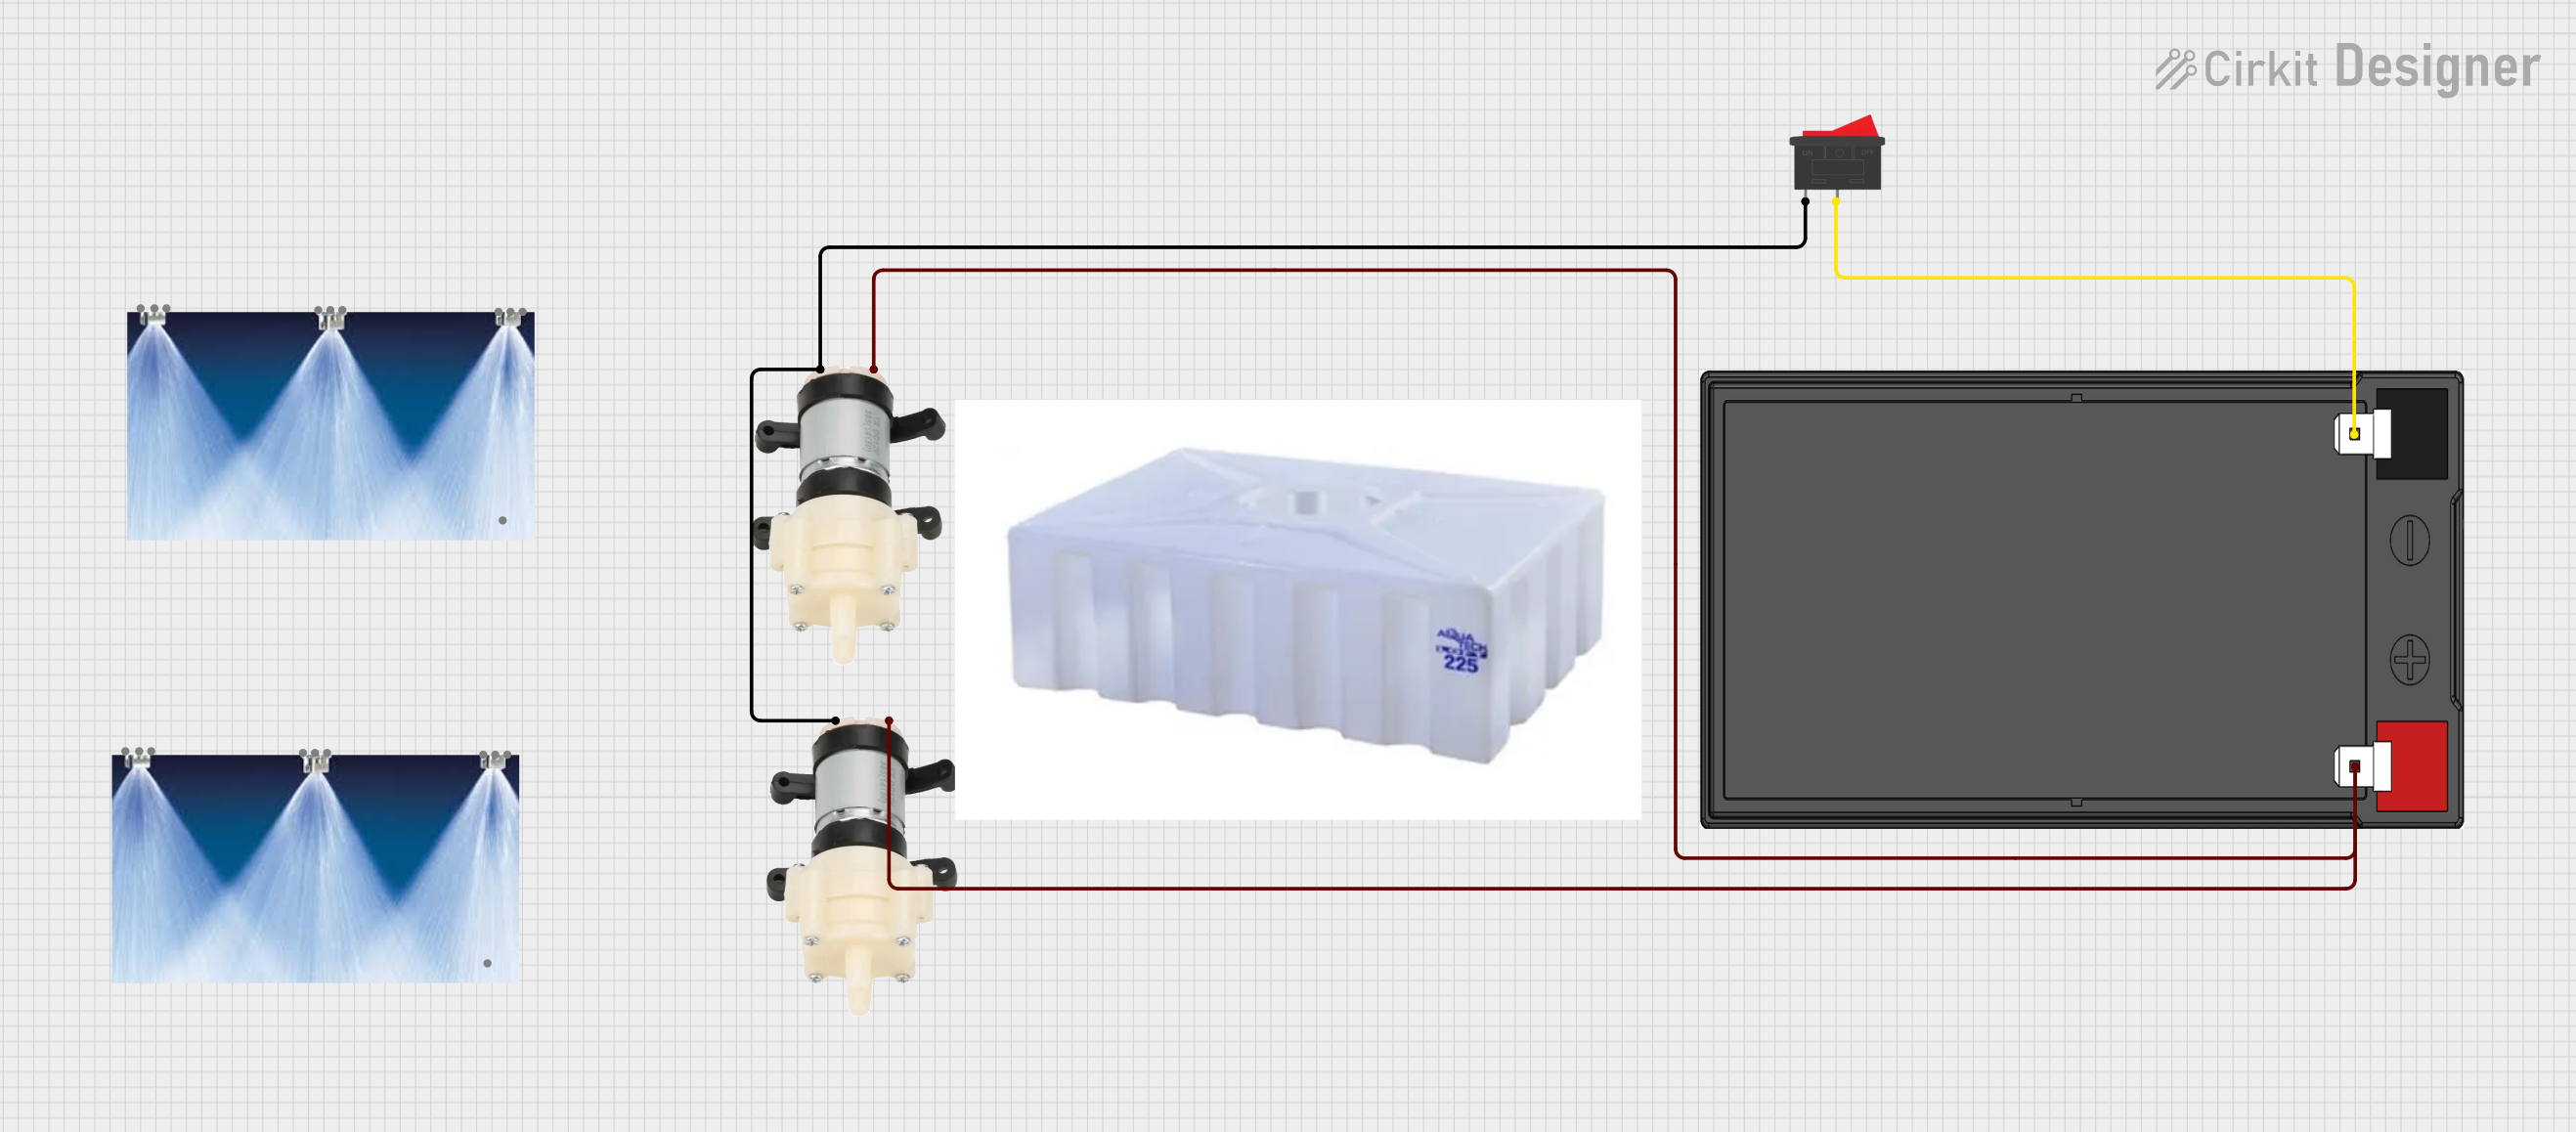
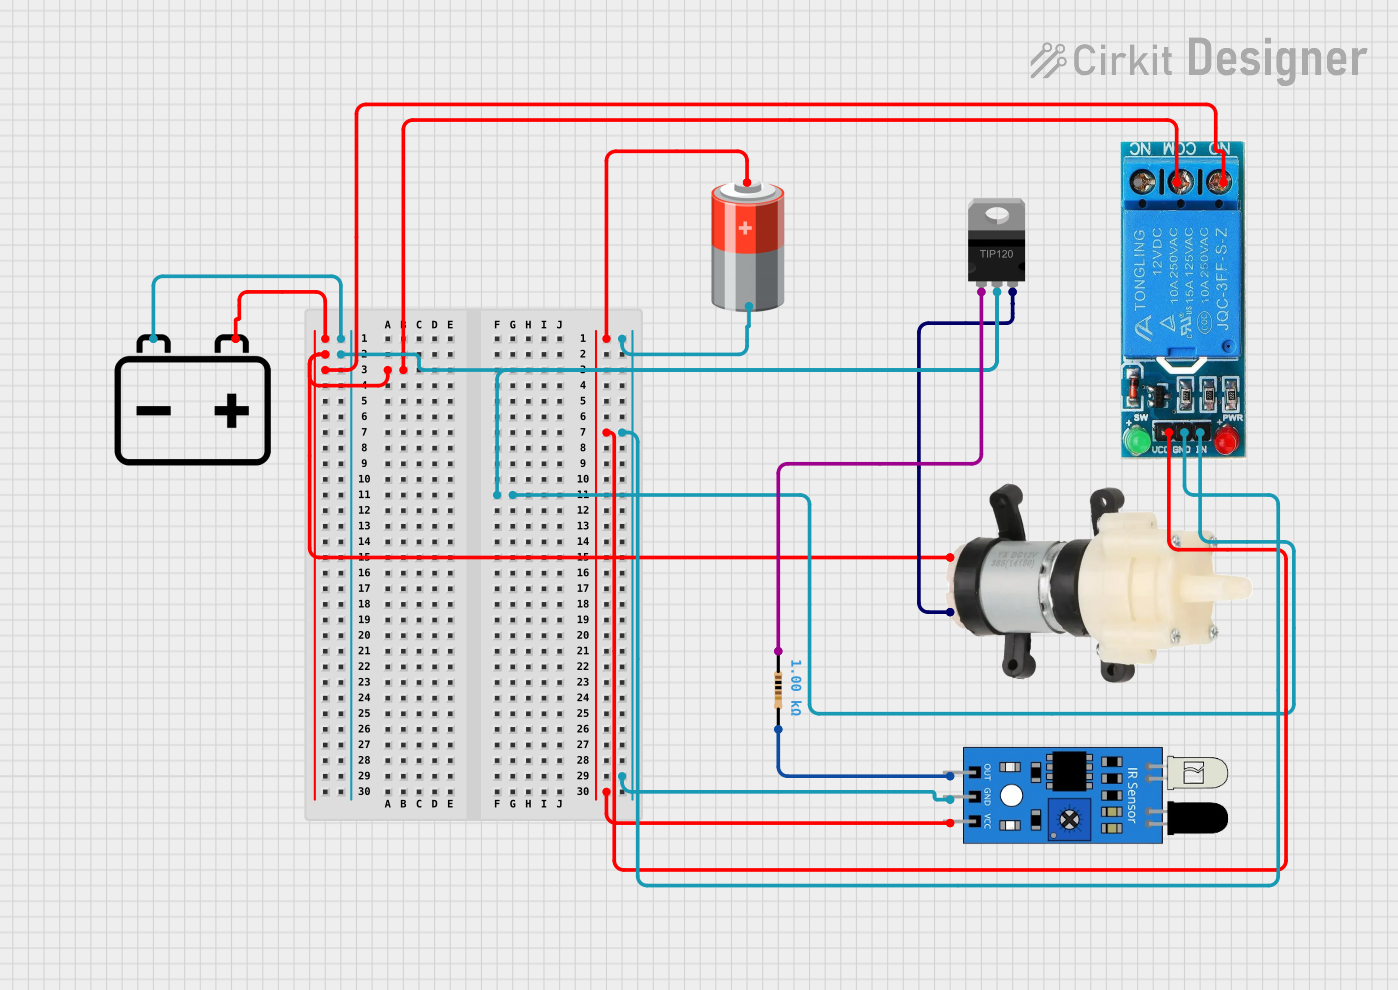


Explore Projects Built with Mini Air Pump
Common Applications and Use Cases
- Inflating air mattresses, balloons, and inflatable toys
- Providing air circulation in small aquariums
- Cooling electronic components by generating airflow
- Operating small pneumatic devices
- Providing air supply for medical equipment
Technical Specifications
Key Technical Details
- Voltage: Typically 3V to 12V DC
- Current: Varies with model and load, often around 200mA to 2A
- Power Ratings: Depending on size, can range from 1W to 10W
- Flow Rate: Varies, but small pumps may offer 1-3 L/min
- Pressure: Can vary, some models up to 30 kPa
- Noise Level: Dependent on design, but often < 60 dB
Pin Configuration and Descriptions
| Pin Number | Description | Notes |
|---|---|---|
| 1 | Positive Voltage (V+) | Connect to power supply (+) |
| 2 | Ground (GND) | Connect to power supply (-) |
Usage Instructions
How to Use the Component in a Circuit
Power Supply: Ensure that the power supply matches the voltage requirements of the Mini Air Pump. Overvoltage can damage the pump, while undervoltage may result in insufficient performance.
Polarity: Connect the positive terminal of the power supply to the V+ pin and the negative terminal to the GND pin. Reversing the polarity can damage the pump.
Activation: Use a switch, relay, or transistor to turn the pump on and off. For PWM control, a MOSFET can be used to adjust the airflow rate.
Mounting: Secure the pump to prevent vibrations and noise. Use rubber grommets or foam to dampen vibrations.
Tubing: Ensure that the tubing used for the air inlet and outlet fits securely and is rated for the pressure generated by the pump.
Important Considerations and Best Practices
- Avoid running the pump continuously at high pressures, as this can lead to overheating and reduced lifespan.
- Keep the air inlet and outlet clear of obstructions to prevent strain on the pump.
- Use a diode across the pump terminals to protect against voltage spikes when turning the pump off (flyback diode).
Example Arduino UNO Connection
// Example code to control a Mini Air Pump with an Arduino UNO

const int airPumpPin = 3; // Connect the control circuit to pin 3

void setup() {
  pinMode(airPumpPin, OUTPUT); // Set the air pump control pin as an output
}

void loop() {
  digitalWrite(airPumpPin, HIGH); // Turn on the air pump
  delay(5000);                    // Run the pump for 5 seconds
  digitalWrite(airPumpPin, LOW);  // Turn off the air pump
  delay(10000);                   // Wait for 10 seconds
}
Note: The above code assumes the use of a transistor or relay to control the pump, as the Arduino pin cannot supply sufficient current directly.
Troubleshooting and FAQs
Common Issues
- Pump Not Starting: Check power supply voltage and connections. Ensure the control circuit is functioning.
- Insufficient Airflow: Verify that there are no blockages in the tubing and that the pump is not underpowered.
- Overheating: Ensure the pump is not running continuously at high pressure or without adequate ventilation.
Solutions and Tips for Troubleshooting
- If the pump does not start, check the power supply and connections for proper voltage and secure contacts.
- For airflow issues, inspect the tubing for kinks or blockages and confirm that the pump's voltage and current ratings are met.
- Prevent overheating by allowing the pump to rest, improving airflow around the pump, and avoiding operation at maximum capacity for extended periods.
FAQs
Q: Can I control the airflow speed of the Mini Air Pump? A: Yes, you can use pulse-width modulation (PWM) through a MOSFET to control the speed.
Q: Is it possible to run the Mini Air Pump on a battery? A: Yes, as long as the battery can supply the appropriate voltage and current.
Q: How do I know if the Mini Air Pump is suitable for my application? A: Check the pump's flow rate, pressure, and power ratings to ensure they meet the requirements of your application.