
How to Use KY-008 Laser Emitter: Examples, Pinouts, and Specs
 Design with KY-008 Laser Emitter in Cirkit Designer
Introduction
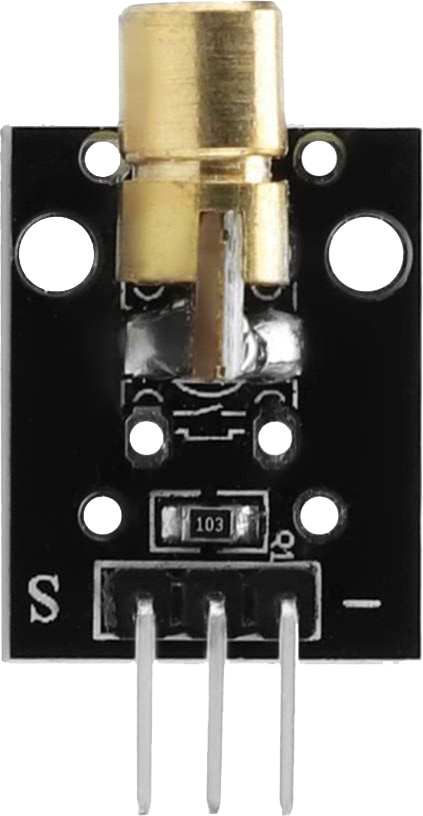
The KY-008 Laser Emitter is a compact laser module designed to emit a coherent beam of red light, typically at a wavelength of 650 nm. This module is widely used in applications such as laser pointers, optical experiments, DIY electronics projects, and alignment tools. Its small size and ease of integration make it a popular choice for hobbyists and professionals alike.
The KY-008 is compatible with microcontrollers like the Arduino UNO, making it an excellent component for projects requiring precise light emission or visual indicators.
Explore Projects Built with KY-008 Laser Emitter
 Open Project in Cirkit Designer
 Open Project in Cirkit Designer
 Open Project in Cirkit Designer
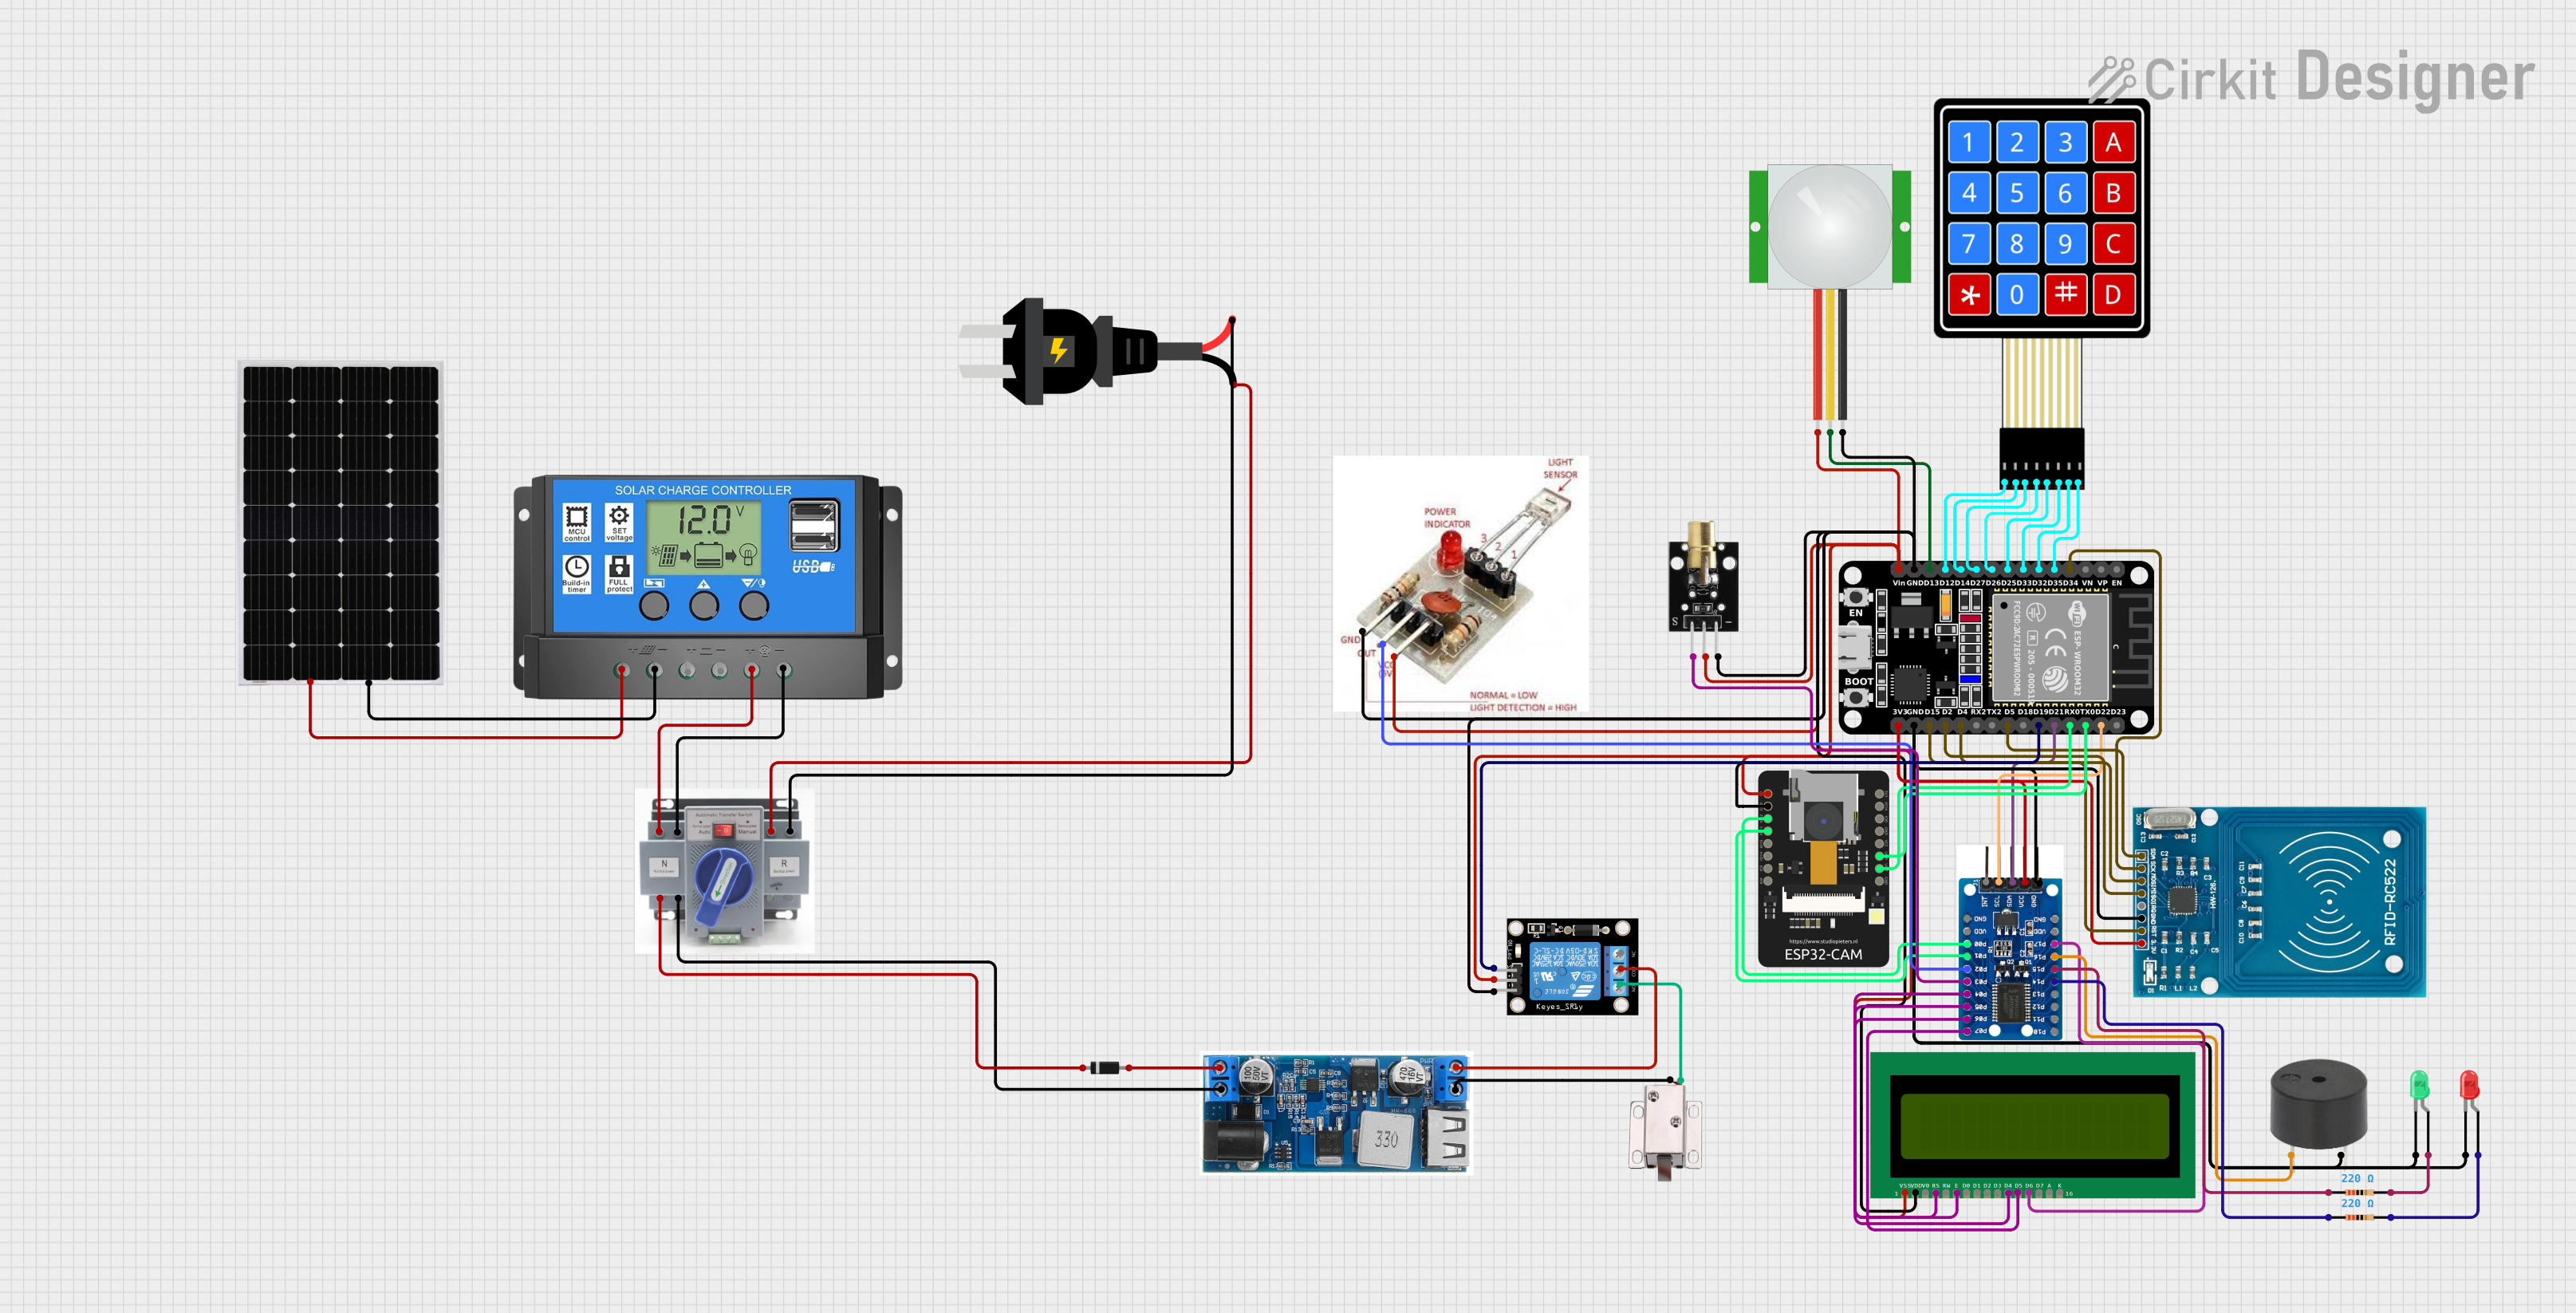 Open Project in Cirkit Designer
Explore Projects Built with KY-008 Laser Emitter
Open Project in Cirkit DesignerOpen Project in Cirkit DesignerOpen Project in Cirkit DesignerOpen Project in Cirkit DesignerTechnical Specifications
- Model: KY-008 Laser Emitter
- Wavelength: 650 nm (red light)
- Operating Voltage: 5V DC
- Operating Current: ≤ 40 mA
- Output Power: < 5 mW (Class IIIa laser)
- Beam Diameter: ~6 mm at aperture
- Operating Temperature: -10°C to +40°C
- Dimensions: 18 mm x 15 mm x 10 mm (approx.)
Pin Configuration and Descriptions
The KY-008 Laser Emitter module has three pins, as detailed below:
| Pin | Name | Description |
|---|---|---|
| 1 | VCC | Connect to a 5V DC power supply. This pin powers the laser module. |
| 2 | GND | Ground pin. Connect to the ground of the power supply or microcontroller. |
| 3 | SIG | Signal pin. Used to control the laser module (e.g., turning it on or off). |
Note: Some KY-008 modules may have only two pins (VCC and GND). In such cases, the laser is always on when powered.
Usage Instructions
How to Use the KY-008 Laser Emitter in a Circuit
- Powering the Module: Connect the VCC pin to a 5V power source and the GND pin to the ground. Ensure the power supply is stable and within the specified voltage range.
- Controlling the Laser: If your module has a SIG pin, connect it to a digital output pin of a microcontroller (e.g., Arduino UNO). This allows you to turn the laser on or off programmatically.
- Mounting: Secure the module in place to ensure the laser beam is stable and aligned for your application.
Important Considerations and Best Practices
- Safety First: The KY-008 emits a laser beam that can be harmful to the eyes. Avoid direct eye exposure and do not point the laser at reflective surfaces.
- Power Supply: Use a regulated 5V power supply to prevent damage to the module.
- Heat Management: Prolonged use may cause the module to heat up. Allow it to cool down periodically to avoid overheating.
- Signal Control: When using the SIG pin, ensure the microcontroller's output voltage matches the module's requirements.
Example: Connecting KY-008 to Arduino UNO
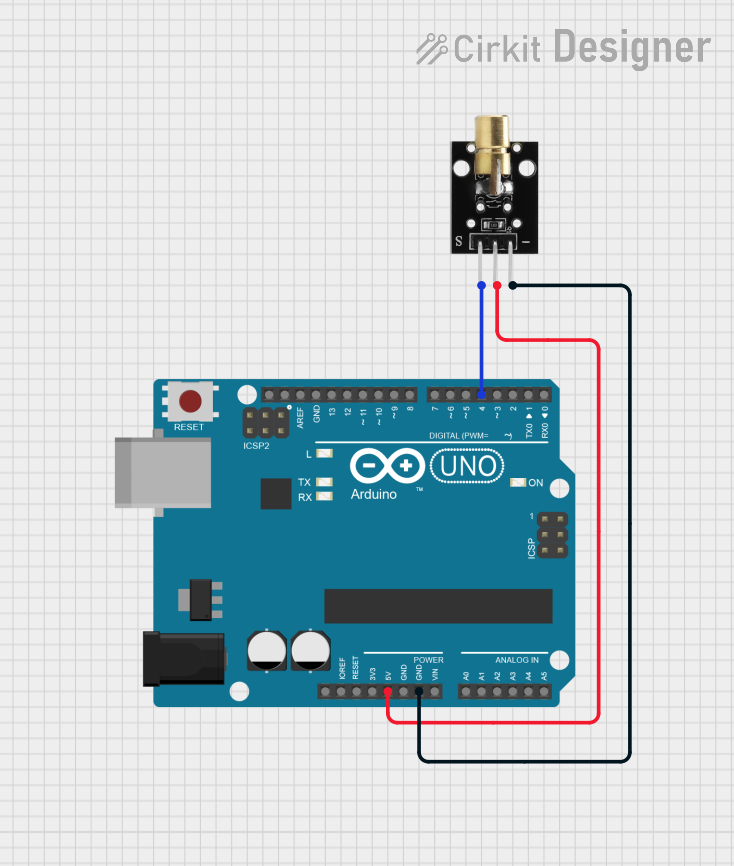
Below is an example of how to connect and control the KY-008 Laser Emitter using an Arduino UNO:
Circuit Diagram
- Connect the VCC pin of the KY-008 to the 5V pin on the Arduino.
- Connect the GND pin of the KY-008 to the GND pin on the Arduino.
- Connect the SIG pin of the KY-008 to Digital Pin 7 on the Arduino.
Arduino Code
// KY-008 Laser Emitter Control Example
// This code turns the laser on and off at 1-second intervals.

#define LASER_PIN 7  // Define the digital pin connected to the SIG pin of KY-008

void setup() {
  pinMode(LASER_PIN, OUTPUT);  // Set the laser pin as an output
}

void loop() {
  digitalWrite(LASER_PIN, HIGH);  // Turn the laser on
  delay(1000);                   // Wait for 1 second
  digitalWrite(LASER_PIN, LOW);   // Turn the laser off
  delay(1000);                   // Wait for 1 second
}
Warning: Always handle the laser module with care and avoid prolonged exposure to the beam.
Troubleshooting and FAQs
Common Issues and Solutions
Laser Does Not Turn On:
- Cause: Insufficient power supply or incorrect wiring.
- Solution: Verify that the VCC and GND pins are correctly connected to a 5V power source. Check for loose connections.
Laser Beam is Weak or Flickering:
- Cause: Unstable power supply or overheating.
- Solution: Use a regulated power supply and ensure the module is not overheating. Allow it to cool down if necessary.
SIG Pin Control Not Working:
- Cause: Incorrect microcontroller pin configuration or faulty SIG pin.
- Solution: Ensure the SIG pin is connected to a digital output pin on the microcontroller. Verify the code and connections.
Module Overheats Quickly:
- Cause: Prolonged use or excessive current.
- Solution: Limit the laser's operating time and ensure the current does not exceed the specified limit.
FAQs
Q: Can I power the KY-008 with a 3.3V supply?
- A: No, the KY-008 requires a 5V supply for proper operation.
Q: Is the KY-008 safe for use in DIY projects?
- A: Yes, but always follow laser safety guidelines to avoid eye injuries.
Q: Can I adjust the focus of the laser beam?
- A: No, the KY-008 has a fixed focus and cannot be adjusted.
Q: Can I use the KY-008 outdoors?
- A: The KY-008 is not weatherproof. Use it in a dry environment or protect it from moisture.
By following this documentation, you can safely and effectively integrate the KY-008 Laser Emitter into your projects.