Cirkit Designer Logo
Cirkit Designer
Your all-in-one circuit design IDE
Home / 
Component Documentation

How to Use Speaker: Examples, Pinouts, and Specs

Image of Speaker
Cirkit Designer LogoDesign with Speaker in Cirkit Designer

Introduction

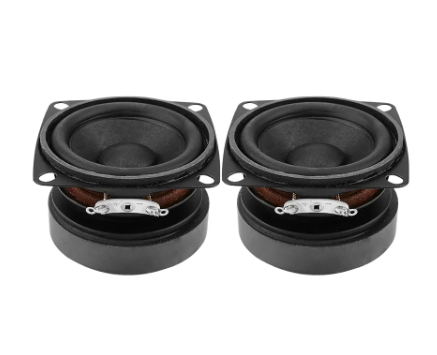
The aiyama 4 ohm 15W speaker is an electroacoustic transducer designed to convert electrical signals into audible sound. This speaker is suitable for a wide range of audio applications, from DIY projects to commercial audio systems. Its 4-ohm impedance and 15-watt power rating make it a versatile choice for use in home theaters, portable audio devices, and automotive sound systems.

Explore Projects Built with Speaker

Use Cirkit Designer to design, explore, and prototype these projects online. Some projects support real-time simulation. Click "Open Project" to start designing instantly!
ESP32-Based Voice Assistant with Battery-Powered Microphone and Speaker
Image of Minor: A project utilizing Speaker in a practical application
This circuit is a voice-controlled system that uses an ESP32 microcontroller to process audio input from a microphone, send the data to a Gemini API for speech-to-text conversion, and output responses through a speaker. It includes an IR sensor for additional input, an LED for status indication, and a battery with a charging module for power management.
Cirkit Designer LogoOpen Project in Cirkit Designer
ESP32-Based Voice-Controlled Speaker
Image of Main Design: A project utilizing Speaker in a practical application
This circuit is a digital voice playback and recording system powered by a 3.7V battery. It features an ESP32 microcontroller for processing, an Adafruit MAX98357A amplifier to drive a loudspeaker for audio output, and an Adafruit MAX9814 microphone amplifier for audio input. A pushbutton provides user interaction, and a 3.3V regulator ensures stable power supply to the components.
Cirkit Designer LogoOpen Project in Cirkit Designer
Arduino UNO Bluetooth-Controlled Speaker
Image of Bluetooth Speaker: A project utilizing Speaker in a practical application
This circuit is designed to function as a Bluetooth-controlled speaker system using an Arduino UNO as the central controller. The Arduino is connected to a Bluetooth Mate Gold module for wireless communication and a speaker for audio output. The Arduino's digital pins D0 and D1 are used for RX and TX communication with the Bluetooth module, while pin D9 is configured to drive the speaker.
Cirkit Designer LogoOpen Project in Cirkit Designer
Arduino UNO Voice Assistant with KY-037 Microphone and Speaker
Image of VOICE PY 2: A project utilizing Speaker in a practical application
This circuit is a voice assistant project that uses an Arduino UNO to interface with a KY-037 microphone and a speaker. The microphone detects voice commands, which are processed by the Arduino, and the speaker provides audio feedback based on the detected commands.
Cirkit Designer LogoOpen Project in Cirkit Designer

Explore Projects Built with Speaker

Use Cirkit Designer to design, explore, and prototype these projects online. Some projects support real-time simulation. Click "Open Project" to start designing instantly!
Image of Minor: A project utilizing Speaker in a practical application
ESP32-Based Voice Assistant with Battery-Powered Microphone and Speaker
This circuit is a voice-controlled system that uses an ESP32 microcontroller to process audio input from a microphone, send the data to a Gemini API for speech-to-text conversion, and output responses through a speaker. It includes an IR sensor for additional input, an LED for status indication, and a battery with a charging module for power management.
Cirkit Designer LogoOpen Project in Cirkit Designer
Image of Main Design: A project utilizing Speaker in a practical application
ESP32-Based Voice-Controlled Speaker
This circuit is a digital voice playback and recording system powered by a 3.7V battery. It features an ESP32 microcontroller for processing, an Adafruit MAX98357A amplifier to drive a loudspeaker for audio output, and an Adafruit MAX9814 microphone amplifier for audio input. A pushbutton provides user interaction, and a 3.3V regulator ensures stable power supply to the components.
Cirkit Designer LogoOpen Project in Cirkit Designer
Image of Bluetooth Speaker: A project utilizing Speaker in a practical application
Arduino UNO Bluetooth-Controlled Speaker
This circuit is designed to function as a Bluetooth-controlled speaker system using an Arduino UNO as the central controller. The Arduino is connected to a Bluetooth Mate Gold module for wireless communication and a speaker for audio output. The Arduino's digital pins D0 and D1 are used for RX and TX communication with the Bluetooth module, while pin D9 is configured to drive the speaker.
Cirkit Designer LogoOpen Project in Cirkit Designer
Image of VOICE PY 2: A project utilizing Speaker in a practical application
Arduino UNO Voice Assistant with KY-037 Microphone and Speaker
This circuit is a voice assistant project that uses an Arduino UNO to interface with a KY-037 microphone and a speaker. The microphone detects voice commands, which are processed by the Arduino, and the speaker provides audio feedback based on the detected commands.
Cirkit Designer LogoOpen Project in Cirkit Designer

Technical Specifications

General Features

  • Nominal Diameter: Typically ranges from 1 to 4 inches for this category of speaker.
  • Power Handling: 15W (RMS)
  • Impedance: 4 ohms
  • Frequency Response: This varies by model but is generally within the human audible range (20Hz to 20kHz).
  • Sensitivity: Usually measured in dB SPL at 1W/1m.

Physical Characteristics

  • Frame Material: Often metal or high-strength plastic.
  • Cone Material: Paper, plastic, or composite materials.
  • Surround Material: Rubber or foam to allow for cone movement.
  • Magnet Type: Typically a ferrite or neodymium magnet.

Pin Configuration and Descriptions

Pin Number Description
1 Positive (+) terminal
2 Negative (−) terminal

Usage Instructions

Connecting to an Amplifier

  1. Identify the Terminals: Locate the positive (+) and negative (−) terminals on the speaker.
  2. Prepare the Wires: Strip the ends of the speaker wires, ensuring a clean connection.
  3. Connect the Wires: Attach the positive wire to the positive terminal and the negative wire to the negative terminal. Ensure a secure connection without any stray strands.
  4. Amplifier Settings: Set the amplifier to match the speaker's impedance (4 ohms) and do not exceed the power rating (15W RMS).

Best Practices

  • Avoid Overpowering: Do not exceed the recommended power rating as it can damage the speaker.
  • Secure Mounting: Ensure the speaker is mounted securely to prevent vibrations and potential damage.
  • Proper Enclosure: Use an appropriate enclosure to maximize sound quality and protect the speaker from external elements.

Troubleshooting and FAQs

Common Issues

  • Distortion: If the sound is distorted, check if the amplifier's power exceeds the speaker's rating or if the connections are loose.
  • No Sound: Ensure the connections are correct and secure. Check the amplifier and source device for proper operation.
  • Low Volume: Verify that the amplifier's volume is set correctly and that the speaker's sensitivity matches the application.

FAQs

Q: Can I use this speaker with any amplifier? A: Yes, as long as the amplifier supports a 4-ohm load and does not exceed the speaker's power rating.

Q: How can I improve the sound quality of the speaker? A: Using a properly designed enclosure and positioning the speaker correctly in the room can significantly improve sound quality.

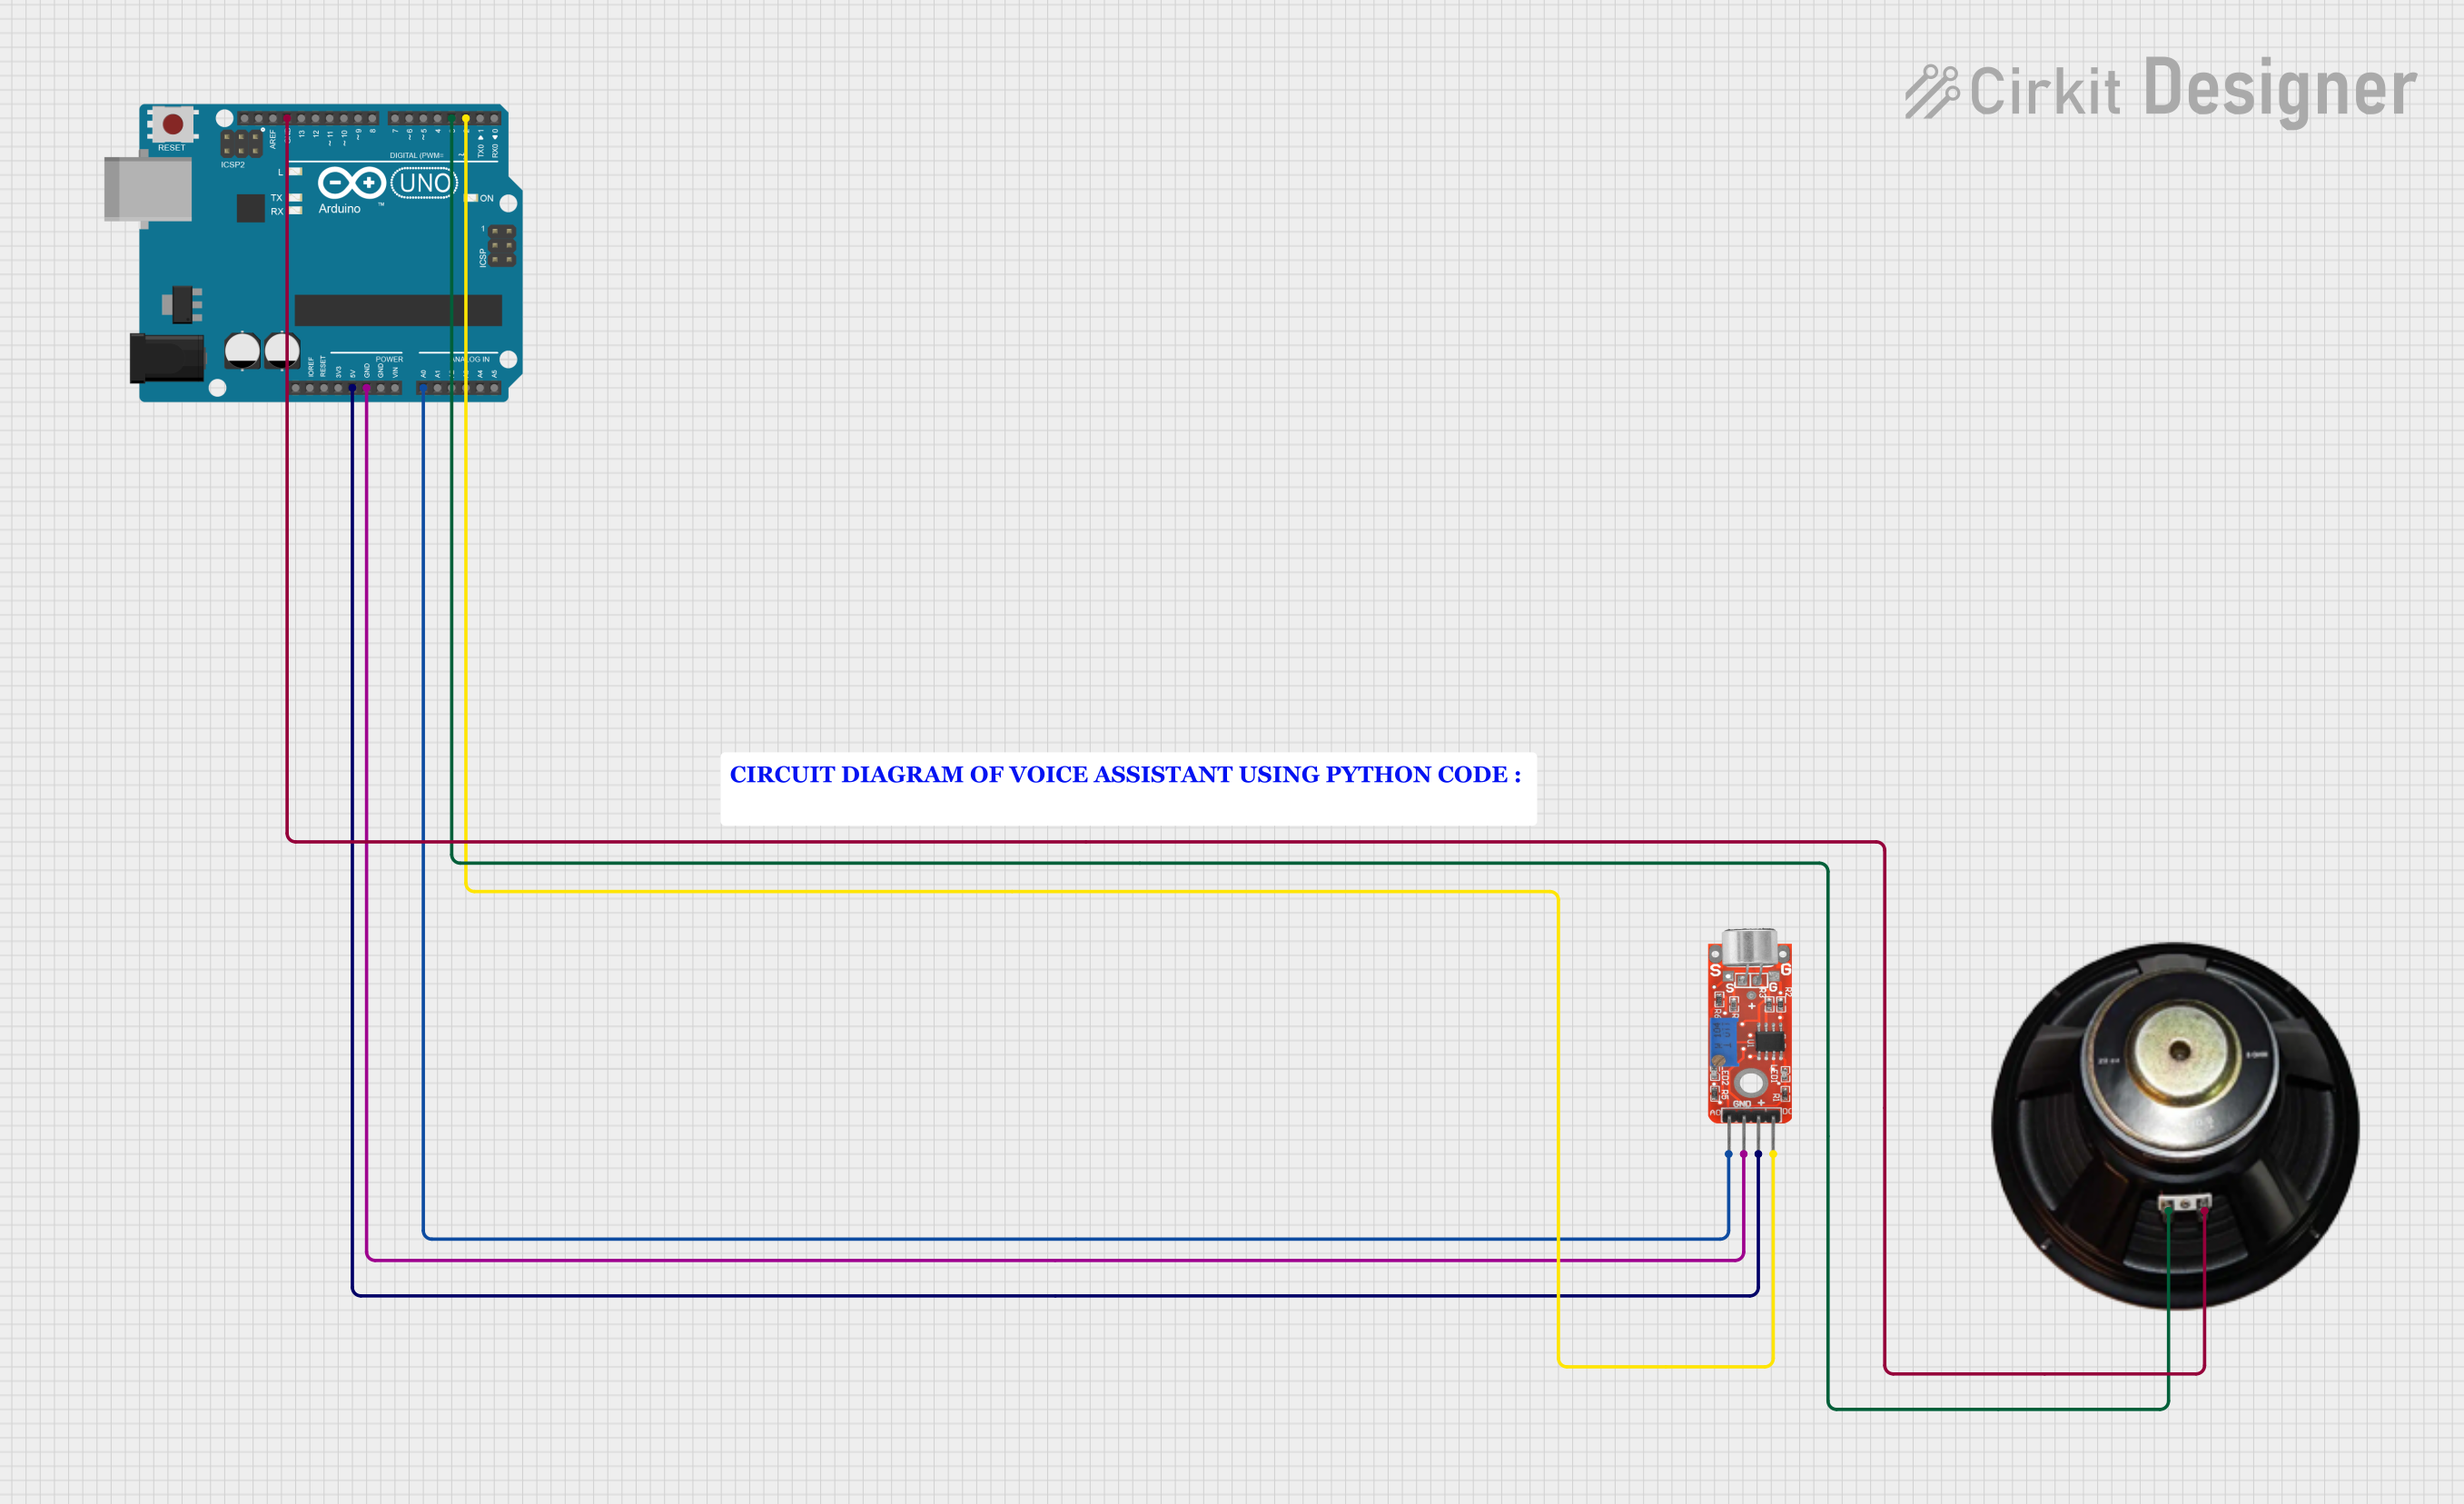
Q: Is it possible to use this speaker with an Arduino UNO? A: Yes, but you will need an additional amplifier module as the Arduino UNO cannot drive a speaker directly.

Example Arduino UNO Code

Below is an example of how to use the aiyama 4 ohm 15W speaker with an Arduino UNO to generate a simple tone. Note that an amplifier module is required to connect the speaker to the Arduino.

#include <Tone.h>

Tone speakerTone;

void setup() {
  // Initialize the speaker on pin 9
  speakerTone.begin(9);
}

void loop() {
  // Play a 440 Hz tone for 1 second
  speakerTone.play(440, 1000);
  delay(1500); // Wait for 1.5 seconds

  // Play a 880 Hz tone for 1 second
  speakerTone.play(880, 1000);
  delay(1500); // Wait for 1.5 seconds
}

Note: The Tone library is used to generate a tone of a specific frequency. The play function takes two arguments: the frequency in hertz and the duration in milliseconds. The delay function is used to create a pause between tones.

This documentation provides a comprehensive overview of the aiyama 4 ohm 15W speaker, ensuring users can effectively integrate it into their projects. For further assistance, contact the manufacturer or refer to the detailed datasheet specific to the model in question.